Decorating sugar skulls is a beautiful tradition that celebrates life and honors those who have passed on. Every year, during the Día de los Muertos (Day of the Dead) festivities, families come together to create these vibrant artworks. In this article, I’ll share my personal experiences, helpful tips, and a step-by-step guide to inspire you on your sugar skull decorating journey. Let’s dive in and explore this colorful world!
What is a Sugar Skull?
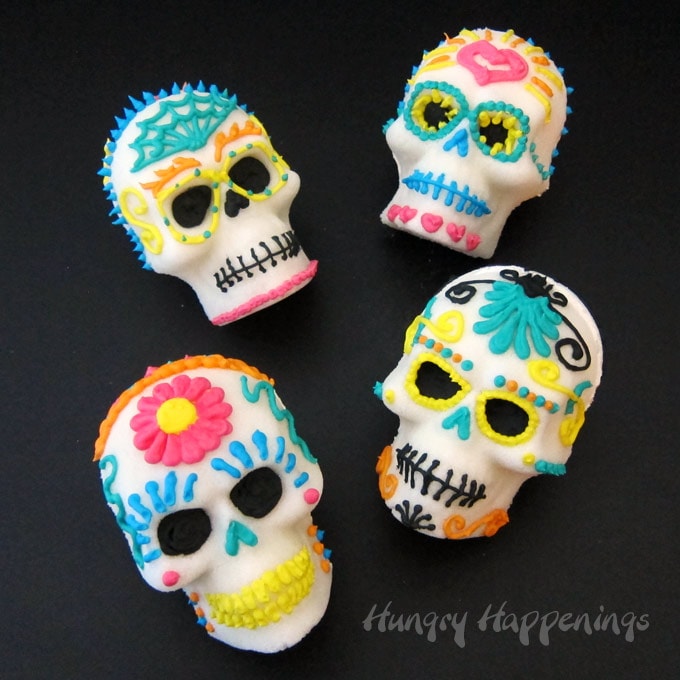
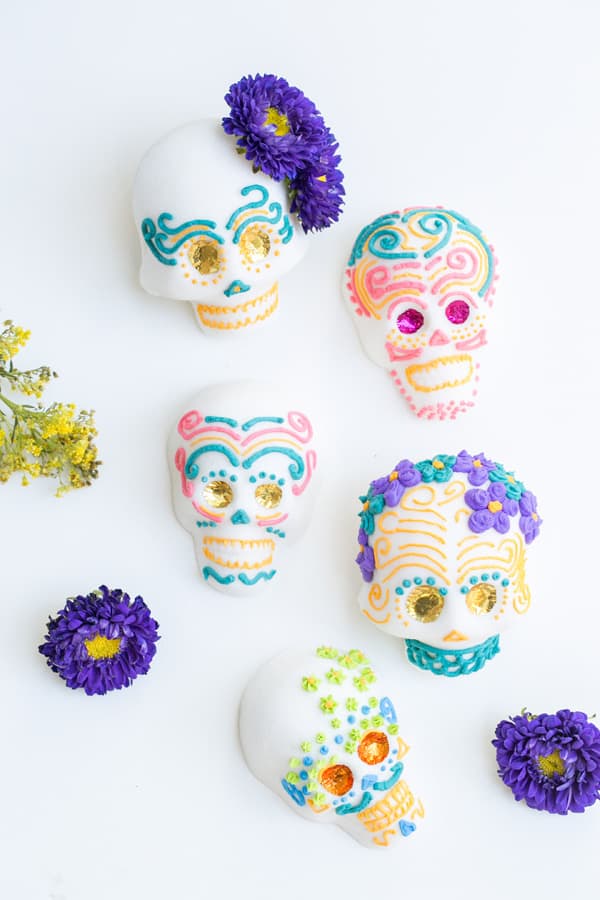
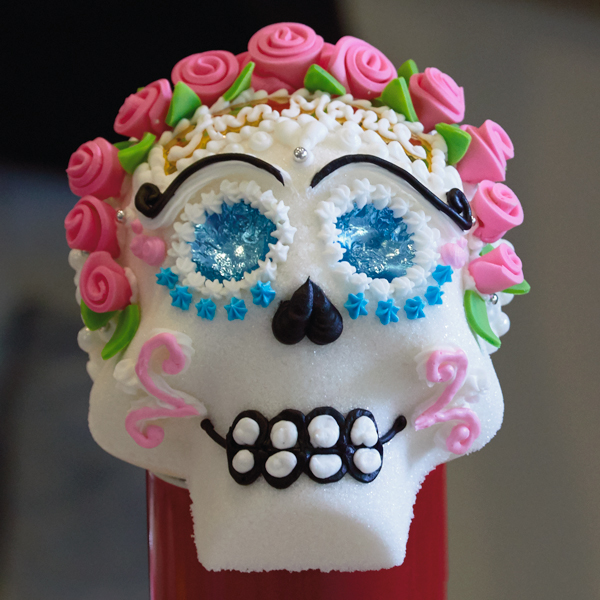
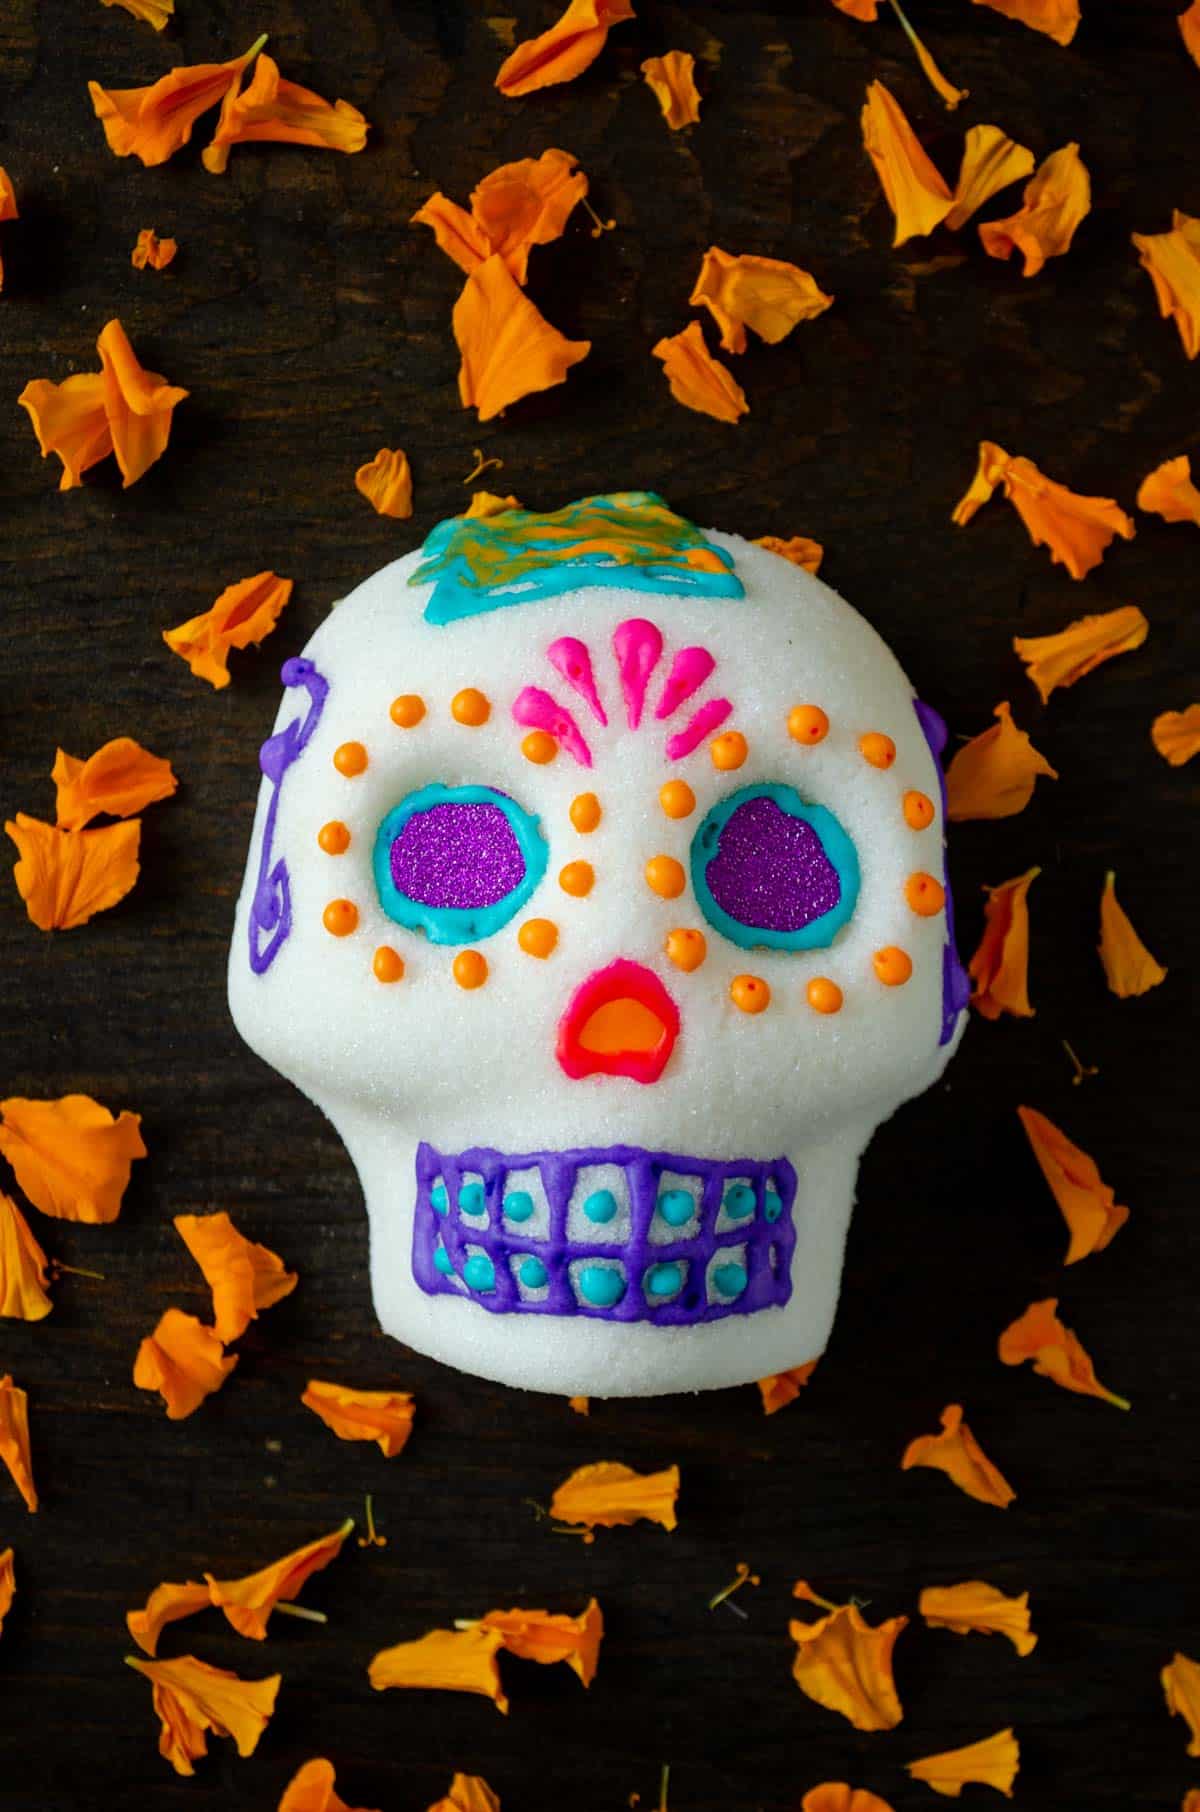
Sugar skulls, or “calaveras de azúcar,” are decorative items made from sugar, often adorned with colorful icing, glitter, and other embellishments. These artistic creations are an essential part of the Día de los Muertos celebrations in Mexico. Though they are often associated with death, they symbolize the cycle of life and the remembrance of loved ones.
The Significance of Sugar Skulls
Each sugar skull is unique and represents a deceased individual. Traditionally, the name of the honored loved one is placed on the forehead of the skull, reminding us of their presence and the joy they brought into our lives.
Gathering Materials for Sugar Skull Decoration
Before you start decorating, it’s essential to gather all the necessary materials. Here’s a handy list:
Essential Materials
- Sugar skulls (store-bought or homemade)
- Royal icing (for decorating)
- Food coloring (for vibrant designs)
- Glitter (edible, of course)
- Decorative items (like sequins, flowers, etc.)
- Piping bags and tips (for detailed designs)
- Paintbrushes (for applying color)
- Small bowls (for mixing colors)
- Paper towels (for cleaning up)
Choosing the Right Sugar Skull
You can either purchase pre-made sugar skulls or create your own using a sugar skull mold. If you’re new to this, I recommend starting with store-bought options to ease into the process.
Step-by-Step Guide to Decorating Your Sugar Skull
Step 1: Prepare Your Workspace
Set up a clean, well-lit workspace where you can decorate your sugar skull. Lay down some old newspapers or a plastic tablecloth to catch any spills.
Step 2: Mix Your Icing and Colors
In separate bowls, prepare your royal icing. You can divide the icing and mix in different colors using food coloring. This will allow you to create diverse and colorful designs!
Step 3: Outline Your Design
Using a piping bag fitted with a fine tip, outline the features of the sugar skull. Start with the eyes, mouth, and other facial features. This will give you a framework for your decoration.
Step 4: Fill in with Color
Once the outline is complete, use a larger piping tip or a paintbrush to fill in your colors. You can blend colors or create patterns according to your design vision.
Step 5: Add Details and Embellishments
Once the base colors are dry, it’s time to add details. Use fine piping to create intricate patterns. You can use edible glitter and decorative items to give your sugar skull an extra sparkle!

Step 6: Let It Dry
Allow your sugar skull to dry completely. This can take several hours, so be patient! A properly dried skull will hold its design beautifully.
Comparing Sugar Skull Techniques
There are various techniques you can employ when decorating sugar skulls. Here’s a quick comparison of a few popular methods:

| Technique | Description | Pros | Cons |
|---|---|---|---|
| Piping | Using a piping bag to create intricate designs. | Great for detailed work and designs. | Requires practice for precision. |
| Painting | Using edible paints to apply color. | Flexible and allows for blending. | May not give as much texture as piping. |
| Mixed Media | Combining piping, painting, and embellishments. | Highly creative and versatile. | Can be time-consuming. |
Tips for Successful Sugar Skull Decoration
Use Quality Materials
Invest in good quality icing, colors, and decorations. The better your materials, the more vibrant and lasting your sugar skull will be.
Practice Makes Perfect
If you’re new to decorating, don’t be discouraged by initial attempts. Practice different techniques on paper or less important projects to build your skills.
Personal Touches
Consider adding personal elements that reflect your loved ones’ personalities, such as favorite colors, symbols, or quotes. This adds depth and meaning to your creation.
Preserving Your Sugar Skulls
After your sugar skulls are fully dried, you might want to display them. Here are some tips on preserving your sugar skulls:
Proper Storage
Store your sugar skulls in an airtight container away from direct sunlight to maintain their color and integrity.
Displaying with Care
If you showcase your sugar skulls, consider using a glass dome or a shadow box to keep dust away while allowing everyone to admire your handiwork.
Frequently Asked Questions (FAQs)
What types of sugar can I use for sugar skulls?
The most common sugar used is granulated white sugar combined with meringue powder to create a strong base for molding. Brown sugar can provide a different texture but is less common.
Can I eat my decorated sugar skull?
While sugar skulls are indeed edible, they are often more decorative than consumable, especially after extensive decoration with non-edible materials. If you choose to eat it, ensure the decorations are food-safe.
How long do sugar skulls last?
Properly stored sugar skulls can last for several months, but their texture and flavor may change over time. Keeping them in a cool, dry place is essential for longevity.
Can children participate in decorating sugar skulls?
Absolutely! Decorating sugar skulls is a wonderful family activity. Just be sure to supervise and provide child-friendly materials.
Conclusion
Decorating sugar skulls is more than just an artistic endeavor; it’s a way to connect with our heritage, honor our loved ones, and express creativity. I hope this guide inspires you to create stunning sugar skulls that reflect the beauty of life and the memories we cherish. Happy decorating, and enjoy this colorful celebration of life!