Introduction
As a long-time cookie enthusiast and a self-proclaimed dinosaur lover, I can’t think of a more delightful way to combine the two than by decorating dinosaur cookies! Whether for a birthday party, a themed event, or just a fun afternoon activity with kids, these adorable treats can bring joy to everyone. In this guide, I’ll share all my tips, tricks, and personal experiences to help you create stunning dinosaur cookies that will impress your family and friends.
Getting Started with Dinosaur Cookies
What You’ll Need
Before we dive into the decorating process, let’s gather everything you need:
- Dinosaur cookie cutters
- Your favorite sugar cookie recipe
- Royal icing or fondant
- Food coloring
- Piping bags and tips
- Sprinkles and edible decorations
- Cooking parchment paper
- Cooling racks
Choosing the Right Cookie Recipe
For decorating dinosaur cookies, the cookie base is essential. A good sugar cookie recipe works wonderfully because it holds its shape. Here’s a quick comparison of popular cookie recipes:
| Recipe Type | Texture | Flavor | Shape Retention |
|---|---|---|---|
| Sugar Cookie | Soft & Chewy | Sweet | Excellent |
| Butter Cookie | Crisp | Buttery | Good |
| Gingerbread | Spicy & Firm | Spicy | Good |
My Favorite Sugar Cookie Recipe
Here’s a simple sugar cookie recipe that I love:
- 2 ¾ cups all-purpose flour
- 1 teaspoon baking soda
- ½ teaspoon baking powder
- 1 cup unsalted butter, softened
- 1 ½ cups white sugar
- 1 egg
- 1 teaspoon vanilla extract
- 3-4 tablespoons of milk (as needed)
Instructions:
- Preheat your oven to 375°F (190°C).
- In a small bowl, stir together flour, baking soda, and baking powder. Set aside.
- In a larger bowl, cream together the butter and sugar until smooth.
- Beat in the egg and vanilla. Gradually blend in the dry ingredients.
- Roll rounded teaspoonfuls of dough into balls, and place onto ungreased pans. Flatten each ball slightly with the bottom of a glass to achieve a consistent shape.
- Bake 8 to 10 minutes in the preheated oven. Cool on wire racks.
Decorating Techniques
Royal Icing Basics
Royal icing is the ideal medium for cookie decorating due to its ability to dry hard and hold its shape. Here’s a basic royal icing recipe:
- 2 egg whites (or equivalent meringue powder)
- 2 cups confectioners’ sugar
- 1 teaspoon lemon juice or vinegar
- Water (as needed to achieve the desired consistency)
Step-by-Step Instructions:
- In a mixing bowl, combine egg whites and lemon juice.
- Gradually mix in confectioners’ sugar until fully incorporated.
- Beat until the icing holds stiff peaks.
- Add water a little at a time to achieve the consistency for flooding (thicker) and outlining (thinner).
Coloring Your Icing
Use gel food coloring for vibrant colors without altering the icing’s consistency. Here’s how to color royal icing:
- Start with a small amount of white icing in a bowl.
- Add a toothpick dipped in gel food coloring to the icing.
- Mix well and adjust until you reach your desired color.
Piping Techniques
Here are a few essential piping techniques to practice:
- Outlining: Use a small round tip to create borders.
- Flooding: Use a thicker icing to fill in your outlined shapes.
- Wet-on-Wet: Create designs by adding colored icing while the base is still wet.

Creative Dinosaur Cookie Ideas
Dinosaur Shapes and Designs
When it comes to dinosaur cookies, the designs are endless! Here are some ideas to inspire your creativity:
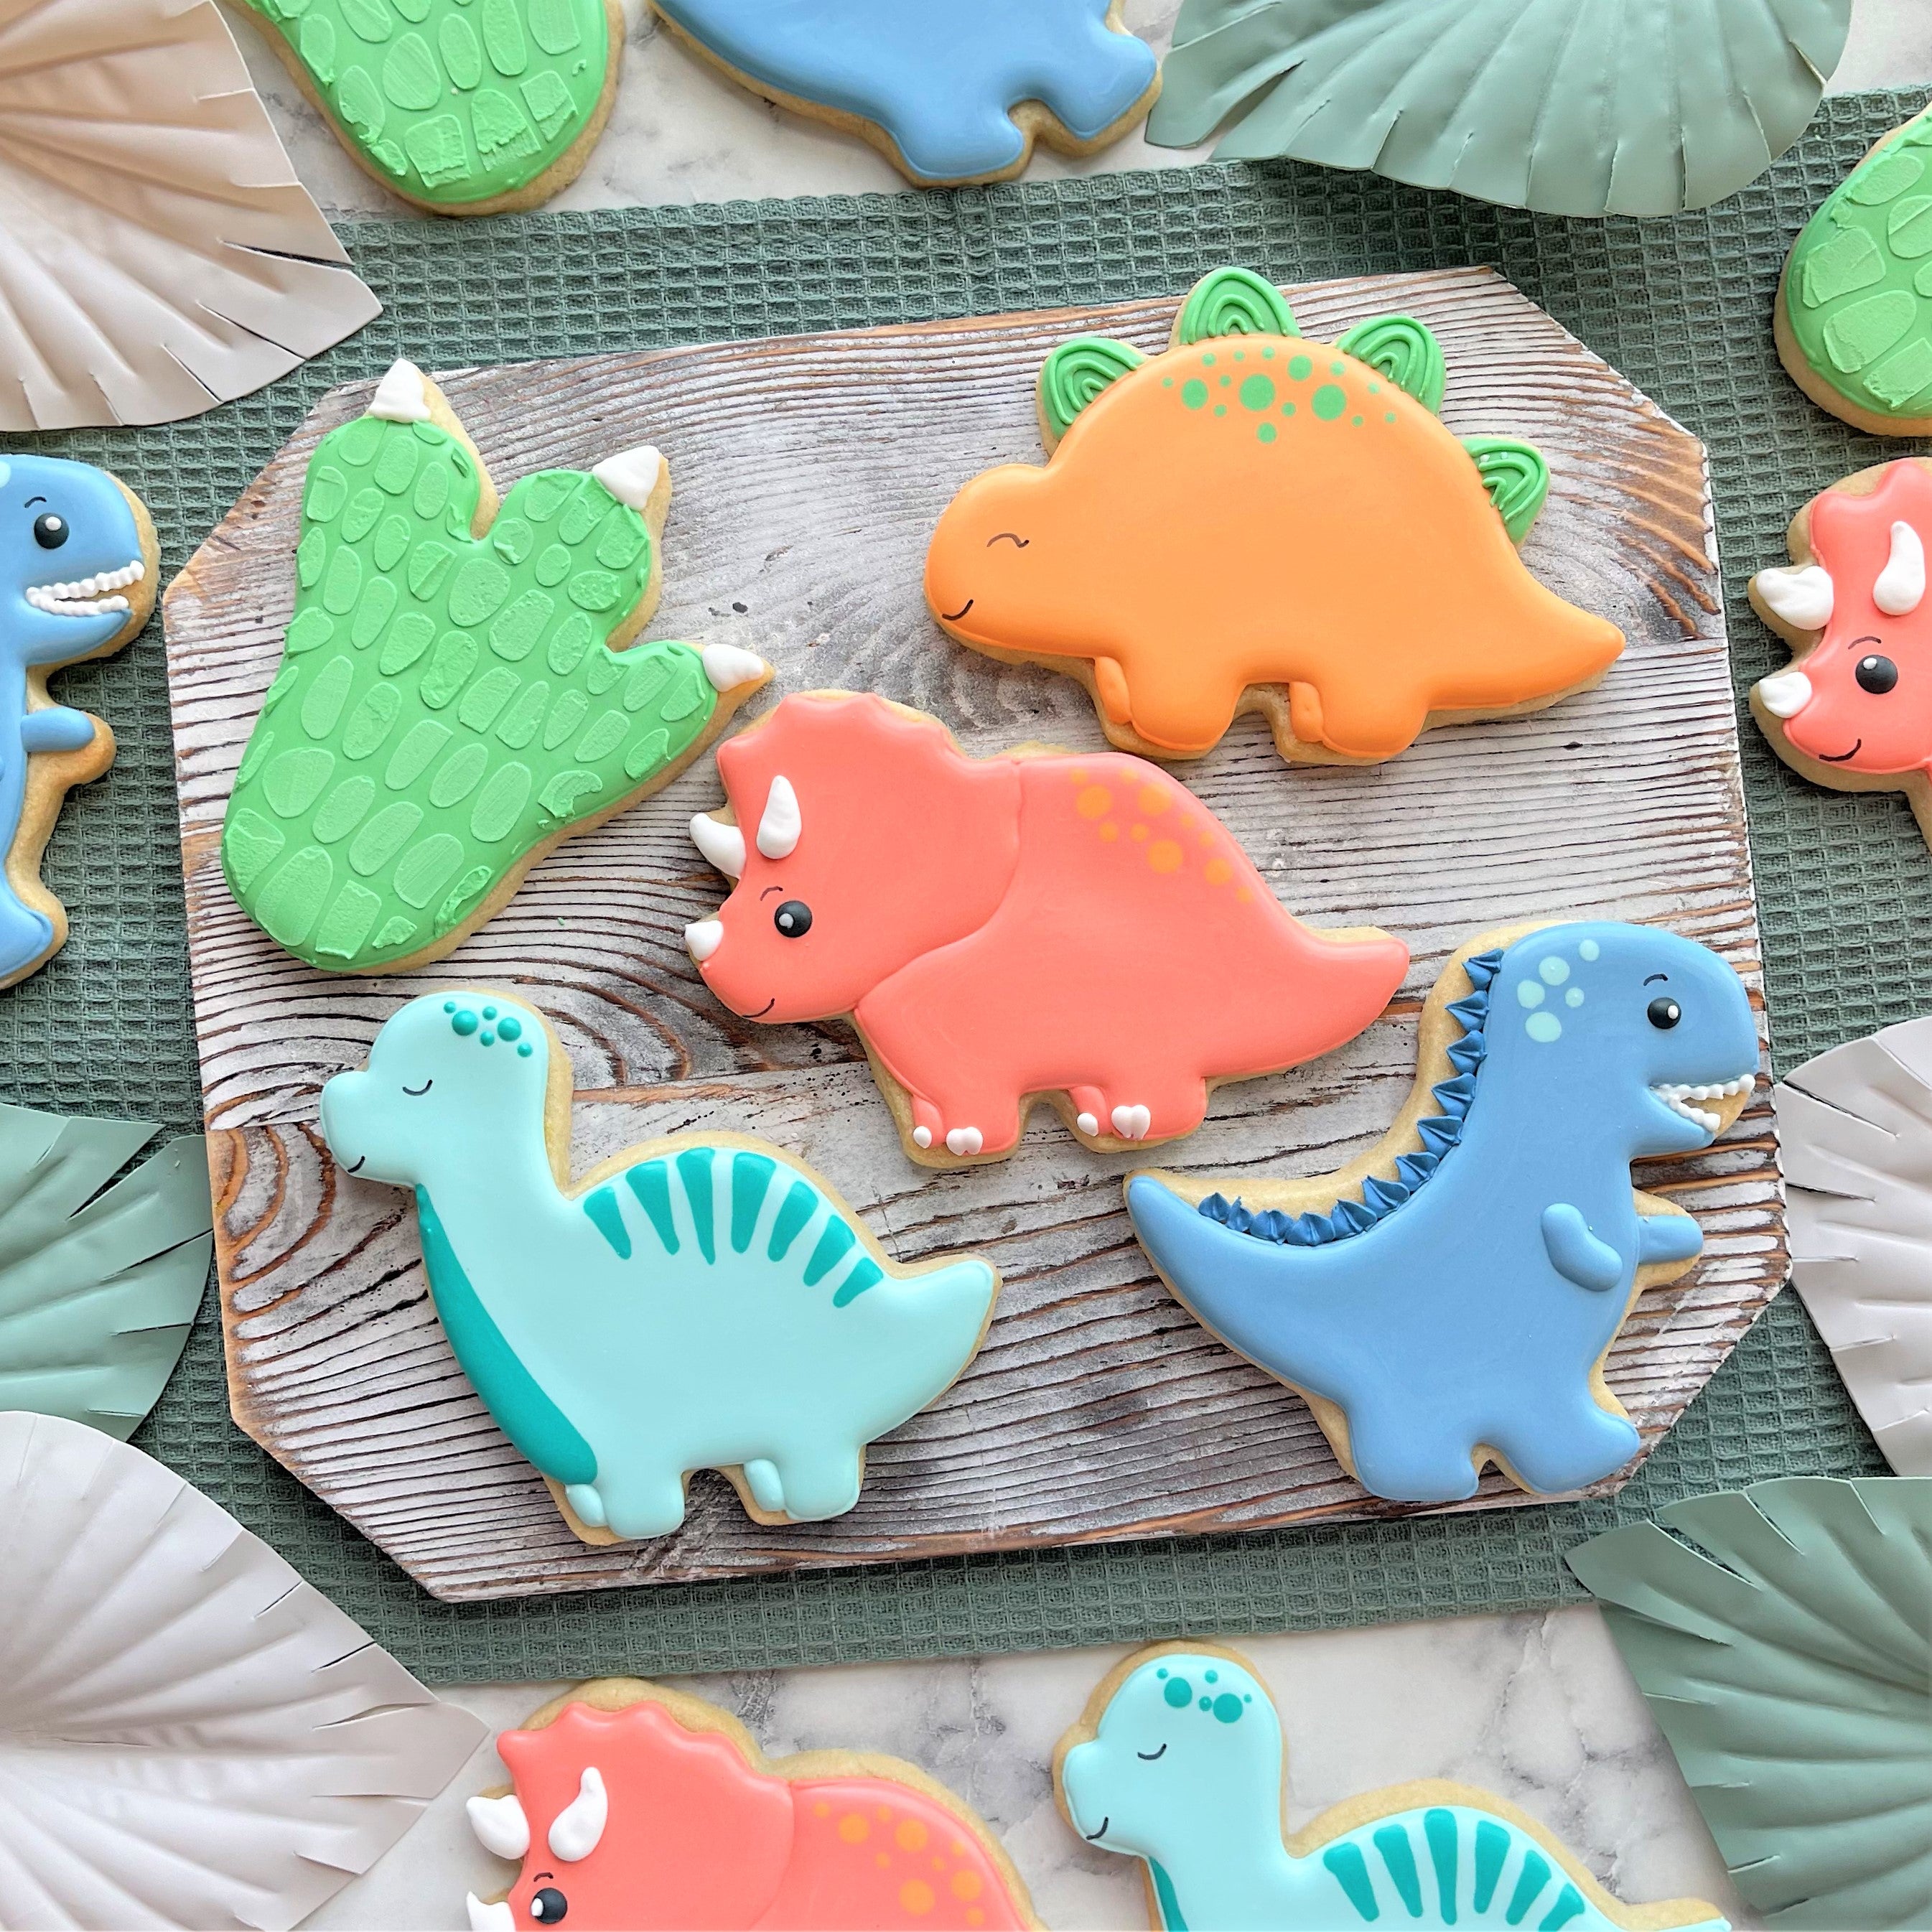
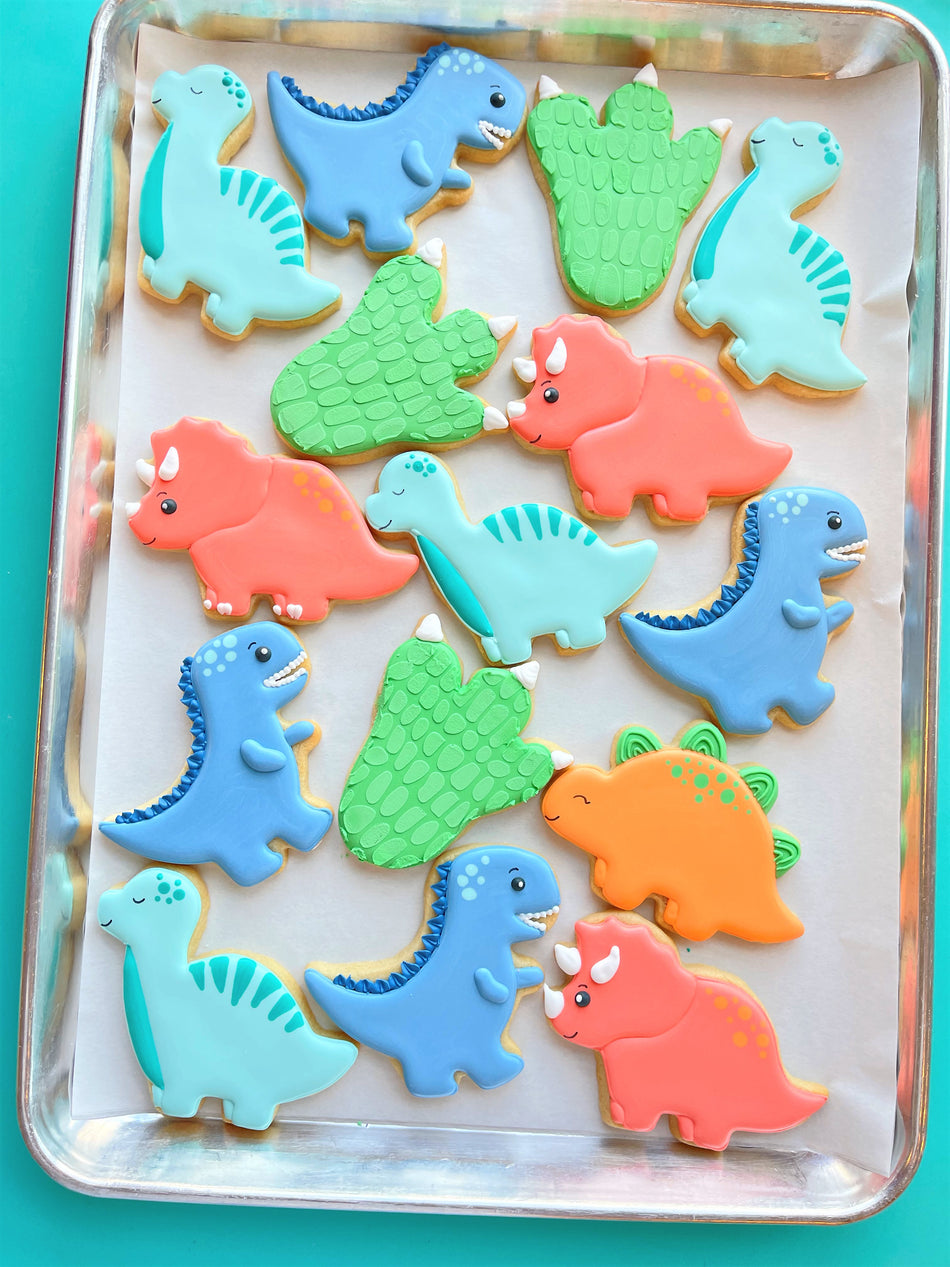
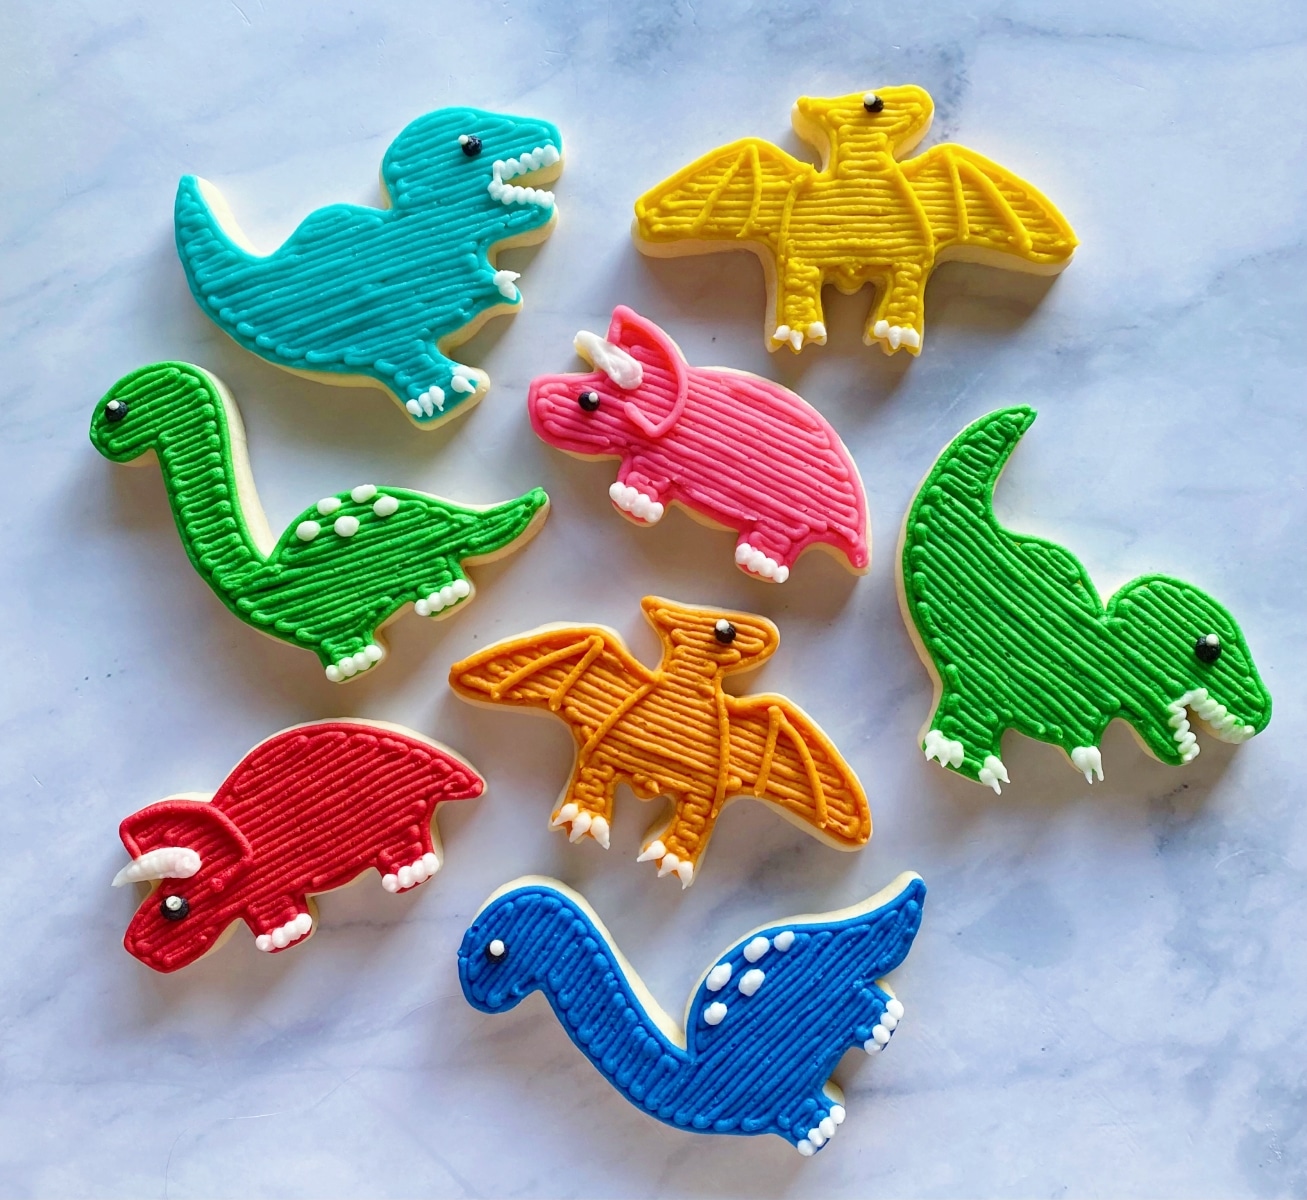
- T-Rex Cookies: Use bright green icing and add details like scales with darker green.
- Stegosaurus Cookies: Create spikes using fondant or colorful royal icing “scales.”
- Triceratops Cookies: Make them cute with pastel colors and big googly eyes!
Themed Decorating
Consider creating a theme for your dinosaur cookies, such as:
- A Jurassic Party: Decorate cookies to look like different dinosaurs and jungle foliage.
- Fossil Cookies: Use brown and beige icing to create cookies that resemble dinosaur bones.
- Rainbow Dinosaurs: Use a variety of colors for a vibrant twist.

Tips for Success
Common Mistakes and How to Avoid Them
Even the best bakers encounter challenges. Here are common mistakes and how to avoid them:
- Icing Too Runny: If your royal icing is too runny, add more powdered sugar to thicken it.
- Colors Bleeding: Allow each layer of icing to dry before adding more colors.
- Sticky Cookies: Ensure cookies are completely cooled before decorating.
Storing and Transporting Your Cookies
To keep your decorated dinosaur cookies fresh and beautiful:
- Store in an airtight container at room temperature.
- If shipping or transporting, use cookie boxes or padded containers to prevent breakage.

Frequently Asked Questions (FAQs)
Can I Use Different Types of Icing for Decorating Dinosaur Cookies?
Absolutely! While royal icing is the most popular choice, you can also use buttercream, fondant, or even chocolate ganache. Each type will yield different results, so choose based on your desired effect.
How Do I Make My Dinosaur Cookies Look Professional?
Practice makes perfect! Focus on piping techniques, invest in quality icing tips, and don’t hesitate to use edible decorations like sprinkles and colored sugar for added flair. The more you practice, the better you’ll become!
Can I Make Dinosaur Cookies in Advance?
Yes, you can! Bake and cool your cookies a few days in advance. Decorate them the day before your event for the freshest look, or store undecorated cookies in an airtight container for up to a week.