Welcome to the colorful world of sugar skulls! Every year, during Día de los Muertos (Day of the Dead), families come together to honor their deceased loved ones. A beautiful tradition that has captivated many, decorating sugar skulls is a rich and meaningful art form. In this guide, we’ll explore the history, techniques, materials, and much more to help you create your own stunning sugar skulls.
Understanding Sugar Skulls: A Cultural Significance
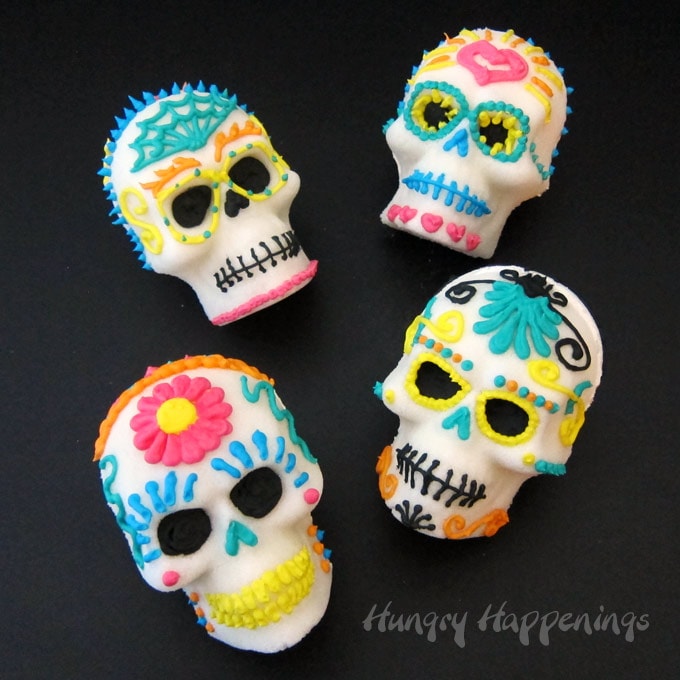
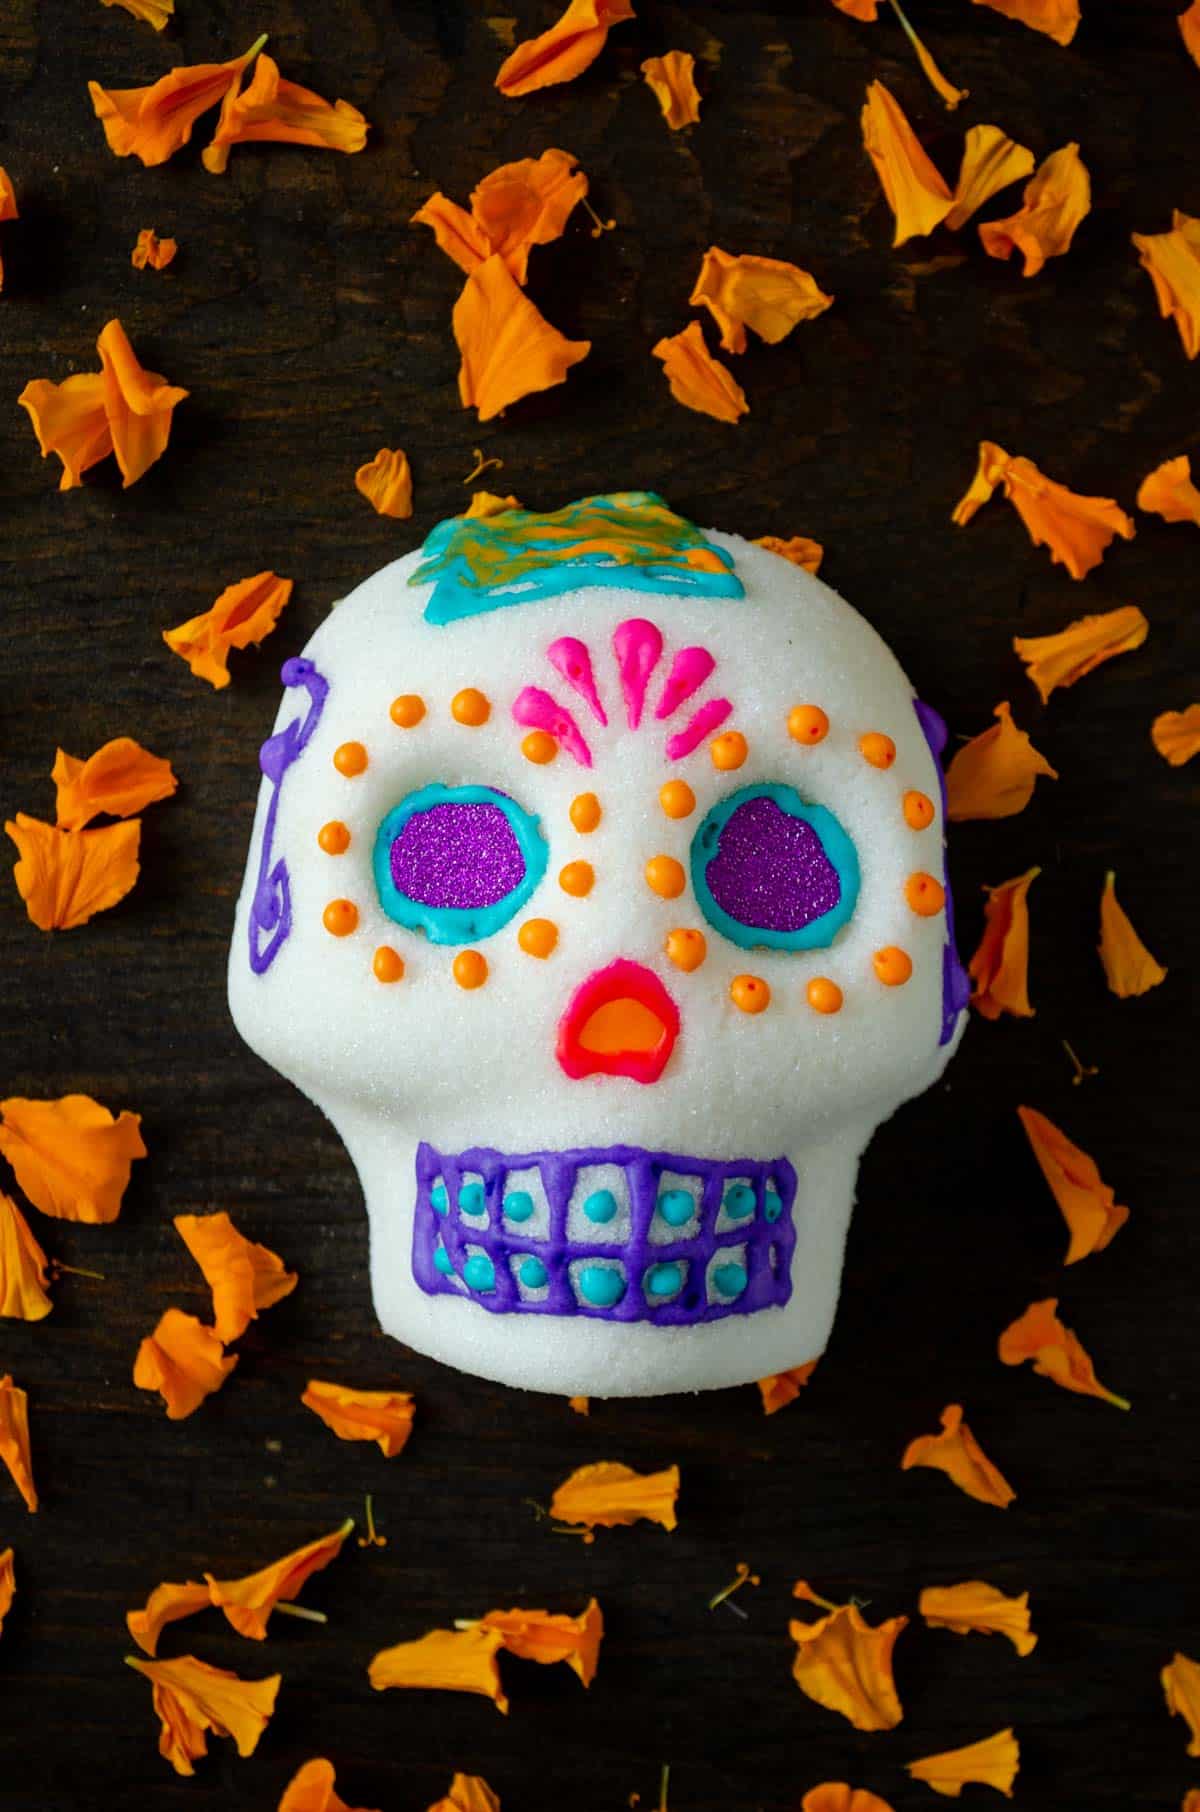
Sugar skulls, or “calaveras de azúcar,” are a key symbol of Día de los Muertos. These intricately decorated skulls embody the cyclical nature of life and death. Each skull represents a deceased individual, adorned with bright colors and intricate designs that reflect the personality or favorite items of the departed.
The Origins of Sugar Skulls
The tradition of sugar skulls dates back to the Aztec civilization, which believed that death was not an end but a continuation of life’s journey. When Spanish culture blended with Indigenous traditions, the modern sugar skulls we know today began to take shape.
The Basics of Sugar Skull Decoration
Before you dive into decorating, it’s essential to understand the components that make up a sugar skull.
Materials Needed for Decorating Sugar Skulls
- Sugar skulls (store-bought or homemade)
- Royal icing
- Food coloring (gel colors recommended)
- Decorative items (sprinkles, edible glitter, etc.)
- Brushes and piping bags
- Optional: paint pens or markers for added detail
Types of Sugar Skulls
| Type | Description | Best For |
|---|---|---|
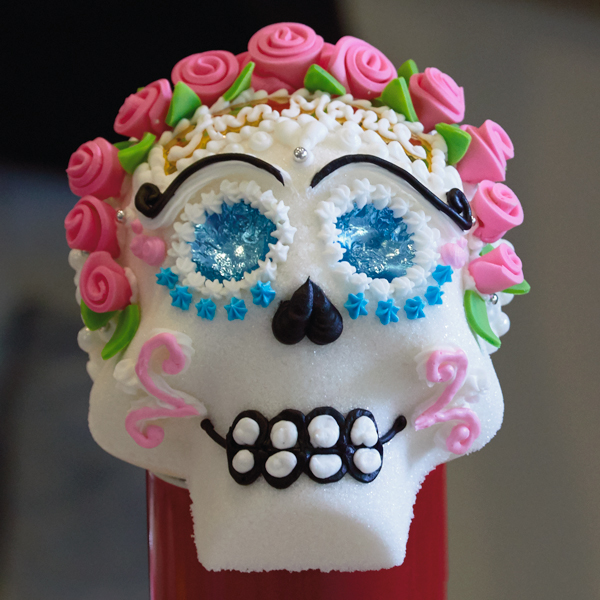
| Traditional | Classic designs with bright colors and floral patterns. | Authentic Día de los Muertos displays. |
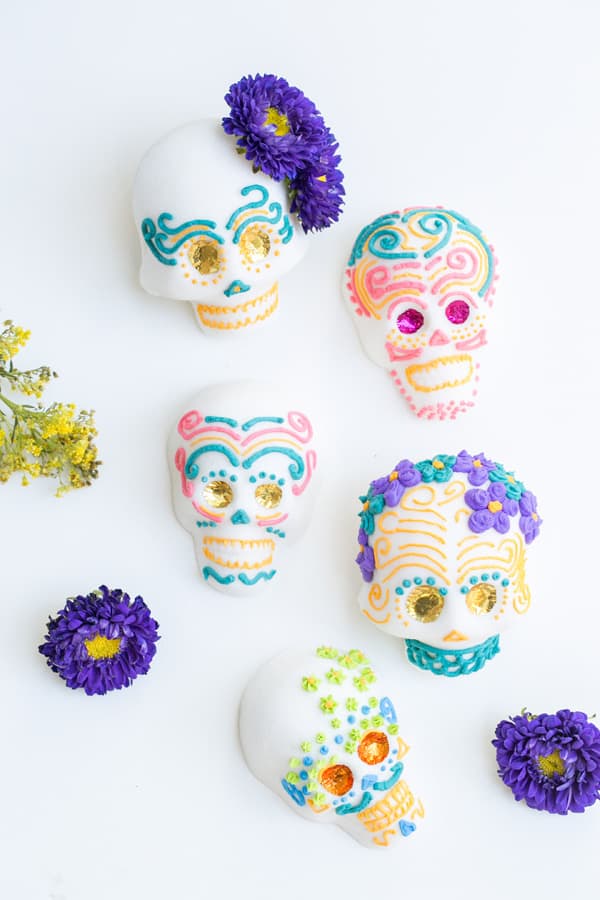
| Modern | Unique and abstract designs, often with personal touches. | Creative expression and personal remembrance. |
| Kids’ Sugar Skulls | Simple designs, often cartoonish and fun. | Family activities with children. |
Step-by-Step Guide to Decorating Sugar Skulls
Step 1: Prepare Your Workspace
Choose a clean, well-lit area with plenty of room to work. Cover your table with newspaper or a disposable tablecloth for easy cleanup.
Step 2: Gather Your Sugar Skulls
You can either buy pre-made sugar skulls or make your own. Making sugar skulls can be a fun activity with family and friends, giving you a deeper connection to the art form.
Making Your Own Sugar Skulls
If you decide to make your own, you’ll need:
- Granulated sugar
- Egg whites
- Water
- Skull molds
Step 3: Mix and Color the Royal Icing
Royal icing is the key element for decorating sugar skulls. Start by mixing powdered sugar, egg whites, and a few drops of lemon juice. Adjust the consistency with water—thicker for outlines and thinner for filling in.
Add food coloring to create a vibrant palette. Don’t be afraid to mix colors for unique shades!
Step 4: Begin Decorating!
Using a piping bag fitted with a fine tip, start outlining your desired designs. Traditional motifs include:
- Flowers
- Hearts
- Swirls and dots
Once you’ve outlined, you can fill in areas with a thinner icing consistency or paint pens for finer details.
Step 5: Add Finishing Touches
Decorate with sprinkles, edible glitter, or even fruit candies to bring your sugar skull to life.
Let your creations dry completely before displaying them on your altar or giving them as gifts.
Tips for the Best Sugar Skull Decorations
- Experiment with different techniques—don’t be afraid to try new designs!
- Keep your icing covered when not in use to prevent it from hardening.
- Practice piping on parchment paper before working on your sugar skull.
- Get inspiration from traditional patterns or create your own!

Common Mistakes to Avoid When Decorating Sugar Skulls
- Overly Thin Icing: If your icing is too thin, it won’t hold its shape. Aim for a medium consistency.
- Too Much Color: While vibrant colors are encouraged, overdoing it can make the design look chaotic.
- Skipping Drying Time: Allow your designs to dry completely for a polished look.
Pros and Cons of Decorating Sugar Skulls
| Pros | Cons |
|---|---|
| Encourages creativity and self-expression. | Can be time-consuming, especially for intricate designs. |
| Strengthens family bonds through a shared activity. | Requires some practice to master the techniques. |
| Beautiful way to honor loved ones. | Materials can be costly if purchasing pre-made skulls. |
Frequently Asked Questions (FAQs)
What materials do I need to decorate sugar skulls?
You’ll need sugar skulls, royal icing, food coloring, decorative items, and piping tools.

How long do sugar skulls last after decorating?
When stored in a cool, dry place, decorated sugar skulls can last for several weeks to months.
Can I eat sugar skulls after decorating?
Yes! Sugar skulls are edible, but if you’ve used non-toxic decorations, ensure they are food-grade and safe for consumption.

Is it difficult to learn how to decorate sugar skulls?
With practice, decorating sugar skulls can be fun and easy! Start with simple designs and work your way to more complex patterns.
Conclusion: Celebrate Life Through Art
Decorating sugar skulls is not just an artistic endeavor but an act of love and remembrance. Whether you’re honoring family members or engaging in a fun craft project, the joy of sugar skull decoration brings people together. So, gather your materials, unleash your creativity, and celebrate life and death in a charmingly colorful way!