There’s something undeniably magical about a gingerbread village decor. As the holiday season approaches, the sweet scent of gingerbread wafts through the air, reminding us of cozy family gatherings and the warmth of home. Emerging from my years of experience in holiday decoration, I want to share my passions and insights into crafting your very own gingerbread village. From the recipes to the design tips, let’s dive into how you can create a delightful gingerbread village that will be the centerpiece of your holiday celebrations!
What is Gingerbread Village Decor?
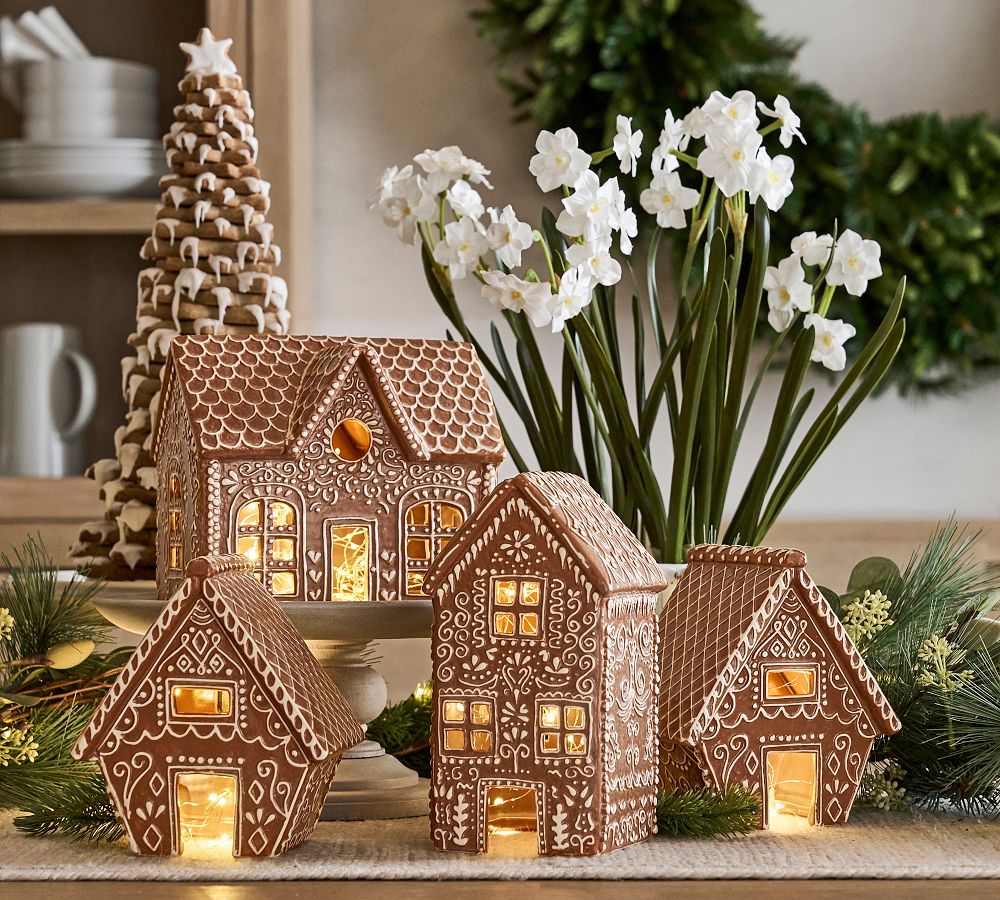
Gingerbread village decor involves creating miniature houses and structures made from gingerbread, often decorated with icing, candies, and various edible embellishments. These charming displays can range from simple designs to intricate compositions that tell a story. They bring a whimsical touch to holiday decorations and are perfect for families to craft together.
The Allure of Gingerbread Villages
Creating a gingerbread village isn’t just about the end product; it’s about the joyful journey of making it. This activity brings families together, sparking creativity and fostering teamwork. The vibrant colors, the aroma of spices, and the sweet taste of the finished product create lasting memories.
Why You Should Create a Gingerbread Village This Year
- Family Bonding: Crafting together allows for collaboration and conversation.
- Creative Expression: Everyone can contribute their own unique ideas.
- Tradition: Gingerbread houses have a historical significance in holiday celebrations.

Gathering Your Supplies
Before you start building your gingerbread village, gather all your supplies. Here’s what you’ll need:
Essential Ingredients and Tools
- For the Gingerbread:
- Flour
- Molasses
- Brown sugar
- Spices (ginger, cinnamon, nutmeg)
- Baking soda
- Butter
- Eggs
- Salt
- For Decorating:
- Royal icing or fondant
- Assorted candies (candy canes, gummy bears, chocolate chips)
- Sprinkles and edible glitter
- Tools:
- Gingerbread house templates
- Rolling pin
- Baking sheets
- Piping bags
- Spatula

Making the Perfect Gingerbread Cookies
Step-by-Step Gingerbread Recipe
Here’s a simple yet delicious gingerbread recipe to get you started:
Ingredients: - 3 1/4 cups all-purpose flour - 1 teaspoon baking soda - 1 tablespoon ground ginger - 1 tablespoon ground cinnamon - 1/2 teaspoon ground nutmeg - 1/4 teaspoon salt - 1/2 cup unsalted butter, softened - 1/2 cup brown sugar, packed - 1/2 cup molasses - 1 large eggInstructions: 1. Preheat your oven to 350°F (175°C). 2. In a bowl, mix together flour, baking soda, ginger, cinnamon, nutmeg, and salt. 3. In another bowl, cream together butter and brown sugar until light and fluffy. 4. Beat in the molasses and egg until well combined. 5. Gradually mix the dry ingredients into the wet mixture until a dough forms. 6. Wrap the dough in plastic wrap and refrigerate for at least an hour. 7. Roll out the dough and cut into desired shapes using templates. 8. Place on baking sheets and bake for 10-12 minutes. Cool completely before decorating.
Tips for Success
- Chill the Dough: This helps to maintain the shape of your cookies.
- Use Quality Spices: Fresh spices make a noticeable difference in flavor.
- Don’t Overbake: Keep an eye on them to achieve that perfect softness.
Designing Your Gingerbread Village
Choosing a Theme
Your gingerbread village can follow a specific theme, such as:
- Winter Wonderland: Incorporate white frosting, polar bears, and snowflakes.
- Traditional Christmas: Think red and green decorations, candy canes, and Santa.
- Fantasy Land: Use colorful candies to create a kingdom of sweets.
Creating Templates for Your Houses
If you’re not sure where to start, creating templates can be incredibly helpful. Draw out the shapes of your houses and buildings on paper and then use them as a guide to cut your gingerbread. Here’s a simple template idea:
| Structure | Dimensions |
|---|---|
| House | 6 inches x 6 inches |
| Roof | 7 inches x 4 inches (two pieces) |
| Tower | 4 inches x 4 inches |
Assembly Techniques
Here’s how to assemble your village:
- Start with a Base: Use a sturdy board or tray to support your village.
- Use Royal Icing as Glue: This will ensure your structures stay in place.
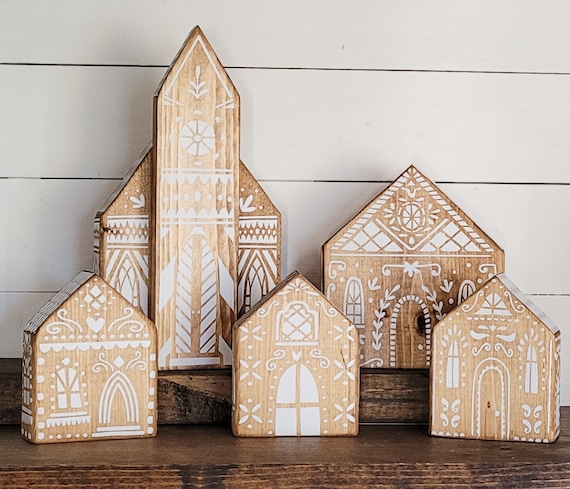
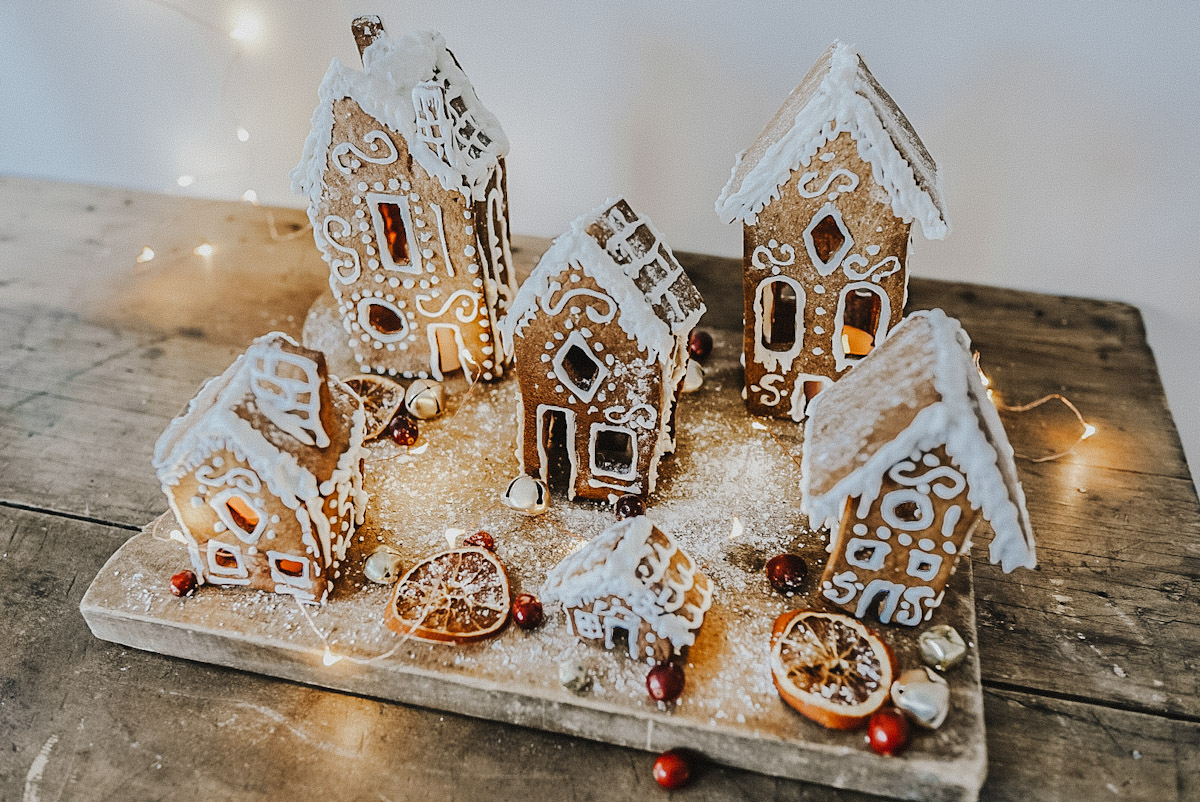
- Layer Your Houses: Arrange the houses to create depth and intrigue.
- Add Paths and Areas: Use crushed graham crackers or sugar to create pathways.
Preventing Collapse
To prevent your gingerbread houses from collapsing, ensure that the royal icing is thick enough to act as a strong adhesive. Allow each piece to set for a little while before adding additional structures.
Decorating Your Gingerbread Village
Creative Decorating Ideas
- Icicles: Use white icing to create icicles under the roof edges.
- Garden Elements: Create edible flowers with fondant or candy decorations.
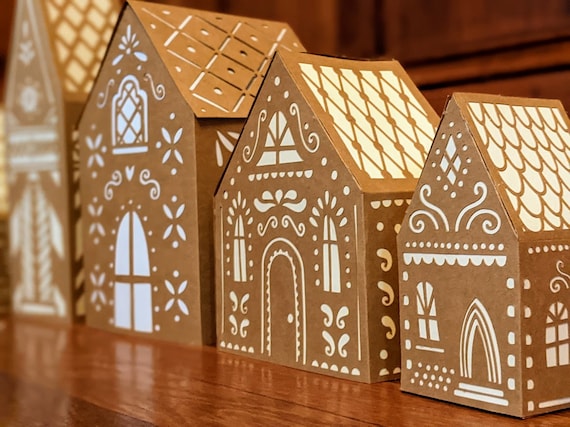
- Lighting: Use battery-operated tea lights to add a warm glow to your village.
Common Decorating Techniques
Here are some tips on how to master the art of decorating:
- Piping: Use piping bags for precision when applying icing.
- Layering: Build up decorations with different layers for a 3D effect.
- Color Coordination: Choose candy colors that complement your overall theme.
Experiment with Textures
Mixing textures adds dimension to your decor. Combine smooth frosting with crunchy candies or sprinkle for a delightful visual impact.
Gingerbread Village Display Ideas
Creating an Enchanting Display
Once your gingerbread village is complete, it’s time to showcase it! Here are a few ideas:
- Use a Tiered Cake Stand: Elevating your village creates a dramatic effect.
- Backdrop: Consider a snowy scene or a festive fabric as a backdrop.
- Add Surrounding Decor: Incorporate holiday-themed items like figurines or trees.
Photographing Your Village
Don’t forget to capture your hard work! Here are some quick tips for photography:
- Use natural light for the best results.
- Experiment with angles; try shooting from above or at eye level.
- Take close-up shots of decorative details.
Maintaining Your Gingerbread Village
Once your gingerbread village is set up, you’ll want to preserve its beauty for as long as possible:
- Avoid Humidity: Store in a cool, dry place to prevent softening.
- Protect from Pests: Ensure it’s covered or in a safe area away from critters.
- Edibility Considerations: Note that the village may not last forever, especially if using fresh icing.
Pros and Cons of Gingerbread Village Decor
| Pros | Cons |
|---|---|
| Whimsical and charming holiday decor | Time-consuming to create |
| Fun for all ages | Can be messy |
| Encourages creativity and teamwork | Requires some baking skills |
Gingerbread Village Competitions: Get Involved!
Looking to take your gingerbread village to the next level? Consider entering a local gingerbread house competition! These events often have categories for age groups and themes. It’s a fun way to showcase your work and meet fellow gingerbread enthusiasts.
Frequently Asked Questions (FAQs)
How long will my gingerbread village last?
Typically, a gingerbread village can last several weeks if stored properly. However, it’s best enjoyed fresh!
Can I eat the decorations on my gingerbread houses?
Most decorations are edible, but be cautious with any non-food items or those that may not be safe to consume.
What can I use instead of royal icing?
While royal icing is ideal, you can use melted chocolate or store-bought frosting as alternatives to assemble your village.
Is it okay to make gingerbread houses ahead of time?
Yes! You can prepare the gingerbread and decorate it days or even weeks ahead of your display.
Conclusion
Creating a gingerbread village decor is more than just a holiday project; it’s an experience filled with laughter, creativity, and tradition. With a little time, patience, and imagination, you can craft a stunning display that not only delights the eyes but warms the heart. So gather your family, roll up your sleeves, and let the magic of gingerbread fill your home this holiday season!