As Halloween approaches, the quest for unique and eye-catching decorations begins. One of the most creative and easy ways to celebrate the season is through paper skeleton decorations. In this article, I’ll share everything I’ve learned about crafting these spooky yet delightful decorations, from ideas and techniques to tips for making your Halloween memorable. Let’s dive deep into the world of paper skeletons!
What Are Paper Skeleton Decorations?
Paper skeleton decorations are artistic representations of skeletons made from various types of paper. They can be used for Halloween parties, haunted houses, or even just to infuse a bit of spookiness into your home decor. The beauty of paper skeletons lies in their versatility; you can create everything from simple cutouts to elaborate three-dimensional designs.
Why Choose Paper Skeleton Decorations?
When it comes to Halloween decor, paper skeletons offer several advantages:
- Cost-effective: Most paper decorations can be made from materials you already have at home or inexpensive craft supplies.
- Easy to customize: You can personalize your decorations to match your theme or color scheme.
- Fun for all ages: Crafting paper skeletons can be an enjoyable activity for families and friends alike.
Materials Needed for Paper Skeleton Decorations
Before you start crafting, gather your materials. Here’s a list of essentials:
- Black construction paper or cardstock
- White printer paper
- Scissors
- Glue or tape
- Pencil
- Markers or paint for detailing
- String or fishing line for hanging (optional)
Step-by-Step Guide to Creating Paper Skeleton Decorations
Simple Paper Skeleton Cutouts
This is the easiest way to get started with paper skeletons. Here’s how to make them:
- Choose Your Design: You can find templates online or draw your skeleton on a piece of paper.
- Cut Out the Skeleton: Carefully cut along the outline using scissors.
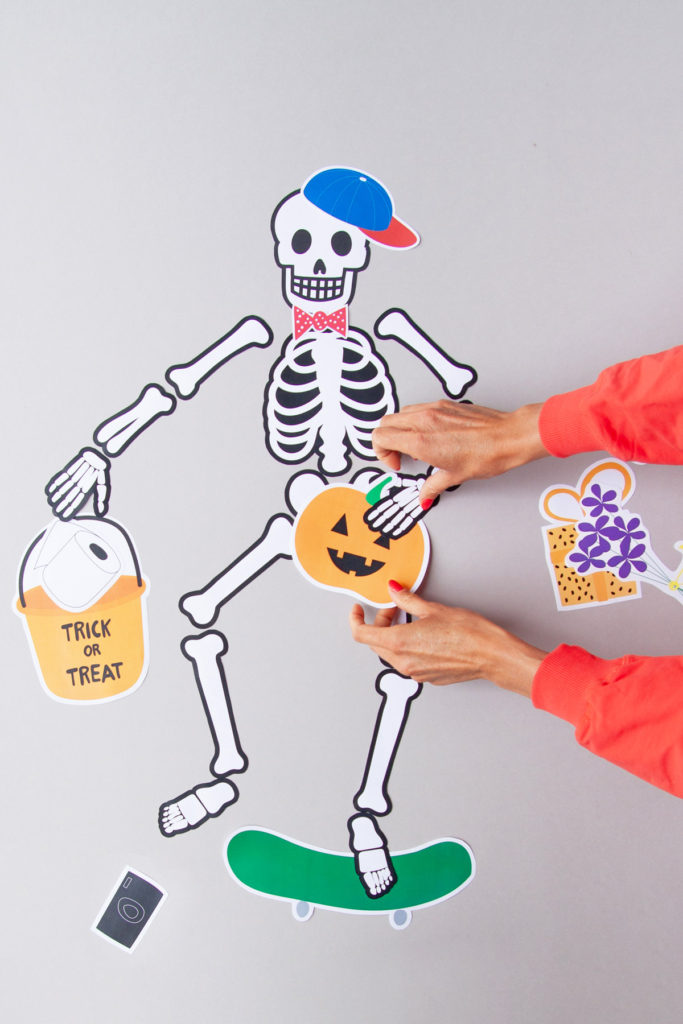
- Decorate: Use markers or paint to add details such as facial features or bones.
- Display: Hang your cutouts in windows or on walls.
3D Paper Skeletons
If you want to create a more intricate decoration, try making a 3D paper skeleton. Here’s how:
- Download a 3D Template: Look for free printable templates online.
- Print and Cut: Cut out each piece carefully.
- Fold and Assemble: Follow the folding instructions to create a three-dimensional effect.
- Add Details: Use paint or markers to enhance the look.
- Secure and Display: Use glue to secure parts if necessary and place your skeleton on a shelf or hang it.

Creative Display Ideas for Paper Skeleton Decorations
Spooky Window Displays
Transform your windows into gateways to a haunted world by placing paper skeletons against the glass. Create a silhouette effect by cutting skeletons from black paper and adhering them to the window. This simple technique not only looks fantastic from the outside but also sets the spooky mood for anyone entering your home!
Fun Party Centerpieces
Use smaller paper skeletons as unique centerpieces for your Halloween gatherings. Place them in jars filled with candy or faux spiderwebs. Guests will enjoy the playful touch, and it’s a great conversation starter!
Hanging Skeletons
Consider hanging your skeletons from the ceiling or doorways to create an eerie entryway. Suspend them using clear fishing line so they appear to float mysteriously.
Tips for Making Your Paper Skeletons Stand Out
- Experiment with Colors: While classic black and white captures the essence of Halloween, feel free to explore other color schemes. Neon colors can create a fun twist!
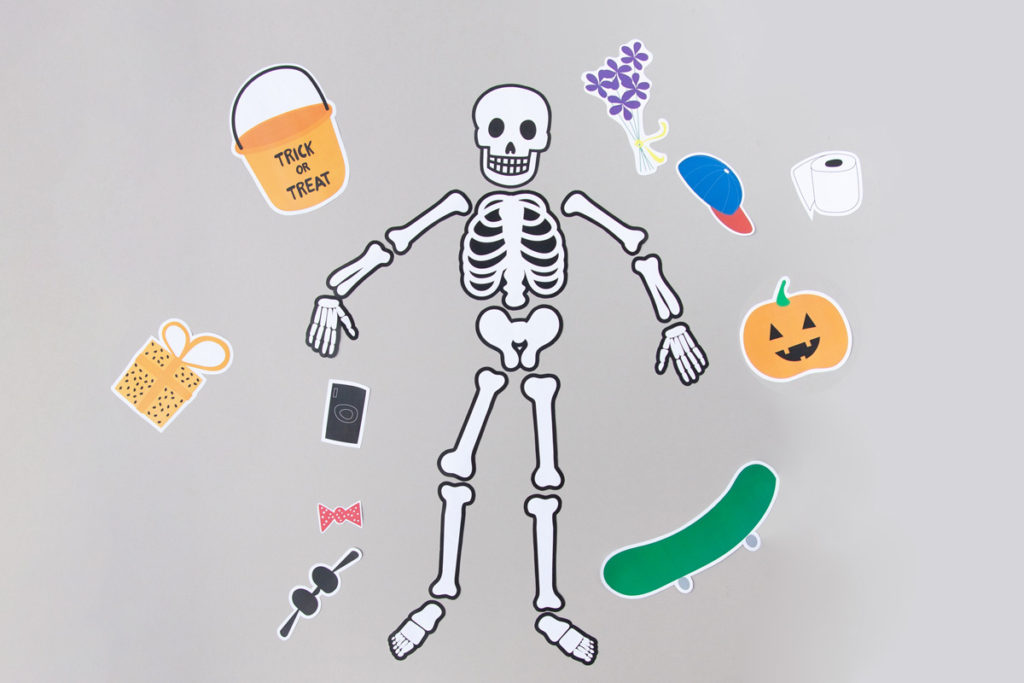
- Add Accessories: Think about decorating your skeletons with hats, scarves, or even googly eyes to give them personality.
- Use Textured Paper: Incorporating textured or patterned paper can add depth and uniqueness to your designs.
Comparing Different Types of Paper Skeleton Decorations
| Type | Complexity | Cost | Longevity | Customization |
|---|---|---|---|---|
| Simple Cutouts | Low | Low | Seasonal | High |
| 3D Models | Medium | Varies | Longer | Medium |
| Hanging Decor | Medium | Low | Seasonal | High |
Pros and Cons of Paper Skeleton Decorations
Pros
- Inexpensive materials
- Easy to make and customize
- Great for family activities
- Various use cases throughout the year

Cons
- May not withstand bad weather if displayed outdoors
- Can be less durable than other materials like plastic or wood
- Requires careful handling
Frequently Asked Questions (FAQs)
What type of paper is best for making skeleton decorations?
Black construction paper and cardstock are ideal for creating striking contrasts and ensuring durability. However, any type of paper can work, depending on your design.

Can I use recycled paper for my decorations?
Absolutely! Using recycled paper is a great way to be environmentally friendly while crafting. Just make sure it’s thick enough to hold its shape.
Are paper skeletons safe for outdoor use?
While paper skeletons can be used outdoors, they may not hold up well in wet or windy conditions. If you choose to display them outside, consider protecting them with a clear sealant or bringing them indoors in inclement weather.
How can I make my skeleton decorations more interactive?
Try adding movable joints using brads or string to create a skeleton that can be posed in different positions! You could even integrate a scavenger hunt or trivia game where guests have to find specific skeletons or decorations.
Final Thoughts
Creating paper skeleton decorations is a fun and engaging way to express your creativity this Halloween season. Whether you opt for simple cutouts or elaborate three-dimensional designs, these decorations can add a delightful touch of spookiness to your celebrations. I encourage you to gather your materials, invite some friends or family over, and start crafting! Happy decorating!