Hey there, fellow creatives! If you’re looking to dive into a colorful world of art and culture, sugar skull decorating is the perfect avenue for self-expression and honoring traditions. This guide will take you through everything you need to know about creating beautiful sugar skulls, a cherished art form associated with the Mexican holiday, Día de los Muertos (Day of the Dead).
What Are Sugar Skulls?
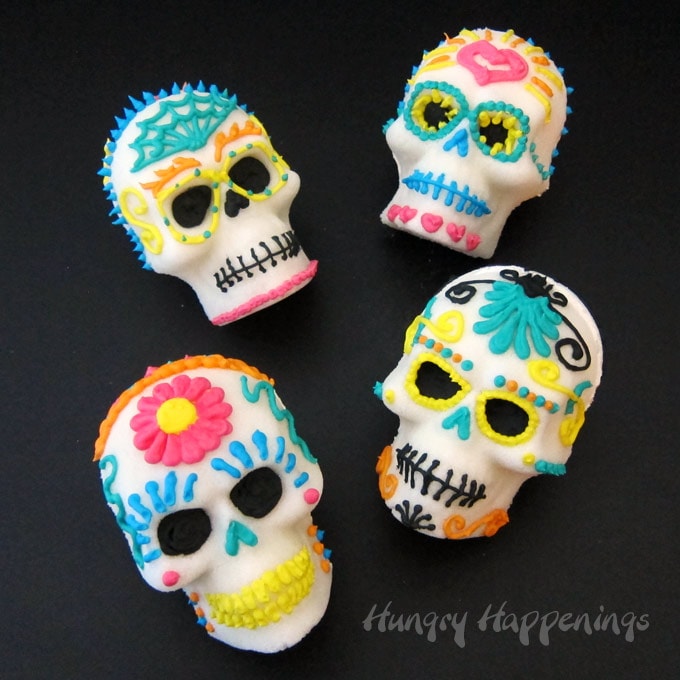
Sugar skulls (calaveras de azúcar) are decorative skulls made from sugar, a traditional aspect of Día de los Muertos. They symbolize the spirits of the deceased, serving as a reminder that death is a part of life and should be celebrated rather than feared. Typically adorned with colorful icing and embellishments, these skulls are as much a joy to create as they are to behold.
Why Decorate Sugar Skulls?
Decorating sugar skulls is more than just an artistic endeavor; it’s a way to connect with heritage, express creativity, and create meaningful decorations for altars. Here are a few reasons why you should try your hand at sugar skull decorating:
- Embrace Cultural Heritage: Understand and honor the rich traditions of Día de los Muertos.
- Celebrate Loved Ones: Create personalized skulls for deceased family members.
- Boost Creativity: Experiment with colors and designs.
Tools Needed for Sugar Skull Decorating
Before diving into the decorating process, it’s important to gather the necessary tools. Here’s a comprehensive list:
- Sugar Skull Molds: These can be found at craft stores or online. They come in various shapes and sizes.
- Granulated Sugar: For creating the sugar skulls.
- Water: Just enough to help mold the sugar.
- Royal Icing: For decorating—in vibrant colors!
- Food Coloring: Gel or liquid, to dye the icing.
- Pastry Bags and Tips: For piping icing details.
- Edible Decorations: Like sequins, flowers, or candies.
- Brushes and Paints: Edible food paint for fine details.
Step-by-Step Guide to Making Sugar Skulls
Step 1: Prepare the Sugar Mixture
To create the perfect sugar skulls, you need to make a wet sugar mixture that holds its shape. Here’s how to do it:
- In a bowl, mix 2 cups of granulated sugar with a teaspoon of water. The mixture should feel like wet sand.
- Test the mixture by squeezing it in your hand; it should hold its shape.
- Add more water if necessary, a few drops at a time.
Step 2: Fill the Molds
Once your sugar mixture is ready, it’s time to fill the molds.
- Pack the sugar mixture tightly into your sugar skull molds.
- Use a spatula to level the top, ensuring it’s even.
- Let it dry for 24 hours; this will create a solid sugar skull.
Step 3: Remove the Skulls from Molds
After 24 hours, carefully remove the sugar skulls from the molds:
- Gently tap the mold to release the sugar skulls.
- Allow them to dry completely, about another 12 hours.
Step 4: Decorating Your Sugar Skulls
Now, the fun part: decorating! Here are some techniques to enhance your sugar skulls:
Creating Royal Icing
Royal icing is essential for decoration. Follow this simple recipe:
- 2 egg whites or 5 tablespoons of meringue powder
- 4 cups powdered sugar
- 1 teaspoon lemon juice or vinegar
Mix all ingredients until the icing forms stiff peaks.
Applying Colors
Divide the royal icing into small bowls and color with food coloring. Use a pastry bag to pipe intricate designs on your sugar skulls. Popular designs include:
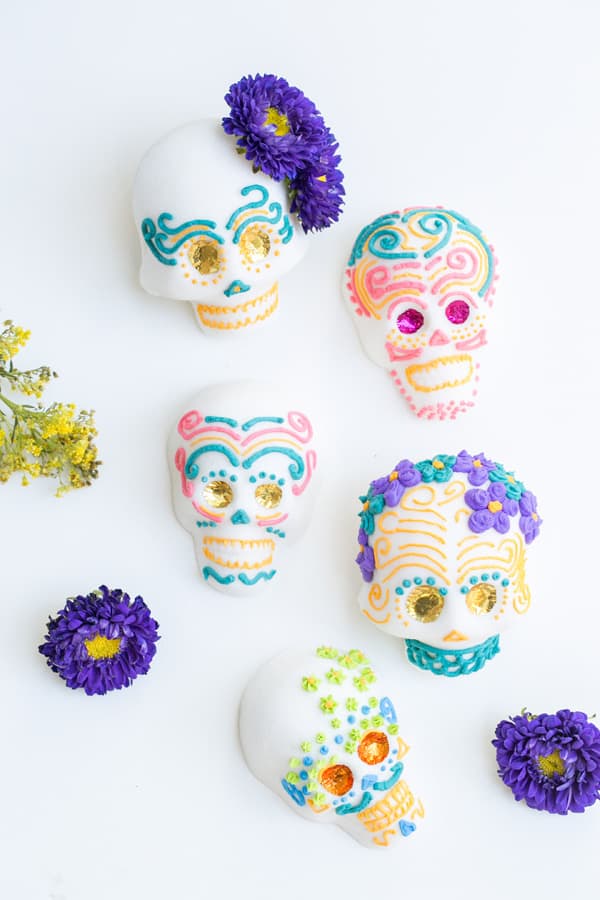
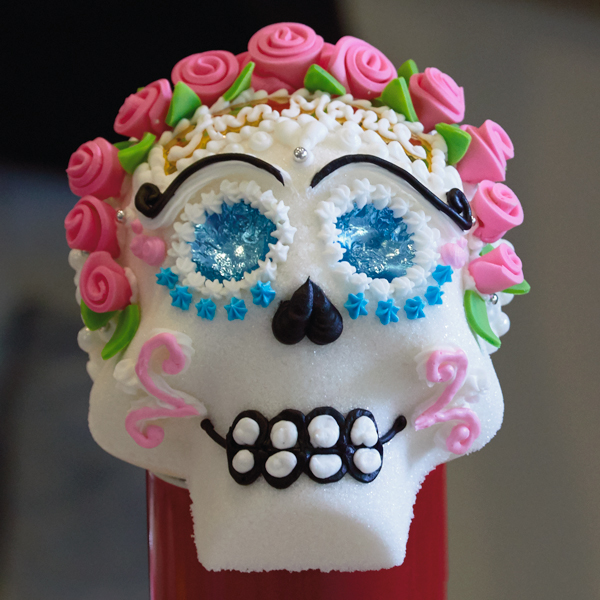
- Floral Patterns: Bright flowers symbolize the beauty of life.
- Geometric Shapes: Bold outlines and patterns for a modern look.
- Names and Initials: Personalizing your skulls with the deceased’s names adds a personal touch.
Step 5: Finishing Touches
Once you’ve decorated your skulls, you can add finishing touches like edible glitter or sequins to give them a little sparkle!
Comparison Table: Sugar Skull Decorating Techniques
| Technique | Details | Pros | Cons |
|---|---|---|---|
| Royal Icing | Used for decorative piping | Strong hold, versatile | Can be hard to work with for beginners |
| Edible Paint | Great for detailed art | Allows for intricate designs | Can smudge if not handled carefully |
| Food Coloring | Used to dye icing | Vibrant colors, easy to use | Mixing can be tricky |
| Decorative Add-ons | Flowers, sequins, etc. | Adds personality | May not be edible |
Personal Experiences: My Sugar Skull Journey
Let me take you back to my first experience decorating sugar skulls. I was nervous yet excited, surrounded by friends who were also new to this art. As we mixed sugar and water, the conversation flowed, and so did the colors onto our skulls. It became a shared experience of laughter, creativity, and remembrance. I have to say, the first time I piped icing onto my sugar skull, it felt like I was giving life to a blank canvas. Every swirl and dot held a story, a memory. And you can be part of this experience too!
Pros and Cons of Sugar Skull Decorating
Pros
- Encourages creativity and artistic expression.
- Provides an opportunity to learn about and celebrate culture.
- Can be a fun group activity or relaxing solo project.
- Perfect for making personalized gifts for loved ones.
Cons
- Requires time and patience to perfect techniques.
- Cleaning up after can be messy.
- May require purchasing specific ingredients and tools.
FAQs About Sugar Skull Decorating
What materials do I need for sugar skull decorating?
You will need sugar, water, skull molds, royal icing, food coloring, and various edible decorations.
How long does it take for sugar skulls to dry?
After filling the molds, sugar skulls typically need about 24 hours to dry fully, then an additional 12 hours after being removed from the molds.
Can I eat the sugar skulls after decorating?
Yes, sugar skulls are edible, but many people prefer to keep them as decorations rather than consume them.
Is sugar skull decorating suitable for children?
Absolutely! Sugar skull decorating can be a fun family activity, just ensure adult supervision, especially when using decorating tools.

Can I personalize sugar skulls for my loved ones?
Yes! Personalizing with names, colors, or designs that represent the deceased is a lovely way to honor them.
Conclusion
Decorating sugar skulls is not only an enjoyable and creative process but also a meaningful way to connect with cultural traditions. Whether you’re looking to honor a loved one or simply want to explore your artistic side, I hope this guide inspires you to dive into the colorful world of sugar skulls. So grab your supplies, invite some friends, and let your creativity flow!