The holiday season is upon us, and there’s no better way to celebrate than by bringing joy into our homes with delicious treats. One of the most festive desserts you can make is a Xmas tree cake, which not only delights the taste buds but also serves as a beautiful centerpiece. In this comprehensive guide, we will explore everything you need to know about Xmas tree cake decorations, from the baking process to the final touches that make it shine. With personal insights and tried-and-true tips, let’s dive into the world of festive baking!
Why Choose a Xmas Tree Cake?
When it comes to holiday desserts, the Xmas tree cake stands out for several reasons. Personally, I find that it not only looks stunning but also brings a nostalgic touch to family gatherings. Here are a few reasons you might want to consider making one:
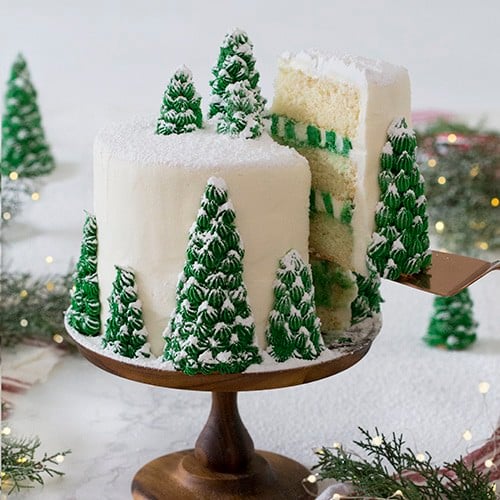
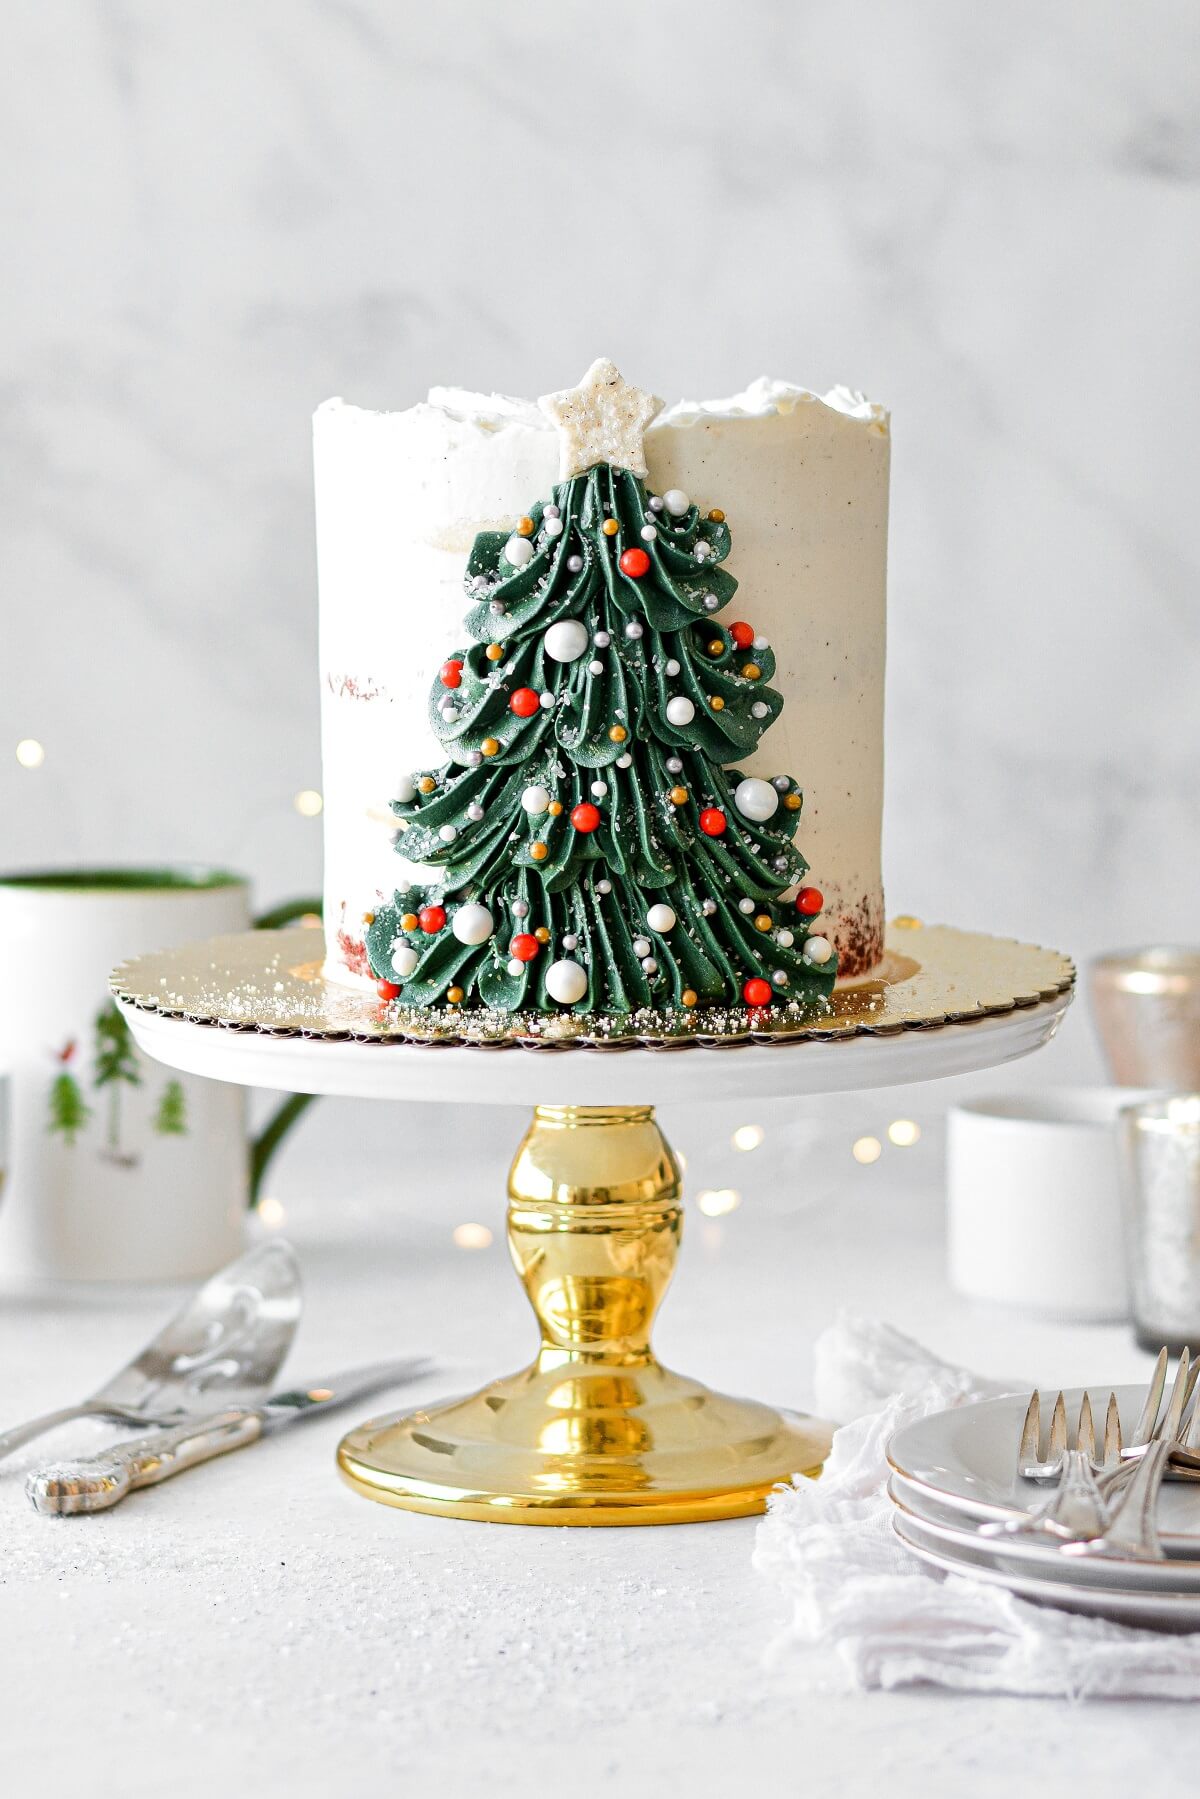
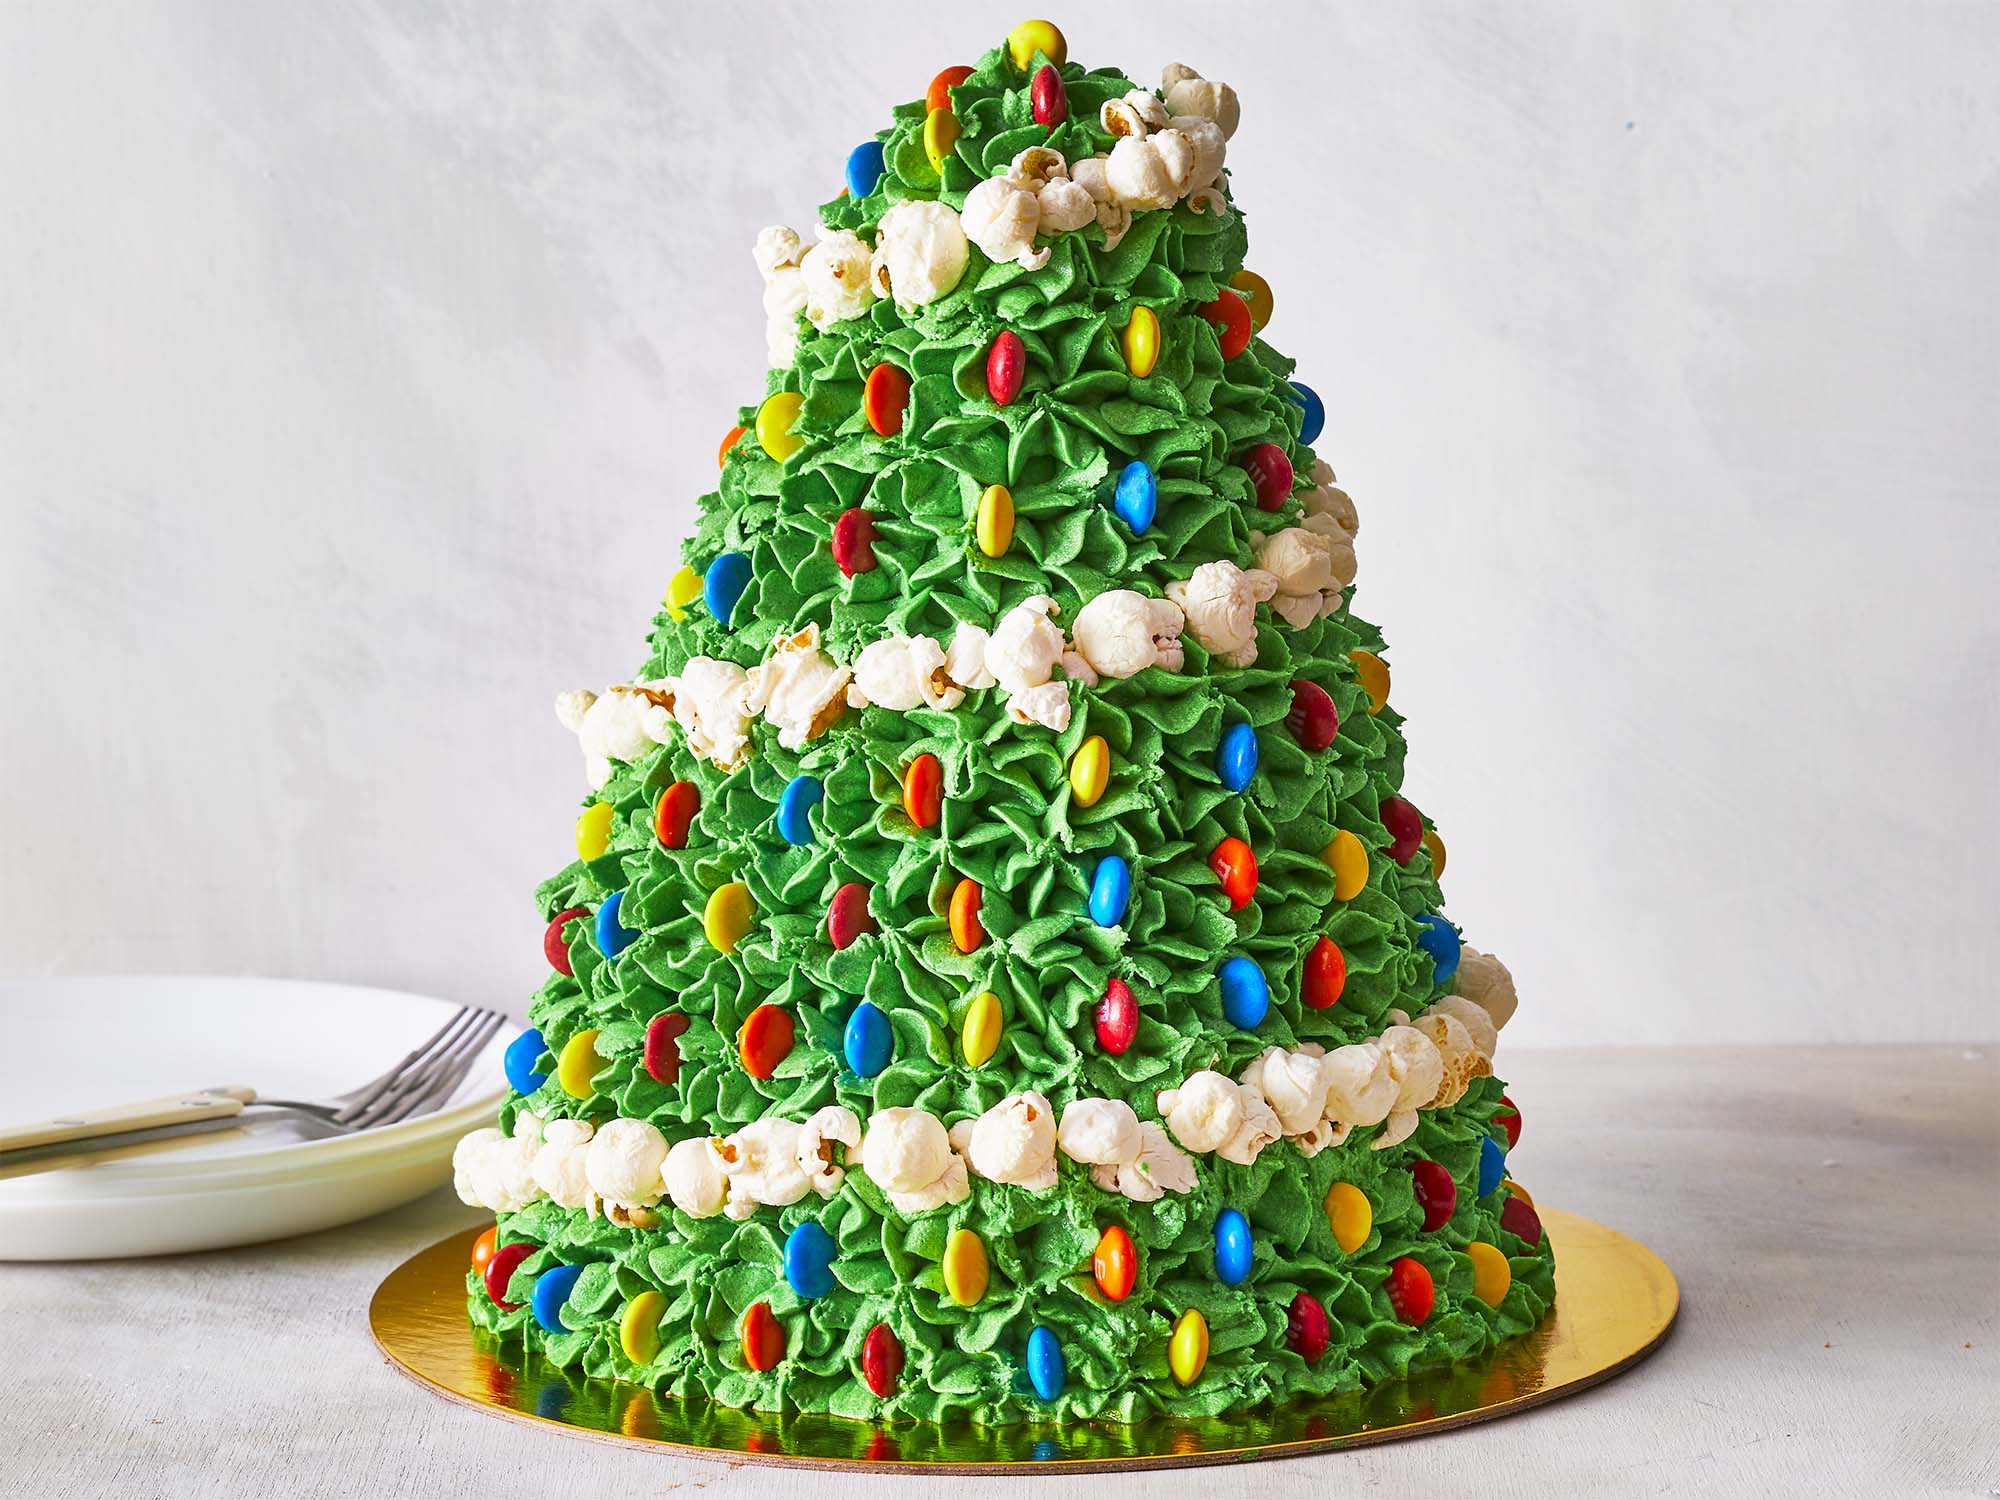
- Visual Appeal: The shape mimics a traditional Christmas tree, making it a festive addition to any holiday table.
- Customizable: You can tailor the flavors and decorations to suit your family’s preferences.
- Great for Sharing: This cake can serve multiple guests, making it perfect for holiday parties.
Basic Ingredients for a Xmas Tree Cake
Before we dive into decorations, let’s look at the essential ingredients for crafting a delightful Xmas tree cake:
- Flour
- Sugar
- Baking powder
- Butter
- Eggs
- Milk
- Vanilla extract
- Food coloring (optional for green cake)
Choosing the Right Cake Recipe
There are various cake recipes that you can use as a base for your Xmas tree cake. Below is a comparison table of popular options:
| Type of Cake | Flavor | Texture | Best For |
|---|---|---|---|
| Vanilla Cake | Classic | Light and fluffy | All occasions |
| Chocolate Cake | Rich and decadent | Moist | Chocolate lovers |
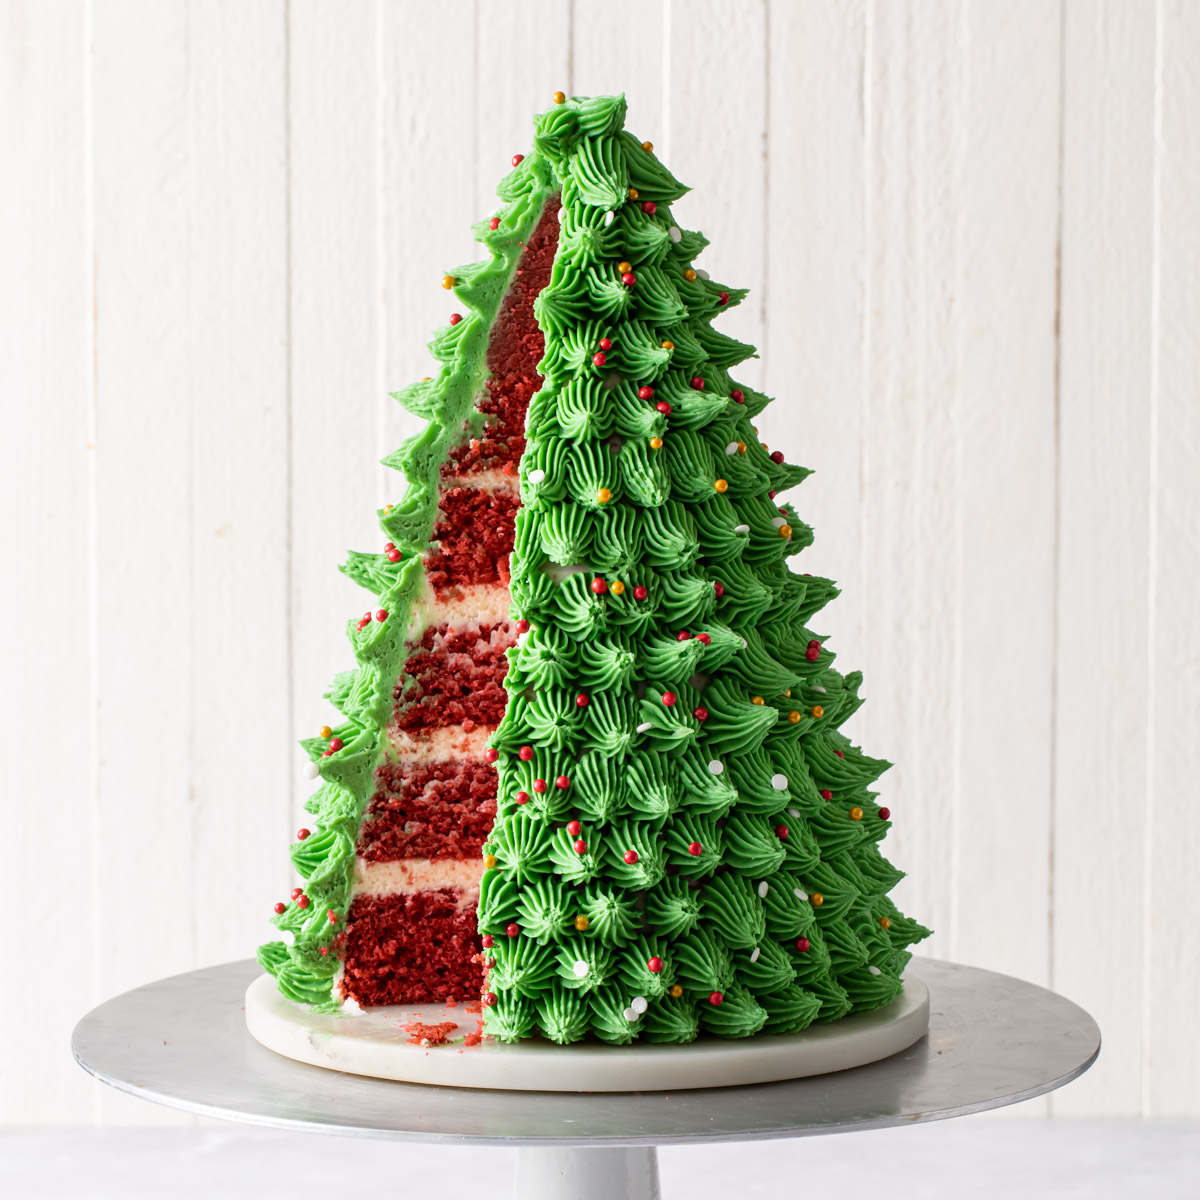
| Red Velvet Cake | Slightly cocoa with a hint of vanilla | Soft and velvety | Special occasions |
| Carrot Cake | Spiced with cinnamon | Dense and moist | Nut lovers |
My Personal Favorite Recipe
My go-to recipe for a Xmas tree cake is a moist vanilla cake with a light mint frosting infused with peppermint oil. It adds a refreshing taste that perfectly complements the holiday spirit!
Essential Tools for Decorating Your Xmas Tree Cake
To create an eye-catching Xmas tree cake, having the right tools at your disposal is crucial. Here are some essentials:
- Cake pans (preferably in tree shape)
- Offset spatula
- Pastry bag with various tips
- Edible glitter or gold dust
- Decorative candies (like gumdrops, mini marshmallows, etc.)
- Fondant for advanced decorations
Creative Xmas Tree Cake Decoration Ideas
The beauty of an Xmas tree cake is in its decorations. Here are various ideas to help you get started:
1. Natural Elements
Using natural elements like pinecones, fresh herbs, or even small ornaments can add a rustic charm to your cake.

Pros
- Environmental-friendly
- Unique and personal touch
Cons
- May not be edible
- Requires careful selection and cleaning
2. Edible Decorations
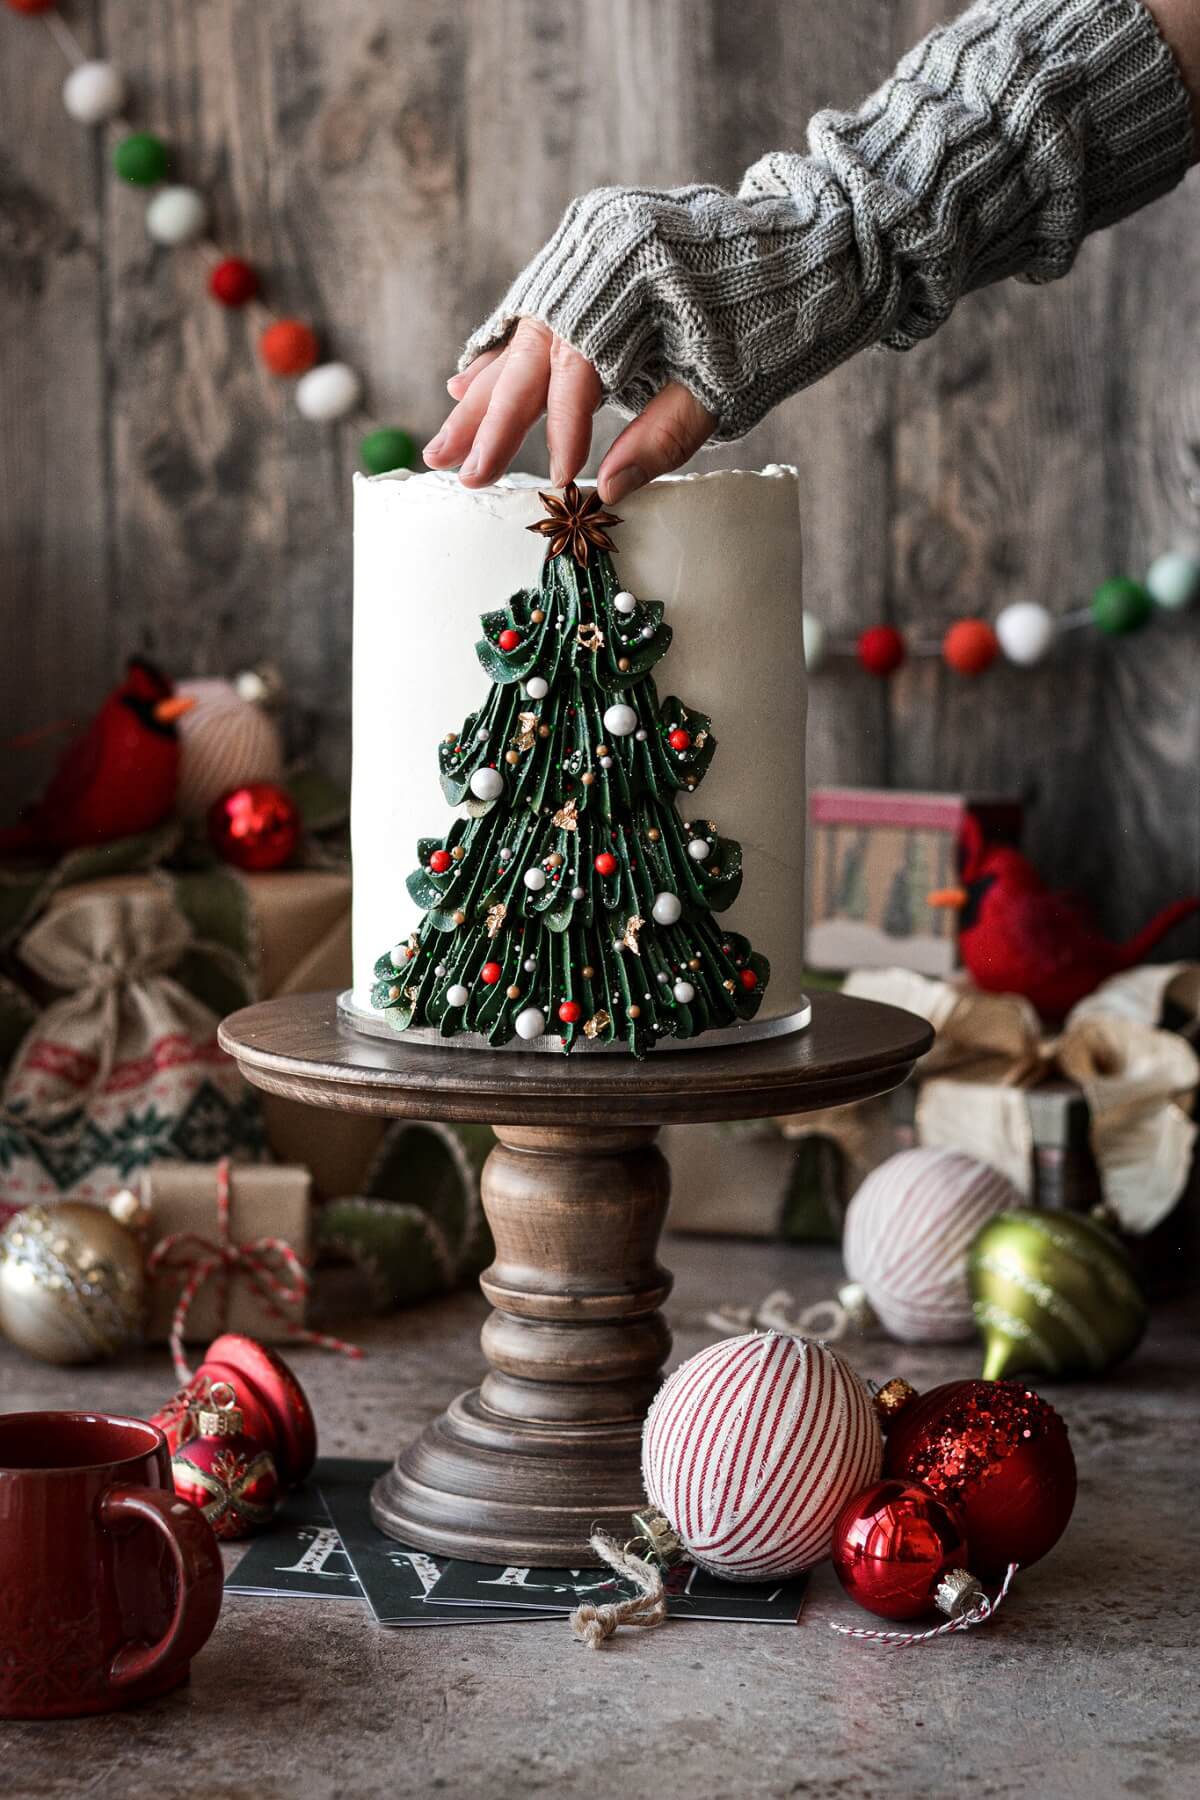
Think of using candies, chocolate, and sprinkles to create colorful accents. I personally love using chocolate stars on top of the cake to represent the star at the top of the tree.
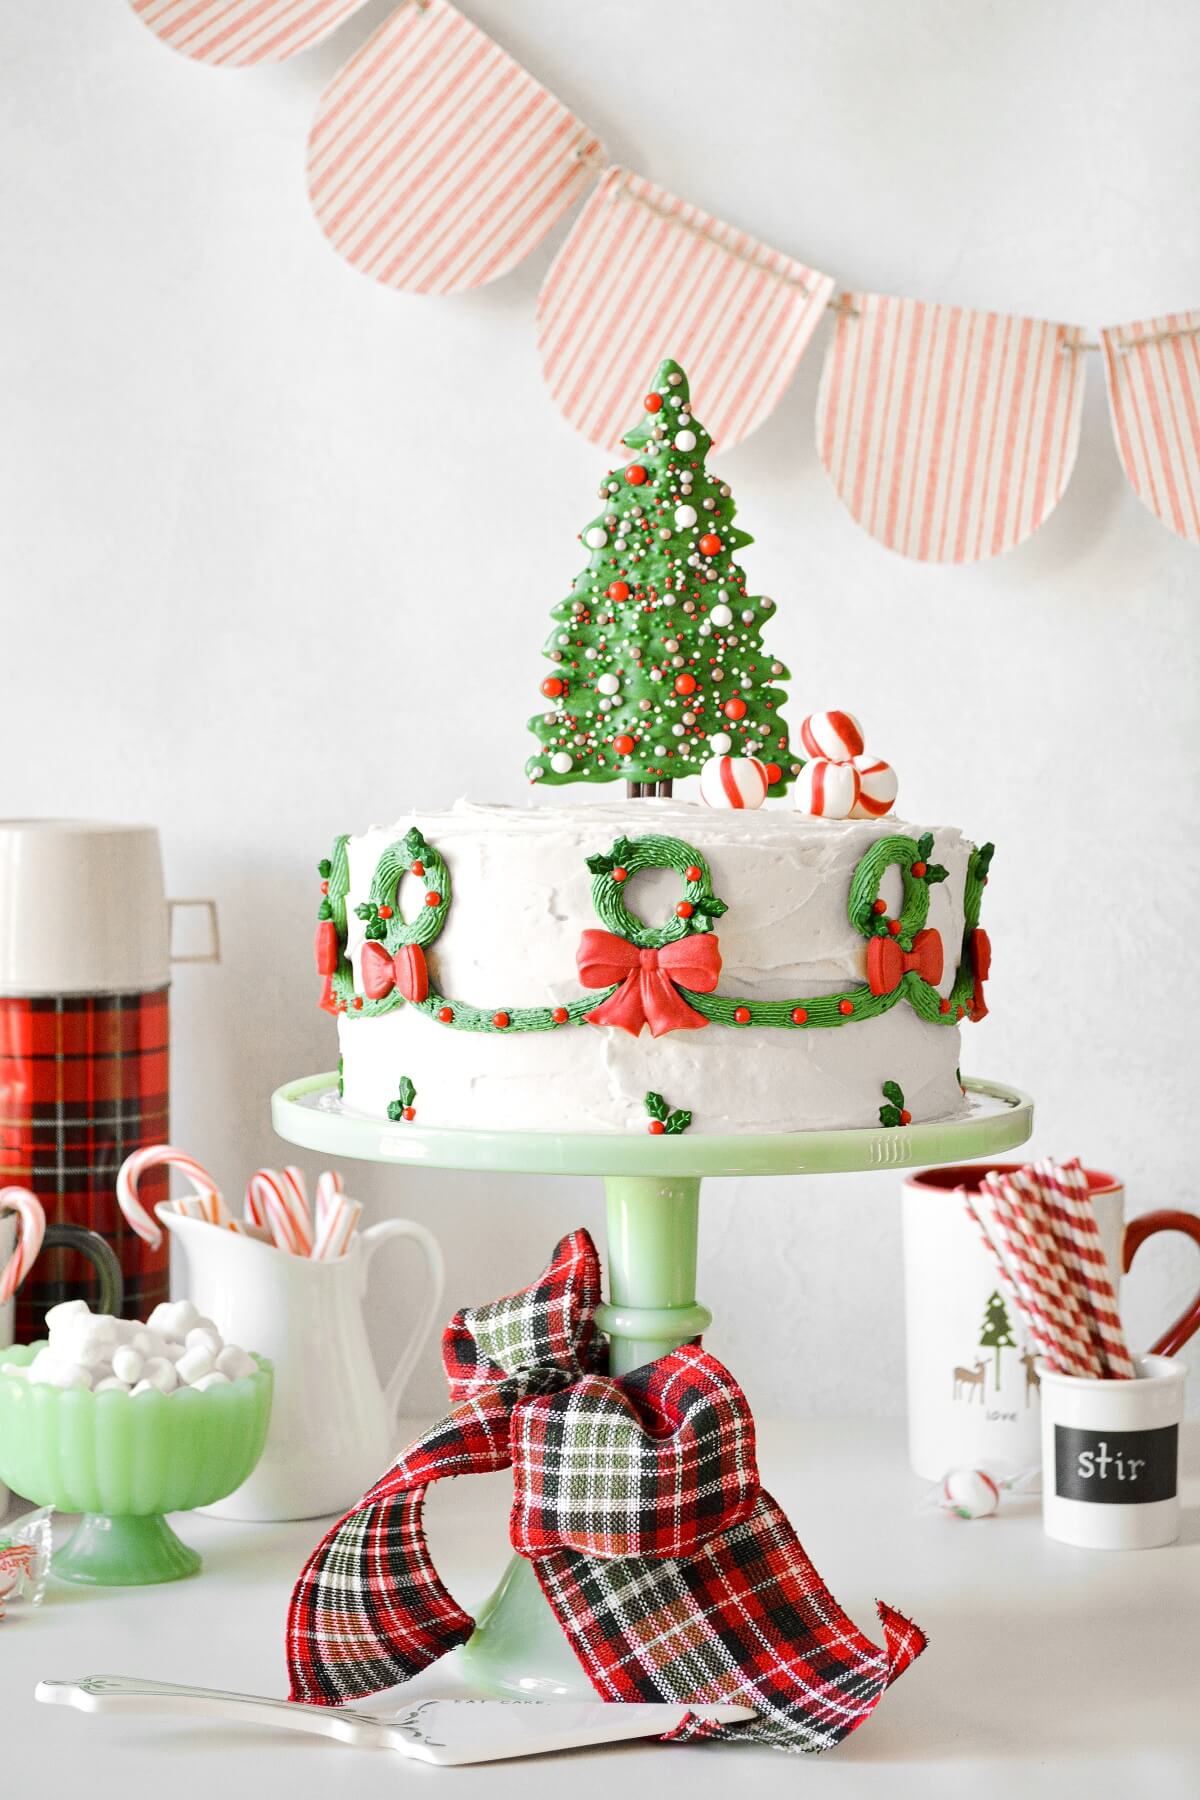
3. Themed Toppings
Consider themes like ‘winter wonderland’ or ‘traditional Christmas’ by using colors like white, gold, and red.
Step-by-Step Decorating Instructions
Now that you have your delicious cake baked, let’s go through the decorating process step-by-step:
Step 1: Prepare Your Icing
Start by preparing your icing. A buttercream frosting or a cream cheese frosting works beautifully for this cake.
Step 2: Crumb Coat
Apply a thin layer of icing all over the cake to trap any crumbs. This is called a crumb coat, and it ensures a smooth finish.
Step 3: Final Icing Layer
Once the crumb coat is set, apply a thicker layer of icing, smoothing it out with your spatula.
Step 4: Start Decorating
Now comes the fun part! Use your piping bags to add decorations like rosettes, swirls, or any design you prefer. You can also sprinkle edible glitter for that magical touch.
Tips for a Flawless Xmas Tree Cake
- Make sure your cake layers are completely cool before decorating to avoid melting the icing.
- Practice your piping on a piece of parchment paper before attempting it on the cake.
- Use a turntable if possible; it makes icing and decorating much easier.
- Embrace imperfections; they often add character to homemade treats!
Storing Your Xmas Tree Cake
Once your cake is beautifully decorated, it’s important to store it correctly to maintain freshness:
- Keep the cake in an airtight container at room temperature if consumed within a day or two.
- For longer storage, refrigerate it, but try to consume it within a week for the best taste.
- You can also freeze the cake before decorating. Just make sure to wrap it tightly in plastic wrap.
Frequently Asked Questions (FAQs)
1. Can I make a gluten-free Xmas tree cake?
Absolutely! Substitute regular flour with gluten-free flour, and the cake will turn out just as delicious.
2. How can I make my icing more festive?
Consider adding food coloring, flavored extracts, or even edible glitter to elevate your icing.
3. What are some alternatives to butter in baking?
You can use applesauce, coconut oil, or vegan butter for a lighter or dairy-free option.
4. How do I prevent my cake from sinking?
Make sure to measure your ingredients accurately and avoid overmixing the batter before baking.
5. How do I create a tree-like shape with my cake?
You can cut the cake into triangular shapes or use a cake pan specifically designed for this purpose.
Conclusion
Creating an Xmas tree cake is not just about baking; it’s about bringing joy, sharing love, and making lasting memories with family and friends. With the ideas and tips shared in this guide, you’re well on your way to crafting a stunning centerpiece that everyone will adore. So, roll up your sleeves, preheat that oven, and let the festive baking begin!