As the festive seasons roll around, many of us find ourselves looking for creative outlets that allow us to express our personalities and skills. One delightful and versatile craft that has recently gained popularity is decorating craft eggs. Whether you’re preparing for Easter, a spring celebration, or simply want to brighten up your home, craft eggs can be a fun, engaging project for all ages.
In this article, we will delve into various techniques for decorating craft eggs, sharing personal experiences, materials you’ll need, and step-by-step guides to inspire your crafts. Get ready to unlock your inner artist!
Why Craft Eggs are the Perfect Creative Outlet
Crafting is not just a hobby; it’s a form of self-expression. Decorating craft eggs offers several benefits:
- Flexible Time Investment: You can spend as little or as much time as you want on each egg.
- Family-Friendly: It’s a project that anyone can participate in, making it great for family bonding.
- Cultural Traditions: Many cultures have unique ways of decorating eggs, allowing you to explore different customs.
- Therapeutic Benefits: Crafting can reduce stress and improve mental health.

Getting Started: Materials Needed for Craft Egg Decoration
Before you dive into the creative process, let’s gather the necessary materials. Here’s a comprehensive list:
Essential Materials
- Craft eggs (plastic, wooden or real eggs)
- Acrylic paints or natural dyes
- Brushes (various sizes)
- Glue (white glue, hot glue, or glue sticks)
- Decorative items (glitters, sequins, stickers, fabric, washi tape)
- Markers or paint pens
- Clear sealant (optional for longevity)

Suggested Tools for Crafting
- Scissors
- Pencil and eraser
- Sponges or daubers for unique texture
- Egg holder (to stabilize while painting)
Popular Craft Egg Decoration Techniques
Now that we have our materials, let’s explore different techniques that can elevate your craft egg game.

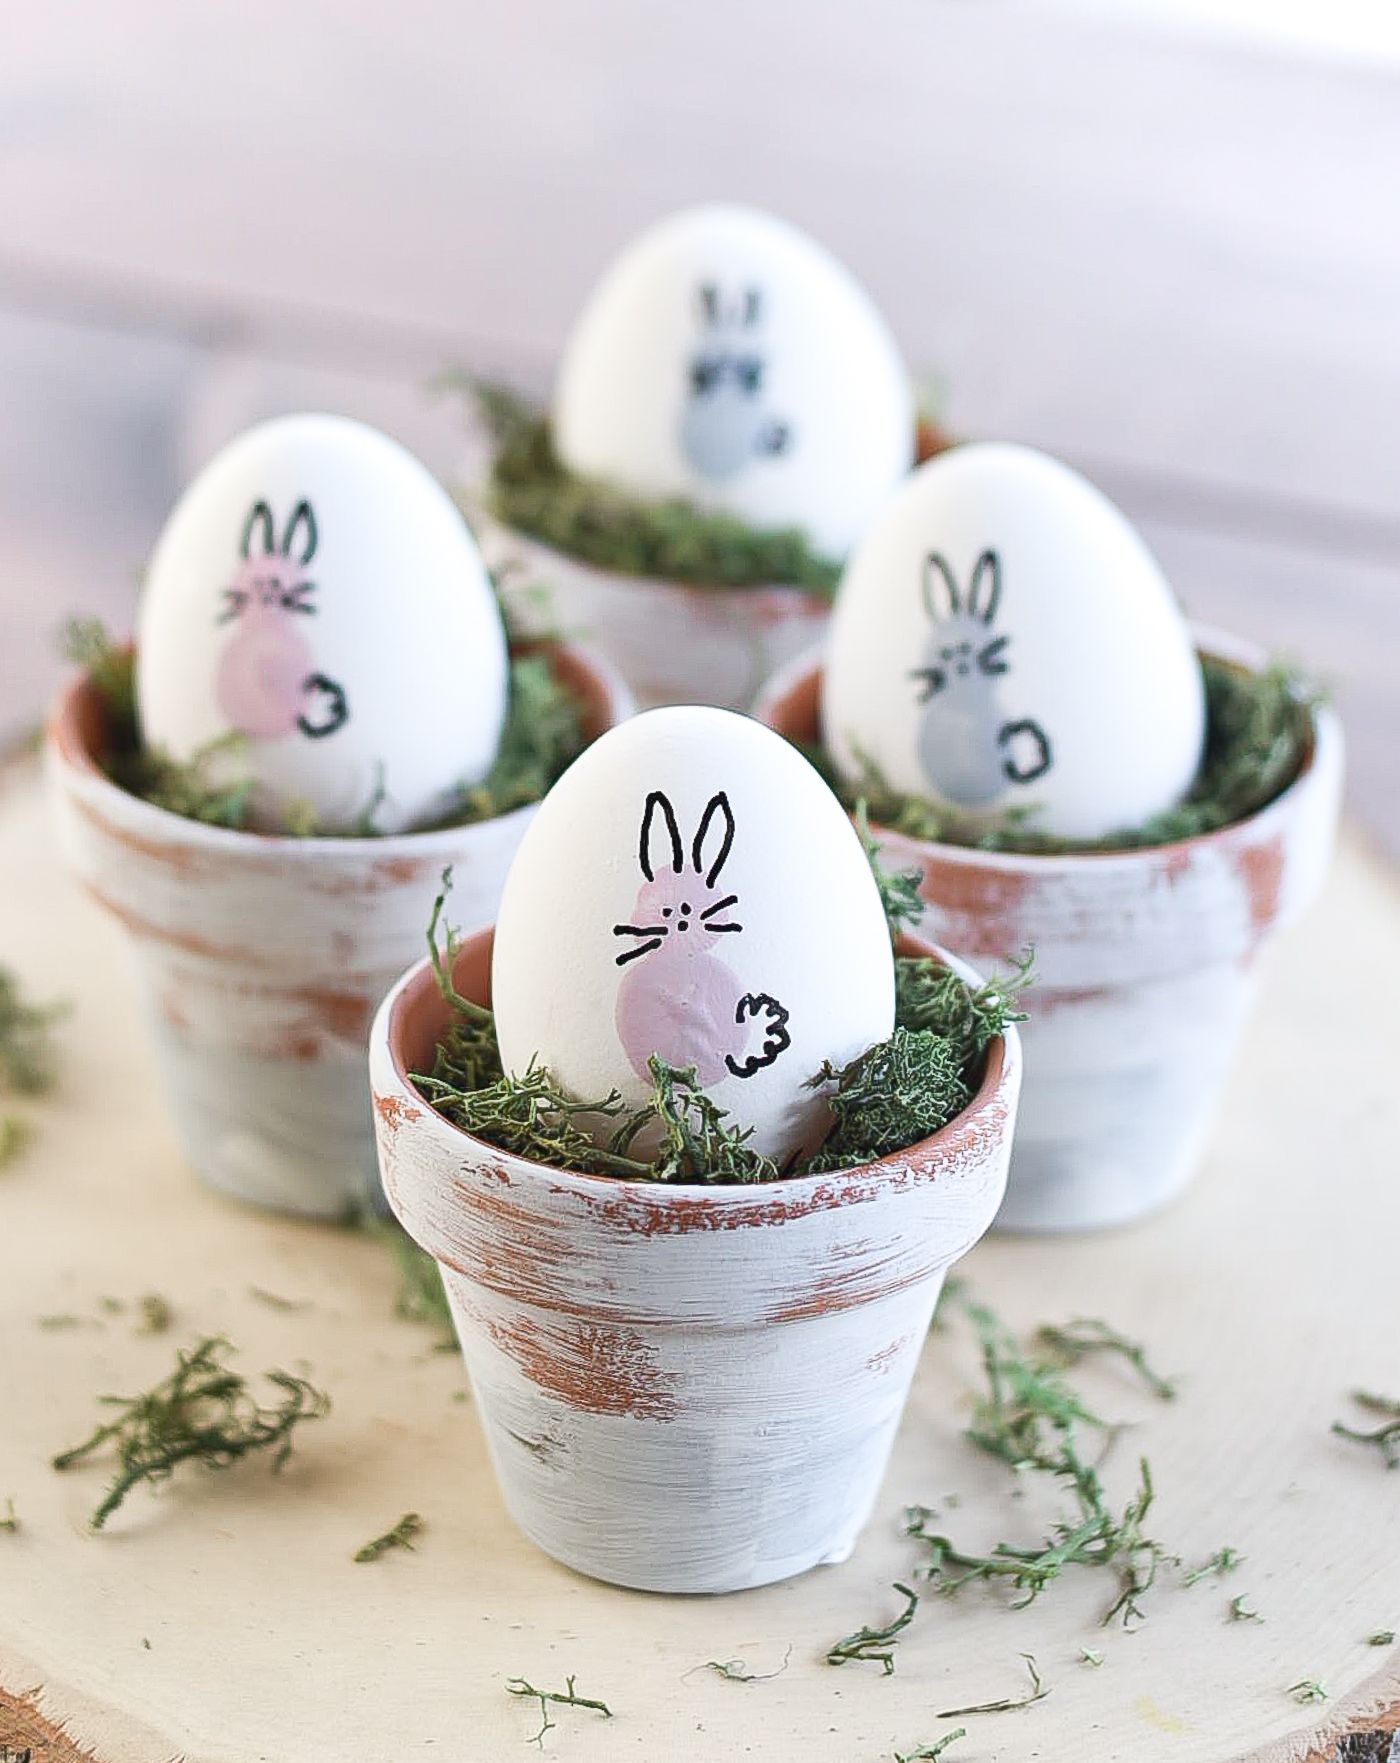
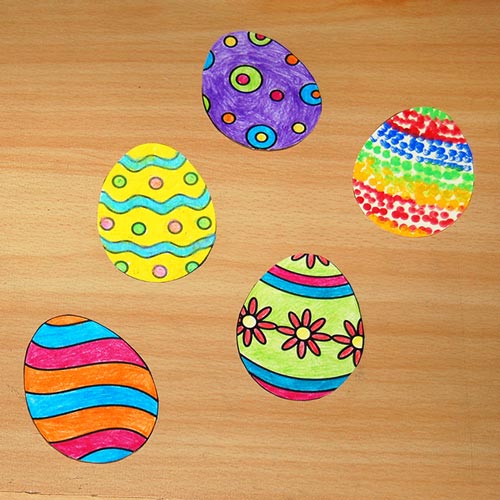
1. Painting
One of the most traditional methods of decorating eggs involves painting. Here’s how to do it:
Step-by-Step Painting Guide
- Start by cleaning the eggs (especially if you’re using real eggs).
- Set up your workspace with newspapers or a plastic cover to avoid mess.
- Choose a base color and paint the entire egg.
- Once dry, use different colors to add designs or patterns.
- Seal your designs with a clear coat to protect them.
Pros and Cons of Painting Eggs
| Pros | Cons |
|---|---|
| Endless design possibilities. | Time-consuming if multiple layers are needed. |
| Customized colors. | Requires drying time. |
2. Decoupage
Decoupage is a wonderful technique that involves gluing decorative paper onto the eggs. Here’s how to get started:
How to Decoupage Craft Eggs
- Cut decorative paper into small pieces or shapes.
- Apply a layer of glue on the egg surface.
- Carefully place the paper and smooth it out.
- Finish with a layer of sealing glue on top.
Pros and Cons of Decoupage
| Pros | Cons |
|---|---|
| Allows for intricate patterns. | Can be messy if not careful. |
| Uses up scrap materials. | Needs drying between layers. |
3. Natural Dyeing
If you prefer an eco-friendly approach, consider dyeing your eggs using natural ingredients.
Natural Dyeing Recipe Ideas
- Onion Skins: Boil onion skins in water for yellow to brown hues.
- Beet Juice: Use beet juice for vibrant pinks.
- Turmeric: Create a beautiful yellow by boiling turmeric with water.
Pros and Cons of Natural Dyeing
| Pros | Cons |
|---|---|
| Environmentally friendly. | Color may not be as vibrant as synthetic dyes. |
| Unique earthy tones. | Requires some preparation time. |
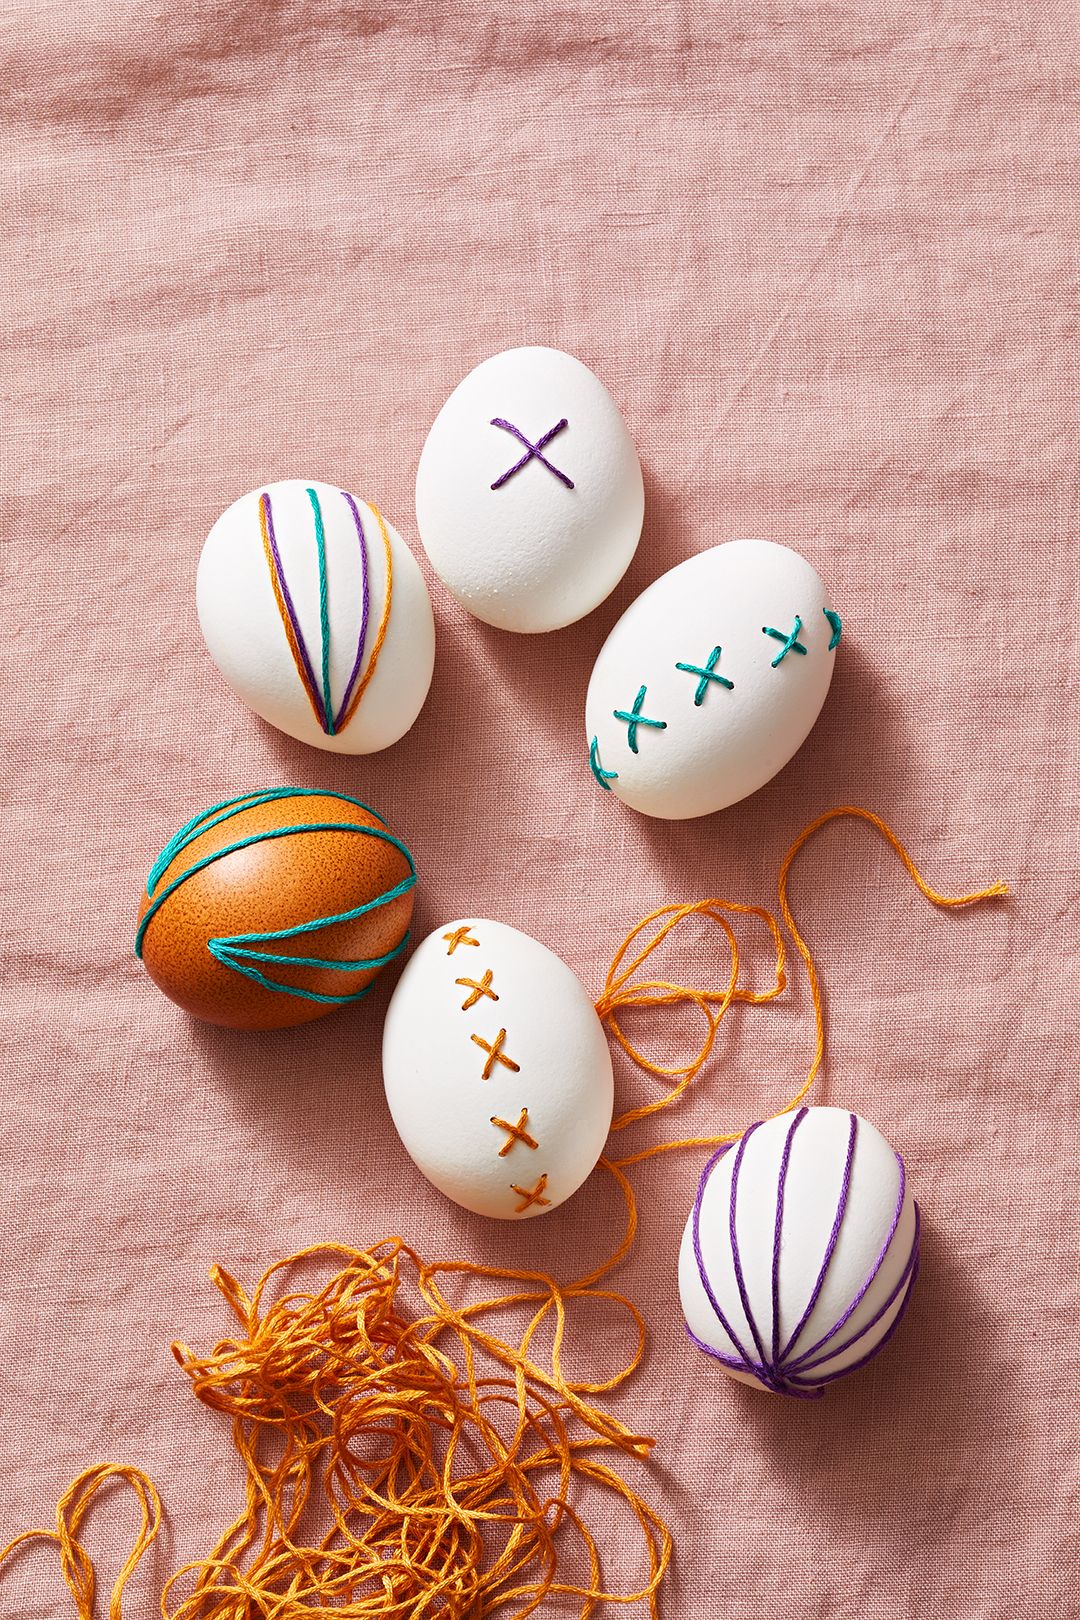
4. Fabric Wrapping
This technique requires wrapping small pieces of fabric around the egg for a textured look.
Fabric Wrapping Instructions
- Select your favorite fabric patterns.
- Cut the fabric into strips.
- Use glue to attach the fabric securely around the egg.
- Finish with a clear sealant for durability.
Pros and Cons of Fabric Wrapping
| Pros | Cons |
|---|---|
| Textured and colorful results. | Fabric may fray over time. |
| Unique look with patterns. | Requires careful handling to avoid detaching. |
Personal Experience: My Favorite Craft Egg Projects
Through my journey of decorating craft eggs, I’ve discovered some favorite projects that I love to share with family and friends:
Project 1: Vintage-Style Decorated Eggs
Using decoupage, I created a collection of vintage-style eggs that bring a nostalgic feel to my home decor. I found beautiful lace-patterned paper and glued it on the eggs, finishing them with a clear coat. The result was stunning, and they now adorn my spring-themed table setting.
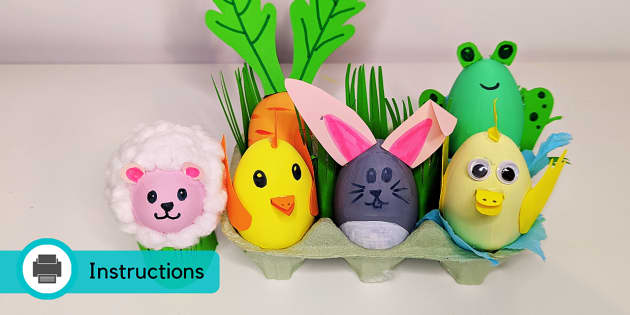
Project 2: Easter Egg Hunt Extravaganza
For Easter last year, I organized an egg decorating station during our family gathering. We painted and dyed several dozen eggs, creating a colorful display. The children loved it, and it became a cherished memory for everyone.
Storing and Displaying Your Decorated Craft Eggs
Once you’ve completed your craft eggs, it’s important to know how to store and display them properly:
Storage Tips
- Store eggs in a cool, dry place away from sunlight.
- Use egg cartons or padded boxes to prevent damage.
- Keep eggs separated to avoid scratching or chipping.
Creative Display Ideas
- Use decorative bowls to create centerpieces.
- Hang eggs from a branch or chandelier for a whimsical touch.
- Fill clear jars with eggs for an elegant display.
FAQs about Craft Egg Decorating
What types of eggs are best for decorating?
Craft eggs can be made from various materials such as plastic, wood, and real eggs. Each type offers unique properties; for example, wooden eggs are durable, while real eggs can be more fragile and require careful handling.
How can I make my dyed eggs brighter?
To achieve brighter colors, ensure that you use good quality dyes and let your eggs soak longer in the dye solution. Additionally, starting with a white or light-colored egg will yield the best results.
Can I use regular paints for decorating eggs?
Yes, acrylic paints are perfect for decorating eggs. Just make sure to use a sealant afterward to protect your designs.
Are there any safety tips I should follow for egg decorating?
Always work in a well-ventilated area, especially when using glue or paint with strong fumes. If you’re using real eggs, consider wearing gloves to keep your hands clean and minimize the risk of contamination.
Can I use leftover craft supplies for decorating eggs?
Absolutely! Leftover ribbons, fabric scraps, and even buttons can add unique touches to your decorated eggs. It’s a great way to recycle materials as well.
Conclusion: Embrace Your Creativity with Craft Eggs
Decorating craft eggs can be a rewarding and enjoyable experience. Whether you’re creating beautiful pieces for a seasonal celebration or simply indulging in your artistic side, the possibilities are endless. Remember to embrace the process, make it your own, and most importantly, have fun!
So gather your materials, invite a few friends or family members, and start decorating! Your creative journey awaits.