Are you looking to add a playful touch to your space or party? Whether you’re a nostalgic gamer or planning a themed event, DIY Super Mario decorations can bring that whimsical world of Mario right into your home. In this guide, I’ve amassed years of crafting experience to help you transform ordinary materials into extraordinary decorations!
Why Choose DIY Super Mario Decorations?
Creating your own decorations is not just a fun pastime; it also allows for personalization that store-bought options can’t match. Here’s why DIY Super Mario decorations are the way to go:
- Cost-Effective: DIY projects save money, allowing you to put your budget towards other fun elements of your event.
- Personal Touch: Handmade items can have a unique charm that resonates with your personal style and memories.
- Creative Outlet: Engaging in craft projects can be therapeutic and rewarding, letting your imagination roam free.
- Fun for All Ages: Involving family and friends in the crafting process can be a delightful bonding experience.
Essential Materials for Your Mario Decorations
Before diving into specific projects, let’s gather some essential materials you’ll need:
- Colorful paper (red, blue, yellow, green, and black)
- Cardstock
- Paint (acrylic or spray paint)
- Glue and tape
- Scissors and craft knife
- Markers and colored pencils
- String lights (optional for a festive touch)
- Balloon decorations (for added flair)
Creative DIY Projects
1. Mario Character Cutouts
One of the simplest yet impactful decorations are character cutouts. Here’s how you can create them:
Materials Needed:
- Colorful paper (as listed above)
- Scissors
- Markers
- Glue or tape
Steps:
- Search for templates of Mario characters online.
- Print and cut out the templates.
- Trace the templates onto colorful paper and cut them out.
- Use markers to add details like eyes and accessories.
- Attach them to walls or hang them from the ceiling.
Pros and Cons
| Pros | Cons |
|---|---|
| Simple and quick to make | Requires some artistic skills for details |
| Customizable with any character | May not hold up in windy outdoor conditions |
2. Question Block Piñata
A Mario-themed party isn’t complete without a fun piñata! Here’s how to make your own question block piñata.
Materials Needed:
- Cardboard boxes
- Brown paper or paint
- Yellow tissue paper
- Glue
- Scissors
- Candy and small toys for filling
Steps:
- Cut the cardboard into a cube shape.
- Cover it with brown paper or paint it to resemble a box.
- Create the question mark using yellow tissue paper and glue it on each side.
- Cut a small hole at the top, fill it with candy and toys, and seal it up.
- Hang it securely for some swinging fun!
Pros and Cons
| Pros | Cons |
|---|---|
| Fun activity for guests | Can be time-consuming to make |
| Interactive element for parties | Requires some planning for materials |
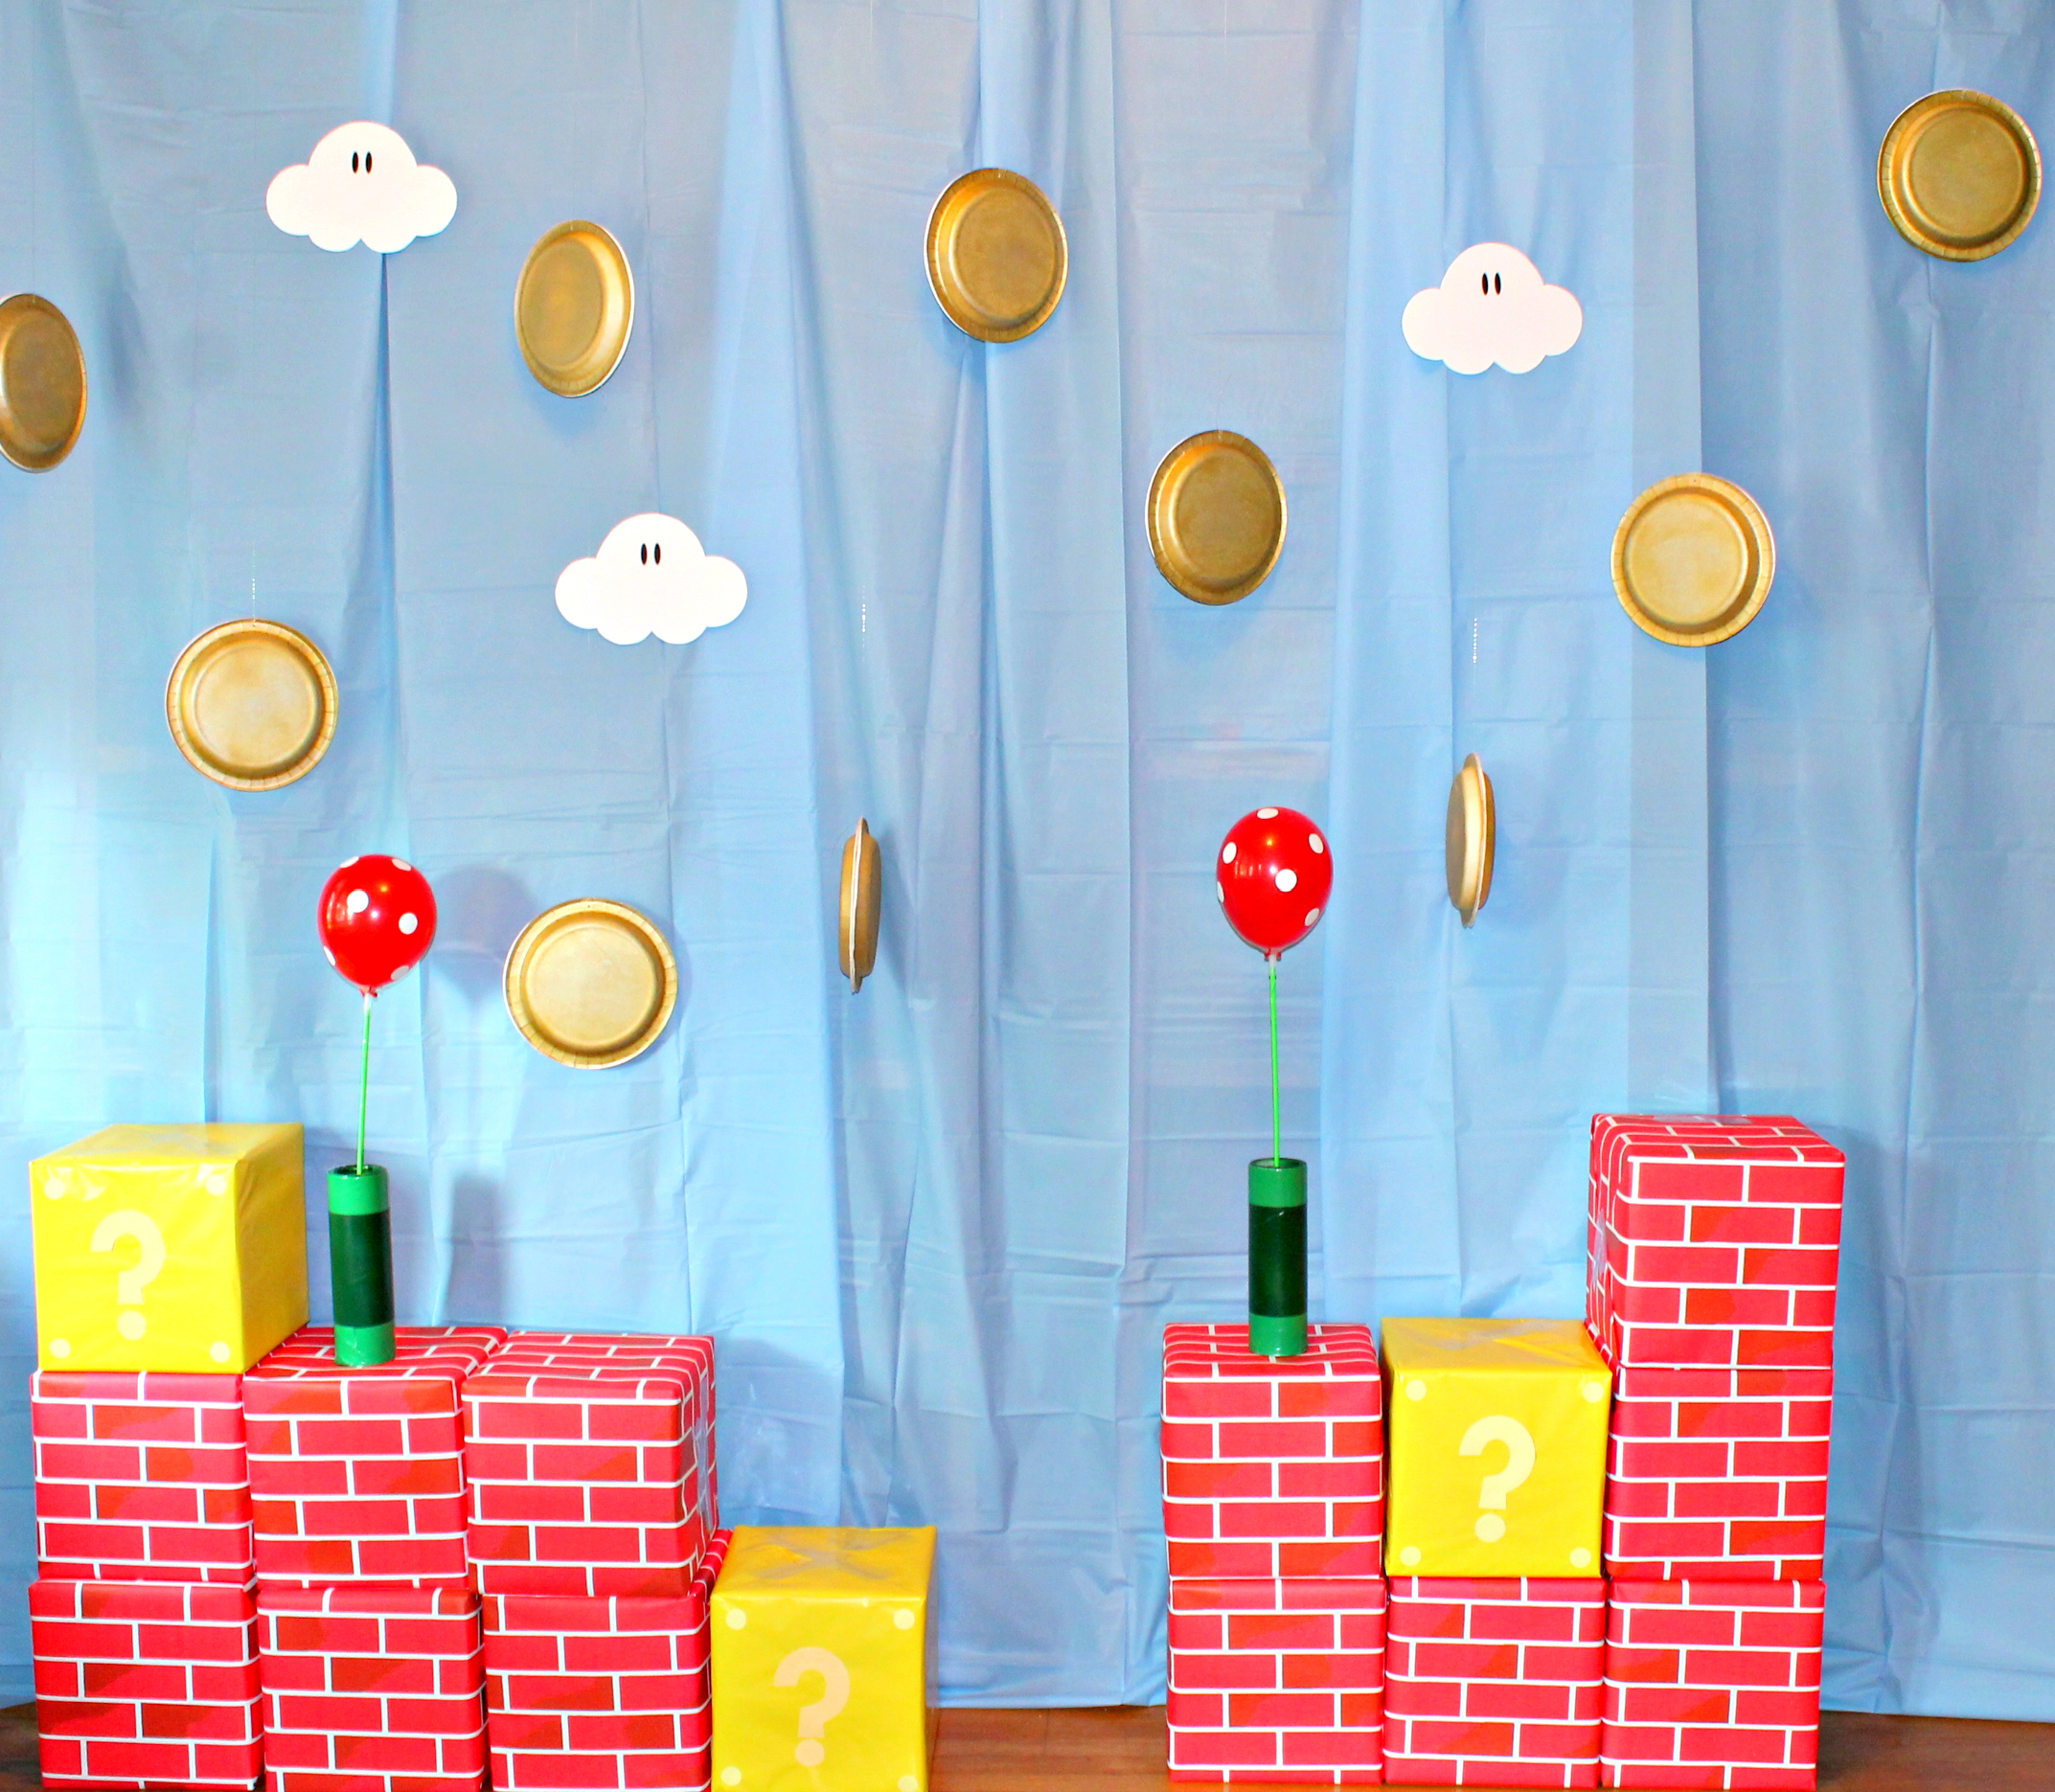
3. Super Mario Wall Art
Transform your walls into a Super Mario landscape with some creative wall art. This project can be as intricate or simple as you like.
Materials Needed:
- Canvas or thick paper
- Acrylic paint
- Paintbrushes of various sizes
- Stencils (optional)
Steps:
- Choose a scene or character to paint (like a Mario level).
- Sketch lightly with a pencil if you need a guide.
- Use stencils for complex shapes or freehand it with paint.
- Allow to dry and hang it as a focal piece in your space.
Pros and Cons
| Pros | Cons |
|---|---|
| Totally customizable based on your favorite scenes | May require artistic skills |
| Can be re-used and displayed year-round | Paints need time to dry |
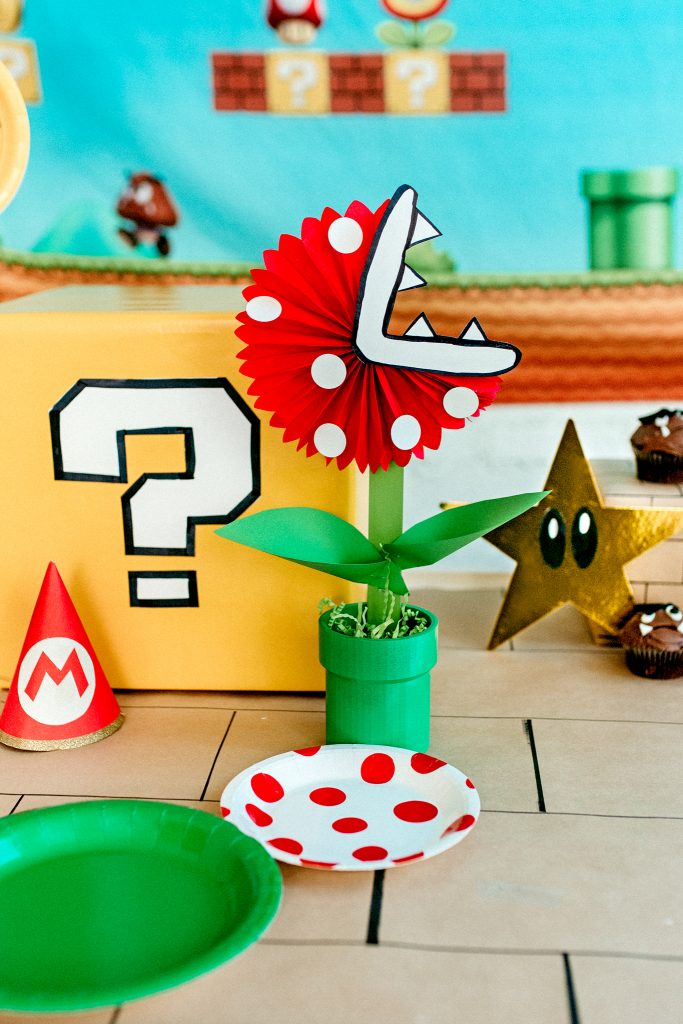
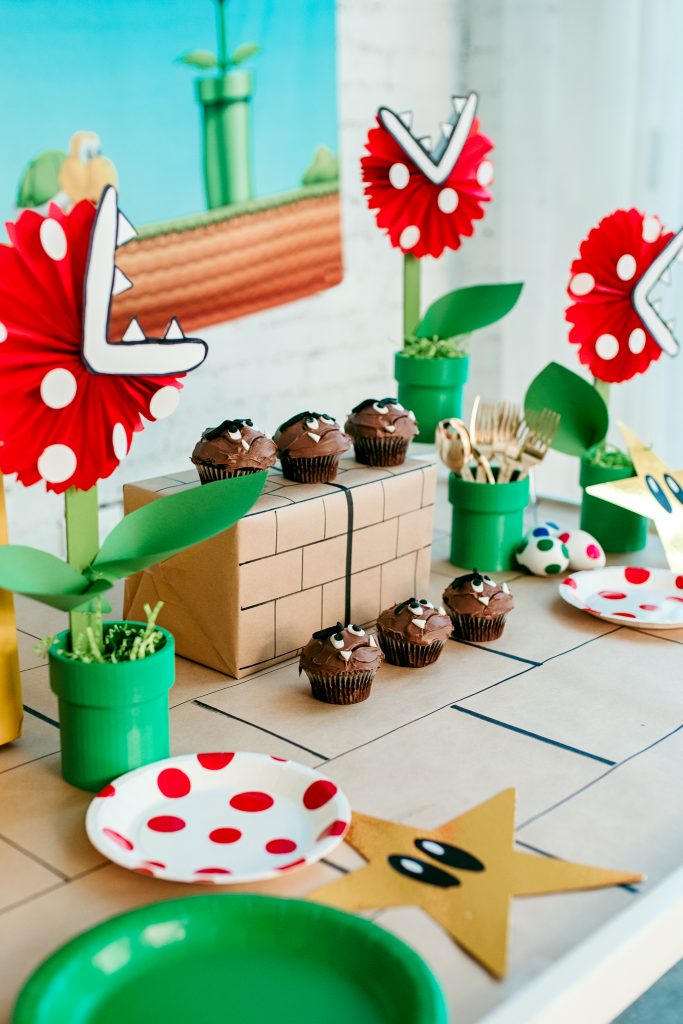
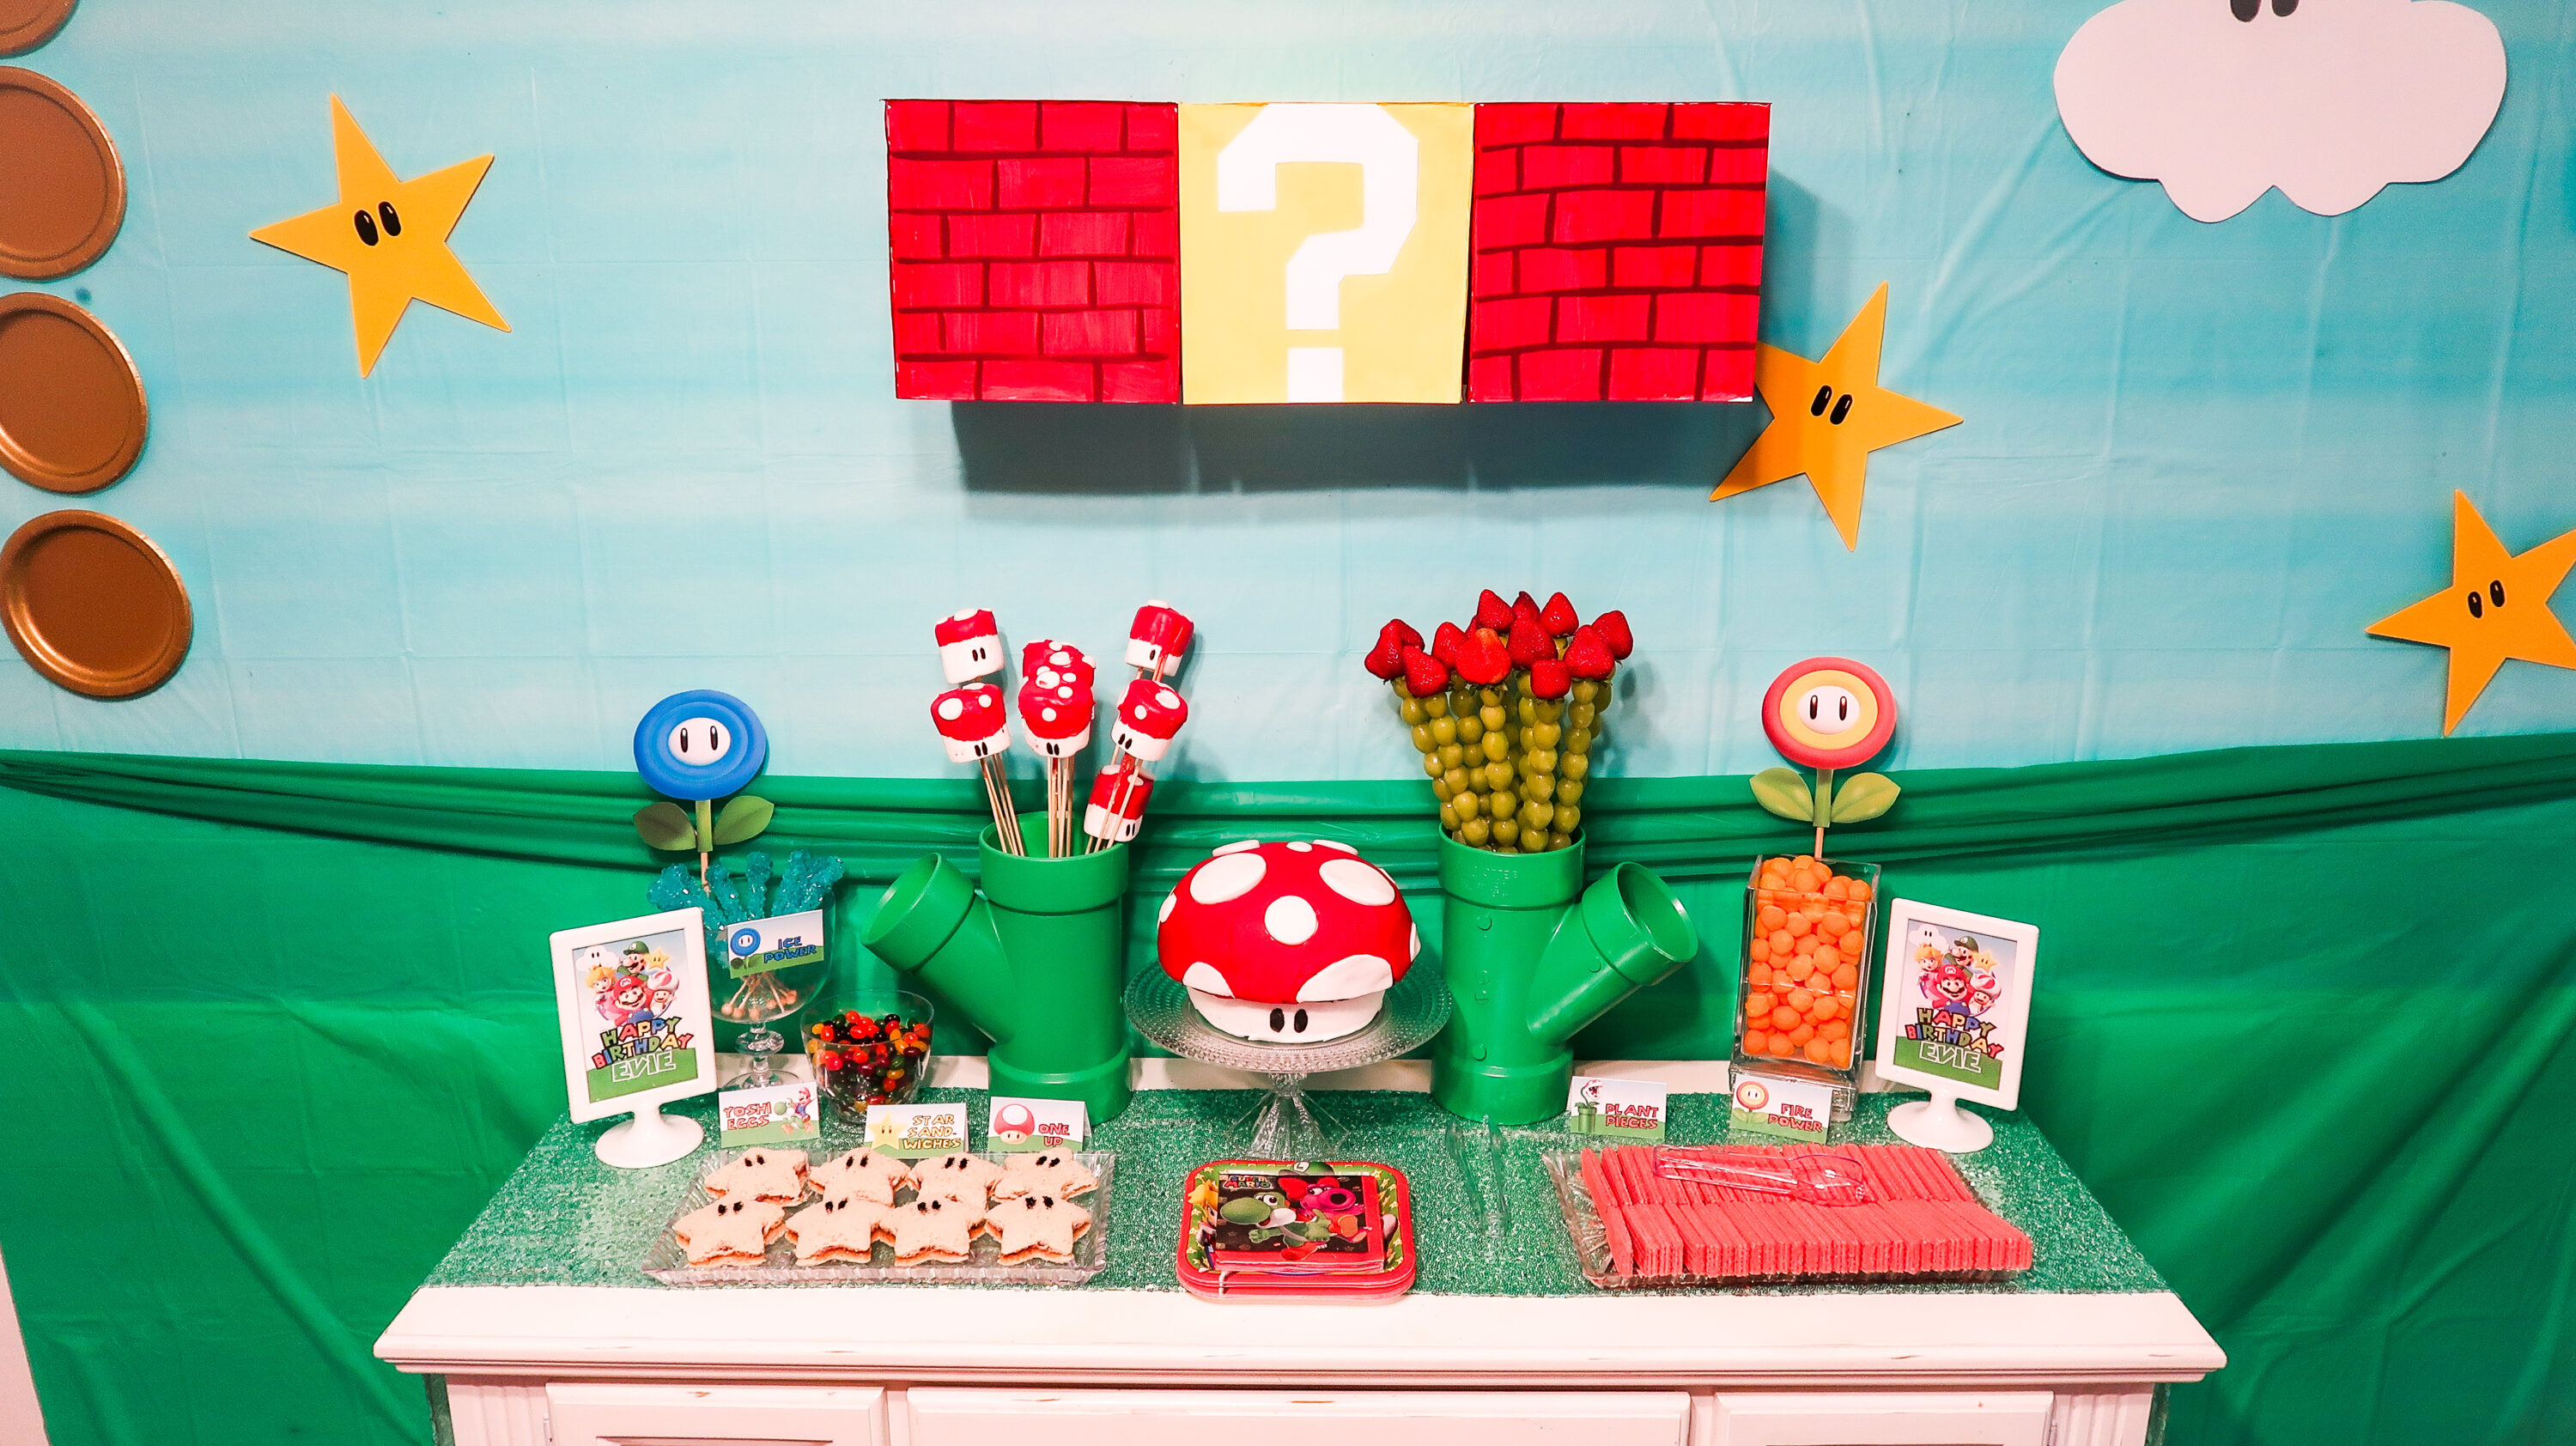
Setting Up Your Mario-Themed Space
Now that you have your decorations ready, it’s time to set up your Mario-themed area. Here are some tips:
1. Color Coordination
Stick to the classic Mario colors: red, blue, yellow, and green. Use these colors in your table settings, balloons, and banners for a cohesive look.

2. Create Zones
If you have multiple rooms or spaces, designate areas for different activities, such as a gaming zone, dessert corner, and photo booth area featuring your DIY decorations.
3. Incorporate Lighting
Add string lights for a whimsical touch, especially if your event extends into the evening. These can mimic the starry background of the Mario universe!
Frequently Asked Questions (FAQs)
1. What materials are best for outdoor Mario decorations?
For outdoor decorations, use weather-resistant materials like laminated paper, plastic sheets, or painted wood to ensure durability against the elements.
2. How can I involve kids in the crafting process?
Choose simple projects like character cutouts or painting wall art. Provide easy-to-follow instructions and let their creativity shine!
3. Is it possible to rent Mario decorations instead of DIY?
Yes, many party supply stores offer rental options for large decorations. However, DIY adds a personal touch that rentals often lack.

4. Can I use digital designs for my decor?
Absolutely! Digital designs can be printed on various materials for an even more professional look. Consider using services that specialize in custom prints.
5. What are some cost-saving tips for DIY decorations?
Reuse and recycle materials from previous events, shop at thrift stores for unique items, and use materials you already have at home.