Decorating a mask can be a fun and creative way to express your personality and style. Whether you’re preparing for a themed party, a masquerade ball, or simply want to make a bold fashion statement, personalizing a mask provides an opportunity to showcase your artistic flair. In this comprehensive guide, I will share various ideas for decorating a mask, informed by personal experiences and insights. Let’s dive into the world of mask decoration!
Why Decorate Your Mask?
Mask decoration can be more than just aesthetics; it can be a form of self-expression, a way to stand out in a crowd, or a unique addition to your costume. Here are a few reasons to consider decorating your mask:
- Personal Expression: A decorated mask reflects your style and personality.
- Unique Identity: Stand out at events with a one-of-a-kind creation.
- Boost Creativity: Engaging in arts and crafts enhances your creative skills.
Types of Masks to Decorate
Before we explore decoration ideas, it’s important to understand the types of masks you can work with. Here are some common types:
- COVID-19 Masks: Regular fabric or disposable masks that can be personalized.
- Costume Masks: Masks designed for parties or themed events, often made from paper, plastic, or fabric.
- Face Paint Masks: Utilizes face paint for decoration rather than a physical mask.
Key Materials for Decorating Masks
Choosing the right materials can make or break your decorating experience. Here’s a list of essential materials:
- Fabric Paints
- Glue and Adhesives
- Glitter
- Faux gemstones and sequins
- Feathers
- Ribbons and Lace
- Stencils and Brushes
Creative Ideas for Mask Decoration
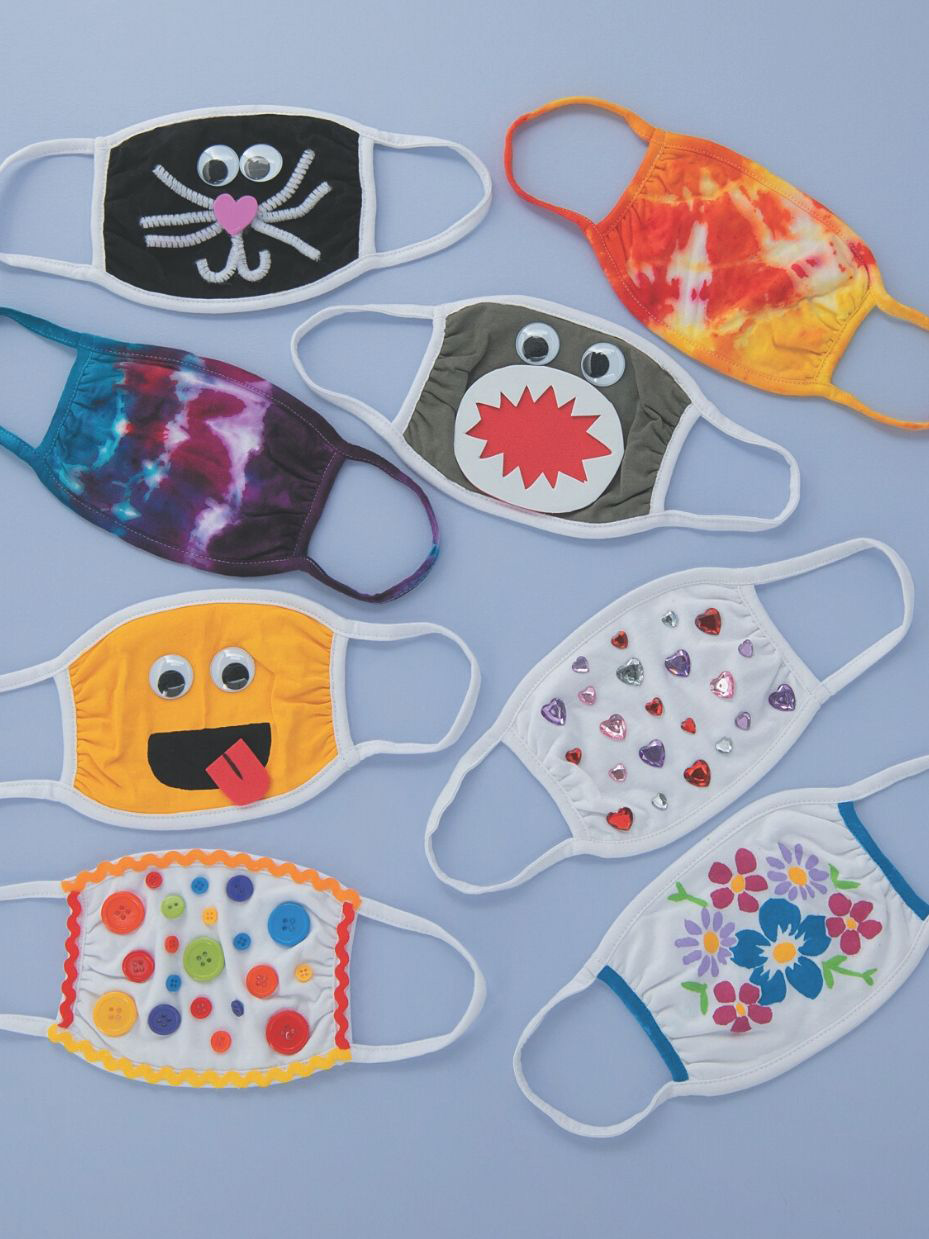
1. Painting Techniques
Using paint is one of the simplest yet most effective ways to decorate a mask. Here are some techniques to consider:
Watercolor Effect
Use watercolor paints to create a soft and blended effect. This technique is perfect for adding an ethereal touch to your mask.
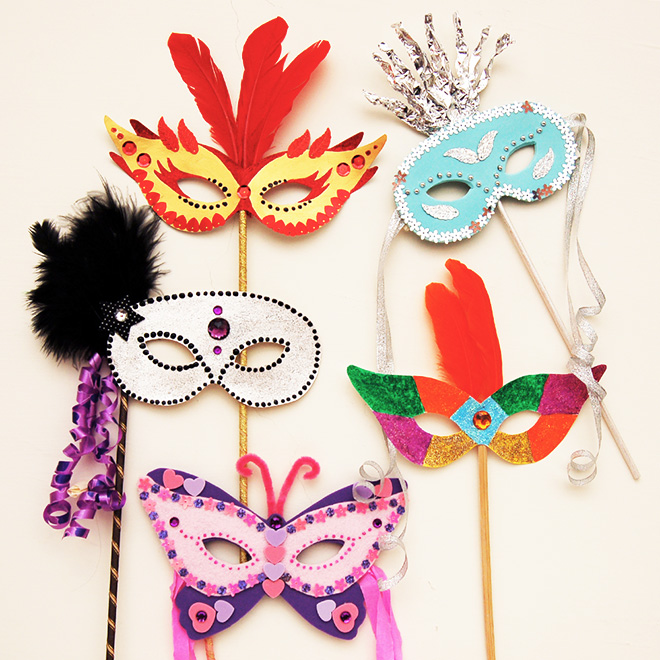
Acrylic Detailing
Acrylic paints offer vibrant colors. You can layer them for depth and contrast, making your design pop.
Spray Paint Art
Spray paint can help create stunning gradients and abstract designs. Ensure you are in a well-ventilated area while using spray paint.
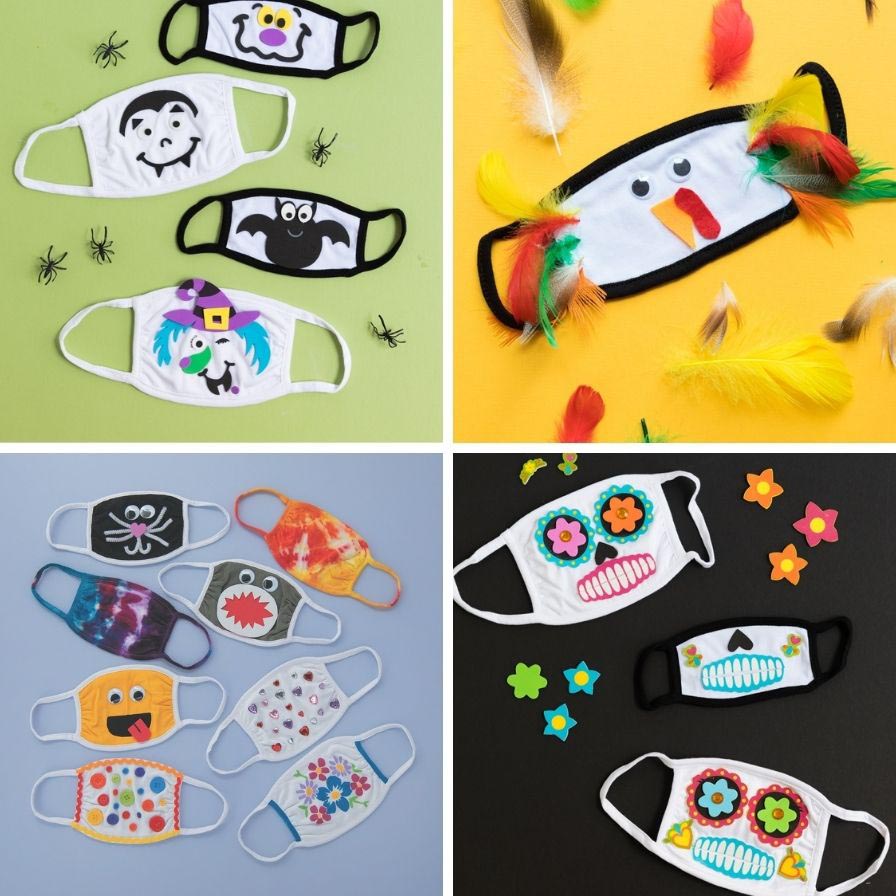
2. Adding Textures
Adding texture to your mask can enhance its visual appeal. Here are some ideas:
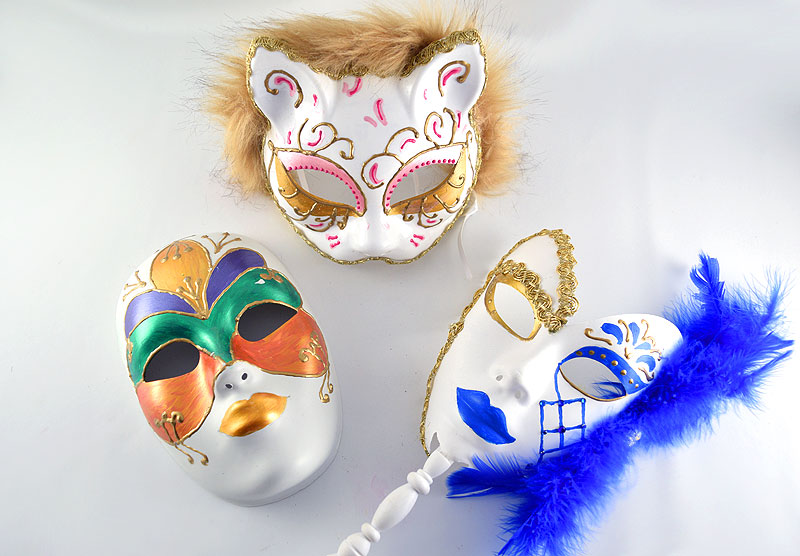
Faux Fur or Fabric
Adhere faux fur or textured fabric to specific areas of the mask for a unique look. This adds dimension and comfort.
Layered Paper
Utilize various types of paper (tissue, cardstock) to create layers on your mask. This can give a 3D effect.
3. Embellishments
Embellishments can make your mask truly stand out. Here are some popular options:

Glitter and Rhinestones
Add a dash of sparkle with glitter or rhinestones. They can be strategically placed to draw attention to features.
Feathers and Flowers
Attach feathers or faux flowers for a glamorous, festive look. They can be colored to match the theme of your event.

4. Incorporating Nature
Using natural elements can lend an organic feel to your mask:
Leaves and Twigs
Incorporate leaves or twigs to create a woodland or nature-themed mask. These elements can be glued or sewn onto the mask.
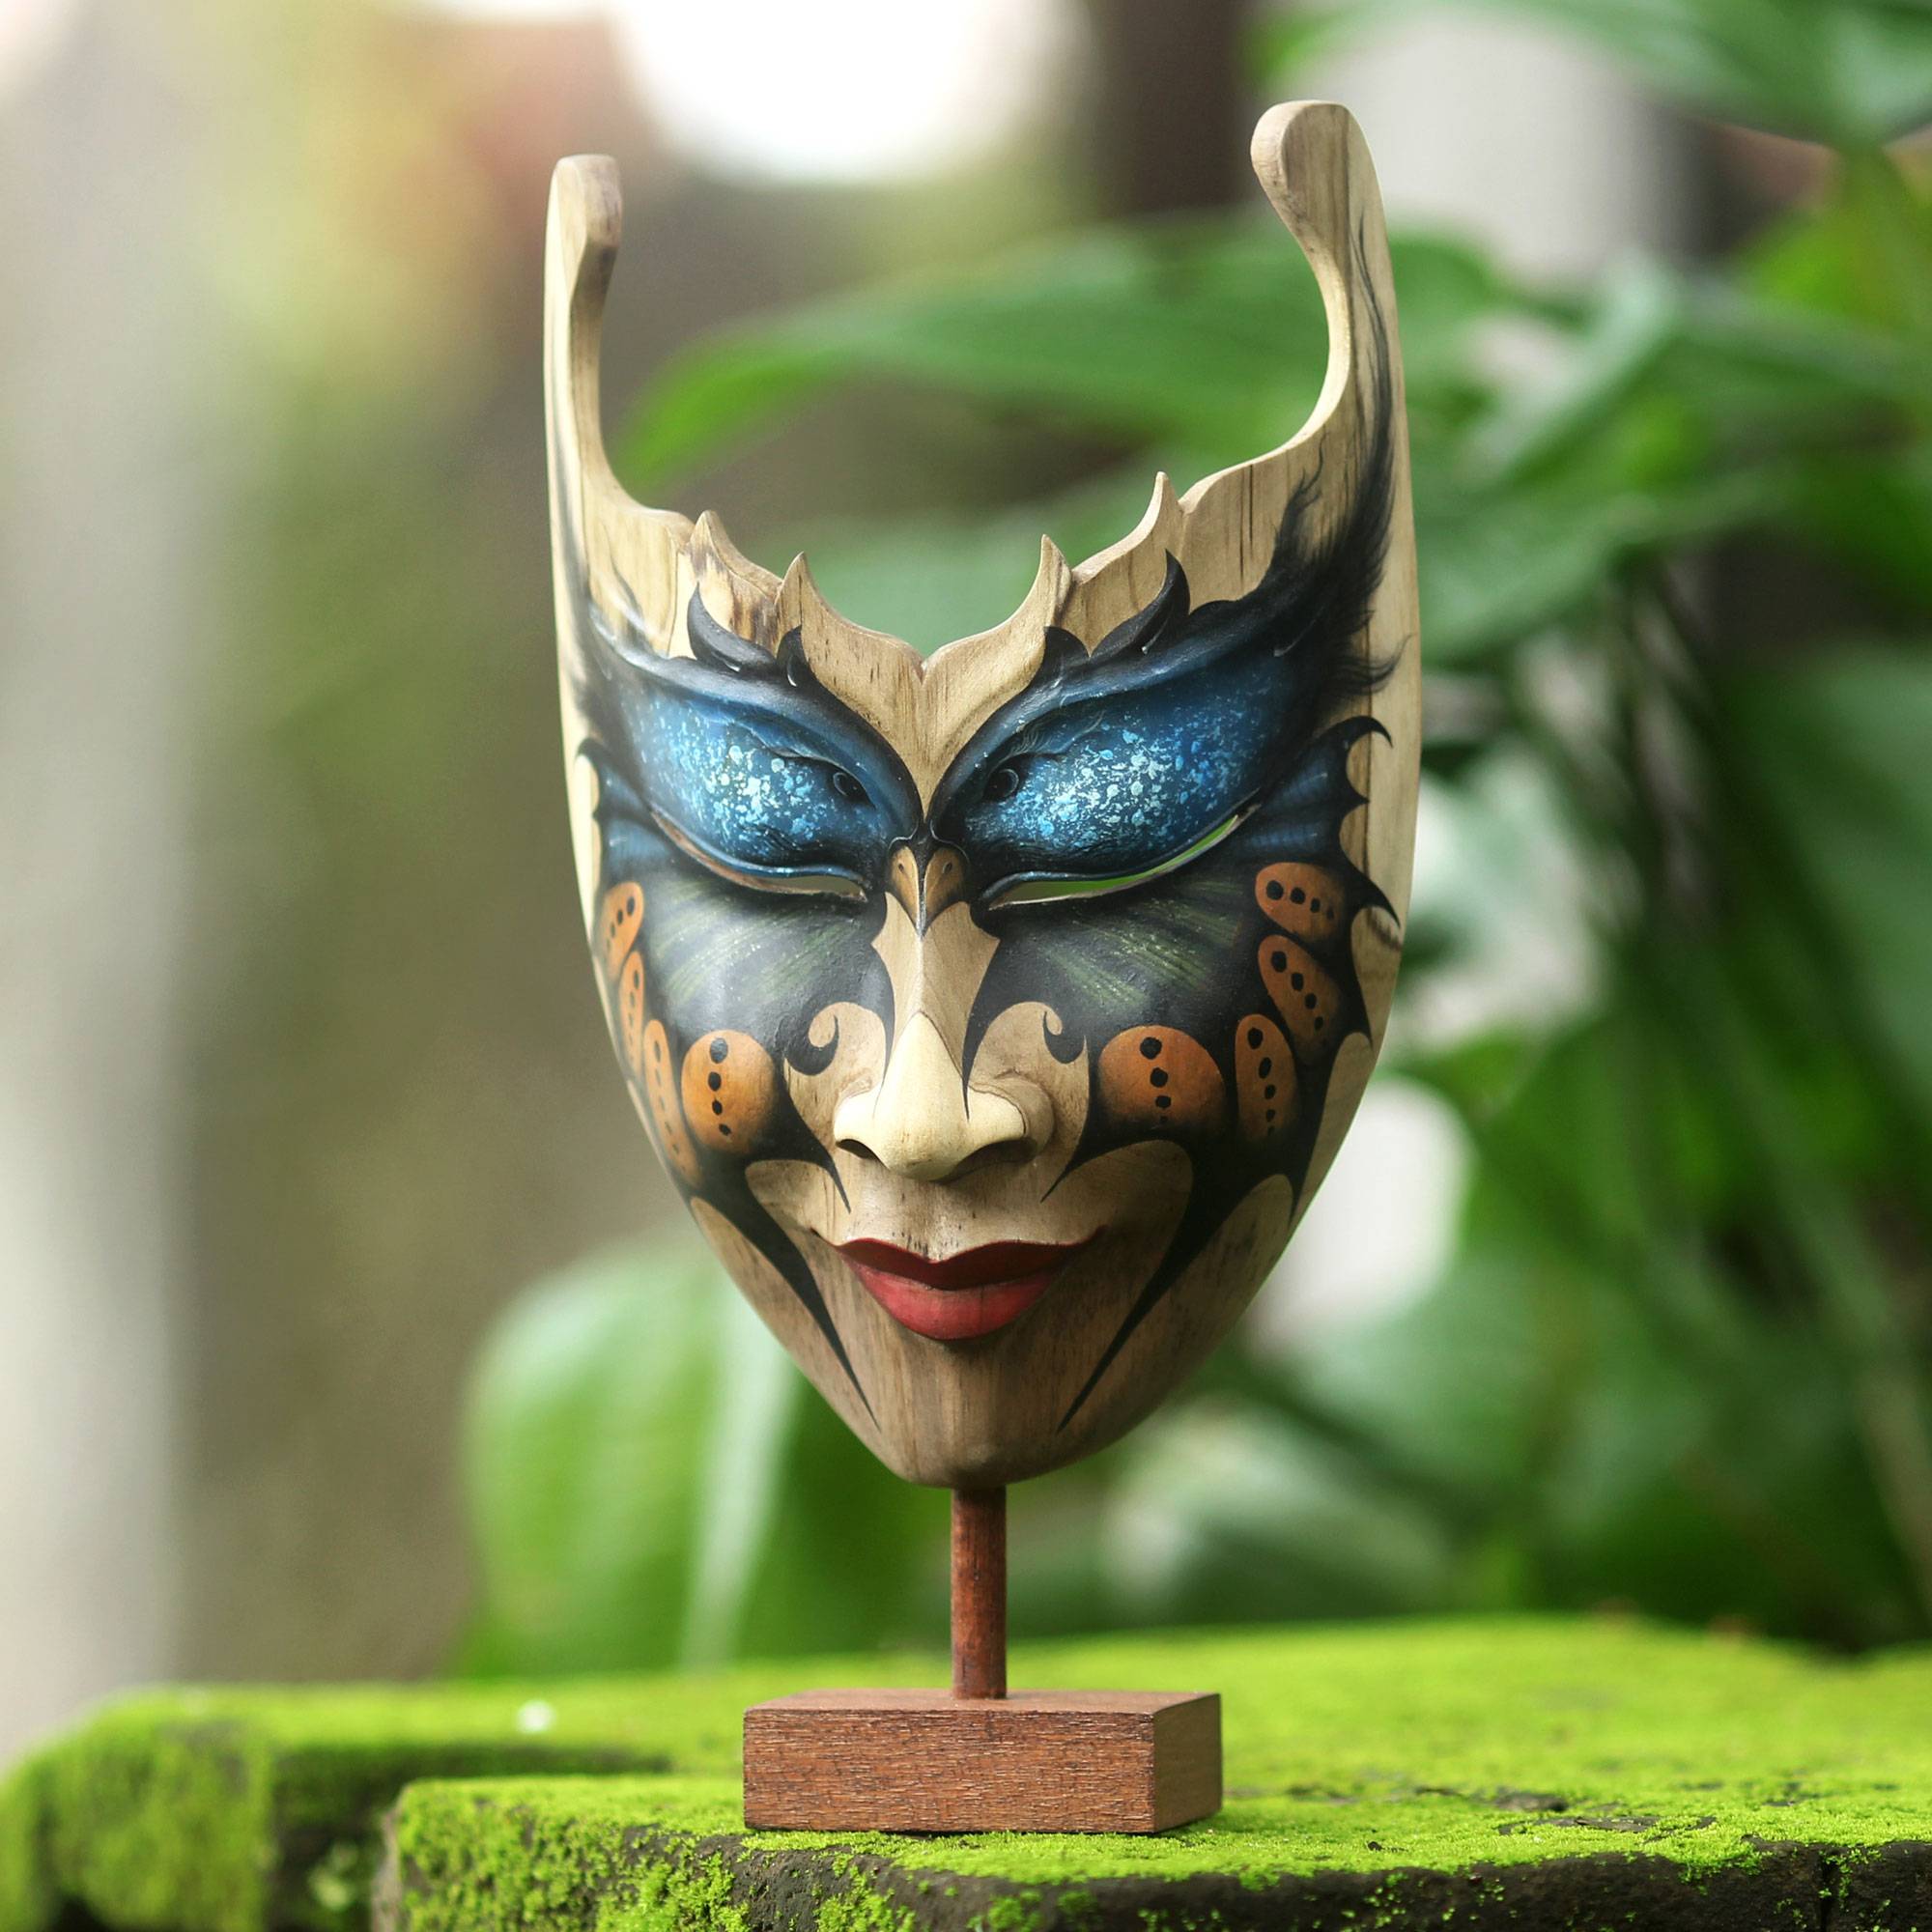
Flower Petals
Use real or artificial petals to evoke a floral theme. They can create a soft, romantic appearance.
Step-by-Step Guide to Decorating a Basic Mask
Materials Required
- A plain mask (white or a base color)
- Fabric paint or acrylic paint
- Glue (fabric glue for fabrics, hot glue for embellishments)
- Glitter, feathers, and rhinestones
- Brushes, sponges, or spray paint (optional)
Step 1: Plan Your Design
Before diving into the decorating process, sketch out your design. Consider the colors, patterns, and embellishments you plan to use.
Step 2: Base Coat
Apply a base coat of paint to your mask. Let it dry completely before proceeding to the next step.
Step 3: Add Patterns
Use stencils or freehand techniques to add patterns and designs. Allow the paint to dry before adding additional layers.
Step 4: Incorporate Embellishments
Once your paint is dry, begin attaching your chosen embellishments. Be creative and make sure everything is securely fastened.
Step 5: Finishing Touches
Add final touches like glitter or protective top coats. Allow everything to dry thoroughly before wearing your mask.
Comparison of Mask Decoration Techniques
| Technique | Pros | Cons |
|---|---|---|
| Painting | Vibrant colors; highly customizable; wide range of effects | May require multiple layers; can be messy |
| Embellishments | Adds texture and depth; easy to apply | Can be heavy; may fall off |
| Nature Elements | Unique and organic vibe; eco-friendly | May deteriorate over time; needs careful handling |
Tips for a Successful Mask Decoration Project
- Choose a color palette in advance.
- Use high-quality materials for better results.
- Take your time. Rushing can lead to mistakes.
- Experiment with different techniques to discover what works best for you.
FAQs About Mask Decoration
1. What type of mask is best for decorating?
The best mask for decorating depends on your project, but fabric masks or blank costume masks are excellent choices due to their versatility.
2. How do I remove paint from my skin?
Use soap and warm water, or rubbing alcohol, to remove any paint from your skin. Always test a small area first to avoid irritation.
3. Can I use regular paint on fabric masks?
Some regular paints can work on fabric, but fabric paints are recommended as they are flexible and less likely to crack.
4. What should I do if my embellishments fall off?
Use a stronger adhesive or replace any lost embellishments. For heavier items, consider sewing them on for added security.
5. How can I make my mask comfortable to wear?
Test the fit before adding excessive embellishments, and consider using softer materials against the skin.
Decorating a mask is not just a project; it’s an expression of who you are. The ideas and techniques above can help you create a mask that is not only beautiful but also uniquely yours. So grab your materials, unleash your creativity, and enjoy the process of making something special!