Welcome to the delicious world of cookie decorating! If you’ve ever marveled at the intricate designs on cookies, you may have wondered how bakers achieve such stunning results. While practice is essential, the right tools can make a world of difference. One tool that has revolutionized cookie decorating is the projector. In this article, I’m going to take you on a journey exploring the best projectors for cookie decorating, sharing tips, tricks, and personal experiences along the way.
Why Use a Projector for Cookie Decorating?
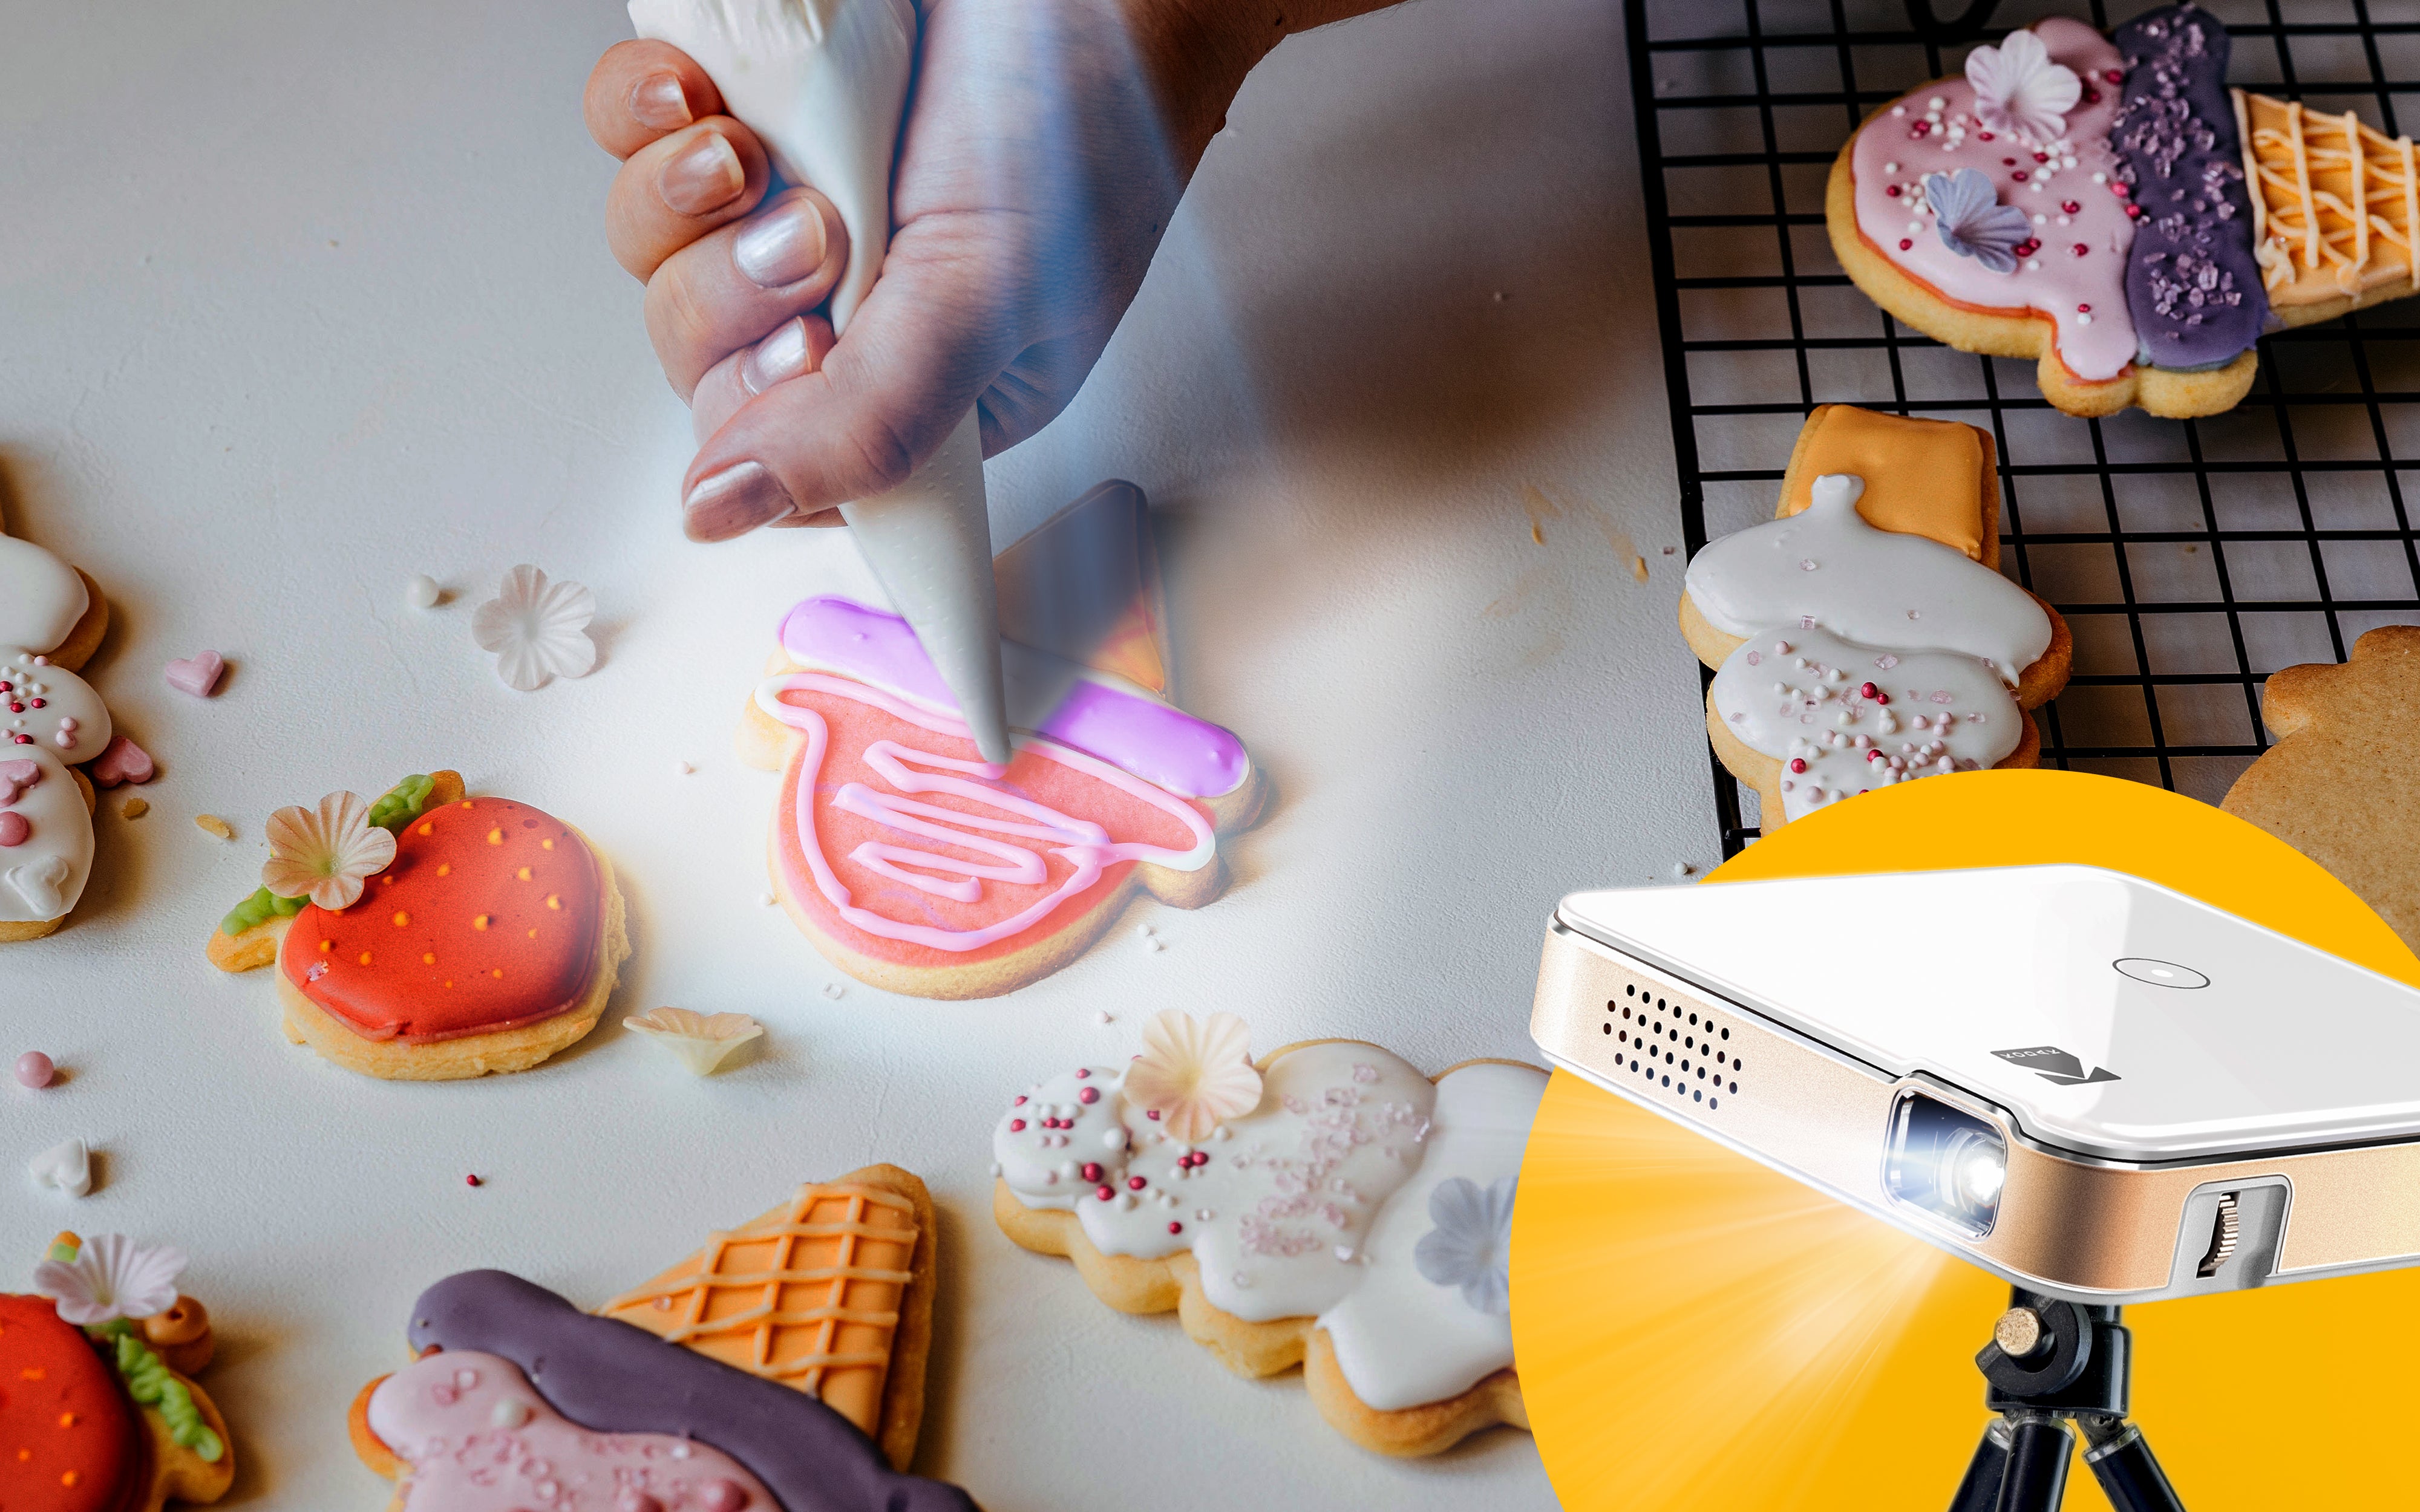
Projecting images onto cookies is a fantastic way to create precise designs. Here are some compelling reasons to consider using a projector:
- Accuracy: Projectors allow for precise alignment of designs, ensuring that your art is as close to the original image as possible.
- Time-Saving: With a projector, you can cut down on the time it takes to hand-draw intricate designs.
- Creativity: Projectors open up a world of possibilities, allowing you to experiment with different styles and designs effortlessly.
Personal Experience: My Journey with Cookie Decorating

As a baking enthusiast, I stumbled upon projectors during my quest for more intricate designs. Initially skeptical, I decided to invest in one, and I can honestly say it transformed my cookie art. The first time I used it was for a birthday celebration, and I managed to replicate a complex floral design with impressive results. That experience opened my eyes to the potential of projectors, and I haven’t looked back since!
Choosing the Right Projector for Cookie Decorating

Not all projectors are created equal, and choosing the right one can be daunting. Here are the key factors to consider:
Resolution
The higher the resolution, the clearer the image. For cookie decorating, you’ll want a projector that can deliver sharp images to ensure every detail is captured.

Portability
Since you’ll likely be using the projector in your kitchen, a lightweight and portable model can make your decorating sessions much easier.
Brightness
Look for projectors with sufficient brightness levels. A brighter projector will project clearer images, especially in well-lit environments.

Price
Projectors come in a variety of price ranges. It’s essential to determine your budget while keeping in mind that investing in a quality projector can enhance your cookie decorating experience.
Top Projectors for Cookie Decorating: A Detailed Comparison

| Projector Model | Resolution | Brightness (Lumens) | Portability | Price | Pros | Cons |
|---|---|---|---|---|---|---|
| Mini LED Projector | 720p | 300 | Lightweight | $80 | Affordable, compact | Lower resolution |
| iCodis G6 Pro | 1080p | 1500 | Portable | $169 | High resolution, good brightness | Battery life could be better |
| ViewSonic M1 Mini Plus | 854×480 | 300 | Very portable | $200 | Compact, wifi-enabled | Lower resolution |
| Epson Home Cinema 2150 | 1080p | 2500 | Medium weight | $800 | Exceptional quality, high brightness | Higher price point |
Getting Started with Projectors for Cookie Decorating

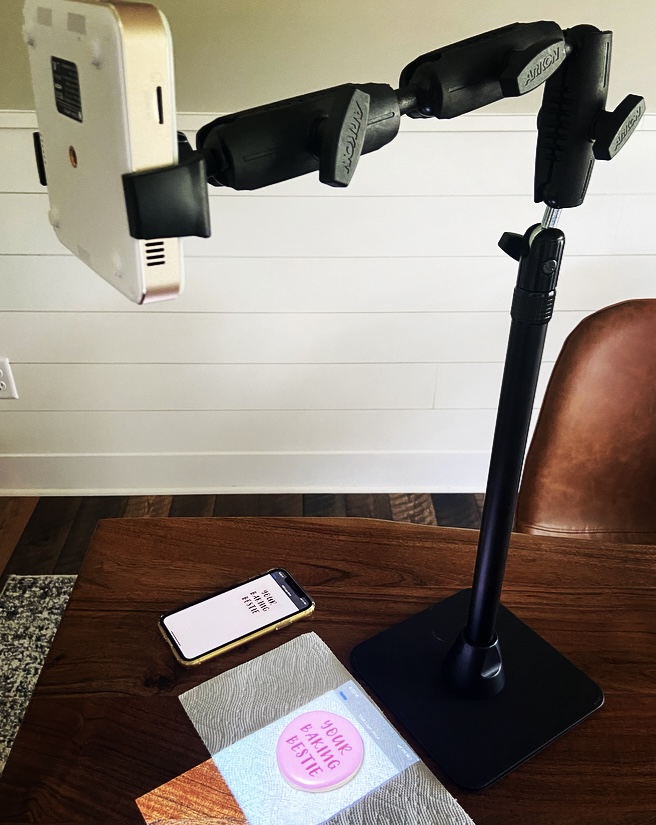
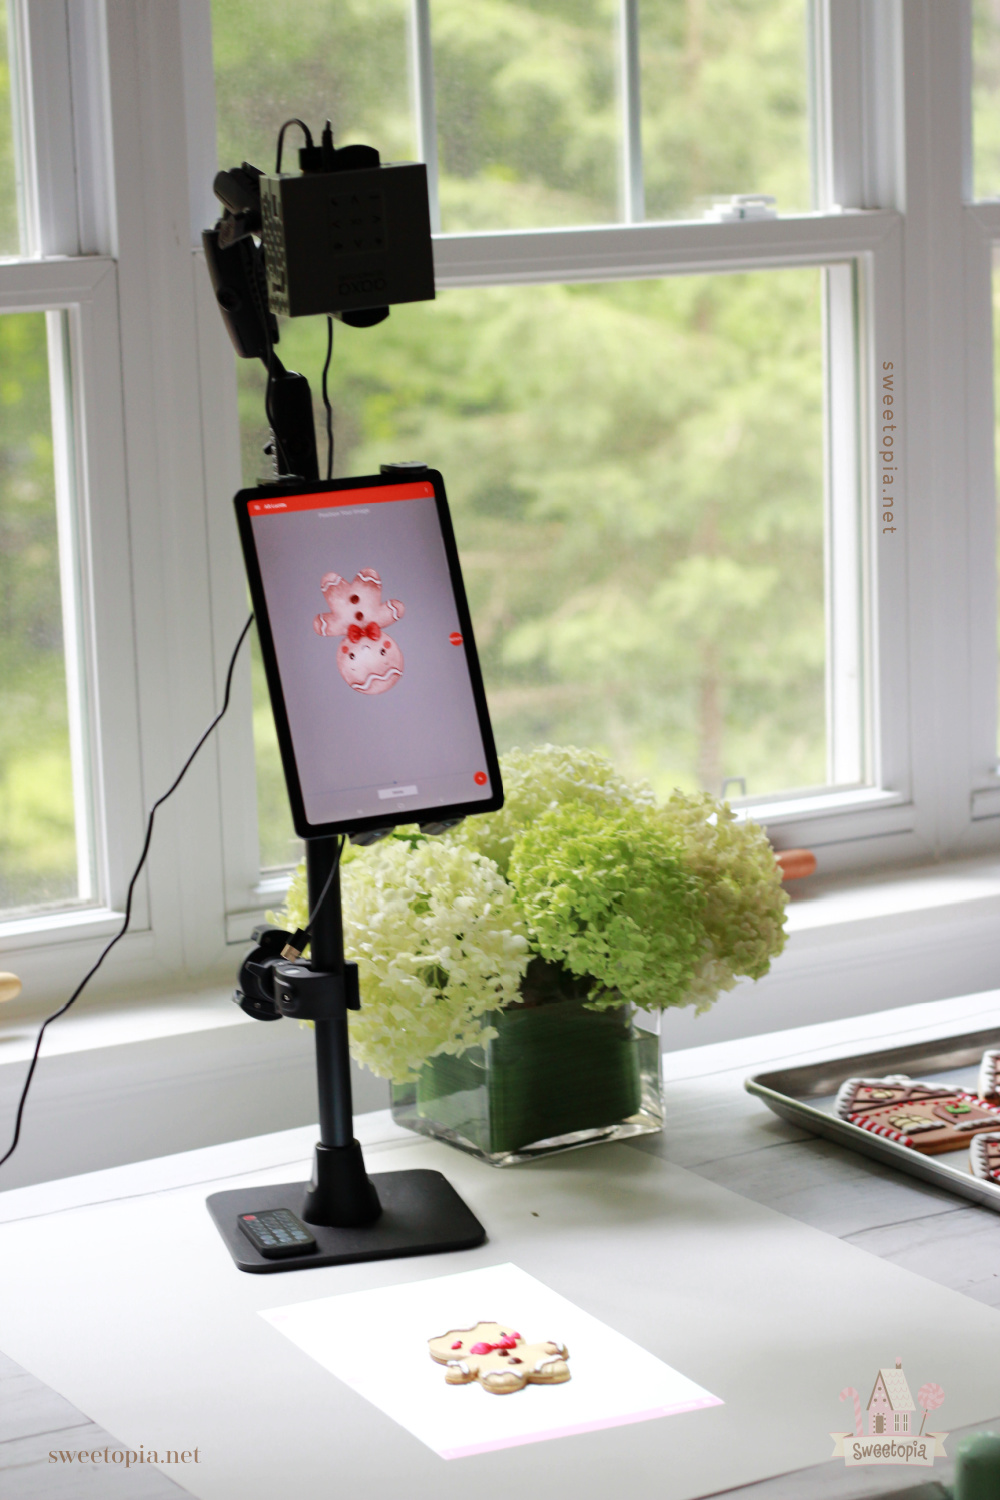
Setting Up Your Projector
Once you’ve chosen the right projector, it’s time to set it up! Here’s a straightforward guide:

- Positioning: Set the projector at a distance where the image fits nicely on your cookie.
- Focusing: Adjust the focus to ensure the image is crisp and clear.
- Brightness Adjustment: Modify the brightness settings according to your kitchen lighting.
Preparing Your Cookies
Before you begin projecting, ensure your cookies are flat and ready to be decorated. A smooth surface will help in getting the best results from the projector.
Projecting and Decorating Techniques
Now comes the fun part! Here are some techniques I’ve learned over time:
- Trace with Royal Icing: Project the image onto the cookie and use royal icing for tracing. This method helps achieve clean lines and intricate details.
- Color Filling: Once the outline is dry, use colored icing to fill in your design.
- Layering Techniques: Utilize the projector to layer different designs for multi-dimensional effects.
Tips for Successful Cookie Decorating with Projectors
Practice Makes Perfect
Don’t be disheartened if your first few attempts don’t come out perfectly. Practice is key, and you’ll improve with each batch.
Experiment with Different Designs
Try various images to see what works best for you. Floral patterns, holiday themes, or even favorite characters can be great choices!
Involve Your Family or Friends
Invite others to join in for a fun cookie decorating session. It can turn into a delightful social gathering, and you can learn from each other’s techniques!
Frequently Asked Questions (FAQs)
Can I use any projector for cookie decorating?
While you can use any projector, it’s best to choose one with good resolution and brightness for optimal results. A mini or portable projector often suffices.
Are projectors easy to set up and use?
Yes! Most projectors are user-friendly. With minimal setup, you can quickly start projecting images onto your cookies.
What type of images work best for cookie decorating?
Simple designs with clear lines tend to work best. Avoid overly intricate images until you are comfortable using the projector.
How do I maintain my projector?
Keep the lens clean and avoid exposing it to extreme temperatures. Regular maintenance will extend the life of your projector.
Do I need special software to use a projector for cookie decorating?
Generally, no special software is required. You can use standard image viewers to display your designs fully.
Conclusion
Projecting images onto cookies can elevate your baking game to new heights. With the right projector, techniques, and a sprinkle of creativity, you can create cookie masterpieces that will impress your friends and family. Whether you’re using it for special occasions or simply for fun, investing in a projector for cookie decorating is worth the effort. Happy decorating!