Introduction to Wall Decor Trim
Wall decor trim may not be the first thing that comes to mind when you think of interior design, but it can be a game changer for your home. During my recent home renovation, I discovered the charm and versatility that decorative trim adds to a space. From crown molding to wainscoting, wall trim elevates the aesthetic appeal of any room, creating a polished and welcoming atmosphere.
What is Wall Decor Trim?
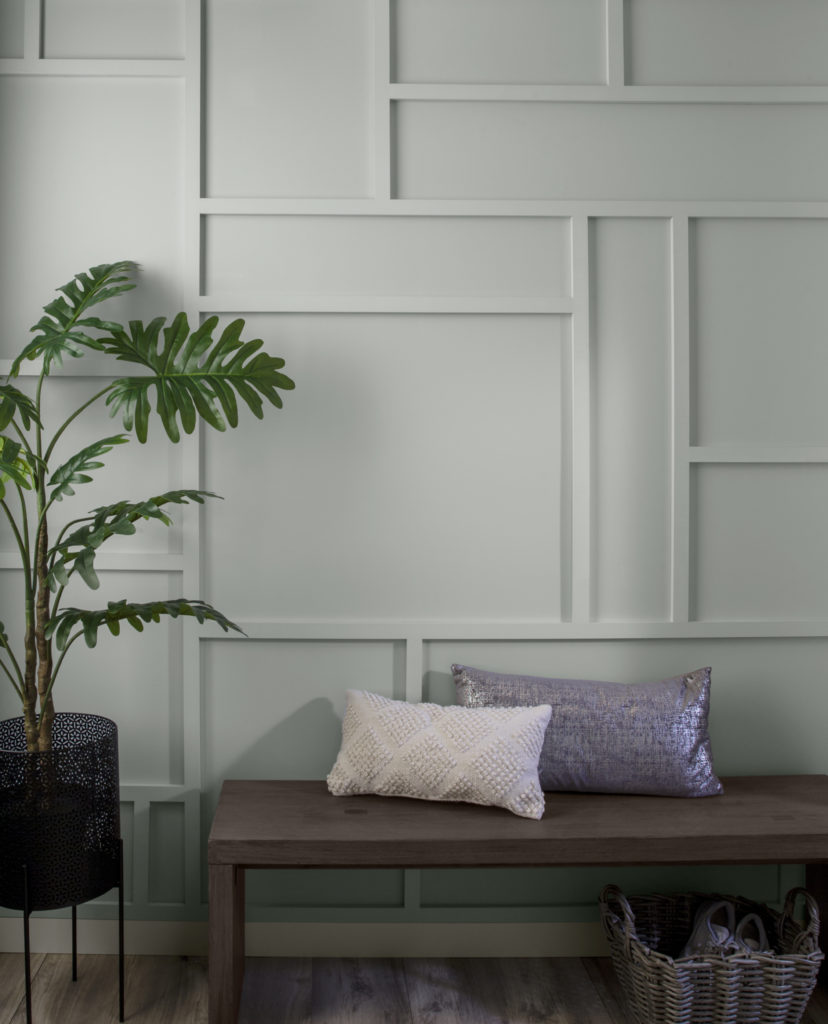
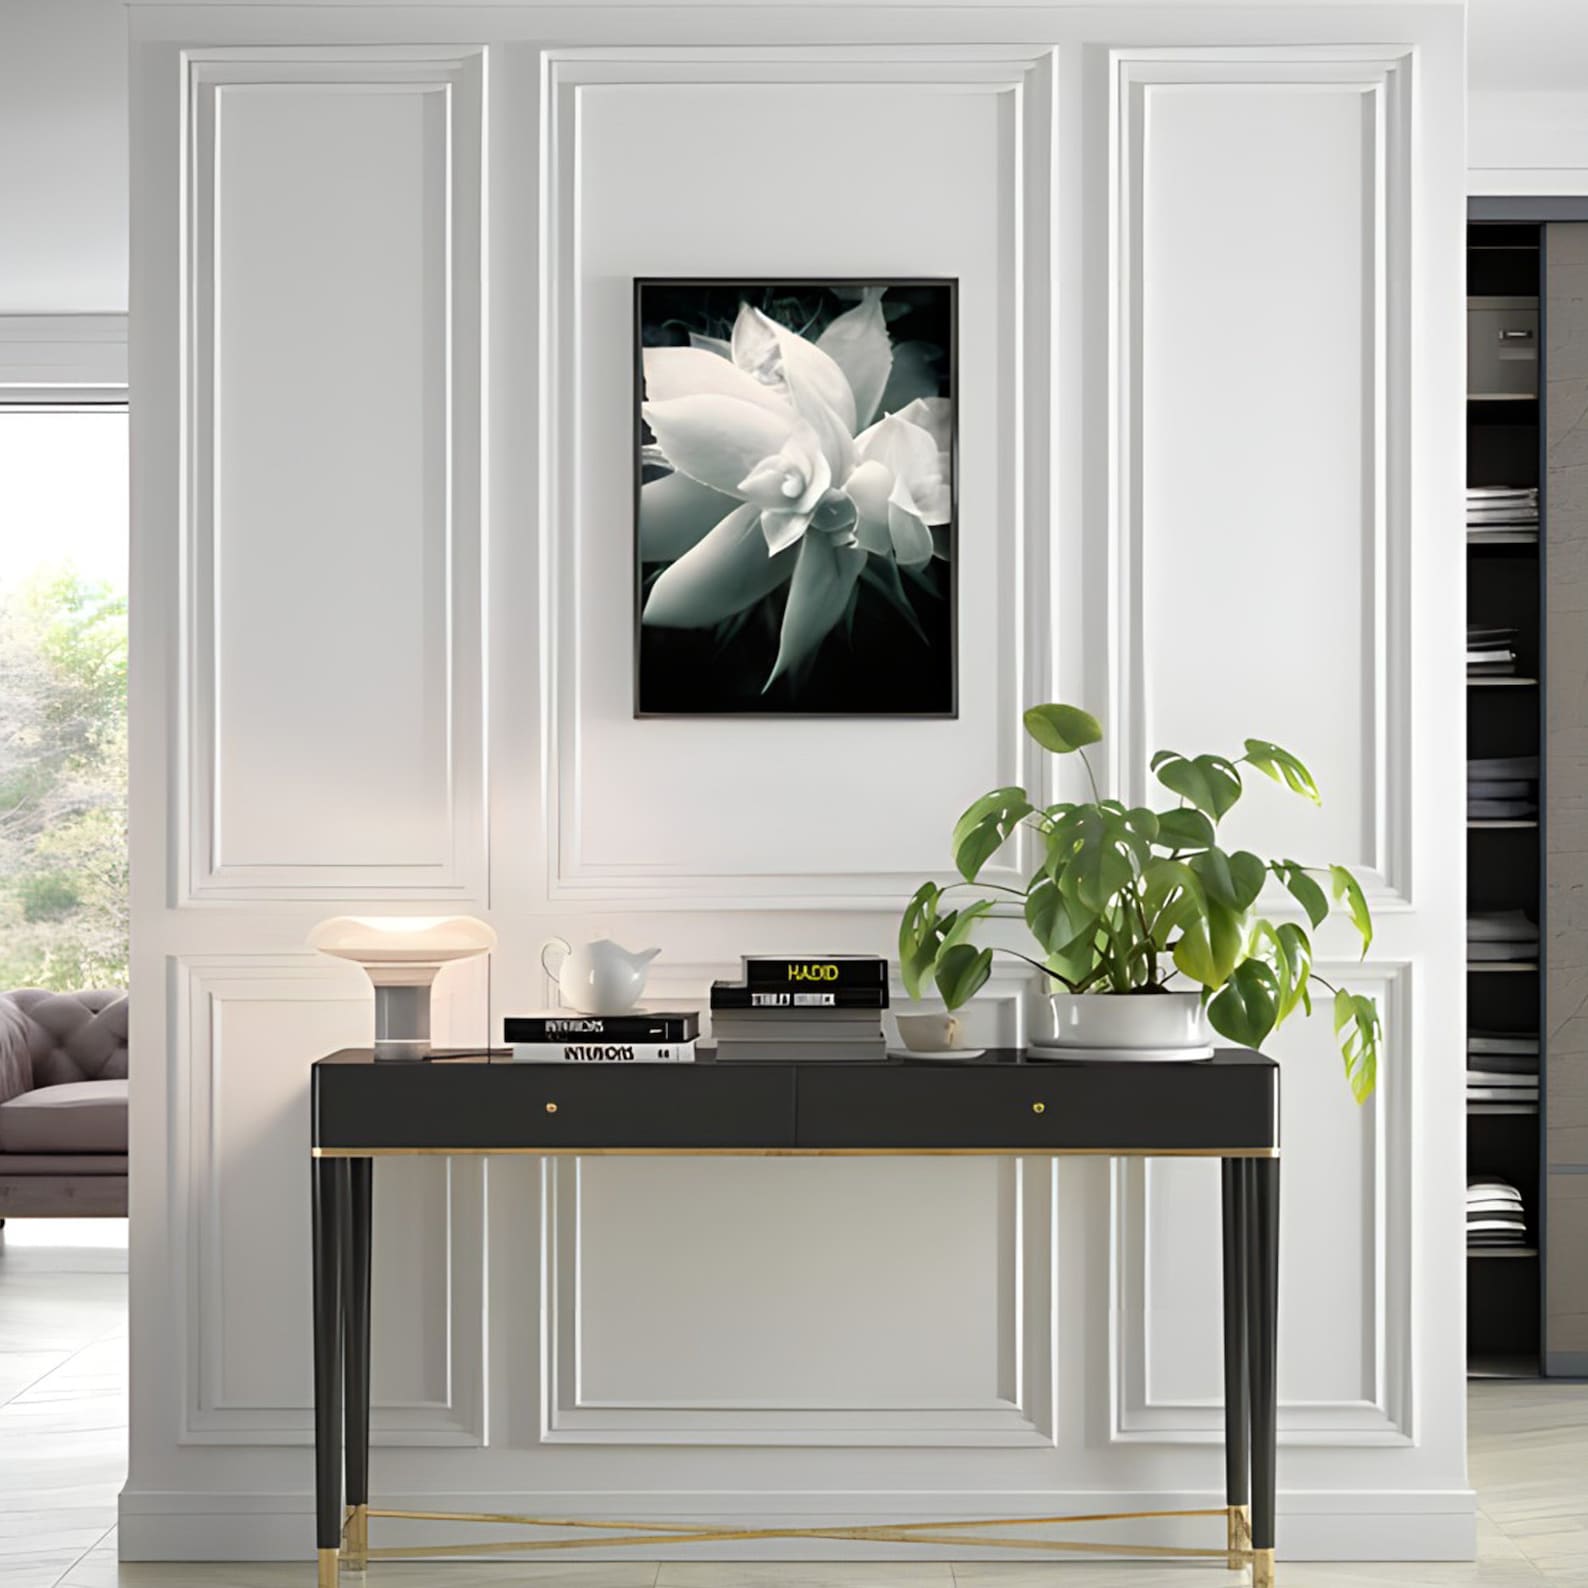
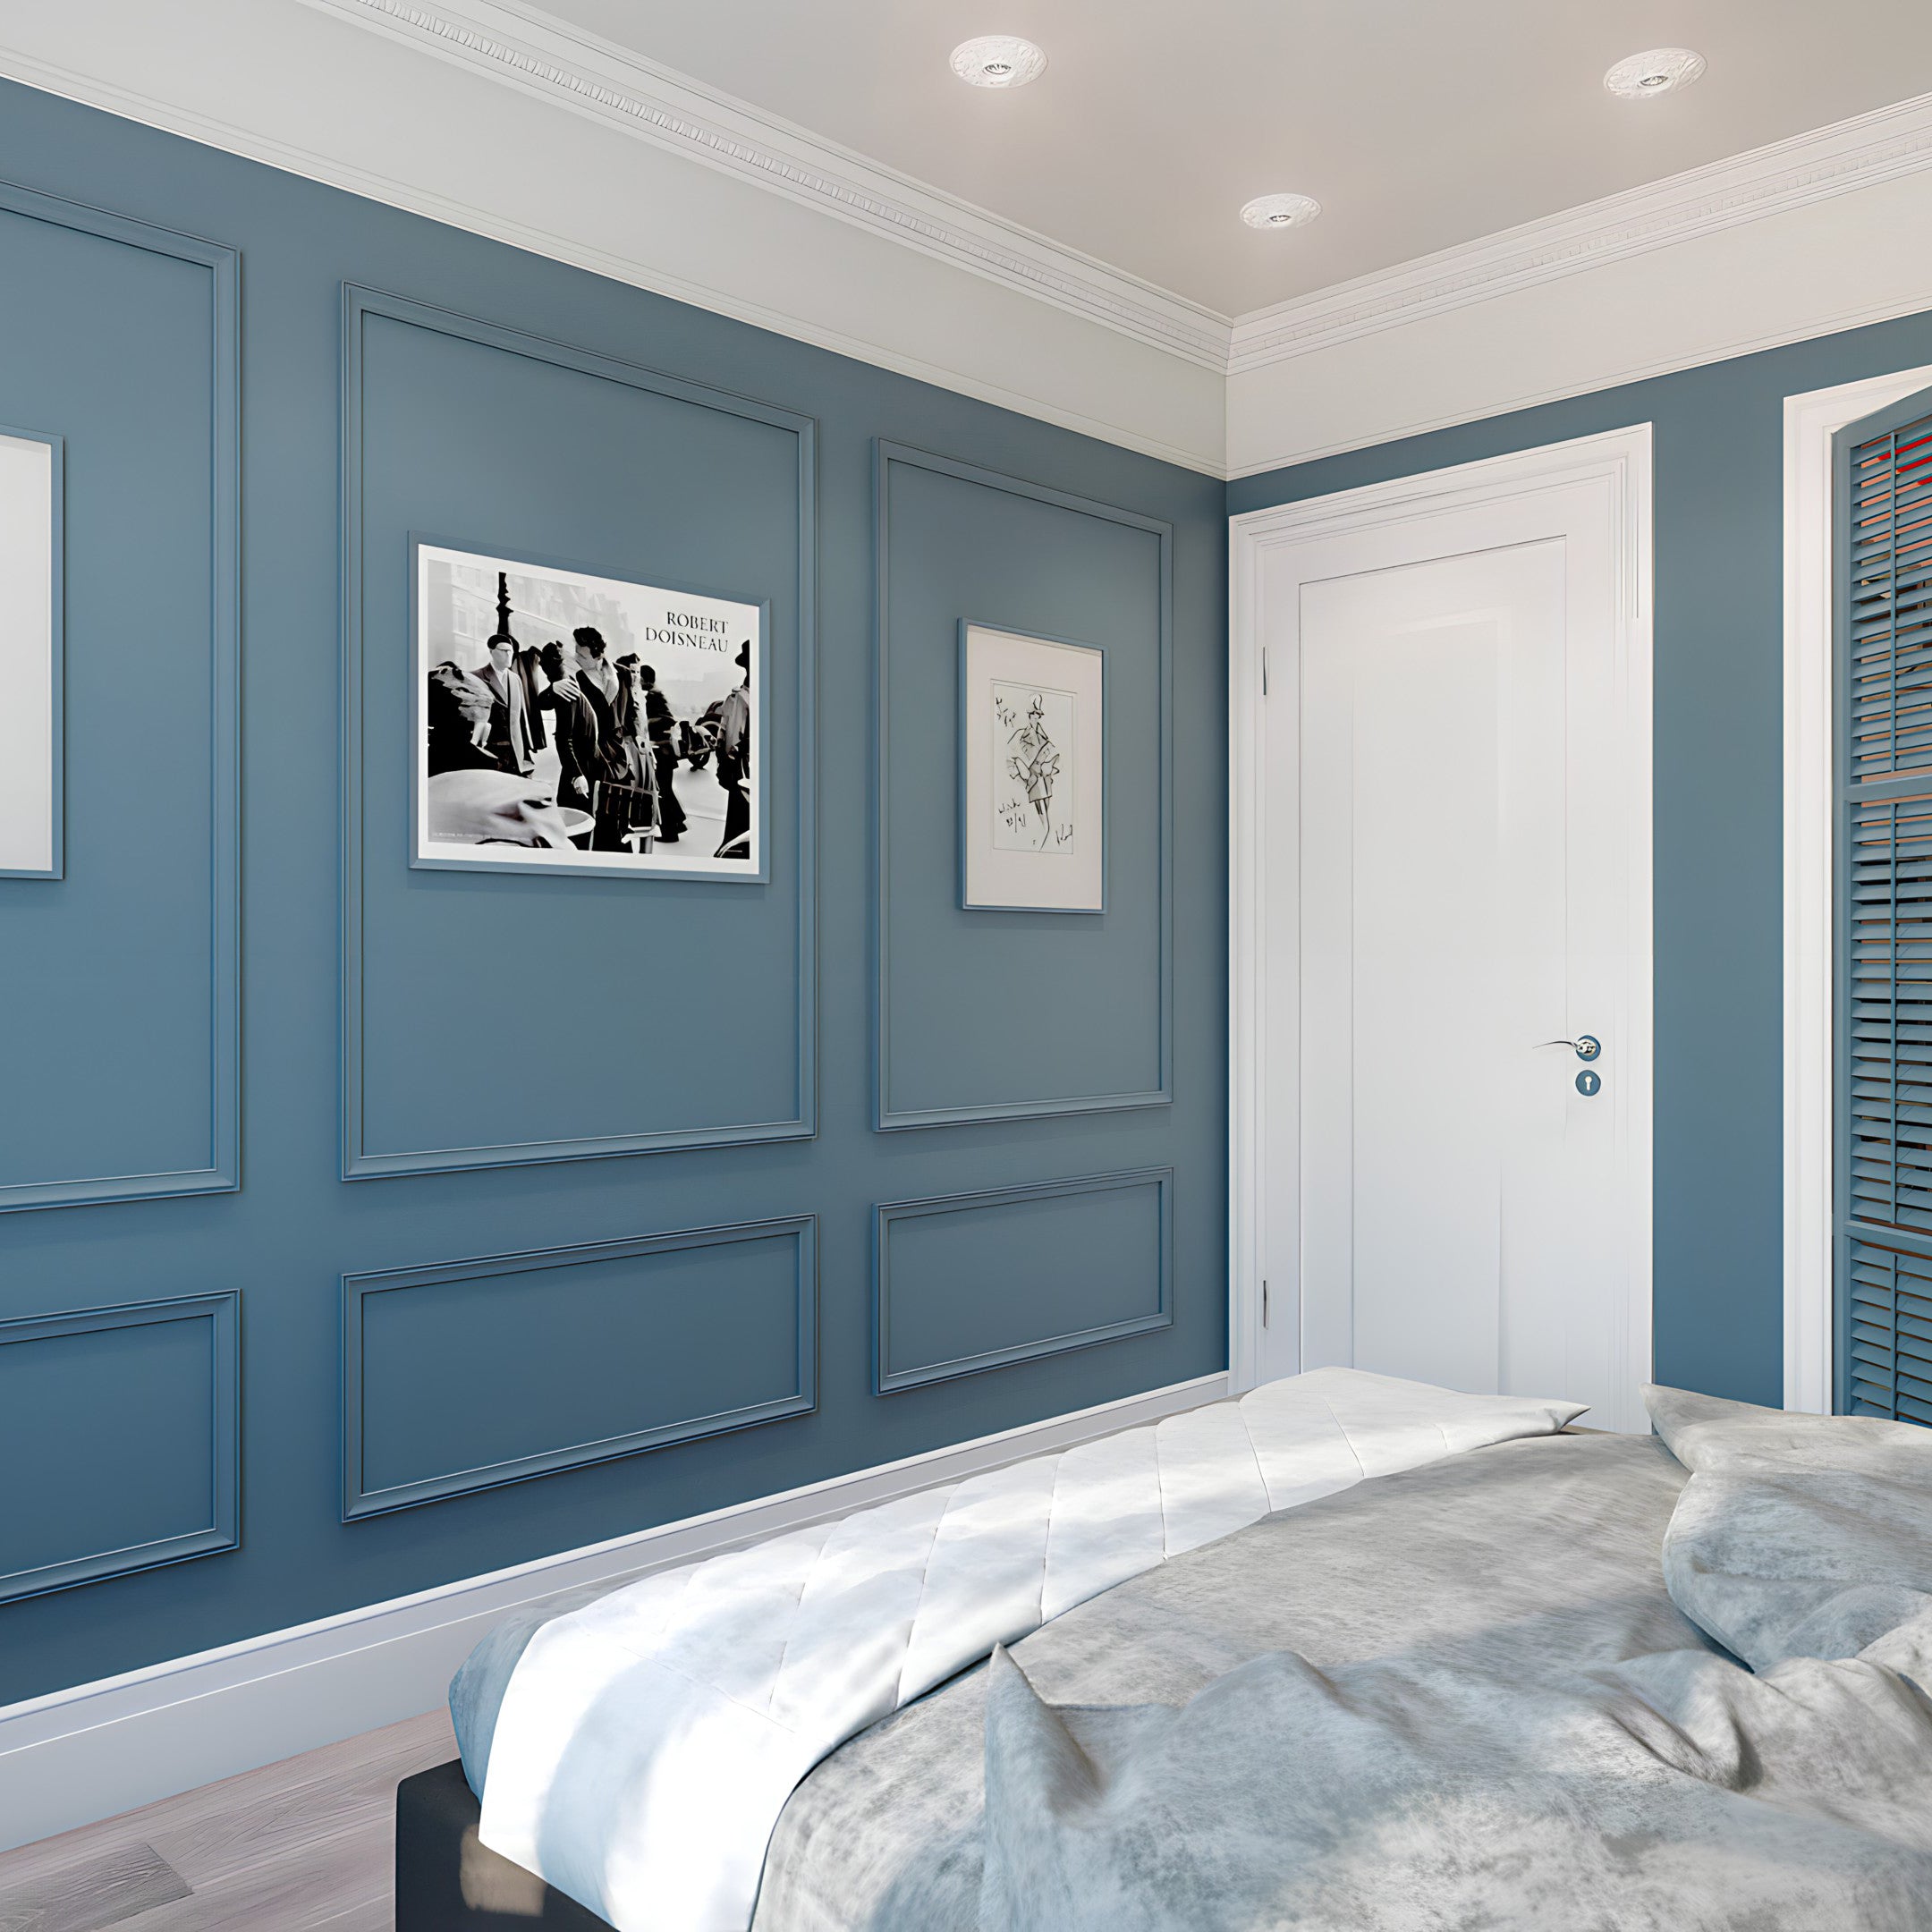
Wall decor trim refers to ornamental elements that are added to walls to enhance their visual appeal. These trims can be made from various materials, including wood, plastic, and metal, and they come in countless styles, colors, and finishes. The primary purpose of wall decor trim is to add character, depth, and texture to walls, making them more visually interesting.
Types of Wall Decor Trim
Crown Molding
Crown molding is installed at the junction between the walls and ceiling. It adds elegance and a finished look to any room.
Baseboards
Baseboards run along the bottom of walls and cover the joint between the wall and the floor. They protect walls and add a clean finish.

Chair Rails
Chair rails are horizontal trims set at a height of about 30 to 36 inches from the floor, originally designed to prevent damage from chairs.
Wainscoting
Wainscoting is a decorative wall treatment that covers the lower third or half of a wall, commonly made of wood panels.

Panel Molding
Panel molding creates the illusion of panels on walls, adding depth and sophistication to your decor.
Benefits of Wall Decor Trim

Aesthetic Appeal
Trim adds a visual focal point that can enhance the overall décor of a space, making it feel more complete.
Increased Home Value
Quality trim work can increase your home’s resale value by appealing to potential buyers.

Concealing Imperfections
Trims can effectively hide imperfections in walls, such as uneven edges or unsightly paint lines.
Customization
With a multitude of styles and finishes available, you can customize trim to reflect your personal taste and home style.
Installation of Wall Decor Trim
While installing wall trim may seem daunting, with the right tools and guidance, it can be a rewarding DIY project. Here’s my step-by-step guide based on my personal experience:
Tools and Materials Needed
- Measuring tape
- Miter saw
- Nail gun or hammer
- Wood glue
- Caulk and caulking gun
- Paint or stain
- Level
Steps for Installation
- Measure the Area: Use a measuring tape to determine the length required for your trim.
- Cut the Trim: Use a miter saw to make clean cuts at a 45-degree angle for corners.
- Dry Fit: Before attaching, dry fit the pieces to ensure they fit well together.
- Attach the Trim: Use a nail gun or hammer to secure the trim to the wall.
- Fill in Gaps: Use wood glue and caulk to fill gaps and seams for a polished look.
- Paint or Stain: Finish your trim with paint or stain to match your decor.
Comparison of Wall Decor Trim Materials
| Material | Pros | Cons |
|---|---|---|
| Wood | Durable, classic look, can be painted or stained | Can warp, higher cost |
| Medium Density Fiberboard (MDF) | Cost-effective, easy to paint, uniform surface | Not as durable as wood, can swell with moisture |
| Polyurethane | Lightweight, resistant to moisture, easy to install | Less natural look than wood |
| Vinyl | Budget-friendly, easy maintenance | May not provide the same aesthetic as wood |
Pros and Cons of Wall Decor Trim
Pros
- Enhances visual interest
- Provides a finished look
- Offers a variety of styles and options
- Can be a DIY project
- Increases property value
Cons
- Cost of materials can be high
- Installation can be time-consuming
- Requires maintenance, such as painting or staining
Personal Experience: My Journey with Wall Decor Trim
When I first moved into my home, the walls felt bare and uninviting. After researching various decorating techniques, I decided to experiment with trim. I started in the dining room, installing wainscoting along the lower half of the walls.
The transformation was remarkable! The space instantly felt more elegant and warm. I learned that when choosing the right style and color for trim, it’s essential to consider the overall theme of the room. For instance, my modern decor complemented sleek, minimalist baseboards well, while my rustic living room showcased more intricate crown molding beautifully.
Frequently Asked Questions
What is the best material for wall decor trim?
The best material depends on your specific needs and budget. Wood offers durability and elegance, while MDF is more affordable and easier to work with for DIY projects.
Can I install wall decor trim myself?
Yes! Many homeowners choose to install wall decor trim themselves. It’s a manageable DIY project with the right tools and a bit of research.
How can I maintain my wall decor trim?
Regular dusting and occasional repainting or re-staining will keep your trim looking fresh. If you notice wear or damage, addressing it quickly can prevent bigger issues.
Is wall decor trim worth the investment?
Absolutely! Wall decor trim adds significant aesthetic value to your home, and quality trim work often yields a higher resale value.
What style of trim is best for small rooms?
In small rooms, opt for simpler, less bulky trims to avoid overwhelming the space. Consider using high baseboards and minimalist crown molding for an open feel.