Decorating rocks is more than just a creative endeavor; it’s a form of expression that can brighten up your garden, create thoughtful gifts, or even serve as a meditative practice. I remember the first time I picked up a plain rock and decided to turn it into something special—it was a rewarding experience that kickstarted my passion for rock art. In this guide, we’ll delve deep into the world of rock decoration, covering various methods, tools, and tips to help you unleash your inner artist!
Table of Contents
- Why Decorate Rocks?
- Getting Started with Rock Decorating
- Popular Techniques for Decorating Rocks
- Essential Materials and Tools
- Step-by-Step Guide to Decorating a Rock
- Pros and Cons of Rock Decorating
- Creative Ideas to Inspire Your Rock Art
- Comparison Table of Decoration Techniques
- Frequently Asked Questions
Why Decorate Rocks?
Decorating rocks can bring joy and creativity into your life. Here are some reasons why you might want to give it a try:
- Stress Relief: Engaging in artistic activities can reduce stress and promote mindfulness.
- Gift Creation: Beautifully decorated rocks make thoughtful, handmade gifts for friends and family.
- Home Decor: Personalized stones can enhance your home or garden decor.
- Community Engagement: Many communities have rock painting groups that spread positivity through art.
Getting Started with Rock Decorating
Before you dive into decorating rocks, it’s essential to gather the right materials and find inspiration. Here’s how to get started:
Choosing the Right Rocks
Selecting the right rock is crucial for the success of your project. Here are some tips:
- Find the Right Shape: Look for smooth, flat stones for painting. River rocks, field stones, or even larger boulders can work beautifully.
- Size Matters: Consider where you plan to display your rock. Thicker stones are easier to handle.
- Cleanliness: Ensure your rocks are clean and dry before decorating—this helps paint adhere better.
Inspiration Sources
Inspiration is everywhere! Here are some ideas to spark your creativity:
- Nature: Observe natural patterns, colors, and shapes.
- Online platforms: Pinterest, Instagram, and YouTube are treasure troves for creative techniques.
- Art books: Explore books focused on rock art for unique ideas and step-by-step instructions.
Popular Techniques for Decorating Rocks
There are several techniques you can use to decorate your rocks. Here’s a brief overview of some popular methods:
Painting
Painting is perhaps the most common method. You can use acrylic paints for vibrant colors and durability.
Decoupage
Using decoupage medium, you can apply paper cutouts or fabric to create intricate designs.
Engraving
For a textured look, consider engraving designs onto the surface using a Dremel tool.
Natural Dyes
Using natural materials like berries and spices can create beautiful, eco-friendly designs.
Stenciling
Stencils can help you achieve precise designs. They’re perfect for beginners!
Essential Materials and Tools
Having the right materials can make a significant difference in the quality of your rock art:
Basic Supplies
- Acrylic paints
- Paintbrushes (various sizes)
- Sealant (for protection)
- Clean cloth (for dusting rocks)
- Pencil (for sketching designs)
Optional Supplies
- Stencils
- Glue (for decoupage)
- Dremel tool (for engraving)
- Natural dyes (for eco-friendly options)

Step-by-Step Guide to Decorating a Rock
Now that you have your supplies, let’s go through a simple step-by-step process to decorate a rock:
Step 1: Select Your Rock
Choose a rock that inspires you. Make sure it’s clean and dry.
Step 2: Plan Your Design
Sketch your design on paper, or lightly outline it on the rock using a pencil.
Step 3: Paint Your Rock
Using your paintbrush and acrylic paints, start applying colors. Allow each layer to dry before adding more.
Step 4: Add Details
Add finer details or additional designs once the base coat is dry.
Step 5: Seal Your Rock
Once everything is dry, apply a clear sealant to protect your artwork from the elements.
Pros and Cons of Rock Decorating
| Pros | Cons |
|---|---|
| Fun and creative activity | Time-consuming depending on design complexity |
| Great for all ages | Requires some initial investment in supplies |
| Can enhance your home or garden decor | Outdoor rocks may need re-sealing over time |
| Promotes relaxation and mindfulness | May require practice to master techniques |
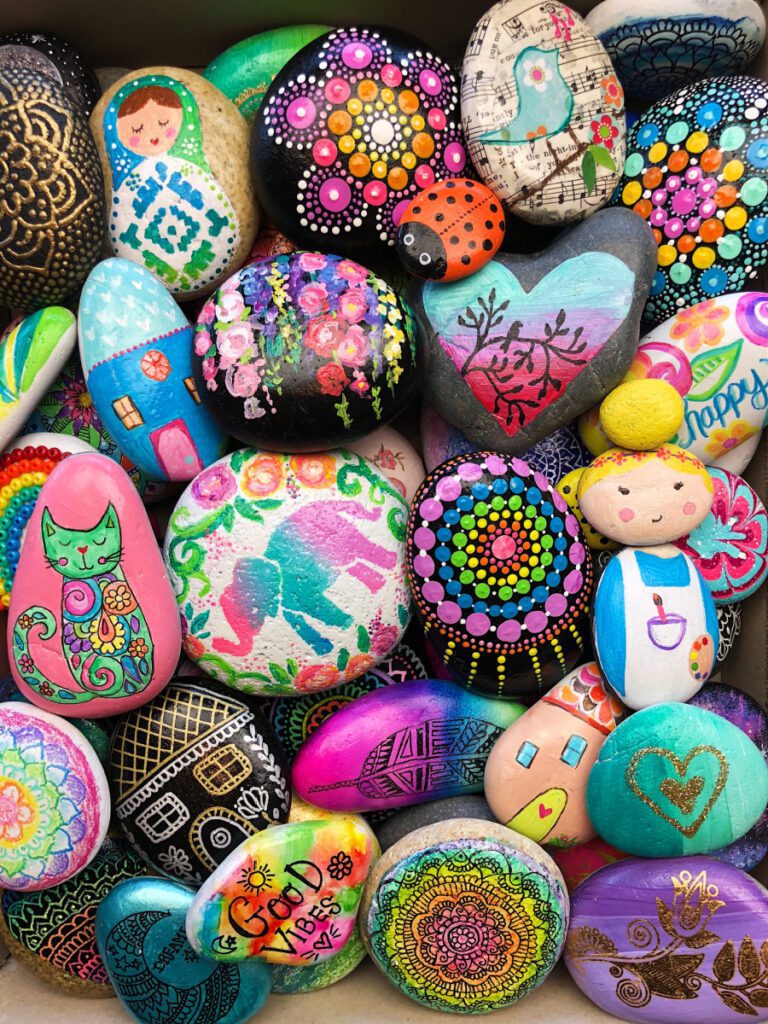
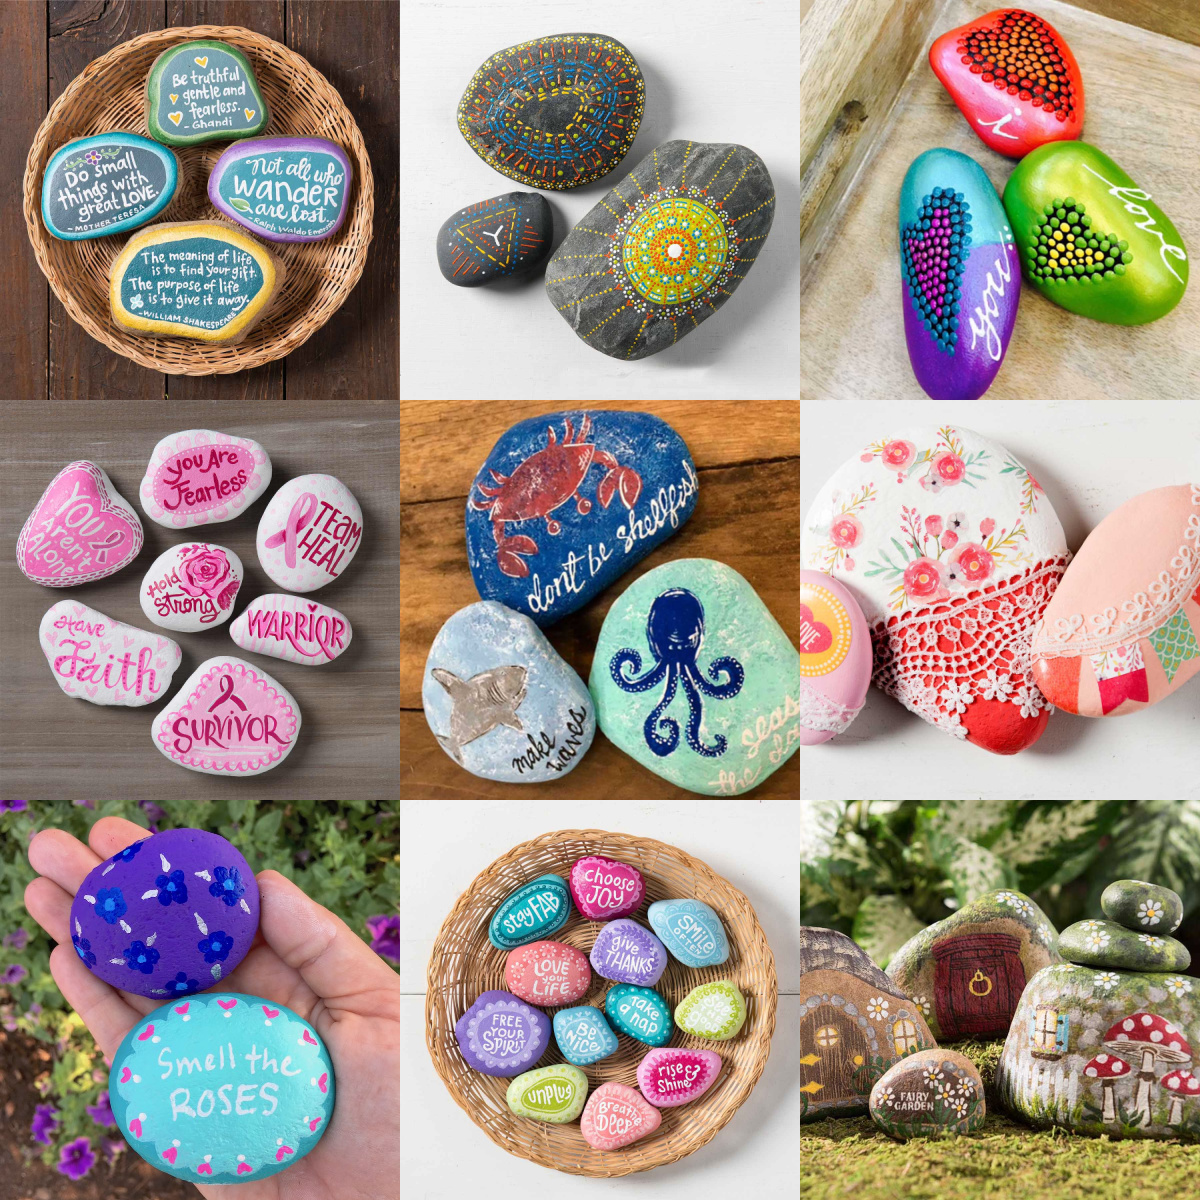
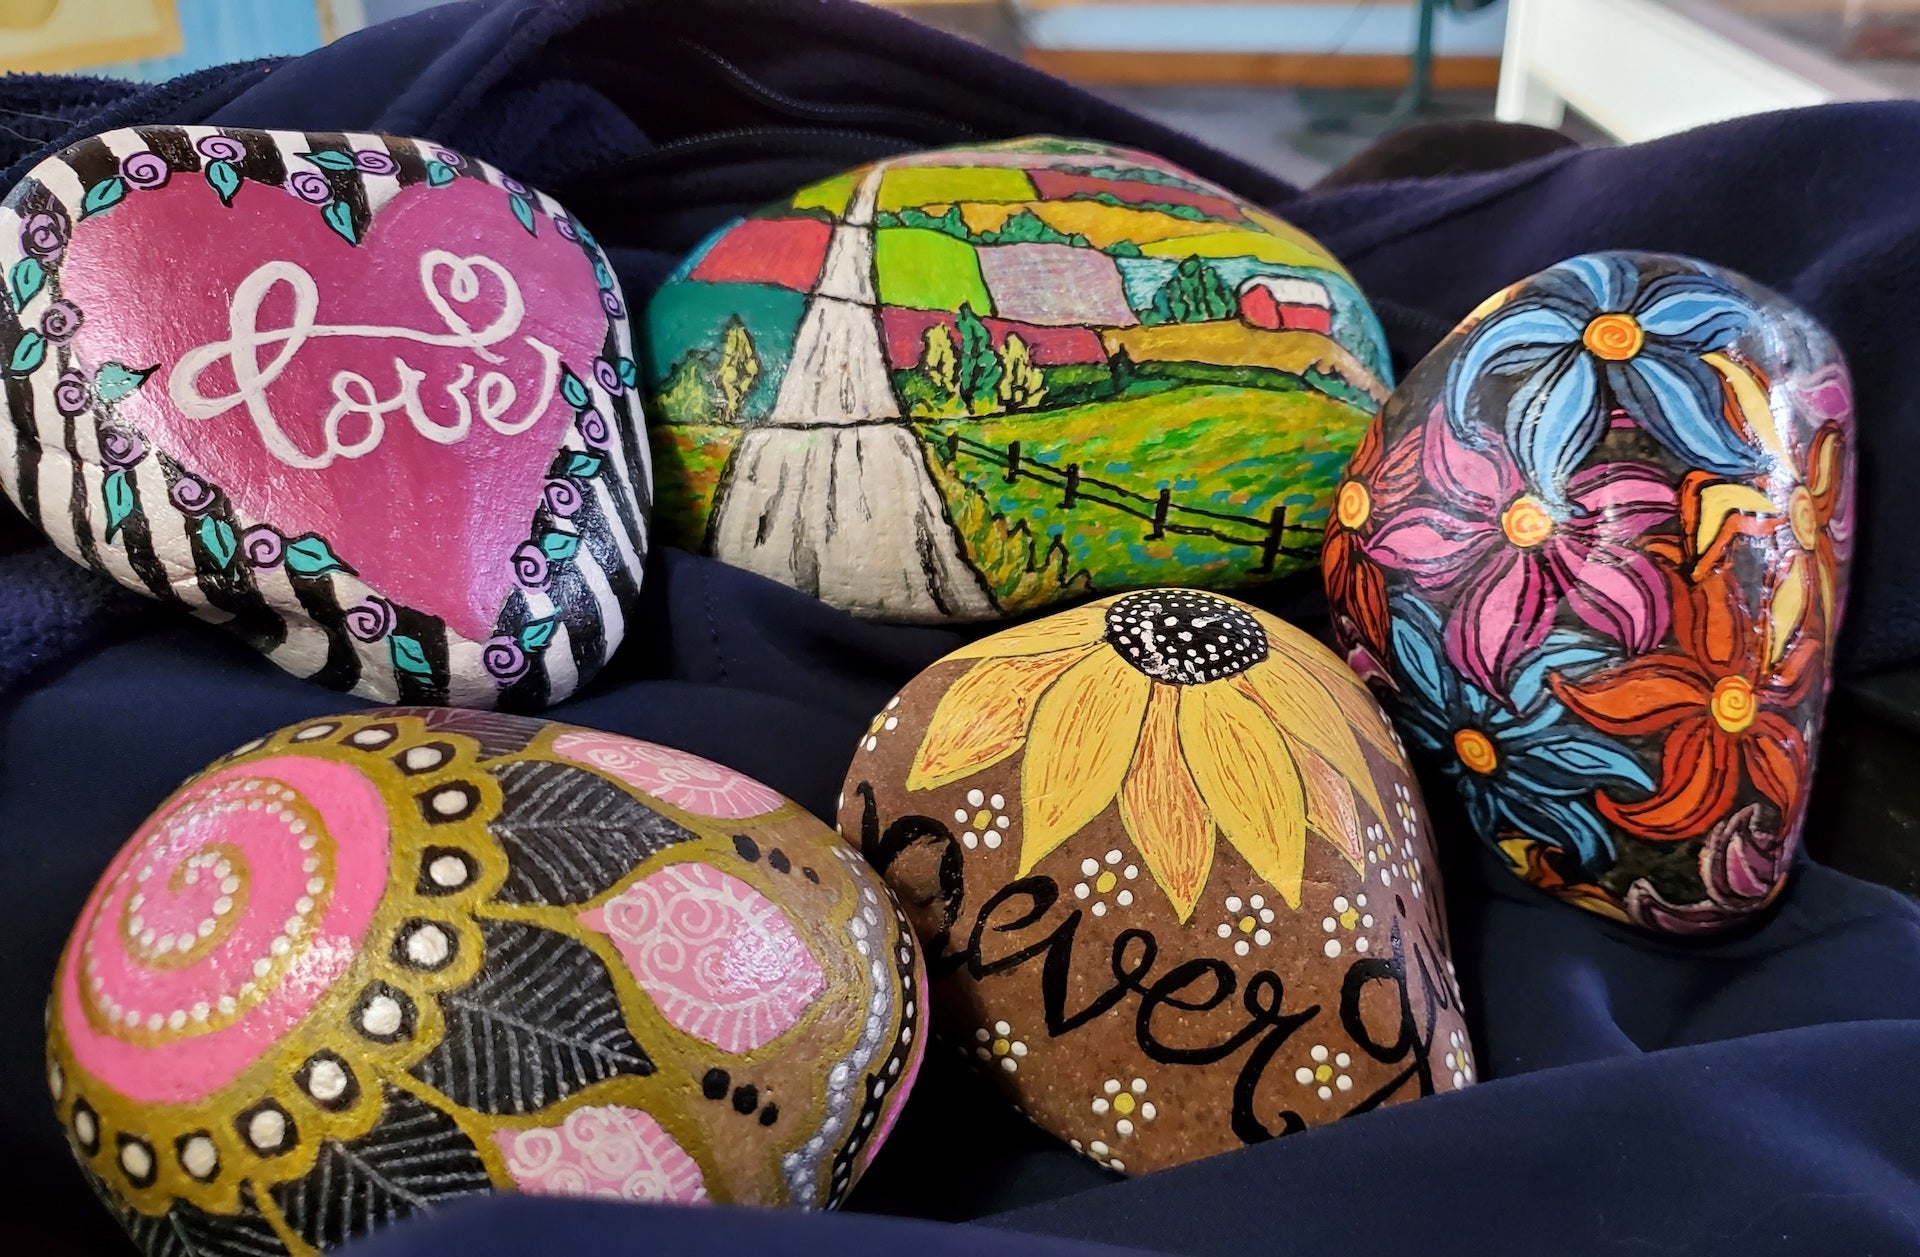
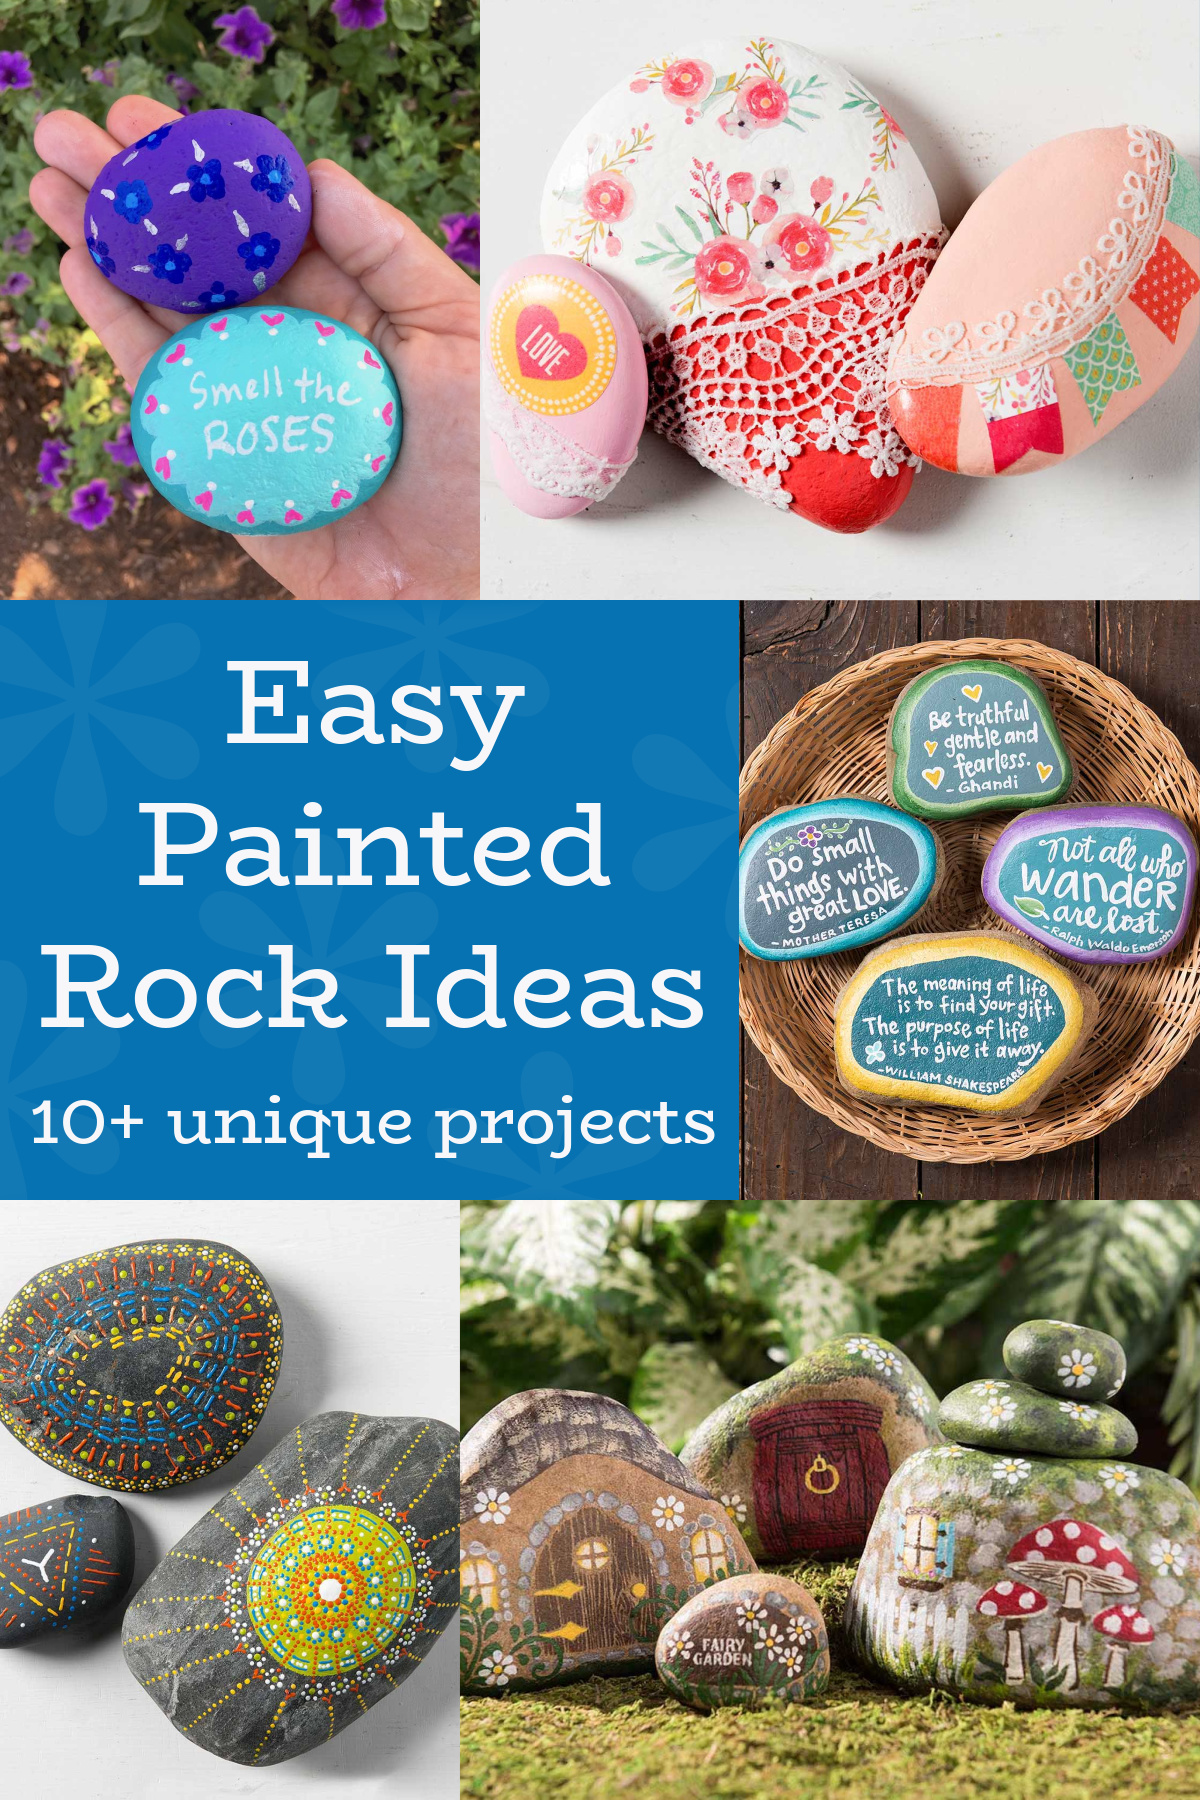
Creative Ideas to Inspire Your Rock Art
Feeling stuck? Here are some creative ideas to get those artistic juices flowing:
Whimsical Animals
Paint your favorite animals or create imaginary creatures on rocks.
Inspirational Quotes
Write motivational quotes to spread positivity in your garden or community.
Garden Markers
Transform rocks into plant markers by painting plant names or fun designs.
Seasonal Decor
Create themed rocks for different seasons—pumpkins for fall, snowflakes for winter, flowers for spring, etc.
Comparison Table of Decoration Techniques
| Technique | Best For | Difficulty Level |
|---|---|---|
| Painting | All designs | Easy |
| Decoupage | Intricate patterns | Medium |
| Engraving | Textured art | Advanced |
| Natural Dyes | Eco-friendly designs | Medium |
| Stenciling | Precise designs | Easy |
Frequently Asked Questions
What type of paint should I use for decorating rocks?
Acrylic paint is the best choice for rock decorating because it’s weather-resistant and provides vibrant colors.
How do I seal my decorated rocks?
Use a clear acrylic sealant spray or paint to protect your designs from weather damage.
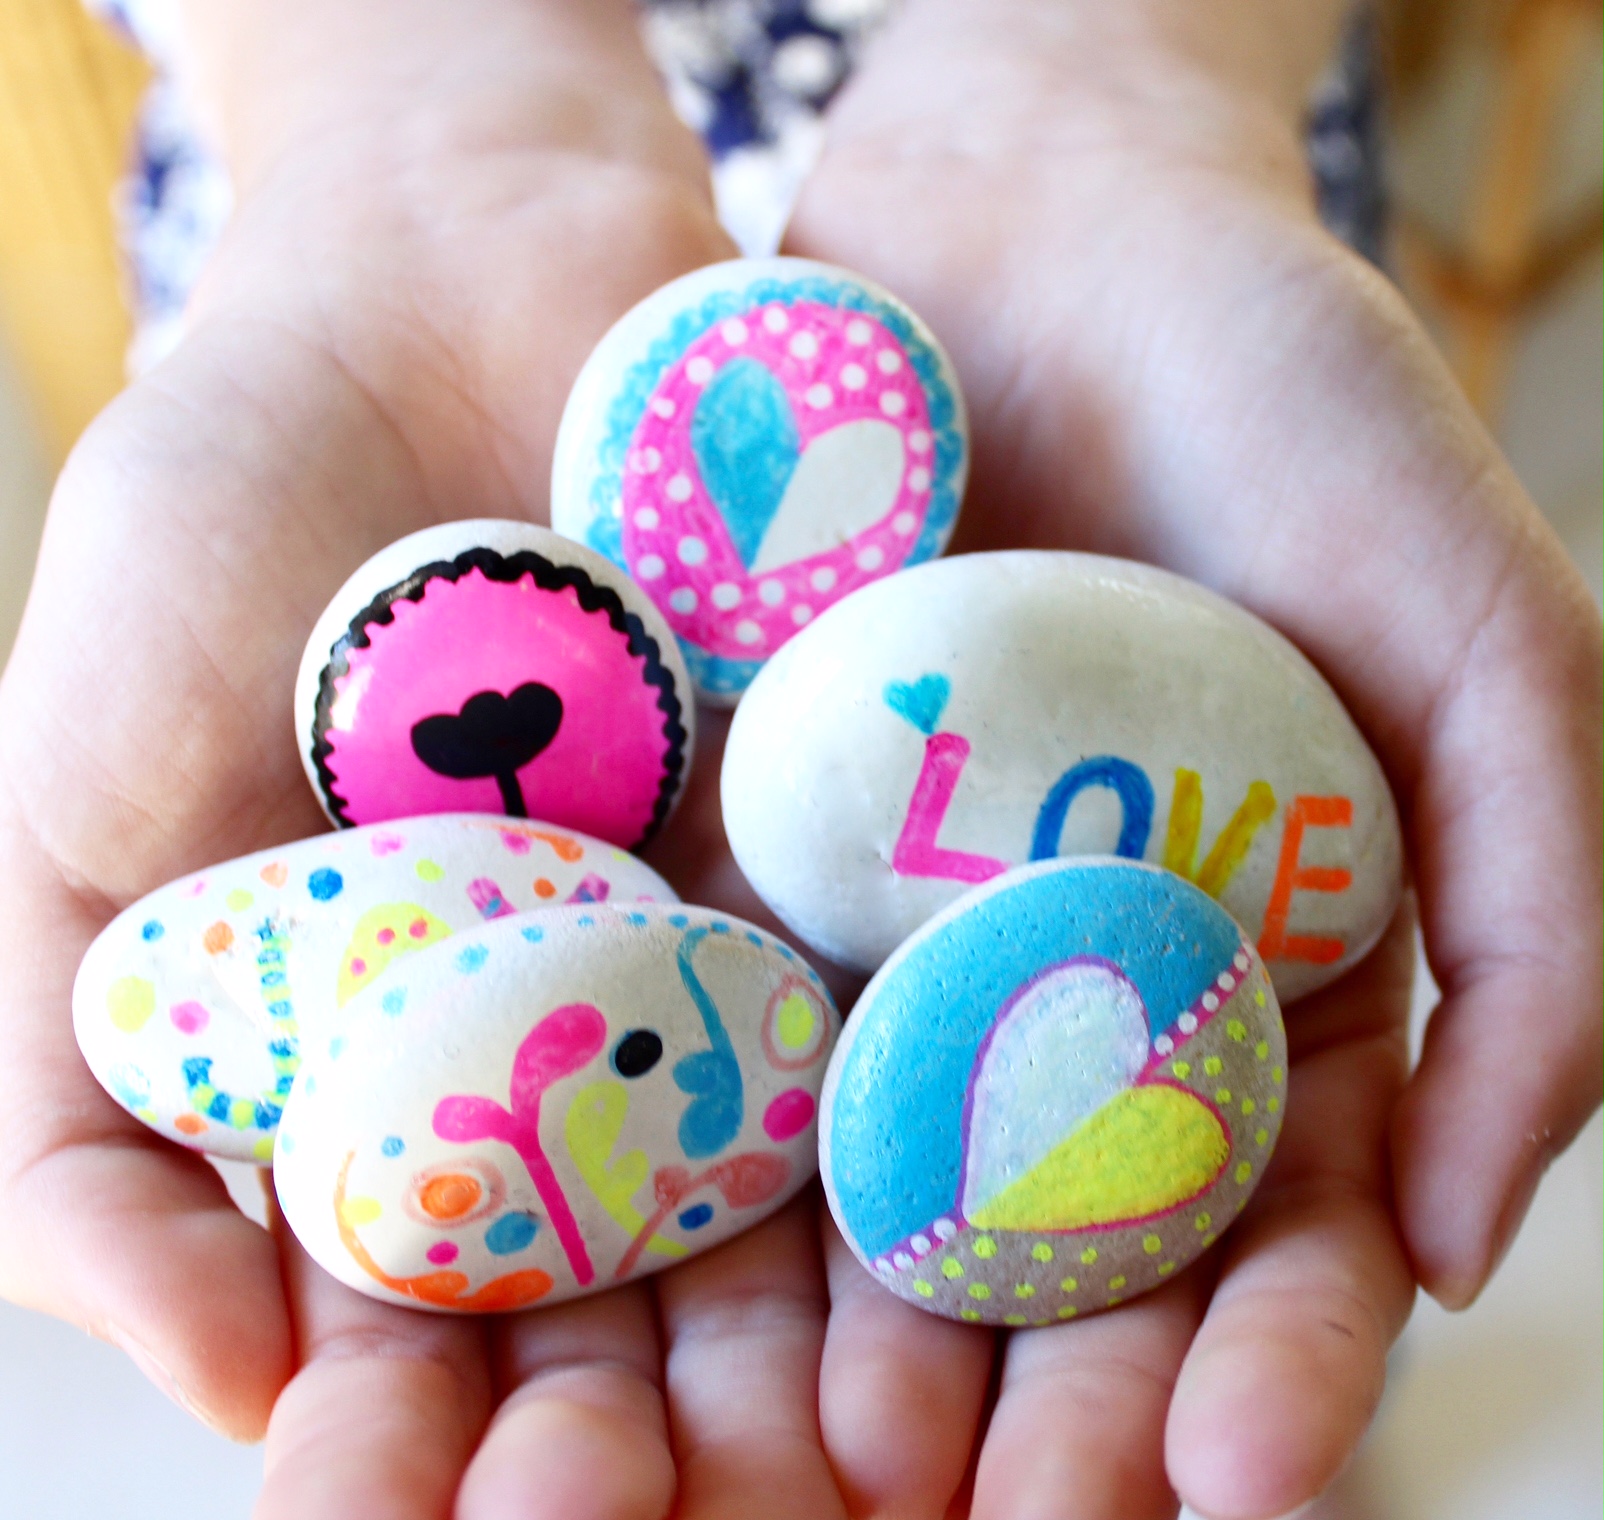
Can kids participate in rock decorating?
Absolutely! Rock decorating is a wonderful family activity that encourages creativity in kids.
Where can I find rocks for decorating?
You can find rocks in your backyard, at parks, or purchase them from craft stores.
How can I make my rock art last outside?
Make sure to seal your painted rocks with a proper sealant to protect them from rain and sun exposure.
Decorating rocks is not just a craft; it’s an opportunity to express your creativity, engage in relaxation, and create lasting memories. I hope this guide has inspired you to pick up a rock and start your decorating journey. Happy crafting!