Introduction
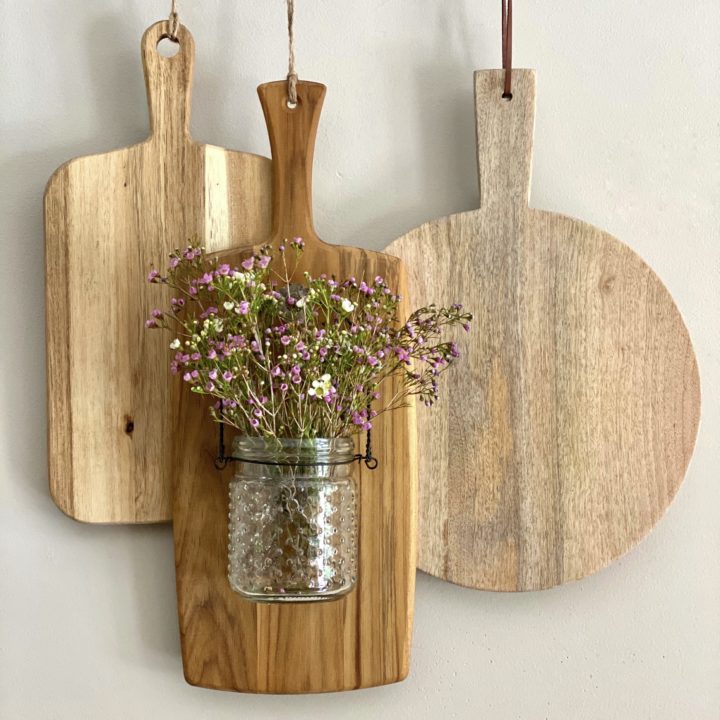
Decorating cutting boards is an exciting way to showcase your personality in the kitchen. As someone who loves cooking and crafting, I’ve spent countless hours experimenting with various techniques to beautify my cutting boards. In this article, I’ll share my journey, tips, and creative ideas to help you transform your cutlery into a delightful focal point in your kitchen.
Why Decorate Your Cutting Board?
Cutting boards are more than just kitchen tools; they can serve as art pieces and conversation starters. Here are a few reasons why you might want to decorate your cutting board:
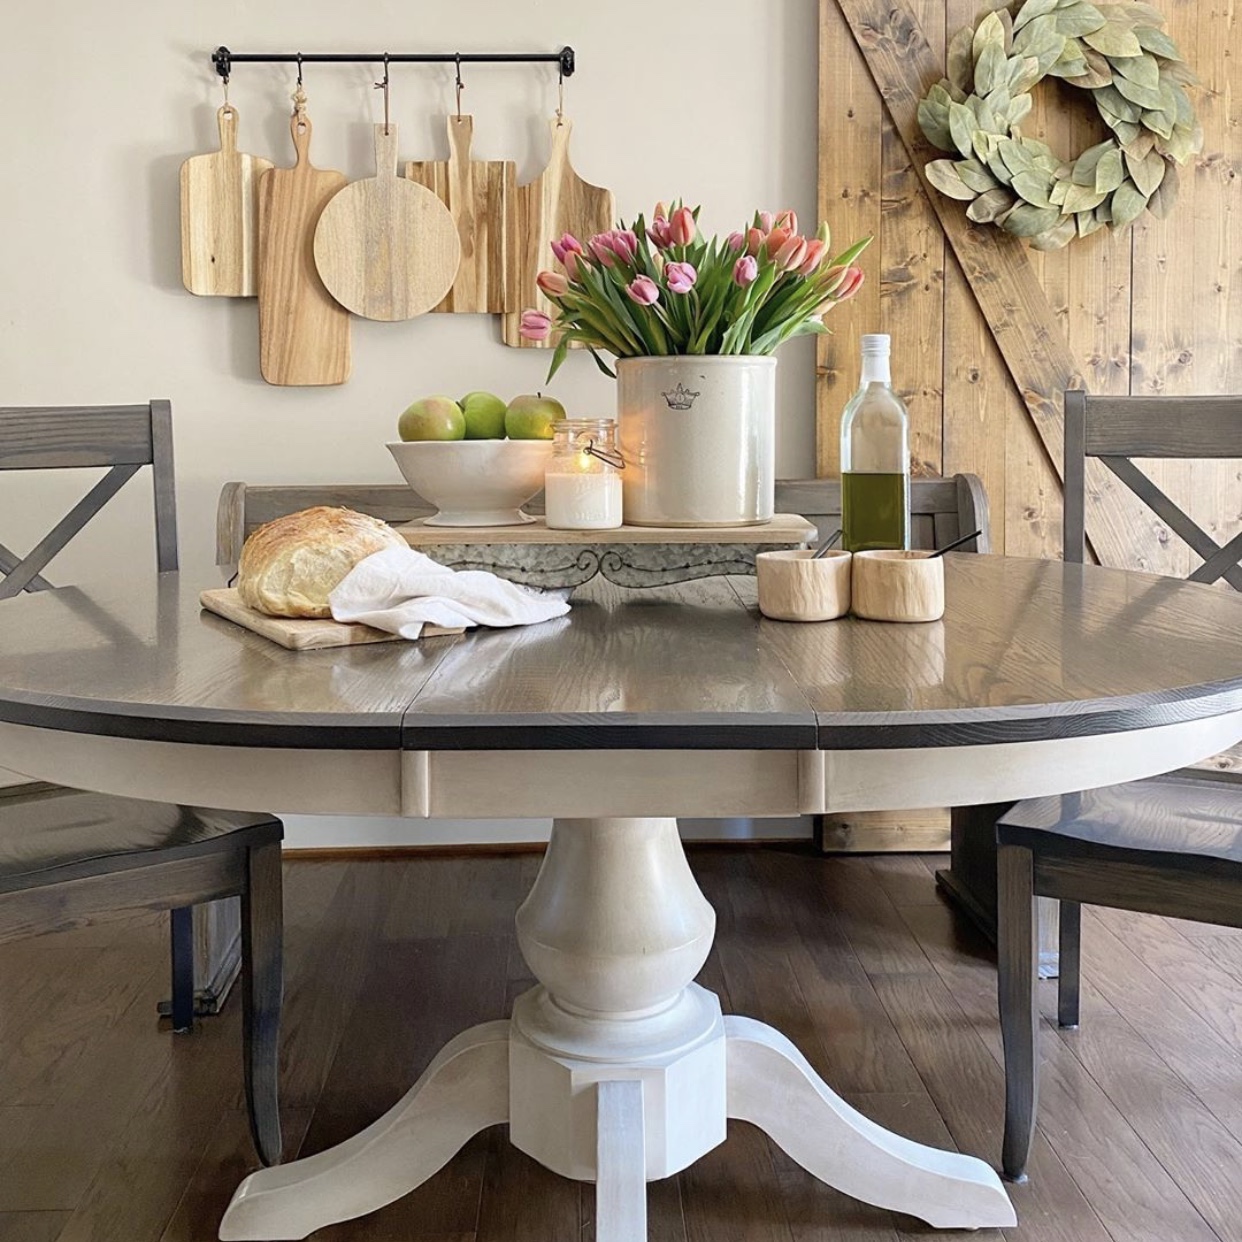
- Enhance Aesthetics: A beautifully decorated board adds charm to your kitchen.
- Personal Touch: It reflects your unique style and personality.
- Great Gift Idea: Handmade, decorated cutting boards make for thoughtful gifts.
- Functional Art: They can be utilized for both display and food preparation.
Types of Cutting Boards to Decorate
Material Matters
Choosing the right material for your cutting board is crucial not only for decoration but also for functionality. Below are popular materials to consider:
| Material | Pros | Cons |
|---|---|---|
| Wood | Durable, aesthetic, knife-friendly | Requires maintenance, can warp |
| Bamboo | Sustainable, lightweight, knife-friendly | Susceptible to scratches |
| Plastic | Easy to clean, dishwasher safe | Less aesthetic, can retain odors |
| Glass | Non-porous, easy to clean | Can dull knives, heavy |
Ideas for Decorating Your Cutting Board
1. Painting
Painting cutting boards can add a vibrant touch. Here’s how I transformed an old wood board:
Materials Needed:
- Acrylic paint
- Paintbrushes
- Sealant (food-safe)
- Stencils (optional)
Steps:
- Clean and dry the cutting board.
- Sketch your design or use stencils.
- Paint your design and let it dry completely.
- Apply a food-safe sealant to protect the paint.
Pros and Cons:
- Pros: Customizable and colorful.
- Cons: May require regular touch-ups.
2. Wood Burning
Wood burning, or pyrography, is a technique I discovered that adds a rustic touch. It’s relatively simple and the results are stunning.
Materials Needed:
- Wood burner tool
- Design template (optional)
- Pencil
Steps:
- Draw your design lightly with a pencil.
- Carefully trace over the design with the wood burner.
- Finish with a food-safe finish to protect the design.
Pros and Cons:
- Pros: Long-lasting and intricate designs.
- Cons: Requires practice and precision.
3. Decoupage
Decoupage involves gluing decorative paper to your board. This is a fun method that lets you incorporate various patterns.
Materials Needed:
- Decoupage glue
- Decorative paper or napkins
- Clear sealant
Steps:
- Cut your decorative paper into pieces.
- Apply decoupage glue to the board and place the paper.
- Seal with additional glue and allow to dry.
Pros and Cons:
- Pros: Unlimited design options.
- Cons: May not withstand heavy use.
4. Using Markers or Pens
For quick personalization, using food-safe markers can be a great option. I often doodle or write quotes that brighten up my space.
Materials Needed:
- Food-safe markers or pens
Steps:
- Choose your design or text.
- Carefully draw or write on your board.
- Seal with food-safe spray to protect it.
Pros and Cons:
- Pros: Quick and easy.
- Cons: Less durable than other methods.
Maintenance Tips for Decorated Cutting Boards
Maintaining your decorated cutting board is essential for longevity. Here are some tips I’ve gathered over the years:
- Handwash: Always handwash your decorated boards instead of using a dishwasher.
- Dry Immediately: Prevent water damage by drying the board right after washing.
- Regular Oil Treatment: Apply mineral oil regularly to keep the wood nourished.
- Avoid Soaking: Do not soak the board in water as it can warp and damage the decorations.

Personal Experience: My Journey with Cutting Board Decoration
When I first started decorating my cutting boards, I was overwhelmed by the options. I remember my first attempt at wood burning—it was a disaster! The design turned out too deep and caused splintering. However, through practice and perseverance, I finally managed to create pieces that I was proud of. Each board tells a story; from the colorful acrylic-painted board with vibrant fruits to the rustic wood-burned ones engraved with family recipes. It’s been a rewarding experience that blends my love for art and cooking.
Sharing these boards with friends and family has sparked interesting conversations and has become a fun activity whenever I host gatherings. Every decorated board holds a memory, and I cherish each story that comes with it.
FAQs About Decorating Cutting Boards
1. Can I use a regular paint on my cutting board?
No, you should always use food-safe paints or sealants on any surface that comes into contact with food.

2. How do I clean my decorated cutting board?
Use warm soapy water and a gentle sponge. Avoid harsh chemicals and never soak the board.
3. Are there specific types of wood that are better for decorating?
Yes, hardwoods like maple, walnut, and cherry are ideal as they provide a good surface for decorating and are less prone to knife marks.
4. Can I put my decorated cutting board in the dishwasher?
It’s best to avoid the dishwasher as the heat and moisture can damage both the wood and decorations.
5. How often should I oil my cutting board?
It’s recommended to oil your cutting board every month, or more often if you notice it looks dry.

Conclusion
Decorating cutting boards is an enjoyable and rewarding endeavor that not only personalizes your kitchen but also enhances your cooking experience. Whether you’re painting, wood burning, or using decoupage, each technique offers a unique touch to your culinary workspace. Remember, the best part is that there are no limits to your creativity! So grab a board and start crafting your masterpiece today.
Feel free to share your own decorating experiences in the comments below!