Hanukkah is a time for celebration, family gatherings, and delicious food. One of the delightful traditions surrounding this festival is baking and decorating cookies that reflect the joy of the season. In this comprehensive guide, we’ll explore everything you need to know about decorated Hanukkah cookies, from recipes to decorating techniques, personal stories, and even fun facts about this beloved holiday treat!
Understanding Hanukkah: The Festival of Lights
Before we dive into the cookie-making process, let’s take a moment to appreciate the significance of Hanukkah. This eight-day Jewish festival commemorates the rededication of the Second Temple in Jerusalem. The festival is celebrated with various customs, including lighting the menorah, playing dreidel, and of course, indulging in sweet treats like decorated cookies.
Why Decorated Cookies Are a Hanukkah Favorite
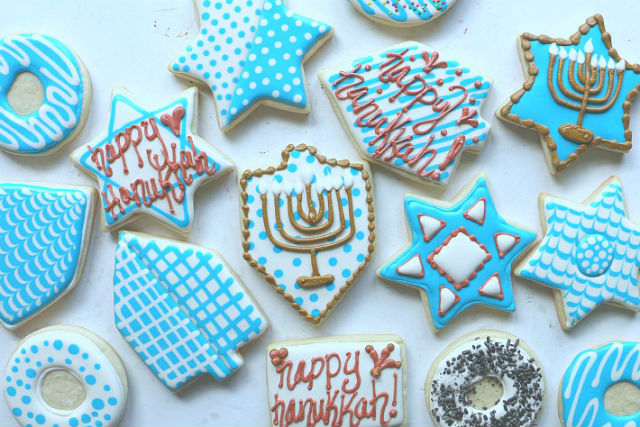
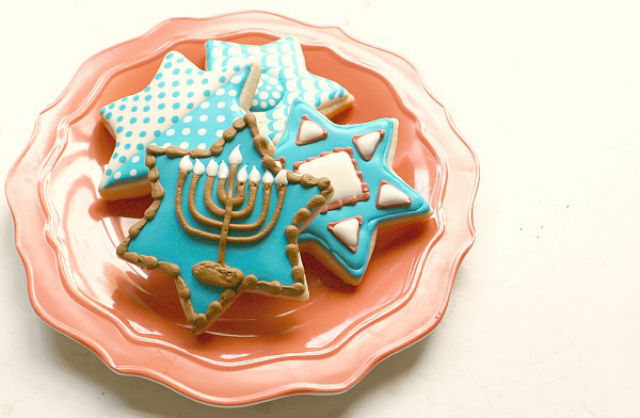
Decorated Hanukkah cookies are not only a delicious treat but also a canvas for creativity. Each cookie can be an expression of your artistic flair, showcasing symbols associated with Hanukkah, such as:

- Menorahs
- Dreidels
- Stars of David
- Latkes and gelt
The act of baking and decorating cookies can also be a wonderful way to bring family and friends together, creating lasting memories.
Essential Ingredients for Hanukkah Cookies
Before diving into the recipes, let’s gather the essential ingredients you’ll need. Here’s a quick checklist:

| Ingredient | Quantity | Purpose |
|---|---|---|
| All-purpose flour | 2 ¾ cups | Base for the cookie dough |
| Granulated sugar | 1 cup | Sweetening agent |
| Butter | 1 cup | Richness and flavor |
| Eggs | 2 | Binding agent |
| Baking powder | 1 tsp | Leavening agent |
| Vanilla extract | 1 tsp | Flavor enhancer |
| Royal icing (for decoration) | As needed | For decorating cookies |
My Favorite Hanukkah Cookie Recipe
Classic Sugar Cookies
This classic sugar cookie recipe is a favorite in my family. The cookies are soft, buttery, and provide the perfect base for all your creative decorations. Here’s how to make them:

Ingredients
- 2 ¾ cups all-purpose flour
- 1 cup granulated sugar
- 1 cup unsalted butter, softened
- 2 large eggs
- 1 tsp baking powder
- 1 tsp vanilla extract
- 1/2 tsp salt
Instructions
- Preheat your oven to 350°F (175°C).
- In a large bowl, cream together the softened butter and sugar until light and fluffy.
- Add the eggs, vanilla extract, and mix until well combined.
- In a separate bowl, whisk together the flour, baking powder, and salt.
- Gradually incorporate the flour mixture into the wet ingredients until a dough forms.
- Roll out the dough on a lightly floured surface to about 1/4 inch thick.
- Use cookie cutters to cut out shapes and place them on a baking sheet.
- Bake for 8-10 minutes or until the edges are slightly golden.
- Allow to cool completely before decorating.
Decorating Your Hanukkah Cookies
Now comes the fun part—decorating your Hanukkah cookies! There are countless ways to make these treats festive and delightful. Here are some popular decorating methods:

Using Royal Icing
Royal icing is a popular choice for decorating cookies due to its smooth finish and ability to harden. Here’s a quick recipe:
Royal Icing Ingredients
- 2 egg whites
- 4 cups powdered sugar
- 1 tsp lemon juice (optional)
Instructions
- In a bowl, beat the egg whites until foamy.
- Gradually add the powdered sugar and mix until smooth.
- If desired, add lemon juice for flavor.
- Divide the icing into separate bowls and tint with food coloring as desired.
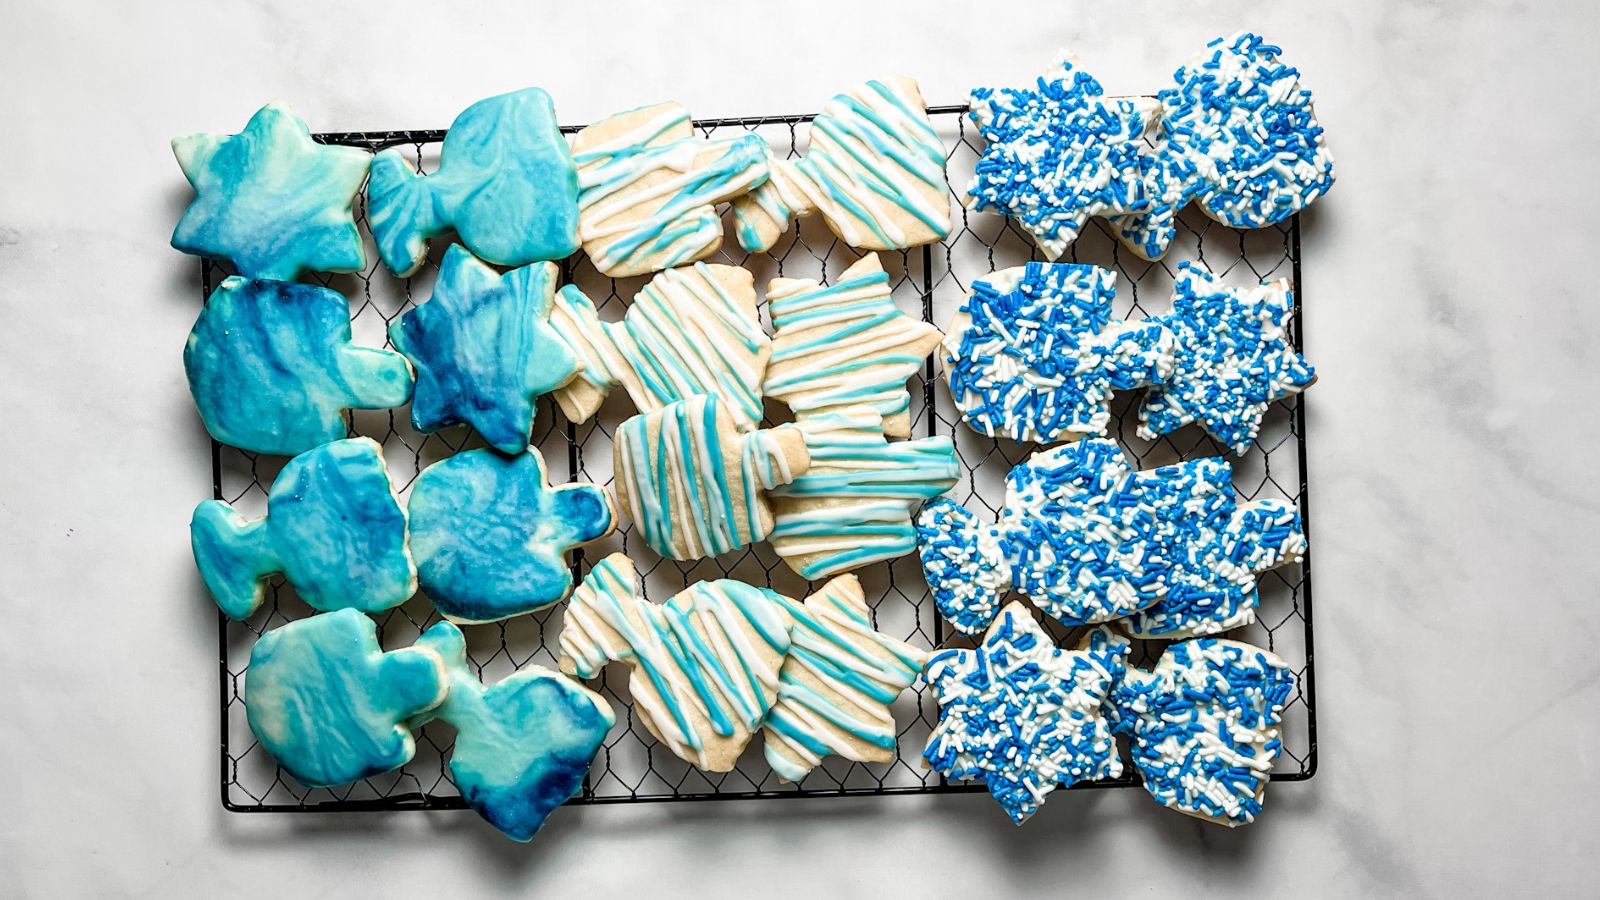
Sprinkles and Edible Decorations
For a festive touch, add sprinkles or edible decorations. Here are some ideas:
- Blue and silver sprinkles for a traditional Hanukkah theme
- Gold dust for a touch of elegance
- Colored sugar for a pop of color
Personalized Messages and Designs
Consider writing messages like “Happy Hanukkah” or “Chag Sameach” on your cookies using a piping bag filled with royal icing. You can also create designs that represent your family’s traditions. This adds a personal touch that is sure to delight your guests!
Tips for Perfectly Decorated Cookies
Here are some tried-and-true tips that I’ve learned over the years for achieving beautifully decorated Hanukkah cookies:
- Plan Your Design: Sketch your designs on paper before starting to decorate.
- Use the Right Consistency: Ensure your icing has the right consistency: stiff for outlines, and thinner for flooding.
- Practice Patience: Allow each layer of icing to dry before adding more for detailed designs.
- Keep it Simple: If you’re new to decorating, start with simple designs that build your confidence.
Storage and Packaging Ideas for Hanukkah Cookies
Once your cookies are decorated, you’ll want to store them properly to maintain freshness. Here are some tips:
Storage
- Store cookies in an airtight container at room temperature for up to one week.
- If using royal icing, allow cookies to dry completely before stacking to prevent damage.
Packaging for Gifts
Decorated Hanukkah cookies make wonderful gifts! Consider these packaging ideas:
- Use clear cellophane bags tied with festive ribbons.
- Package cookies in decorative boxes with holiday-themed designs.
- Add a personal note or recipe card for a thoughtful touch.
Pros and Cons of Making Decorated Hanukkah Cookies
Pros
- Perfect for family bonding and creating lasting memories.
- Allows for creativity and artistic expression.
- Can be personalized for gifts or gatherings.
Cons
- Can be time-consuming if making elaborate designs.
- Requires some baking and decorating skills to achieve desired results.
- Ingredients can add up in cost, especially for high-quality items.
Frequently Asked Questions (FAQs)
What are some common shapes for Hanukkah cookies?
Popular shapes include stars of David, menorahs, dreidels, and gelt. Feel free to get creative with your designs!
Can I freeze decorated Hanukkah cookies?
Yes! You can freeze decorated cookies. Allow them to dry completely, then store them in airtight containers or freeze bags. They can last up to three months in the freezer.
What is the best icing for decorating cookies?
Royal icing is often preferred for its ability to harden and maintain shape. However, buttercream can also be used for a softer texture.
How long do decorated cookies last?
Decorated cookies usually last about one week at room temperature when stored properly in an airtight container.
Conclusion
As you gather with family and friends this Hanukkah, consider making decorated cookies a part of your celebration. Whether you stick to traditional designs or let your creativity shine, these treats are sure to bring joy and sweetness to your holiday festivities. Happy baking, and Chag Sameach!