Decorating wooden letters is more than just a craft; it’s a wonderful way to personalize your living space. Whether you’re looking to create a name sign for a nursery, add some character to your home office, or bring a touch of DIY charm to your events, this comprehensive guide will take you through everything you need to know about decorating wooden letters.
Why Choose Wooden Letters for Decoration?
Wooden letters are a versatile and stylish way to express your personality in home decor. Here are several reasons why they should be your go-to choice:
- Customizable: You can decorate them in countless ways to suit your style.
- Durability: Wooden letters are sturdy and can last for years when cared for properly.
- Unique Touch: They add a personal touch that pre-made decor often lacks.
Types of Wooden Letters
Before diving into decoration techniques, it’s essential to understand the types of wooden letters available:
1. MDF Letters
MDF (Medium Density Fiberboard) letters are affordable and come in various sizes and fonts. They are easy to work with, but they can chip if not handled carefully.
2. Plywood Letters
Plywood is a sturdier option that can be stained or painted. It’s ideal for a more rustic look and more durable than MDF.

3. Solid Wood Letters
These are the highest quality and most expensive option. Solid wood letters are incredibly durable and can be left natural or beautifully finished.
Tools and Supplies Needed for Decorating Wooden Letters

Essential Tools
- Sandpaper (various grits)
- Paintbrushes and sponges
- Hot glue gun
- Craft knife or jigsaw (for cutting shapes)
Decoration Supplies
- Paint (acrylic or chalk paint)
- Stencils for designs
- Decoupage glue (like Mod Podge)
- Embellishments (ribbons, rhinestones, etc.)
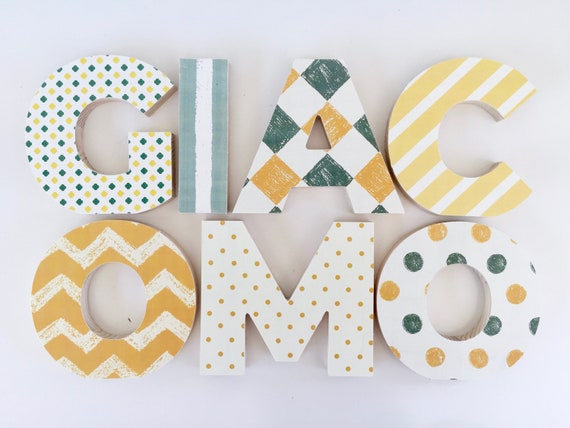
Personalizing Your Wooden Letters: Step-by-Step Instruction
Here, I’ll share my personal experience with customizing wooden letters, which can be a fulfilling and creative endeavor.
Step 1: Selecting Your Letters
Determine the message or name you want to create. Wooden letters are typically available at craft stores. Choose the size that fits your space best.

Step 2: Preparing the Surface
Use sandpaper to smooth any rough edges. This step is crucial to ensure paint adheres well and to avoid splinters.
Step 3: Choosing Your Color Palette
Think about the colors that will complement your existing decor. For a more monochromatic look, you might opt for varying shades of a single color.
Step 4: Painting the Letters
Start with a base coat of paint. If you are using a lighter color over a darker wood, consider using a primer first.
Painting Techniques
- Sponging: Use a sponge to dab on paint for a textured look.
- Dry Brushing: Lightly brush on paint to create a weathered effect.

Step 5: Adding Details
Once the base coat is dry, you can add designs or patterns using stencils or freehand painting. This is where you can really let your creativity shine!
Step 6: Finishing Touches
Seal your letters with a clear varnish for protection. You can also add embellishments like ribbons, stickers, or small decorative items.

Comparison Table: Types of Paint for Wooden Letters
| Type of Paint | Durability | Finish | Drying Time | Ease of Use |
|---|---|---|---|---|
| Acrylic Paint | High | Matte to Glossy | 1-2 hours | Very Easy |
| Chalk Paint | Medium | Matte | 1-2 hours | Easy |
| Spray Paint | High | Satin to Glossy | 10-30 mins | Moderate |
Pros and Cons of Decorating Wooden Letters
Pros
- Allows for complete personalization.
- Can enhance the aesthetic of any room.
- Affordable and accessible materials.
- Great family bonding activity.
Cons
- Can be time-consuming.
- Requires some level of skill and creativity.
- Might need protective coatings for longevity.
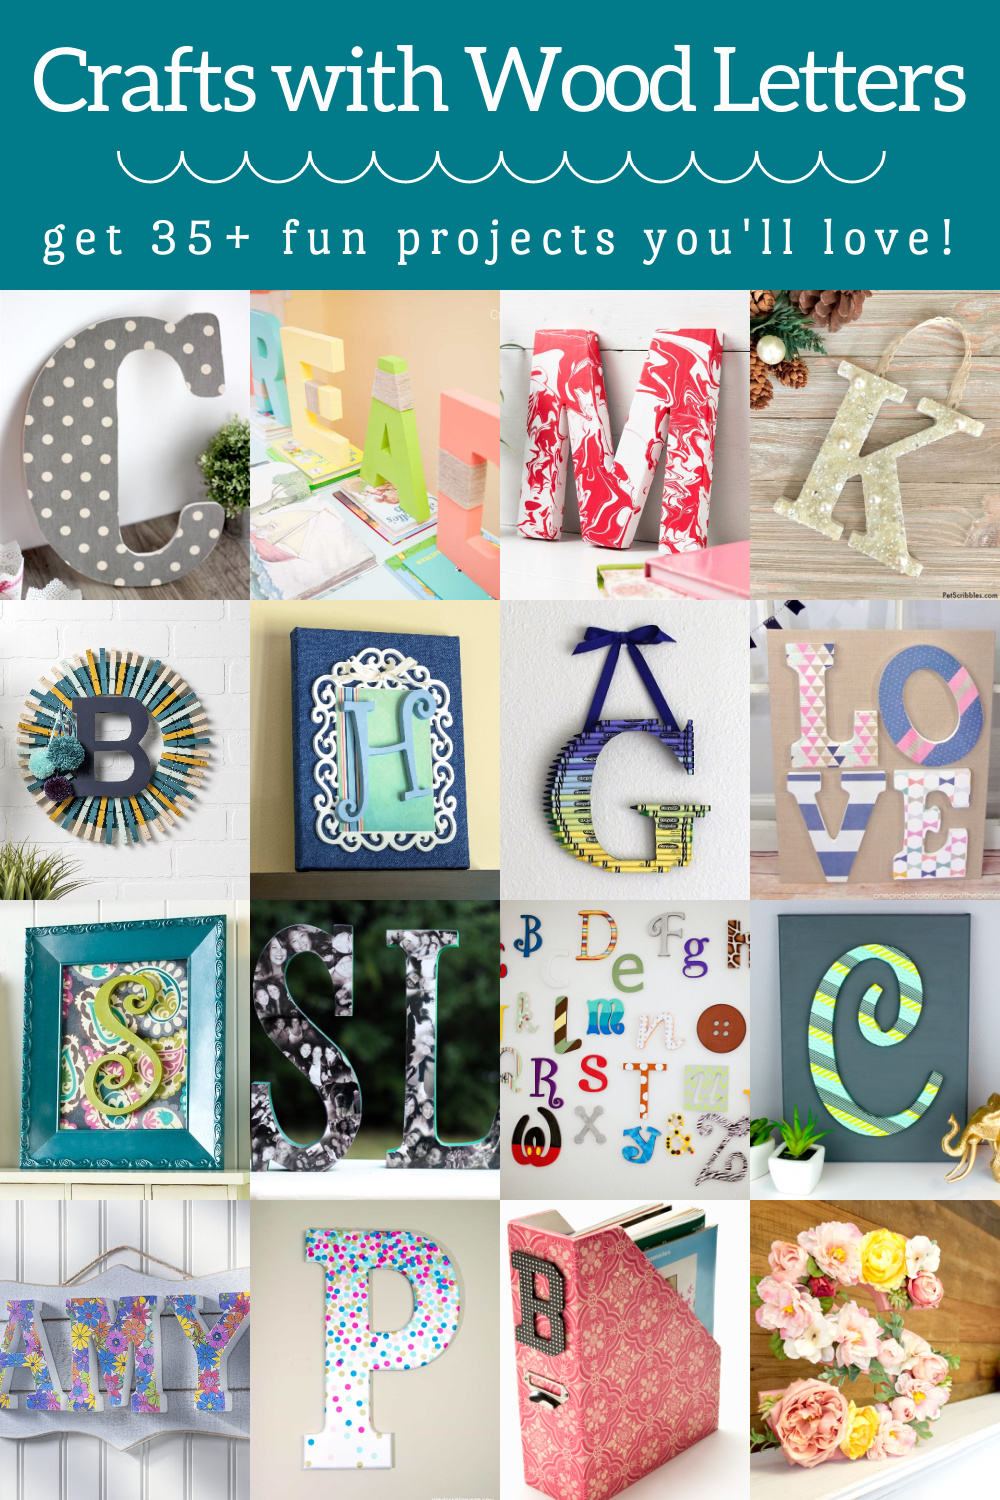
Creative Ideas for Decorating Wooden Letters
Here are some creative approaches you can take when decorating your wooden letters:
1. Nature-Inspired Themes
Incorporate natural elements like twine, moss, or leaves for an organic feel.
2. Seasonal Decor
Change the decorations based on the season. For instance, add small pumpkins for autumn or flowers for spring.
3. Themed Designs
Choose a theme, like nautical or bohemian, and decorate your wooden letters accordingly.
Incorporating Wooden Letters in Various Spaces
Wooden letters can fit into any room of your home. Here’s how to style them in different spaces:
Living Room
Use larger letters to showcase family names or a meaningful word like “HOME”.
Children’s Room
Create a whimsical theme with colorful letters that spell out your child’s name or favorite characters.
Home Office
Motivational words or phrases can provide inspiration and a creative vibe.
Weddings and Events
Use decorated letters as part of your centerpiece or as signage for different areas.
Frequently Asked Questions (FAQs)
What type of paint works best for wooden letters?
Acrylic paint is a popular choice due to its ease of use and variety of finishes. Chalk paint is also great for a matte look.
How can I ensure my painted wooden letters last longer?
Applying a clear sealant or varnish after painting will protect your letters from scratches and fading.
Can I use wooden letters outdoors?
Yes, but make sure to use outdoor paint and a sealant to protect them from the elements.
What is the best way to hang wooden letters?
You can use adhesive strips, command hooks, or nail them directly into the wall. Just ensure they are secure enough to hold the weight.
Conclusion: Make Your Mark with Wooden Letters
Decorating wooden letters is not just a craft but a pathway to expressing your personality and style. Whether you go for a minimalist look or an elaborate design, the possibilities are endless. Dive in, unleash your creativity, and transform your space in ways you have always desired!