Welcome to the enchanting world of decorative corner molding! If you’re looking to elevate your home decor and add a touch of elegance to your walls, you’ve landed in the right place. With personal experience and a passion for interior design, I’m excited to share everything you need to know about corner molding, including its various styles, benefits, and how to install it effectively.
What is Decorative Corner Molding?
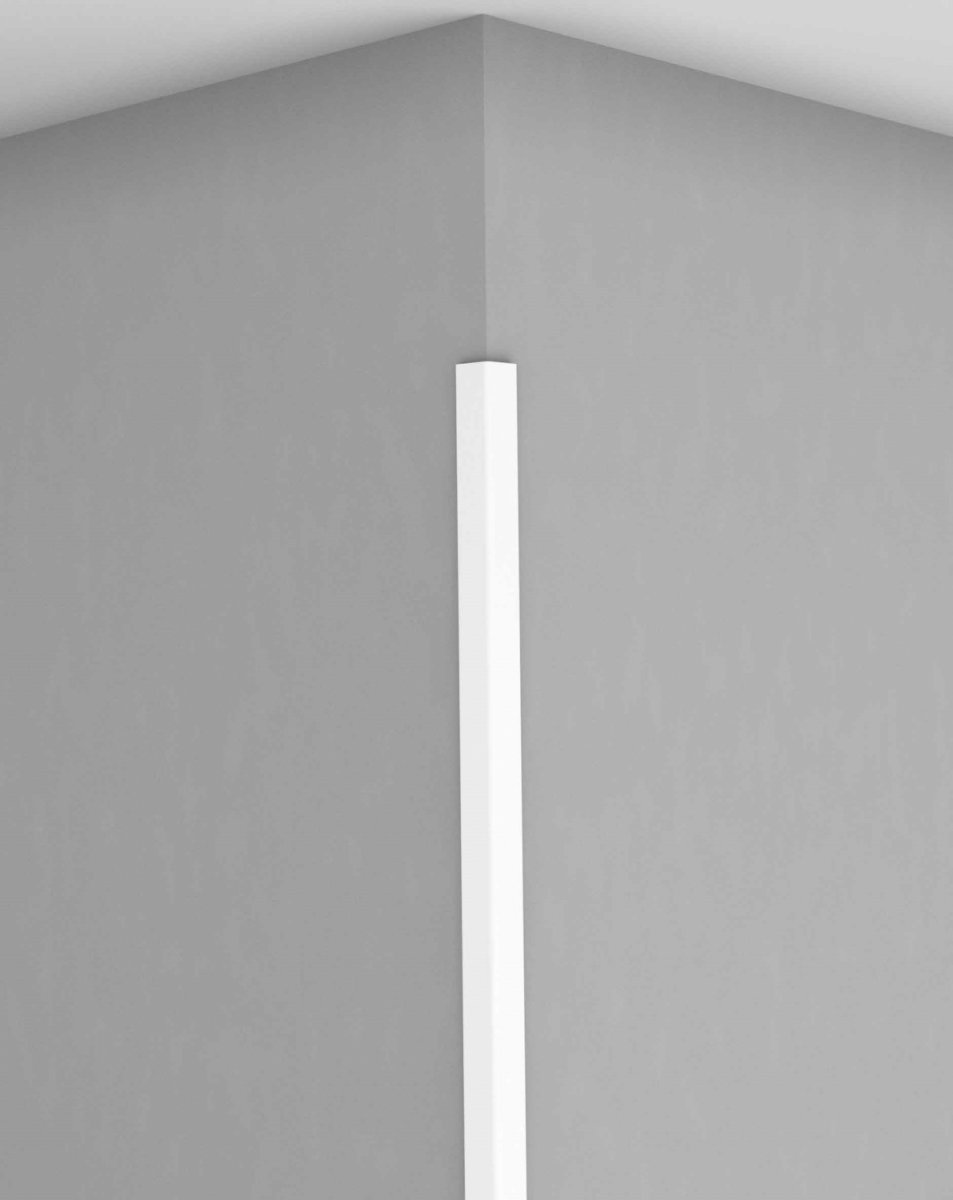
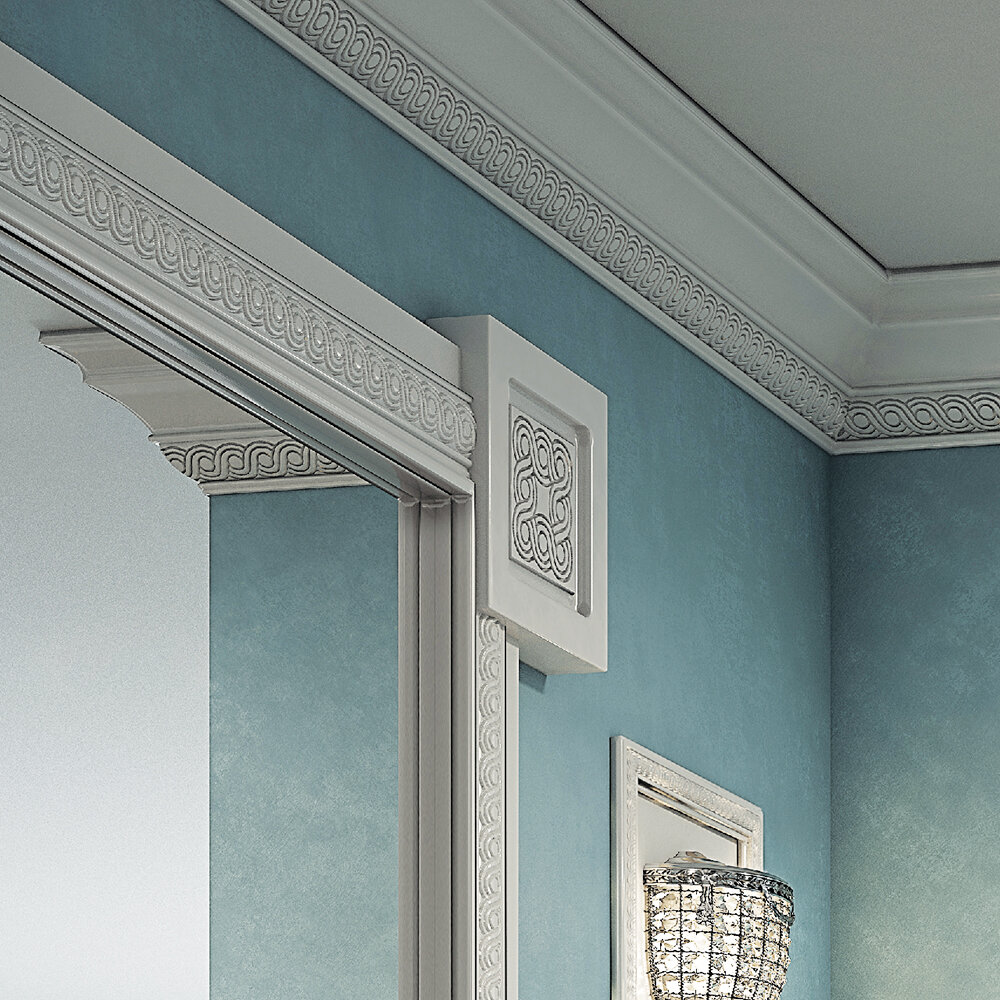
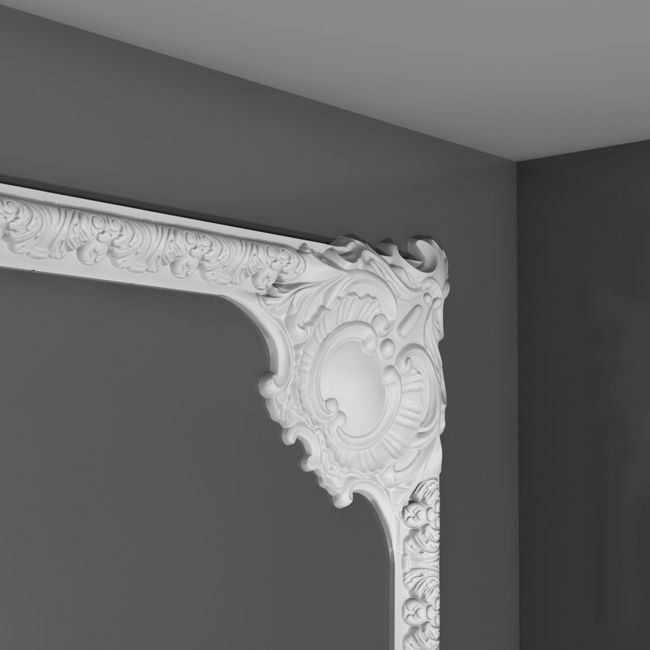
Decorative corner molding, often known as crown molding, is a type of trim used at the junction of walls and ceilings, or at the corners of wall surfaces. It enhances the aesthetic appeal of a space and can make your home feel more polished and well-designed. Beyond mere decoration, molding serves as a functional element, covering gaps and imperfections where walls meet.
Types of Decorative Corner Molding
There are several styles of corner molding, each offering unique aesthetics and benefits. Below, we explore some popular types:
1. Crown Molding
Crown molding is perhaps the most recognized form of decorative molding. It is typically installed where the walls meet the ceiling and adds height and sophistication to a room.
2. Base Molding
Base molding, also known as baseboards, is installed along the bottom of walls. While not a corner molding per se, it often combines with other decorative moldings to enhance the overall look.

3. Chair Rail Molding
Chair rail molding is installed horizontally around the perimeter of a room, typically at about one-third the height of the wall. It adds character and can serve a practical purpose, protecting the walls from chairs and other furniture.
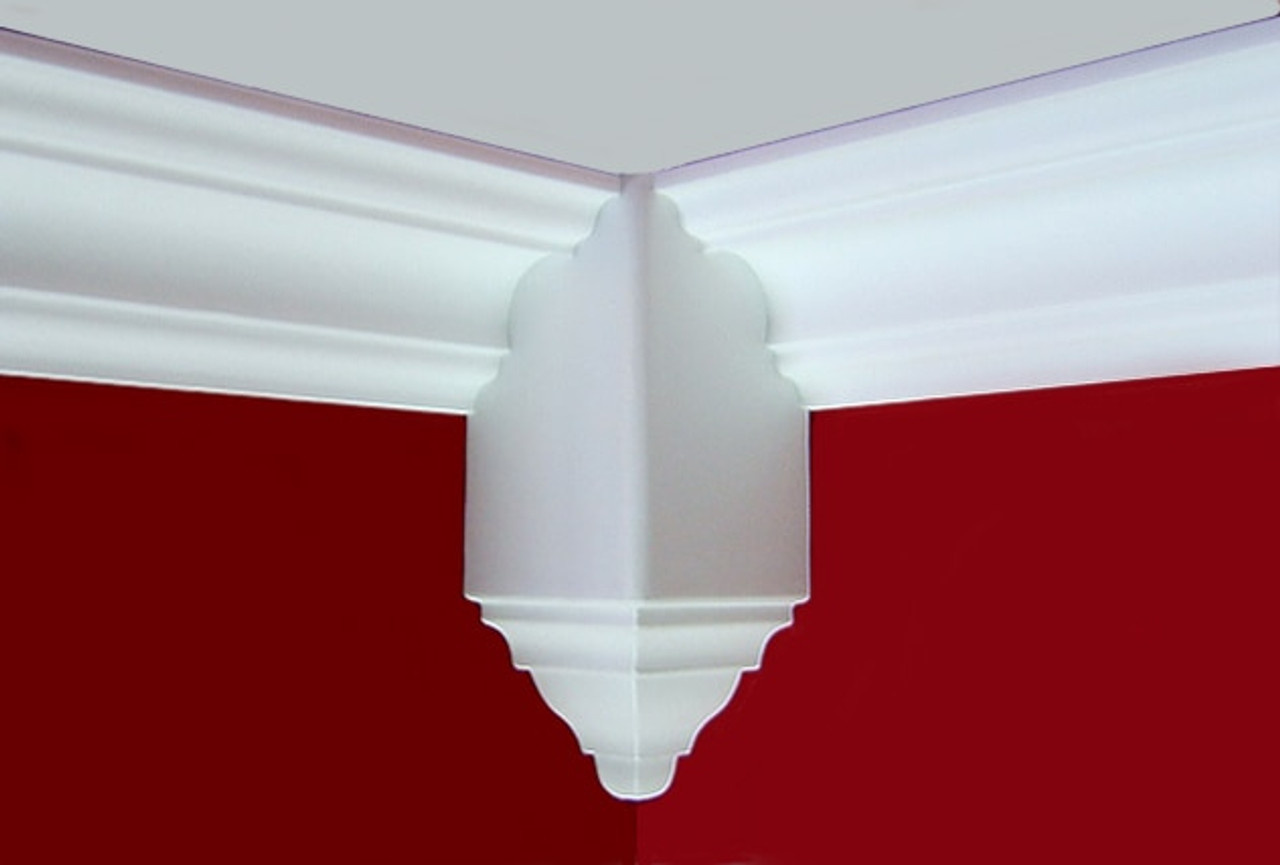
4. Corner Blocks
Corner blocks simplify the installation of crown molding by providing a decorative alternative to mitered corners, eliminating the need for precise cuts.

Benefits of Using Decorative Corner Molding
Incorporating decorative molding into your interior design can have numerous benefits:
1. Aesthetic Appeal
Perhaps the most significant benefit is the enhanced beauty of your space. Decorative molding adds depth and dimension, creating visual interest.

2. Increased Home Value
Well-chosen and professionally installed molding can increase your property’s value, making it more appealing to potential buyers.
3. Concealing Imperfections
Molding effectively hides gaps, rough edges, and other imperfections that can occur in construction, resulting in a more polished finish.

4. Style Versatility
Whether your home decor leans toward classic, rustic, modern, or eclectic styles, there’s a type of molding to suit your needs.
How to Choose the Right Decorative Corner Molding
Selecting the perfect molding for your home can seem daunting, but here are some helpful tips:

1. Match Your Interior Style
Consider the overall design of your home. Is it traditional, modern, or perhaps a mix? Choose moldings that complement your existing decor.
2. Material Matters
- Wood: Offers a classic look but may require more maintenance.
- Polyurethane: Lightweight, durable, and often easier to install.
- MDF (Medium Density Fiberboard): Cost-effective and versatile but can be less durable.

3. Scale and Proportions
Ensure that the size of your molding is proportional to the room’s dimensions. Larger rooms can handle wider moldings, while smaller spaces benefit from more understated styles.
Installation Tips for Corner Molding
If you’re feeling adventurous and want to install molding yourself, here’s a simple guide to help you.

1. Gather Your Tools
You’ll need a miter saw, measuring tape, stud finder, level, nails, and adhesive. Having these tools on hand will streamline the installation process.
2. Measure and Mark
Measure the walls where you plan to install the molding. Mark your measurements carefully to ensure accuracy.
3. Cut the Molding
Using a miter saw, cut the molding at a 45-degree angle for corners. If you’re using corner blocks, you can cut straight pieces for easier installation.
4. Position and Secure
Position the molding on the wall, ensuring it is level. Use finishing nails and glue to secure it in place.
5. Finish With Paint or Stain
Once installed, consider painting or staining the molding to match or contrast with your walls.
Common Mistakes to Avoid
Even seasoned DIYers can make mistakes. Here are some pitfalls to watch out for:
1. Incorrect Measurements
Always double-check your measurements. It’s better to measure twice and cut once.
2. Overcomplicating the Design
Sometimes simpler is better. Choose a design that complements your existing decor rather than overwhelming it.
3. Ignoring the Function
While aesthetics are important, don’t forget the functional aspects of molding. Ensure it’s appropriately placed to serve its intended purpose.
Comparison of Popular Molding Materials
| Material | Durability | Cost | Maintenance | Finish Options |
|---|---|---|---|---|
| Wood | High | Moderate-High | Requires regular maintenance | Stain and paint |
| Polyurethane | High | Moderate | Low | Pre-finished and paintable |
| MDF | Moderate | Low | Low | Paintable |
Maintaining Your Decorative Corner Molding
Once your corner molding is installed, maintaining it is essential for longevity. Here are some tips:
1. Regular Cleaning
Dust and clean your molding regularly to prevent buildup. A soft cloth or vacuum with a brush attachment works wonders.
2. Inspect for Damage
Periodically check for cracks, chips, or peeling paint, addressing any issues promptly to avoid further damage.
3. Touch-Up as Needed
Keeping touch-up paint handy can be beneficial for easily covering any scratches or marks.
Personal Experiences with Decorative Corner Molding
In my own home, I recently decided to install crown molding in my living room. With a little bit of patience and preparation, the process turned out to be quite rewarding. Not only did it completely transform the atmosphere, but it also became a fantastic talking point when guests come over. I chose a simple, elegant design that complemented my walls, and the improvement was evident. It’s amazing how a small detail can have such a big impact!
FAQs About Decorative Corner Molding
1. Can I install decorative corner molding myself?
Yes, many homeowners choose to install molding themselves. With the right tools and instructions, it can be a rewarding DIY project.
2. What is the best material for decorative corner molding?
It depends on your personal preference and budget. Wood offers a classic look, while polyurethane is lightweight and easy to install.
3. How do I paint decorative corner molding?
First, ensure the surface is clean and dry. Use a primer if necessary, then apply paint using a brush or roller for even coverage.
4. Is decorative corner molding expensive?
The cost of decorative corner molding varies based on material and style. Budget options are available, but high-end designs can be more costly.
5. How often should I clean my corner molding?
It’s good practice to dust your molding regularly, and perform more thorough cleaning at least once a season.
Conclusion
Decorative corner molding is a simple yet impactful way to enhance your home’s aesthetics. Whether you choose to install it yourself or hire a professional, the results are sure to elevate the ambiance of your space. Remember to consider your style, choose the right material, and take care of your installation for long-lasting beauty. Here’s to creating a beautifully designed home that reflects your personality!