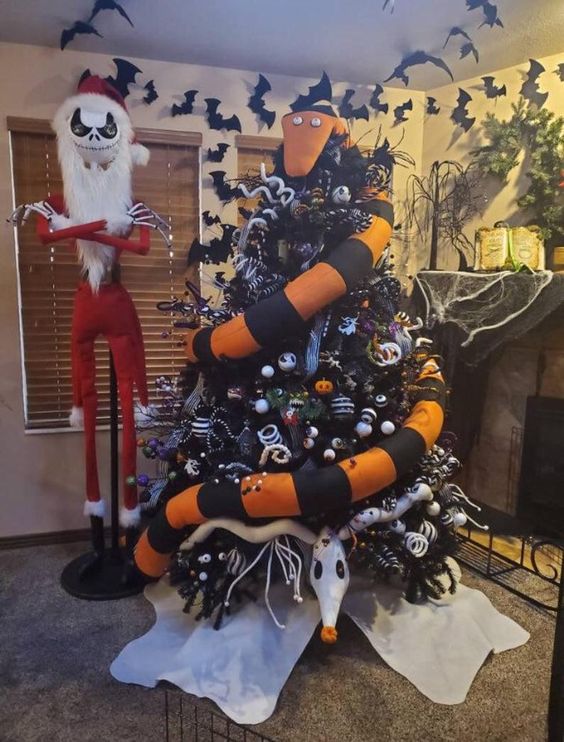
If you’re like me and can’t get enough of Tim Burton’s enchanting tale, you might be dreaming of transforming your home into a whimsical Nightmare Before Christmas wonderland. Not only is it a unique way to express your love for the classic film, but it also adds a touch of spooky charm to your holiday celebrations. In this article, I’ll share my personal experiences, step-by-step instructions, and tips on creating your own DIY Nightmare Before Christmas decor that will impress your friends and family.
Why Choose DIY Nightmare Before Christmas Decor?
DIY decor allows you to personalize your space, incorporating details that resonate with your style. Here are a few reasons to consider this creative venture:
- Customization: Tailor each piece to your taste, whether that means scaling up Jack Skellington’s head or crafting smaller items for a more whimsical effect.
- Cost-Effective: Making decor pieces often costs less than purchasing ready-made items, especially if you already have some materials at home.
- Quality Time: Gather your friends or family for a crafting session; it’s a perfect way to bond over a shared love for the film.
Essential Materials for Your Nightmare Before Christmas Decor
Before diving into the various DIY projects, it’s essential to gather the right materials. Here’s a list to get you started:
- Craft foam sheets (black, white, orange)
- Paint (acrylic or spray paint)
- Hot glue gun and glue sticks
- Scissors and craft knife
- Wire or string lights
- Wooden boards or canvas
- Markers and paintbrushes
- Decorative items (googly eyes, ribbons, etc.)
Top DIY Projects for Nightmare Before Christmas Decor
Get ready to unleash your creativity with these fun DIY projects. Each section includes detailed instructions, pros and cons, and tips for making your decor stand out.
1. Jack Skellington Pumpkin
Materials Needed:
- Craft foam (black and white)
- Real or faux pumpkin
- Hot glue gun
- Black paint (optional)
Instructions:
- Start with a pumpkin; if using a real one, you can splay it with black paint for a more whimsical effect.
- Cut out eyes and a mouth from the white craft foam and glue them onto the pumpkin.
- Use a black marker to enhance the features and add character.
- Light it up with a candle or battery-operated light for a spooky glow.
Pros and Cons:
| Pros | Cons |
|---|---|
| Easy to make | May not last long if using a real pumpkin |
| Inexpensive | Requires some crafting skills |
2. Sally’s Patchwork Garland
Materials Needed:
- Felt sheets (various colors)
- String or twine
- Needle and thread (or hot glue)
Instructions:
- Cut out various shapes from the felt to resemble Sally’s patchwork dress.
- Stitch or glue these shapes onto the string or twine, creating a garland.
- Hang the garland across your fireplace or walls for a charming touch.
Pros and Cons:
| Pros | Cons |
|---|---|
| Colorful and fun | Requires sewing skills if not using glue |
| Use leftover materials | Time-consuming if making a long garland |
3. Oogie Boogie Bag Decoration
Materials Needed:
- Green burlap or fabric
- Black yarn
- Felt sheets for the face
- Hot glue gun
Instructions:
- Cut the burlap into a bag shape, leaving room for a drawstring.
- Create Oogie Boogie’s face using the felt and glue it onto the front of the bag.
- Fill the bag with treats or decorations and place it as a centerpiece.
Pros and Cons:
| Pros | Cons |
|---|---|
| Reusable for years | Requires some sewing knowledge |
| Fun to fill with goodies | Can be time-consuming |

4. Bat and Moon Wall Hangings
Materials Needed:
- Black cardboard
- White paint for the moon
- Hot glue and fishing line for hanging
Instructions:
- Cut out bat shapes from the black cardboard.
- Create a moon shape and paint it white or yellow.
- Glue bats to the fishing line and hang them from the moon against the wall.
Pros and Cons:
| Pros | Cons |
|---|---|
| Great for indoor and outdoor use | Requires precision in cutting |
| Simple materials | Can be damaged by wind if used outdoors |
Tips for Successful DIY Nightmare Before Christmas Decor
After years of crafting various decorations for both Halloween and Christmas, I’ve learned a thing or two about what works and what doesn’t. Here are some of my best tips to ensure your DIY projects turn out amazing:
- Plan Ahead: Sketch out your ideas and make a list of materials before starting any project.
- Use Quality Materials: Invest a little more in durable materials to ensure your decor lasts for multiple holidays.
- Involve Family and Friends: Include loved ones in your crafting process to make it more enjoyable and create lasting memories.
- Have Fun: Remember, crafting should be enjoyable. Don’t stress about perfection—embrace the fun on the journey!

Frequently Asked Questions (FAQs)
What are the best materials for DIY Nightmare Before Christmas decor?
Some of the best materials include craft foam, felt, burlap, and cardboard. These materials are versatile, easy to work with, and can be painted or glued as needed.
How can I store my DIY decor after the holiday season?
To store your DIY decor, place items in labeled bins. Use tissue paper or bubble wrap to protect fragile pieces. Keep the decor in a cool, dry place to prevent damage.
Can I use these decorations for both Halloween and Christmas?
Absolutely! Many of the decorations can double as Halloween and Christmas decor, especially since “The Nightmare Before Christmas” combines elements of both holidays.

Is it difficult to make DIY decorations?
The difficulty varies by project. Many DIY decor pieces mentioned in this article are beginner-friendly, and with patience, anyone can create charming decorations.
Conclusion
Creating DIY Nightmare Before Christmas decor is a delightful way to celebrate the holidays while showcasing your creativity. With the right materials and inspiration from this guide, you can transform your home into a magical world reminiscent of Halloween Town. So gather your supplies, invite your friends, and let the crafting begin! Happy decorating!