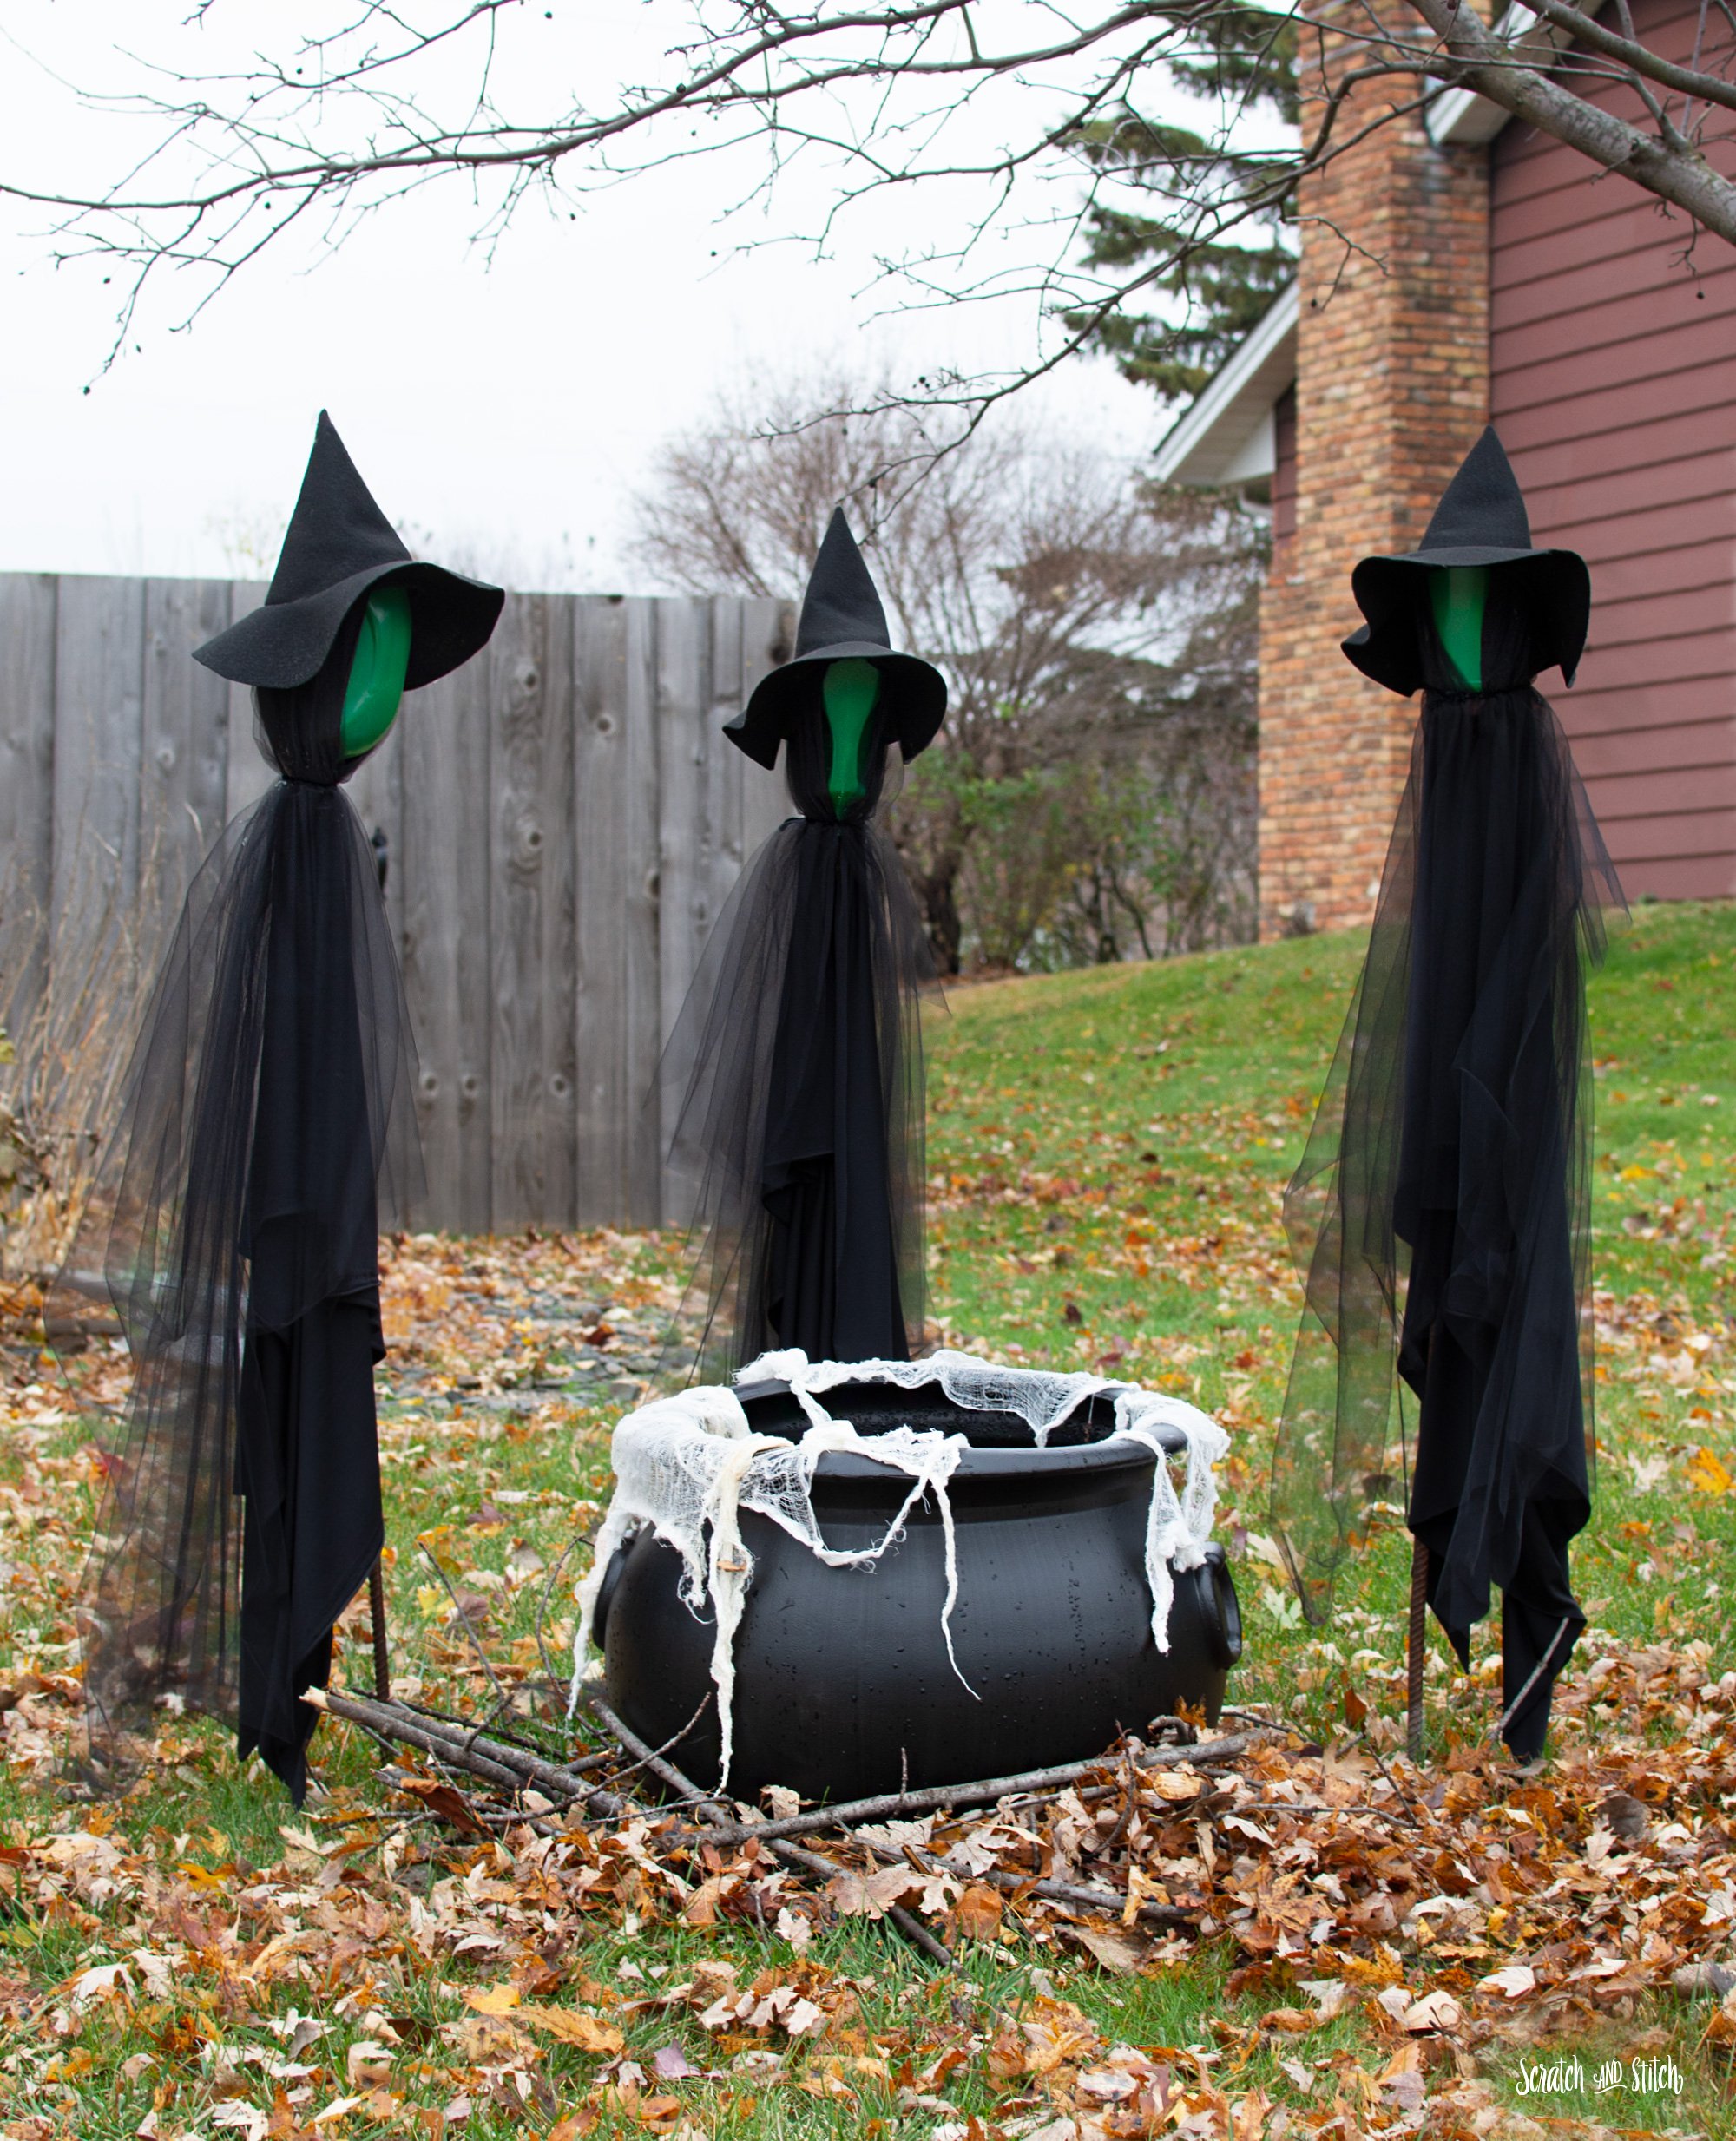
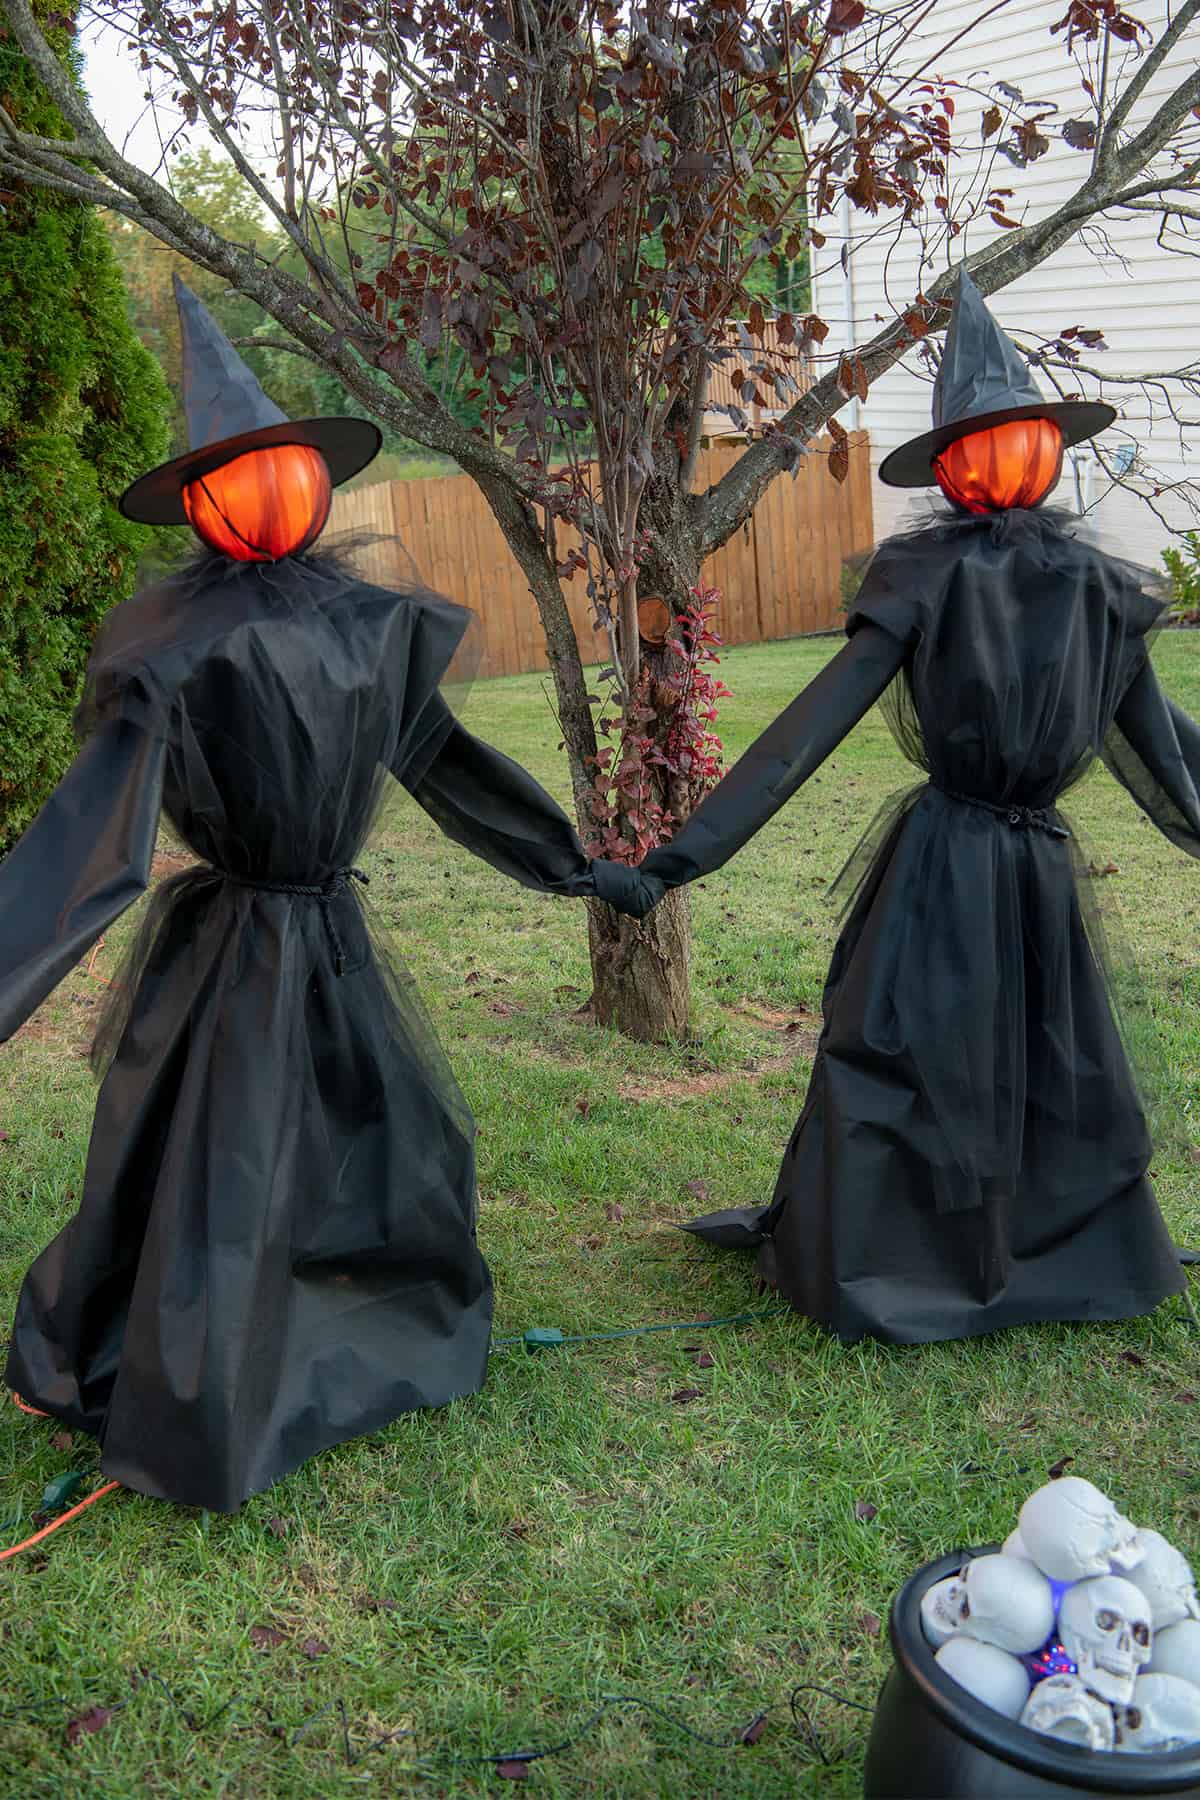
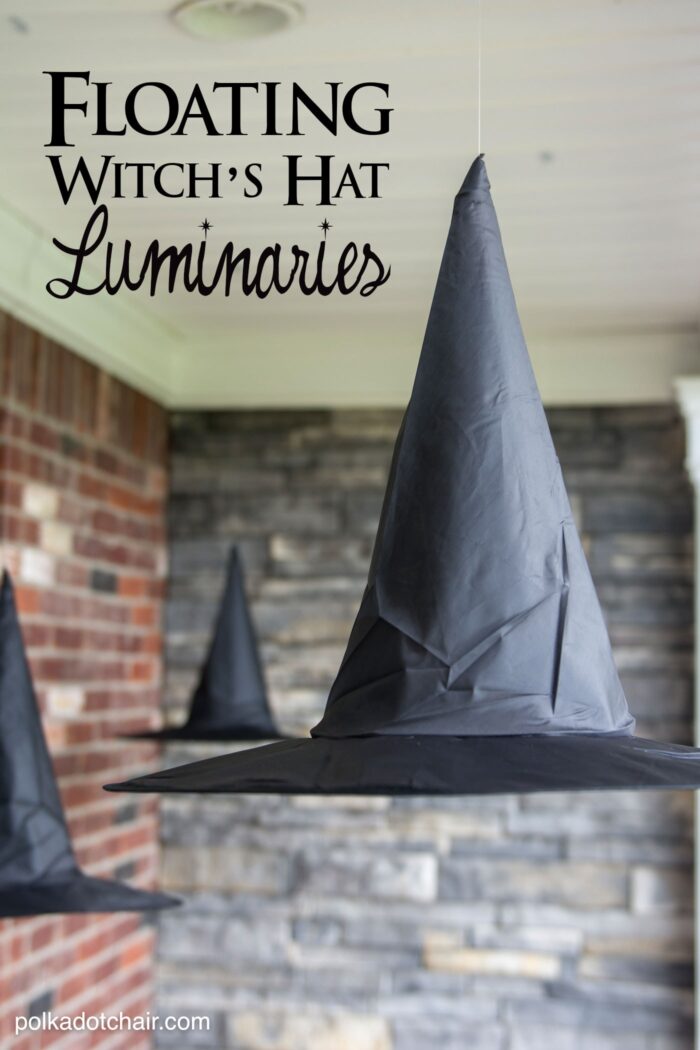
Welcome to the magical realm of DIY witch decor! Whether you’re a full-fledged practitioner of the craft or simply someone who enjoys the aesthetic appeal of witchy decor, creating your own enchanting pieces can be a delightful and fulfilling experience. In this article, I’ll share my personal journey into the world of witch decor, providing tips, tricks, and creative ideas to help you craft a mystical space that reflects your unique style.
Understanding Witch Decor: More Than Just Aesthetics
Witch decor is more than just a trend; it embodies a lifestyle rich in tradition, spirituality, and creativity. By embracing DIY witch decor, you’re not only decorating your space; you’re infusing it with personal meaning and intention.
The Appeal of Witch Decor
- Connection to Nature: Witch decor often incorporates natural elements like crystals, herbs, and wood.
- Spiritual Expression: Each piece can hold significance and represent personal beliefs.
- Creativity: DIY projects allow for self-expression and personalization.

Essential Elements of Witch Decor
To create a witchy atmosphere, consider incorporating the following elements:

- Candles: Often used for rituals, they add warmth and light.
- Crystals: Each stone has its properties and can enhance energy in your space.
- Herbs: Dried herbs add texture and aroma, serving both decorative and practical purposes.
- Tarot and Oracle Cards: These can serve as decor and tools for divination.
- Symbolic Icons: Moon phases, pentacles, and other symbols can play a significant role.
Starting Your DIY Witch Decor Journey

Before diving into projects, it’s essential to gather inspiration and plan your space. Here’s how you can start:
Finding Inspiration: Where to Look

Inspiration can come from various sources. Here are a few places to ignite your creativity:
- Social Media: Platforms like Pinterest, Instagram, and TikTok are treasure troves of ideas.
- Books: Explore literature on witchcraft and home decor for in-depth insights.
- Nature: Observe the changing seasons and elements around you for natural inspiration.

Setting Your Intentions
Before embarking on your DIY projects, take a moment to set your intentions. What do you hope to achieve with your decor? Is it to create a calming space for meditation, or perhaps to invigorate your living room with energy? Setting a clear intention will guide your creative process.

Must-Try DIY Witch Decor Projects
Now that you’re ready to get started, here are some enchanting DIY projects to consider:

1. Crystal Grid
A crystal grid is not only a beautiful centerpiece but also serves as a tool for manifestation. Here’s how to create one:
Materials Needed
- Crystals of your choice
- Wood or fabric for the base
- Pencil or marker for marking positions
Instructions
- Choose your base (a wooden board or a fabric piece).
- Lay out your crystals in a geometric pattern.
- Once satisfied with the layout, take a moment to visualize your intention.
- Activate the grid by focusing on the energy of the crystals.
2. Herb Jars
Dried herbs not only add a rustic charm but also carry various properties for spells and rituals. Here’s a simple way to create beautiful herb jars:
Materials Needed
- Dried herbs of your choice
- Glass jars with lids
- Labels or tags for identification
- Twine or decorative ribbon
Instructions
- Fill each jar with the dried herb, leaving a little space at the top.
- Label each jar with the herb’s name and its properties.
- Use twine or ribbon to decorate the jars for a rustic touch.
3. Witchy Wall Art
Create stunning wall art that resonates with your witchy vibe. Here are some ideas:
Materials Needed
- Canvas or wooden board
- Acrylic paints or markers
- Brushes or sponges
- Stencils (optional)
Instructions
- Choose your design (moons, symbols, or quotes).
- Paint the background color of your choice.
- Once dry, add your symbols or quotes using stencils or freehand.
- Allow it to dry and hang it in your sacred space.
4. Candle Holders
Handmade candle holders add a personal touch to your decor. Here’s a simple method to craft your own:
Materials Needed
- Wood slices or clay
- Candles (tea lights or taper candles)
- Paint or carvings for decoration
Instructions
- For wood slices, drill a hole for the candle size you need.
- Decorate the surface with paint, symbols, or carvings.
- For clay, mold it into desired shapes and let it dry.
- Once complete, place your candles in and enjoy the ambiance.
5. Spell Bottles
Spell bottles are not just decorative; they are also magical tools. Let’s create a basic protective charm:
Materials Needed
- Small glass bottle
- Salt, herbs, and crystals for protection
- Paper and pen for a written intention
Instructions
- Layer the ingredients in the bottle, starting with salt.
- Add herbs and crystals, focusing on your intention.
- Write your intention on paper, roll it up, and add it to the bottle.
- Seal the bottle and place it in your home for protection.
Displaying Your Witch Decor
Once you’ve created your stunning pieces, it’s time to display them! Here are some tips for showcasing your DIY decor:
1. Create a Cozy Nook
Designate a corner of your home as your witchy nook. Use pillows, throws, and your decor pieces to make it inviting.
2. Use Shelves Wisely
Floating shelves are excellent for displaying smaller items like spell jars, candles, and crystals without cluttering surfaces.
3. Seasonal Decor
Switch out your decor seasonally to keep things fresh. Use autumn leaves in fall or blooming flowers in spring.
Comparing DIY Witch Decor Materials
| Material | Pros | Cons |
|---|---|---|
| Wood | Natural, durable, versatile | Can be expensive, heavier |
| Glass | Elegant, customizable | Fragile, requires careful handling |
| Clay | Easy to mold, unique designs | Can be time-consuming to dry and cure |
| Fabric | Soft, colorful, flexible | May require sewing skills |
Pros and Cons of DIY Witch Decor
Before diving headfirst into your projects, consider the pros and cons of making your own witch decor:
Pros
- Personalized: Your decor reflects your style and intentions.
- Cost-Effective: DIY can often be cheaper than buying ready-made items.
- Creative Outlet: Engaging in crafting can be therapeutic and fulfilling.
Cons
- Time-Consuming: DIY projects can take longer than expected.
- Skill Level: Some projects may require specific skills or tools.
- Messy: Crafting can lead to a bit of a mess, especially with paint or clay.
FAQs About DIY Witch Decor
What types of crystals are best for decor?
Some popular crystals include amethyst for tranquility, citrine for prosperity, and black tourmaline for protection. Choose crystals that resonate with your intentions.
How can I incorporate seasonal themes into my decor?
Change out your decorations according to the seasons. For instance, use pumpkins and autumn leaves in fall, and flowers and pastel colors in spring.
Can I use everyday items for witch decor?
Absolutely! Items like jars, old bottles, and even clothing can be repurposed creatively for your decor.
Do I need to be a practicing witch to enjoy witch decor?
No! Anyone can enjoy the aesthetic and creativity of witch decor. It’s all about personal expression and finding joy in the craft.
Conclusion: Unleash Your Creativity!
Creating DIY witch decor is a magical journey filled with creativity, intention, and personal expression. Whether you’re crafting crystal grids, herb jars, or beautiful wall art, each piece becomes an extension of your personality and beliefs.
Remember, the most important part of this process is to enjoy yourself. Crafting can be a wonderfully cathartic activity, allowing you to connect with your inner self while adding a touch of magic to your environment. So gather your materials, set your intentions, and let the creativity flow!