Introduction to Decorating Easter Eggs
Decorating Easter eggs, or huevos de pascua decorados, has been a cherished tradition in many cultures, signifying rebirth and renewal. As someone who has dabbled in various arts and crafts, I can tell you that decorating eggs is not only an enjoyable activity but also a fantastic way to bond with family and friends during the Easter season. In this article, we’ll explore easy and fun methods to decorate Easter eggs, perfect for all skill levels!
Table of Contents
Essential Materials for Decorating Eggs
Before we dive into the decorating methods, let’s gather our supplies. Here’s a comprehensive list of what you’ll need:
- Hard-boiled eggs or plastic eggs
- Food coloring or egg dye
- Markers and paint pens
- Adhesives and glue (for glitter and embellishments)
- Brushes and sponges
- Stickers and decorative tape
- Vinegar (to help fix dye)
Basic Techniques for Decorating Easter Eggs
Let’s start with some simple and enjoyable techniques that anyone can master!
1. Dyeing with Food Coloring
Dyeing eggs with food coloring is one of the classic methods. All you need to do is:
- Mix food coloring with water and vinegar in small bowls.
- Dip eggs in the dye for a few minutes.
- Remove and let them dry on a rack.
This method allows you to create vibrant colors and can be layered for some unique designs.

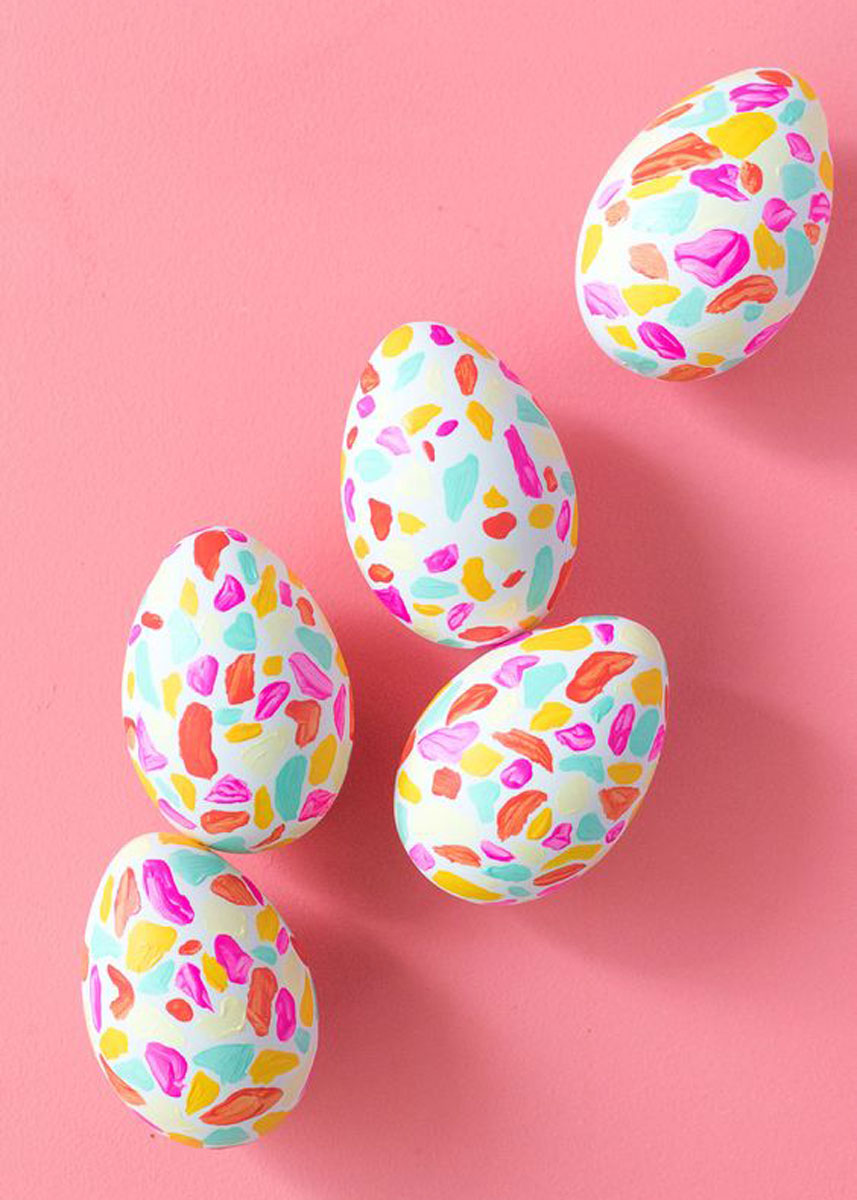
2. Using Markers and Paint Pens
If you’re not a fan of using dyes, try using markers and paint pens. These tools allow for more detailed designs:
- Draw patterns, shapes, or even doodles.
- Use metallic or glitter pens for a flashy effect.
This approach is great for kids since it’s mess-free and easy to control.
3. Stickers and Washi Tape
An easy and fun method, using stickers or washi tape can add flair to any egg:
- Apply stickers in different patterns.
- Wrap washi tape around the egg for a striped effect.
Plus, it’s a quick way to decorate if you’re short on time.

Advanced Decorating Techniques
If you’re ready to take your egg decorating to the next level, here are some advanced techniques:
1. Marble Effect with Shaving Cream
This mesmerizing effect can be created using shaving cream and food coloring:
- Spread a layer of shaving cream on a plate.
- Drip food coloring over the shaving cream.
- Use a stick to swirl the colors together.
- Gently roll the egg in the cream and let it sit for a few minutes.
- Rinse and dry for a stunning marbled effect.

2. Decoupage with Tissue Paper
Decoupage is a fabulous way to add intricate designs using tissue paper:
- Cut tissue paper into small pieces.
- Apply Mod Podge or a similar glue to the egg.
- Place the tissue pieces onto the egg and seal with more glue.
- Allow to dry completely.
This creates a beautiful layered effect and is perfect for a more artistic approach.
3. Natural Dyes from Kitchen Ingredients
For a more organic option, consider using natural dyes:
- Onion skins for orange/brown
- Beet juice for pink/red
- Turmeric for yellow
Simply boil the ingredients in water, strain, and use the liquid to dye your eggs. It’s a fun way to connect with the earth and create unique colors!

Safety Tips for Dyeing and Decorating Eggs
While decorating eggs is a fun activity, it’s important to keep safety in mind:
- Always use hard-boiled eggs to avoid any health risks associated with raw eggs.
- Ensure that kids are supervised when using scissors or sharp objects.
- Keep dyes and adhesives away from younger children to prevent ingestion or skin irritation.
Pros and Cons of Different Decorating Methods
| Method | Pros | Cons |
|---|---|---|
| Dyeing with Food Coloring | Vibrant colors, versatile | Can be messy |
| Markers and Paint Pens | Easy, mess-free | Limited color options |
| Stickers/Washi Tape | Quick, simple | Less creative control |
| Marble Effect | Unique designs | Requires additional materials |
| Decoupage | Artistic and layered | Time-consuming, needs drying |
| Natural Dyes | Eco-friendly, unique colors | Requires preparation |

Frequently Asked Questions
What is the best way to store decorated Easter eggs?
Store decorated eggs in a cool, dry place. If using real eggs, it’s best to refrigerate them to maintain freshness.
Can I use regular paint for decorating eggs?
While you can use regular paint, it is advisable to use non-toxic paints, especially when decorating real eggs. Consider using acrylic paints for longevity.
How can I remove dye from my fingers after decorating?
Using lemon juice or rubbing alcohol can help remove dye stains. Rinse your hands well with soap and water afterward.
What type of egg is best for decorating?
Hard-boiled eggs are best for traditional decorating. For long-term display, consider using wooden or plastic eggs.