Introduction to Decorated Cookies
Decorated cookies have become a delightful trend in the baking world, captivating sweet lovers and potential bakers alike. Whether it’s a holiday, a birthday, or simply a casual get-together, a beautifully decorated cookie can add a touch of joy and charm to any occasion. My journey into cookie decoration started as a simple attempt to impress friends at a gathering, and it quickly transformed into a fulfilling hobby that I cherish deeply. In this guide, we will cover everything from tools and techniques to creative inspiration and practical tips.
The Basics of Cookie Decoration
Understanding the Types of Cookies
Before diving into decoration, it’s essential to understand the different types of cookies that can be decorated. The three most common bases for decorated cookies include:
- Sugar Cookies: These are the classic choice, known for their sweet flavor and smooth surface, making them perfect for icing.
- Gingerbread Cookies: Often associated with the holiday season, gingerbread cookies add a spicy twist to cookie decorating.
- Butter Cookies: Rich and buttery, these cookies provide a unique taste that pairs well with various toppings.
Essential Tools and Ingredients
To create beautifully decorated cookies, you’ll need some essential tools and ingredients. Here’s a handy list:
| Tool/Ingredient | Description | Purpose |
|---|---|---|
| Cookie Cutters | Shapes in various designs | To cut out cookie shapes |
| Rolling Pin | A tool for rolling dough | To flatten cookie dough |
| Piping Bags | Plastic or reusable bags | For icing applications |
| Royal Icing | A stiff icing made from egg whites | For decorating cookies |
Decorating Techniques for Stunning Results
Royal Icing Techniques
Royal icing provides a firm and smooth finish that makes it ideal for intricate designs. Here are some popular techniques:
- Flooding: This technique involves outlining a cookie with thicker icing, then filling the center with a thinned version to create a smooth surface.
- Piping: Use piping techniques for borders, details, and lettering. Adjust the consistency of your icing to achieve the desired effect.
- Wet-on-Wet: Apply different colors of icing while the base layer is still wet for a beautiful marbled effect.
Using Fondant for Decoration
Fondant can offer a sleek and polished look to your cookies, perfect for more advanced designs. Here’s how to use it:
- Roll out the fondant to a thickness of about 1/8 inch.
- Use your cookie shapes to cut out fondant pieces.
- Attach the fondant to the cookie with a little water or a thin layer of icing.
- Decorate with edible markers, luster dust, or additional icing.
Creative Ideas for Decorated Cookies
Themed Cookies for Every Occasion
Themed cookies can elevate your baking game and impress guests. Here are some ideas:
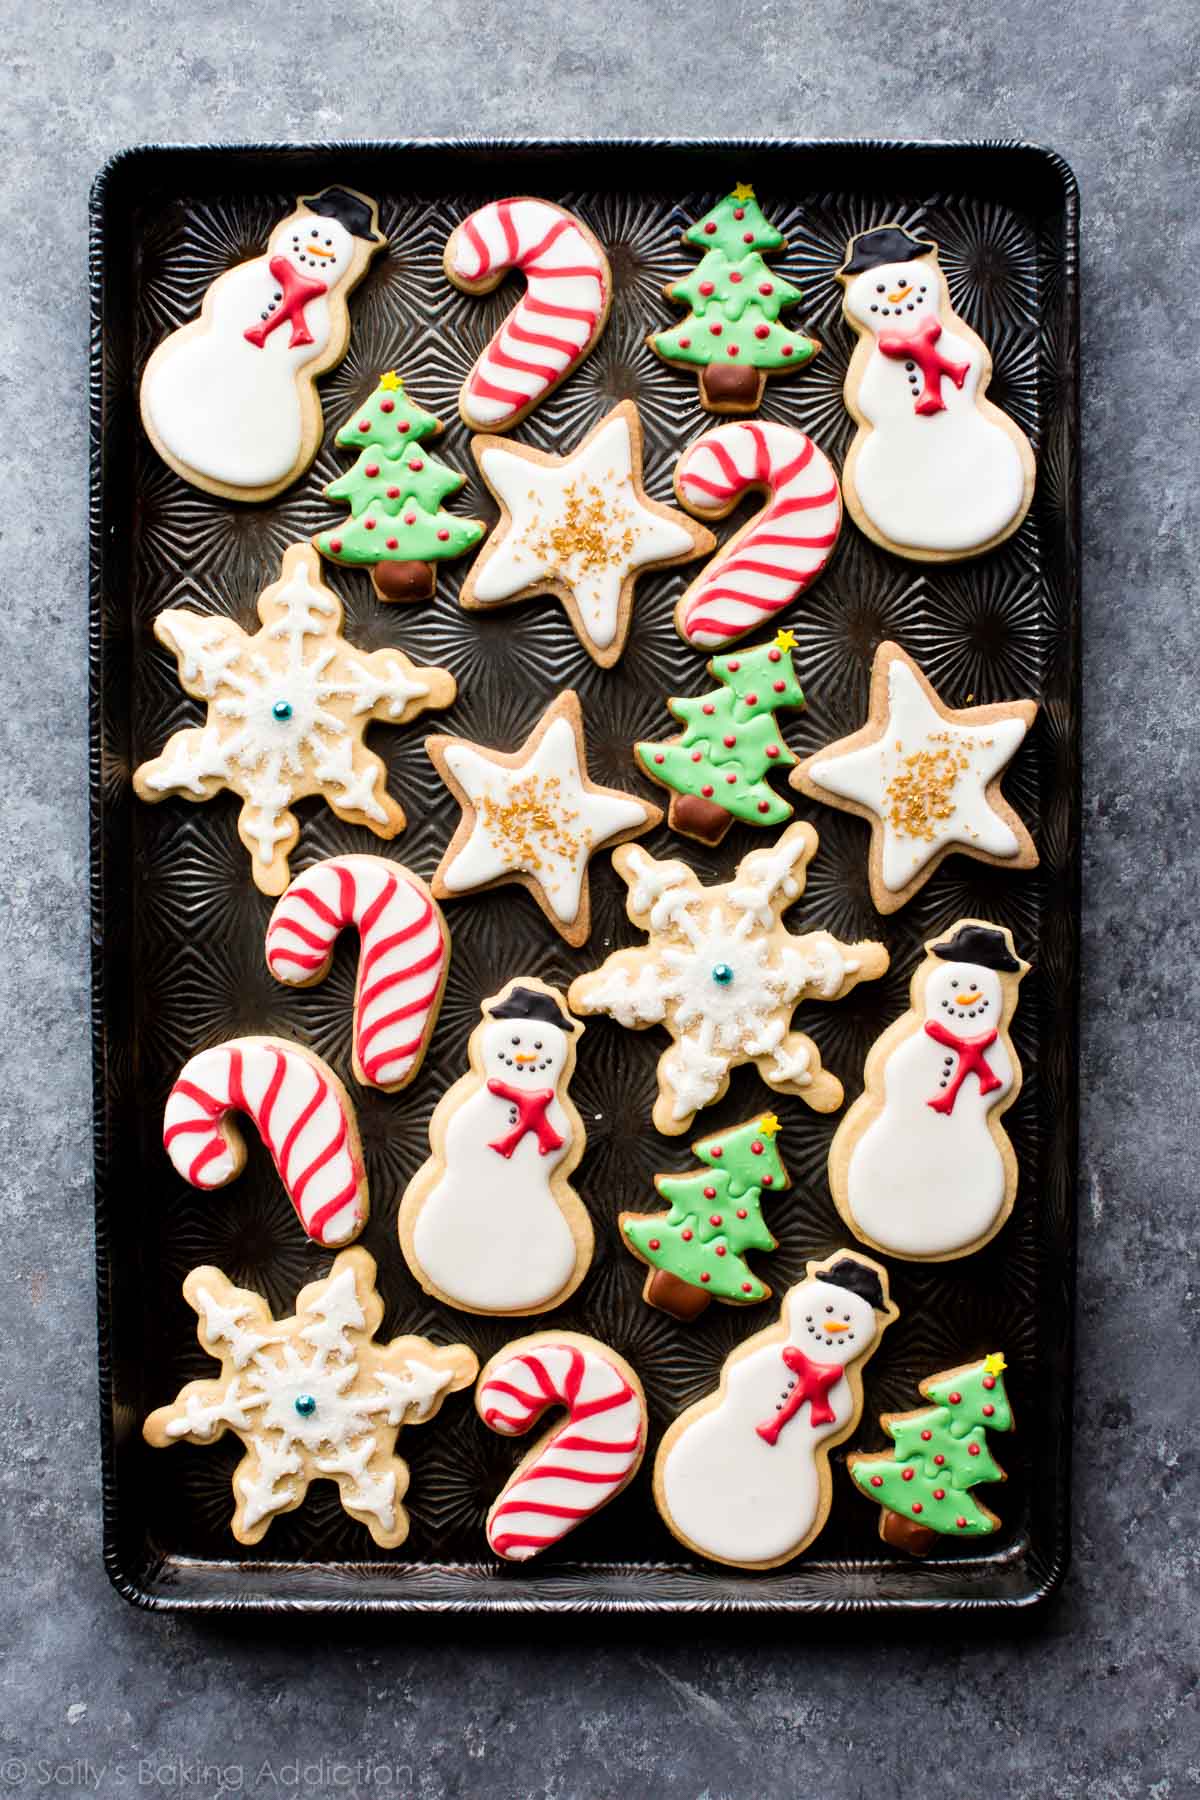
- Seasonal Cookies: Think pumpkins for fall, snowflakes for winter, or flowers for spring!
- Character Cookies: Create cookies inspired by your favorite movie characters or cartoons.
- Personalized Cookies: Consider baking cookies with names or messages for birthdays and weddings.
Exploring Color Schemes and Patterns
Utilizing color schemes can significantly enhance your cookie designs. Try contrasting colors for a vibrant look or pastel shades for an elegant touch. Here are a few popular patterns to consider:
- Polka Dots: A classic pattern that’s easy to achieve with simple icing dots.
- Stripes: Use piping to create colorful stripes across your cookies.
- Floral Designs: Pipe petals and leaves to create a beautiful floral arrangement on your cookies.
Tips for Perfectly Decorated Cookies
Common Mistakes to Avoid
Even seasoned bakers can make mistakes. Here are some common pitfalls to avoid when decorating cookies:
- Icing Consistency: Too runny or too thick icing can ruin your design. Aim for a toothpaste-like consistency for flooding.
- Timing: Don’t rush the drying process. Allow each layer of icing to dry properly before adding more.
- Overmixing Icing: Overmixing can introduce air bubbles that can ruin the smooth finish.
Storage and Presentation
Once you’ve decorated your cookies, proper storage is crucial. Use airtight containers to keep them fresh for up to two weeks. Here are some presentation tips:
- Cookie Boxes: Use decorative boxes to create a lovely gift.
- Plates and Trays: Arrange cookies on elegant platters for events.
- Cellophane Bags: Tie with ribbon for a simple yet beautiful presentation.
Pros and Cons of Decorated Cookies
Pros
- Customizable for any occasion.
- Fun and creative outlet.
- Impressive gifts for loved ones.
Cons
- Can be time-consuming.
- Requires practice to master techniques.
- Potential mess during the decorating process.
Conclusion: Your Sweet Journey Awaits
Decorating cookies is a delightful blend of creativity and baking skill. With the right tools, techniques, and a sprinkle of imagination, anyone can create beautifully decorated cookies that will impress family and friends. Remember, practice makes perfect! Keep experimenting, and most importantly, enjoy the sweet journey of cookie decoration. I can assure you; the smiles on your loved ones’ faces will make it all worthwhile!
FAQs About Decorated Cookies
What types of icing are best for decorated cookies?
Royal icing is the most popular choice due to its smooth finish and versatility. However, you can also use fondant or buttercream for different effects.

How do I store decorated cookies?
Store decorated cookies in an airtight container at room temperature. They can last up to two weeks when stored properly.
Can I freeze decorated cookies?
Yes, you can freeze decorated cookies. Just ensure they are fully dried and place them in airtight containers before freezing. Thaw them at room temperature when ready to serve.
What are some popular themes for decorated cookies?
Popular themes include holidays, birthdays, weddings, and seasonal events. You can personalize them based on your guests’ interests too!