There’s something inherently cheerful about a cake adorned with colorful M&M’s. Whether it’s a birthday celebration, a graduation party, or just a fun family gathering, an M&M decorated cake is sure to bring smiles to the faces of everyone present. In this article, we will guide you through the steps to create your very own M&M decorated cake, share personal tips, and offer delightful variations to make your cake stand out. Let’s dive in!
What is an M&M Decorated Cake?
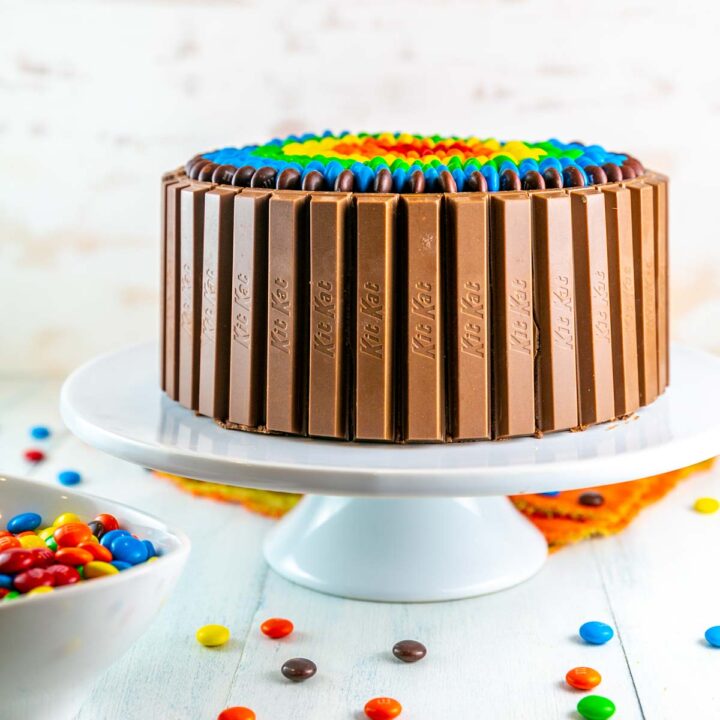
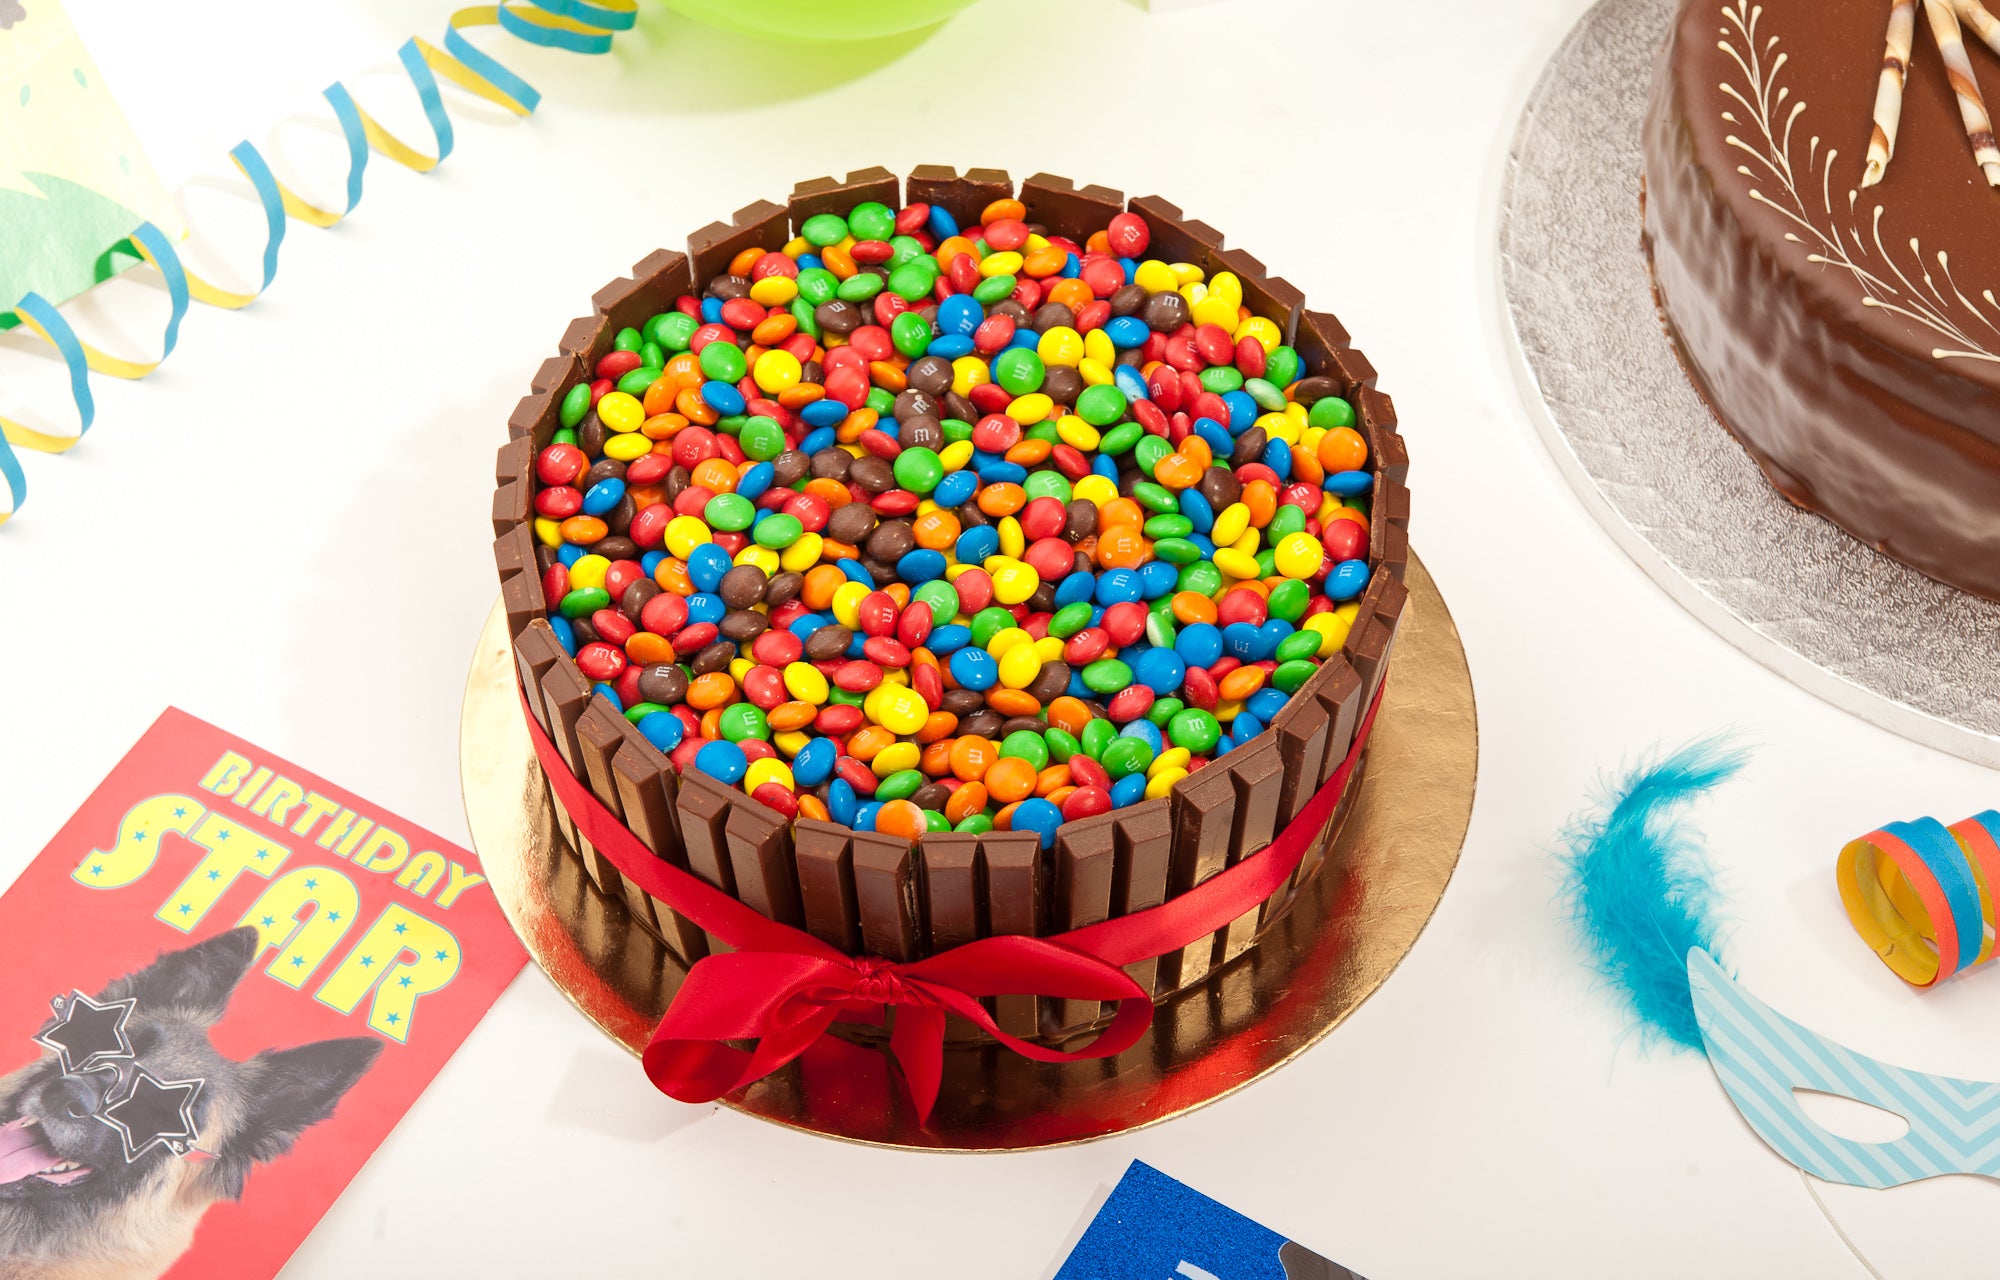
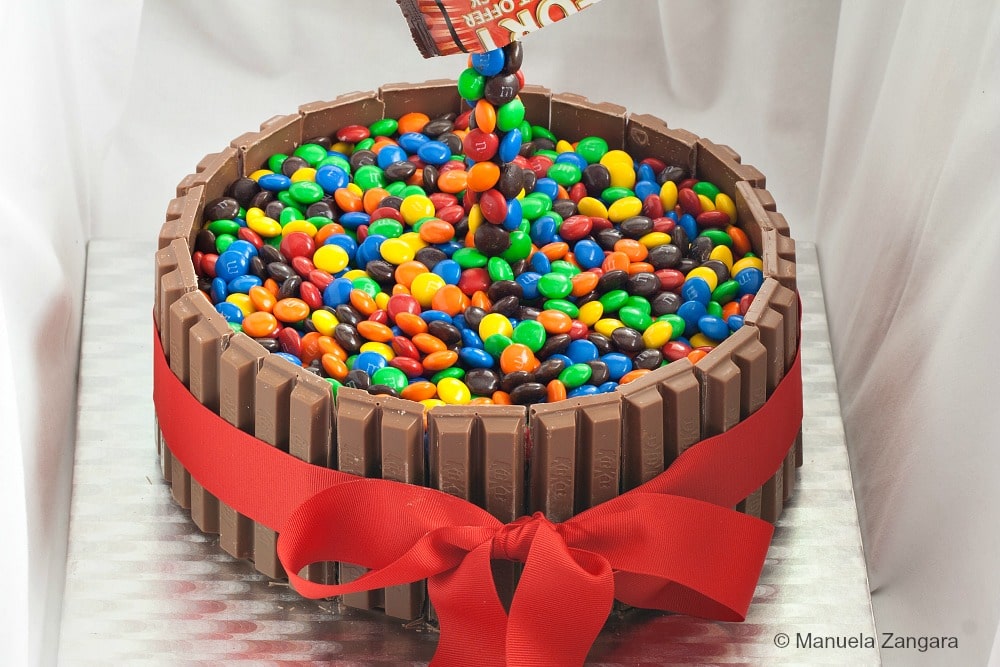
An M&M decorated cake is a cake that is topped or filled with M&M’s – those colorful, crunchy candy-coated chocolates that many of us love. The beauty of this cake is not only in its taste but also in its vibrant appearance, making it a visual centerpiece for any event.
Why Choose M&M’s for Cake Decoration?
- Colorful: M&M’s add a splash of color to any cake, making it visually appealing.
- Customizable: Available in various colors and flavors, M&M’s can be tailored to fit the theme of your event.
- Tasty: Their chocolatey goodness pairs well with various cake flavors, enhancing taste.
- Easy to Use: No special skills are required to decorate with M&M’s; they can be simply poured or arranged on the cake.
Ingredients for a Basic M&M Cake
Before you get started with your M&M cake, gather the following ingredients:
- 2 cups all-purpose flour
- 1 ½ cups sugar
- ½ cup unsalted butter, softened
- 1 cup milk
- 3 eggs
- 2 tsp baking powder
- 1 tsp vanilla extract
- 1 cup M&M’s (for decoration)
- 1 cup chocolate frosting (for frosting the cake)
Step-by-Step Guide to Making an M&M Cake
Preparation
Follow these simple steps to prepare your cake:
Step 1: Preheat Your Oven
Preheat your oven to 350°F (175°C) and grease two 9-inch round cake pans.
Step 2: Mix Dry Ingredients
In a large mixing bowl, whisk together the flour, baking powder, and sugar until combined.

Step 3: Cream Butter and Sugar
In a separate bowl, cream the softened butter until fluffy and then add sugar gradually. Mix until well combined.
Step 4: Add Wet Ingredients
Add the eggs one at a time, milk, and vanilla extract to the butter mixture. Mix until smooth.

Step 5: Combine Mixtures
Gradually add the dry ingredients to the wet mixture, stirring just until combined.
Step 6: Bake the Cake
Divide the batter evenly between the prepared pans and bake for 30-35 minutes, or until a toothpick inserted in the center comes out clean.
Step 7: Cool the Cake
Remove the cakes from the oven and let them cool in the pan for 10 minutes before transferring them to a wire rack to cool completely.
Frosting and Decorating Your Cake
Once your cakes are completely cool, it’s time to frost and decorate!

Step 8: Frost the Cake
Using a spatula, apply a layer of chocolate frosting on the top of one cake layer. Place the second layer on top and frost the top and sides of the entire cake.
Step 9: Add M&M’s
Decorate the top and sides of your cake with M&M’s. You can arrange them in patterns, write messages, or simply sprinkle them randomly for a fun look.
Step 10: Serve and Enjoy!
Slice your delicious M&M cake, serve, and enjoy the sweet delight!
M&M Cake Variations
While the classic M&M cake is delicious, there are various ways to customize it for different tastes and occasions.
Flavor Variations
| Flavor | Description |
|---|---|
| Vanilla | A classic choice that pairs perfectly with M&M’s. |
| Chocolate | For chocolate lovers, this rich cake will be a hit. |
| Red Velvet | Beautiful and delicious, especially with cream cheese frosting. |
| Lemon | A refreshing twist that contrasts nicely with the sweetness of M&M’s. |
Themed M&M Cakes
Consider customizing your M&M cake for specific themes, such as:
- Birthday Cakes: Use age-appropriate colors and shapes with the M&M’s.
- Graduation Cakes: Color coordinate with the school’s colors for a personalized touch.
- Holiday Cakes: Utilize seasonal colors like red and green for Christmas or pastels for Easter.
My Personal Experience with M&M Cakes
As someone who has baked numerous cakes over the years, I can share that M&M cakes are always a crowd-pleaser. One of my fondest memories is baking an M&M cake for my niece’s birthday. She was delighted to see her favorite candy adorning her cake, and it not only tasted great but also became the centerpiece of our celebration. The joy on her face reminded me of why I love baking so much—it’s all about bringing people together and creating happy memories.
Pros and Cons of M&M Decorated Cakes
Pros
- Bright, colorful presentation
- Easy to make for beginners
- Universally liked by both kids and adults
- A versatile option for numerous occasions
Cons
- Can be overly sweet for some tastes
- Requires extra care in decoration for a polished look
- M&M’s can be costly depending on quantity
Frequently Asked Questions (FAQs)
How do I store an M&M cake?
Store your M&M cake in an airtight container at room temperature for up to 3 days. If you need to store it longer, refrigerate it for up to a week or freeze for up to 3 months.
Can I use other candies instead of M&M’s?
Absolutely! You can use other candies such as Skittles, chocolate chips, or any colorful candy of your choice to create a visually appealing cake.
What are some tips for decorating with M&M’s?
- Use a variety of colors for a more vibrant look.
- Consider using melted chocolate to “glue” some M&M’s in place for intricate designs.
- Don’t forget to sprinkle some M&M’s on the plate for an extra touch.
Is the cake dry or moist?
If baked correctly, M&M cakes tend to be moist and fluffy, especially when the ingredients are measured accurately and not over-mixed.
Conclusion
An M&M decorated cake is more than just a dessert; it’s a celebration of life’s moments! With its colorful appeal and delightful taste, it is sure to be a hit at any gathering. I hope you feel inspired to create your own masterpiece and share it with the people you love. Happy baking!