Are you looking to take your cookie decorating skills to the next level? Imagine being able to easily transfer intricate designs onto your cookies with precise accuracy—sounds intriguing, right? This is where cookie projectors come into play. In this guide, we will explore everything you need to know about using projectors for cookie decorating, covering their benefits, how to choose the right one, and tips to perfect your cookie designs.
What is a Cookie Projector?
A cookie projector is a tool that enables bakers and decorators to display a design onto a flat surface (like cookies) for precise tracing. This makes it easier to create complex designs that are often challenging to execute by hand.
Why Use a Projector for Cookie Decorating?
Advantages of Using a Projector
- Precision: Achieve accurate designs that are hard to replicate by hand.
- Time-saving: Reduce the time spent in planning and sketching designs directly on cookies.
- Versatility: Use for cookies of various shapes and sizes.
- Creative Freedom: Explore more complex designs without the fear of failure.
My Personal Experience
I remember the first time I used a projector for decorating cookies—I was astonished at how much easier it made my decorating process! The ability to project images and outline them quickly freed me to focus on the creative parts, like color selection and embellishment. If I can do it, so can you!
How to Choose the Right Projector for Cookie Decorating
Choosing the right projector can be a daunting task with so many options available. Here’s what to consider:
Key Features to Look For
- Brightness: Look for a projector with at least 2000-3000 lumens for clear visibility.
- Resolution: Opt for a projector with a minimum resolution of 800×600 pixels for detailed images.
- Portability: Lightweight and compact projectors are ideal for easy transportation.
- Image Size: Check how large the projected image can be to fit your cookie sizes.
- Price: Set a budget before diving into the options available.
Types of Projectors
There are several types of projectors available for cookie decorating:
| Type | Pros | Cons |
|---|---|---|
| LED Projector | Energy-efficient, long lifespans, bright images | Can be more expensive |
| LCD Projector | Good color reproduction, generally affordable | Bulky, lower brightness levels |
| DLP Projector | Compact size, sharp images | Slightly higher maintenance |
| Smart Projector | Connected features, versatile usage | More expensive, complicated setup |
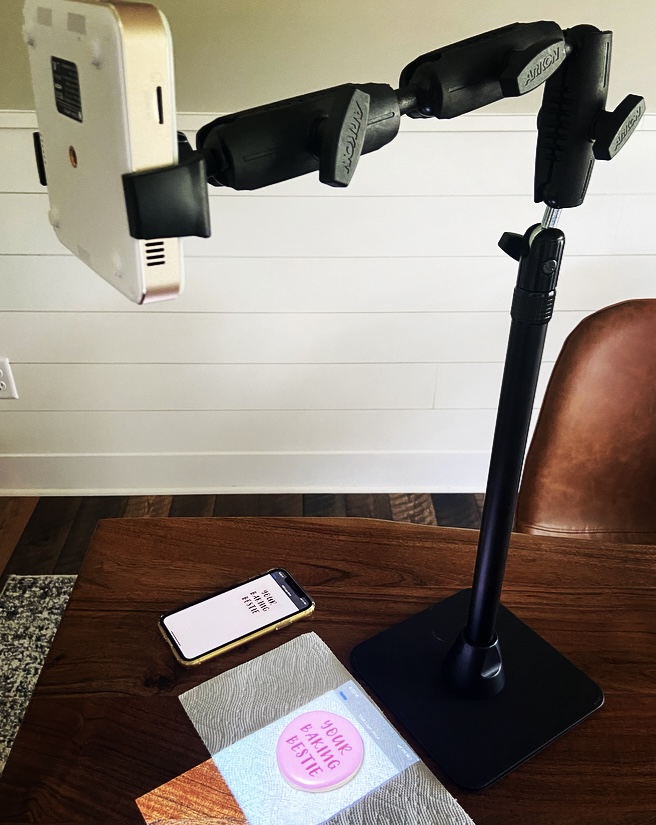
Setting Up Your Projector for Cookie Decorating
Step-by-Step Setup Guide
- Choose Your Design: Select or create your preferred cookie design.
- Prepare Your Workspace: Ensure your workspace is clean and well-lit.
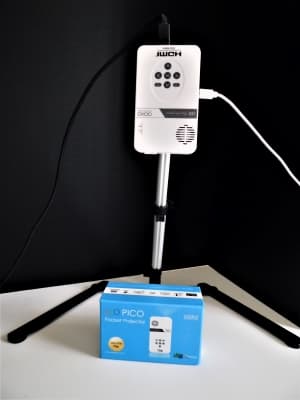
- Set Up the Projector: Position the projector at an appropriate distance to achieve the desired image size.
- Adjust Settings: Tweak the brightness and focus for optimal image clarity.
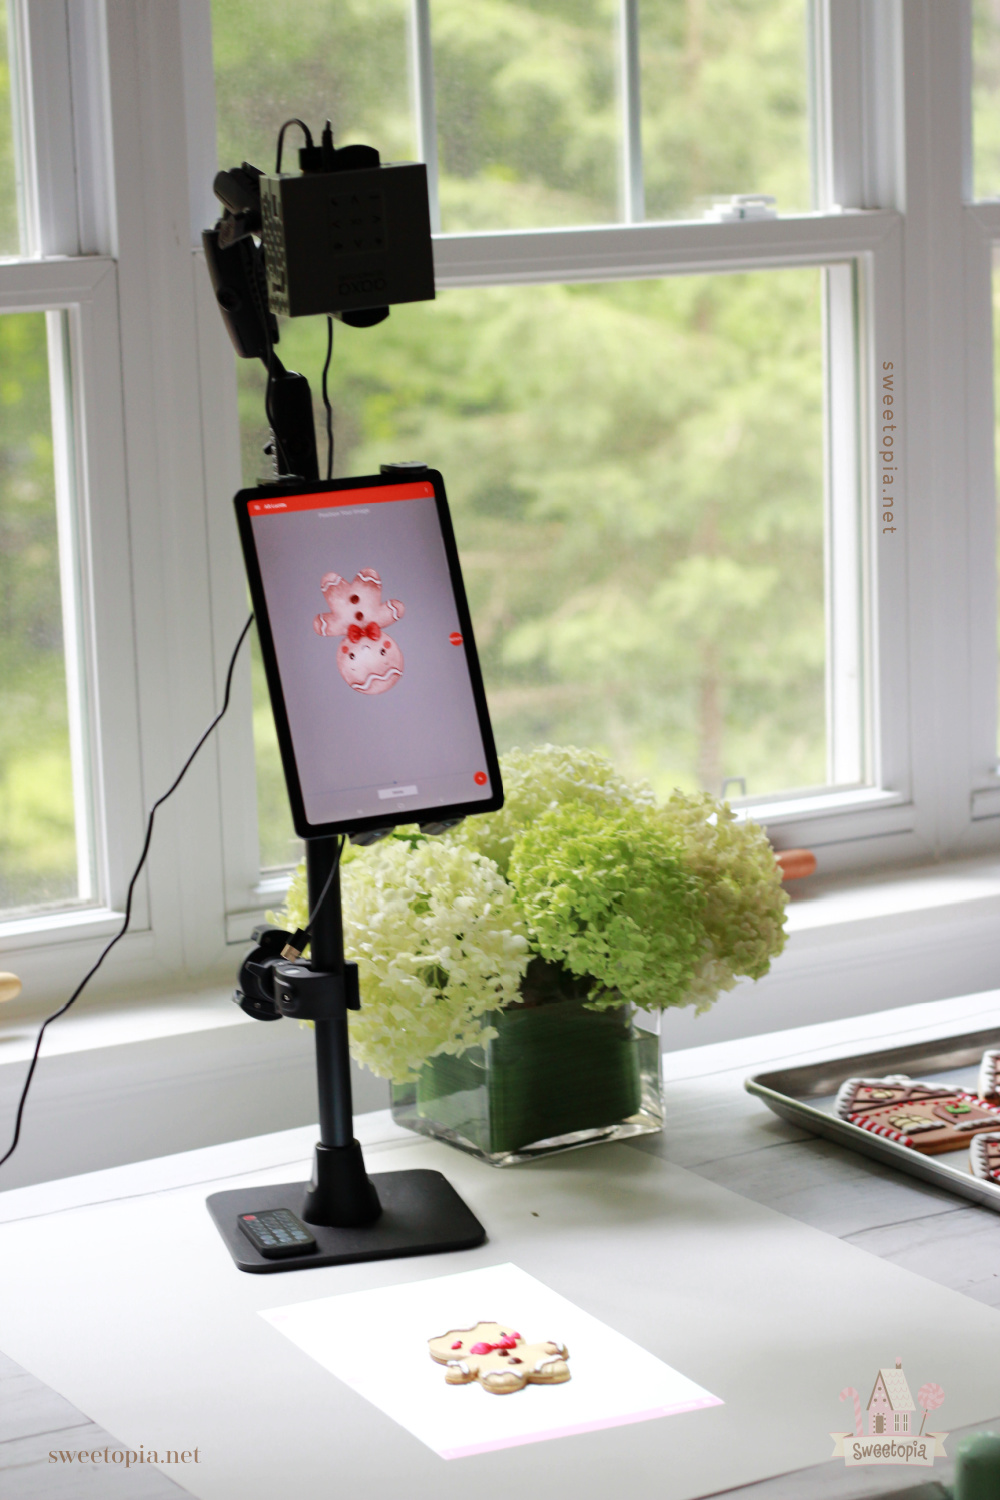
- Start Projecting: Project the design onto your cookie surface and trace it carefully.

Tips for Perfectly Decorating Cookies with a Projector
Selecting the Right Cookie Base
The type of cookie you choose can affect how well the design transfers. For best results, opt for a smooth surface, such as sugar cookies or royal iced cookies.
Coloring Techniques
While tracing, consider the coloring techniques you want to apply—piping, flooding, or airbrushing can all add unique flourishes. Experiment with edible markers for finer details!

Practice Makes Perfect
Don’t be discouraged if your first attempt isn’t perfect! Practice with different designs and learn what angles and distance yield the best results.
Common Mistakes and How to Avoid Them
Overloading with Details
When starting, it might be tempting to choose intricate designs. However, simpler designs can be just as stunning and easier to achieve.
Not Testing the Projector
Before you start decorating, always test the projector to ensure it projects clearly on the cookie surface.
Comparison of Popular Cookie Projectors
Top Projectors for Cookie Decorating
| Projector Model | Brightness (Lumens) | Resolution | Price | Rating |
|---|---|---|---|---|
| NEC NP-ME401X | 4000 | 1024×768 | $499 | 4.5/5 |
| Epson Home Cinema 2150 | 2500 | 1920×1080 | $799 | 4.7/5 |
| ViewSonic M1 Mini Plus | 100 LED | 854×480 | $249 | 4.2/5 |
FAQs About Projectors for Cookie Decorating
1. Can I use any projector for cookie decorating?
While you can technically use any projector, those with higher brightness, resolution, and portability are best suited for cookie decorating.
2. What is the best cookie type for projecting designs?
Sugar cookies topped with royal icing provide the smoothest surface for projecting and transferring designs.
3. Are there specific projector brands recommended for cookie decorating?
Brands like Epson, NEC, and ViewSonic have projectors that are popular among bakers for their quality and features.

4. How do I clean my projector after use?
Always turn off and unplug your projector before cleaning it. Use a microfiber cloth to wipe the lens gently.
5. Can I use a smartphone projector for cookies?
Yes, smartphone projectors can work for cookie decorating but might require a darkened environment to see the image clearly.
Conclusion: Elevate Your Cookie Decorating Game
Using a projector for cookie decorating can truly elevate your baking game. It allows you to unleash your creativity, experiment with complex designs, and improve your overall skills. Whether you’re a novice or a seasoned baker, incorporating a projector into your decorating toolkit can enhance your cookie creations dramatically. So go ahead, choose the perfect projector, and start creating beautiful, eye-catching cookie designs that will impress your friends and family!