Halloween is the perfect time to unleash your creativity and transform your home into a haunted haven. One of the most unique and edgy ways to decorate is with saw decorations! Yes, you read that right – saws! These tools can add a spine-chilling touch to your Halloween decor if used thoughtfully. In this guide, I’ll share my personal experiences, ideas, tips, and even some DIY projects to help you make the most of saw decorations this Halloween.
Understanding Saw Decorations for Halloween
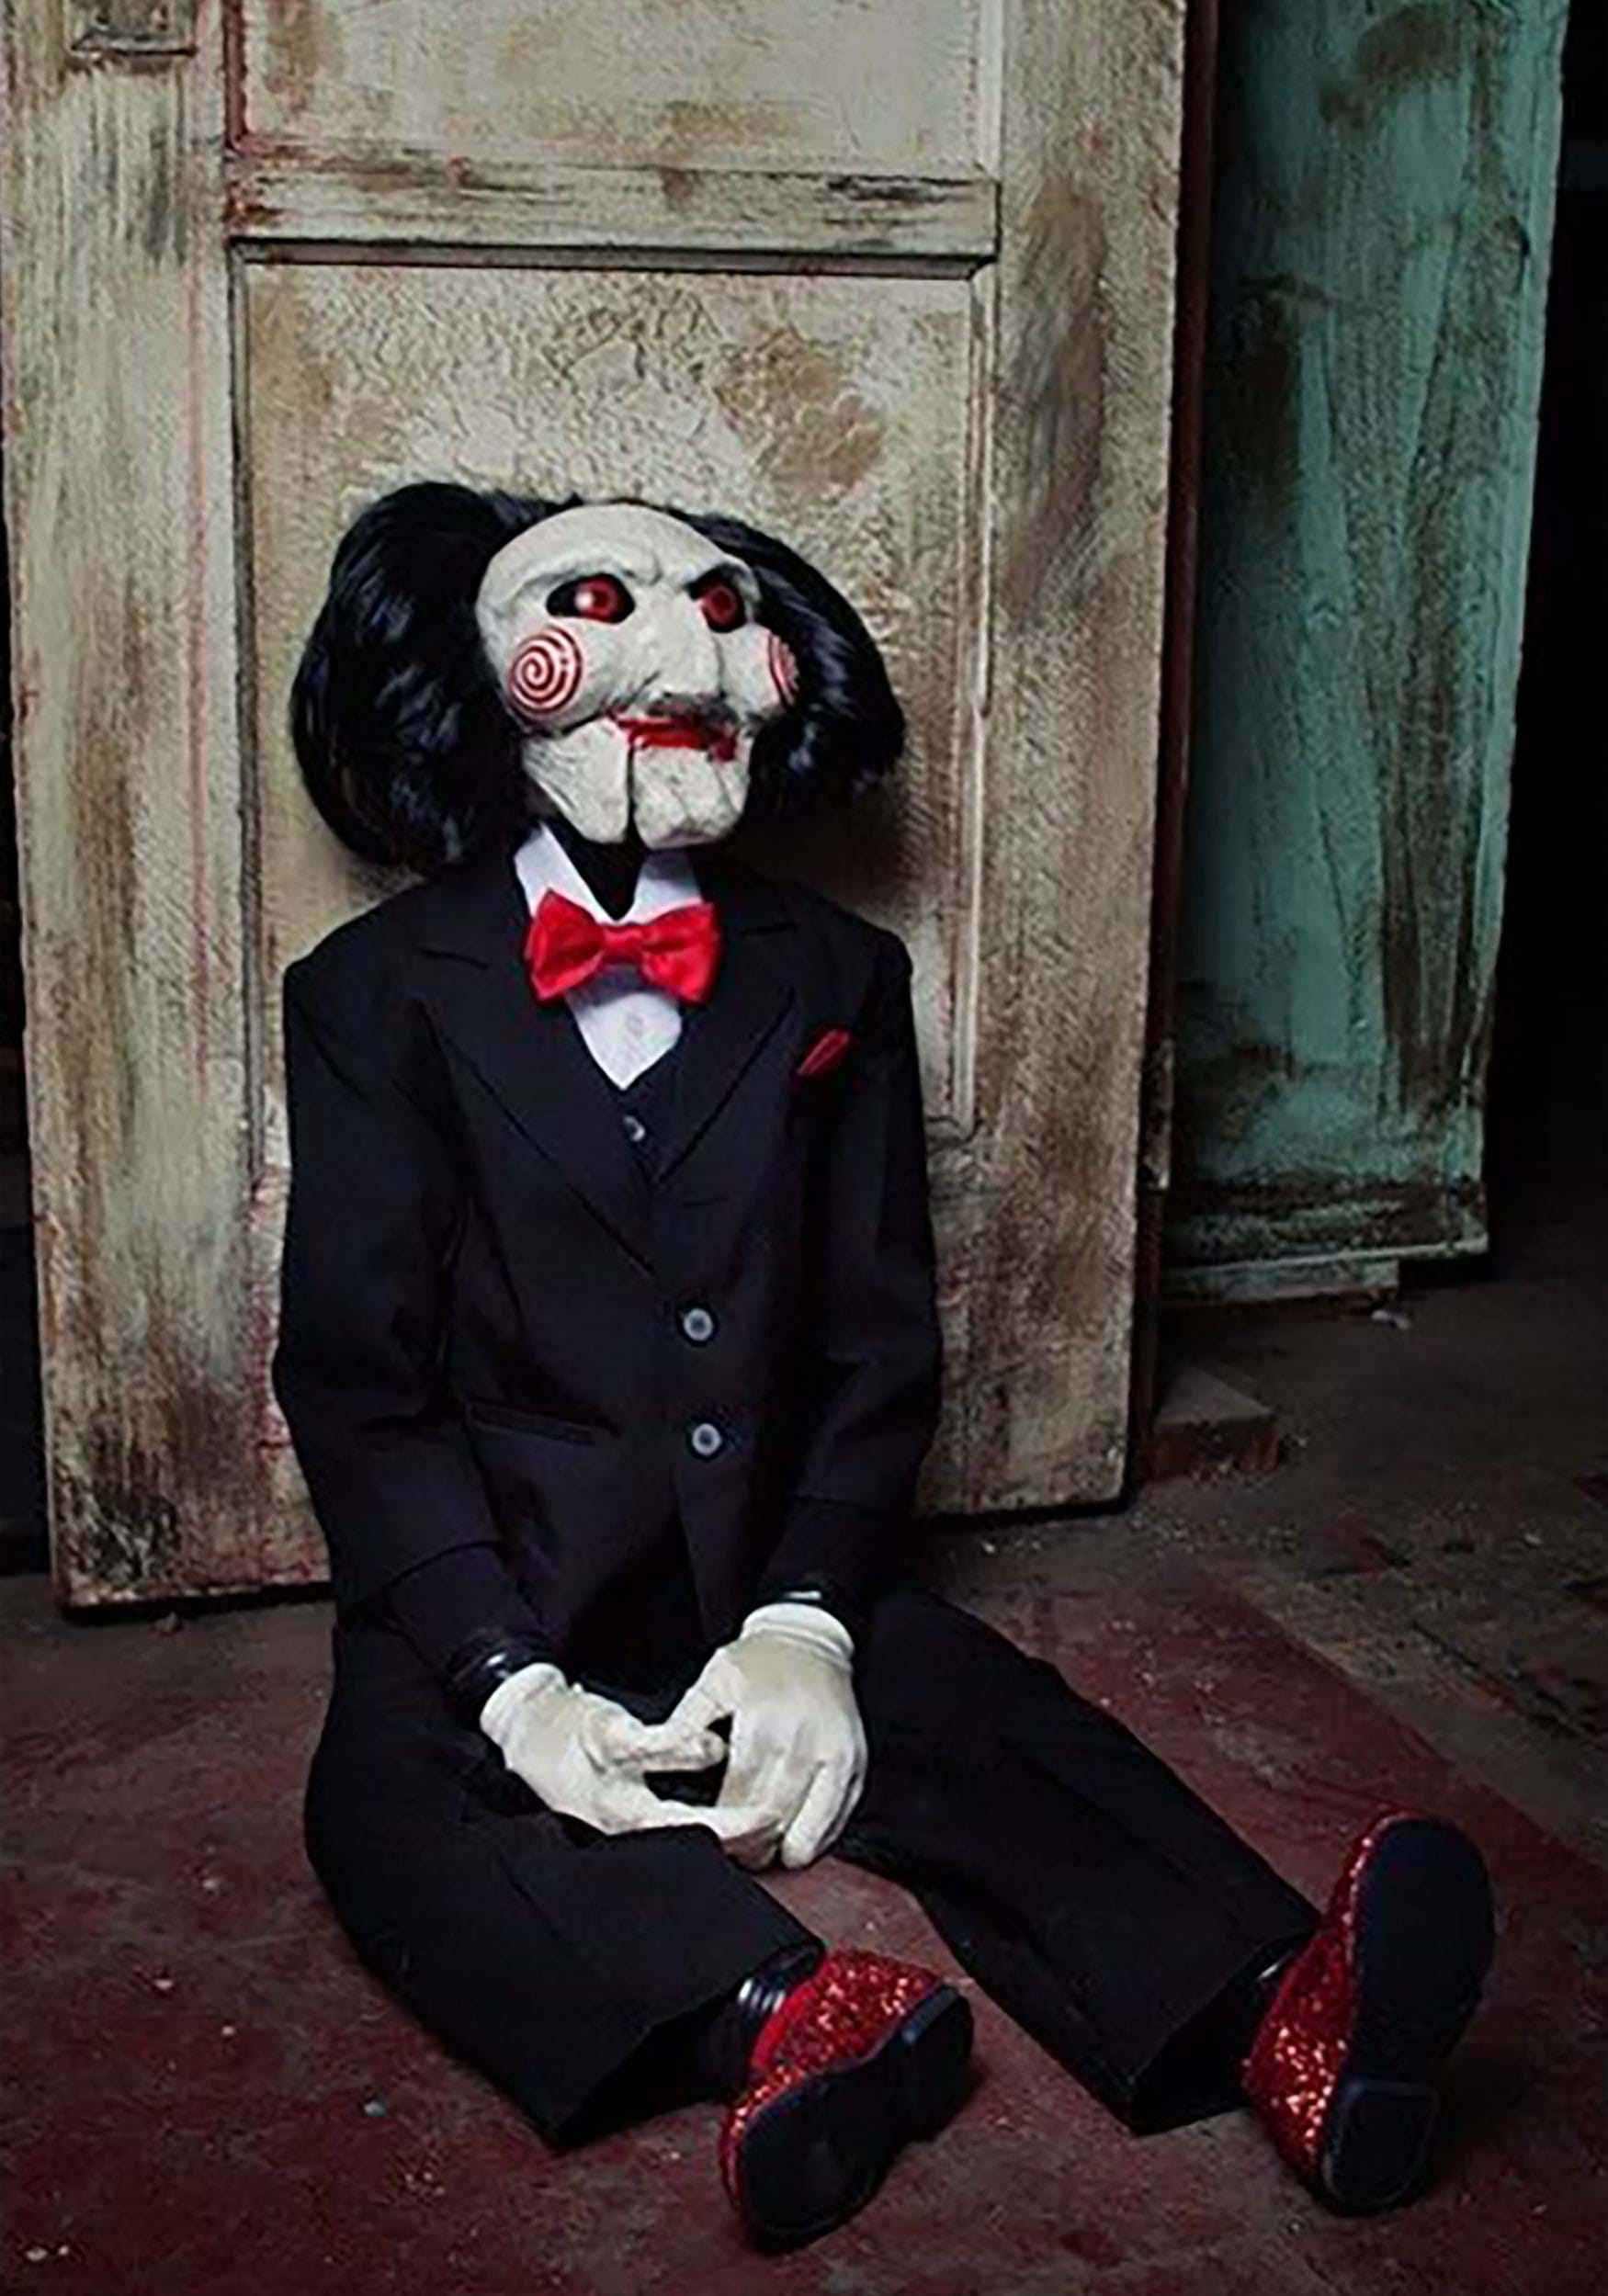
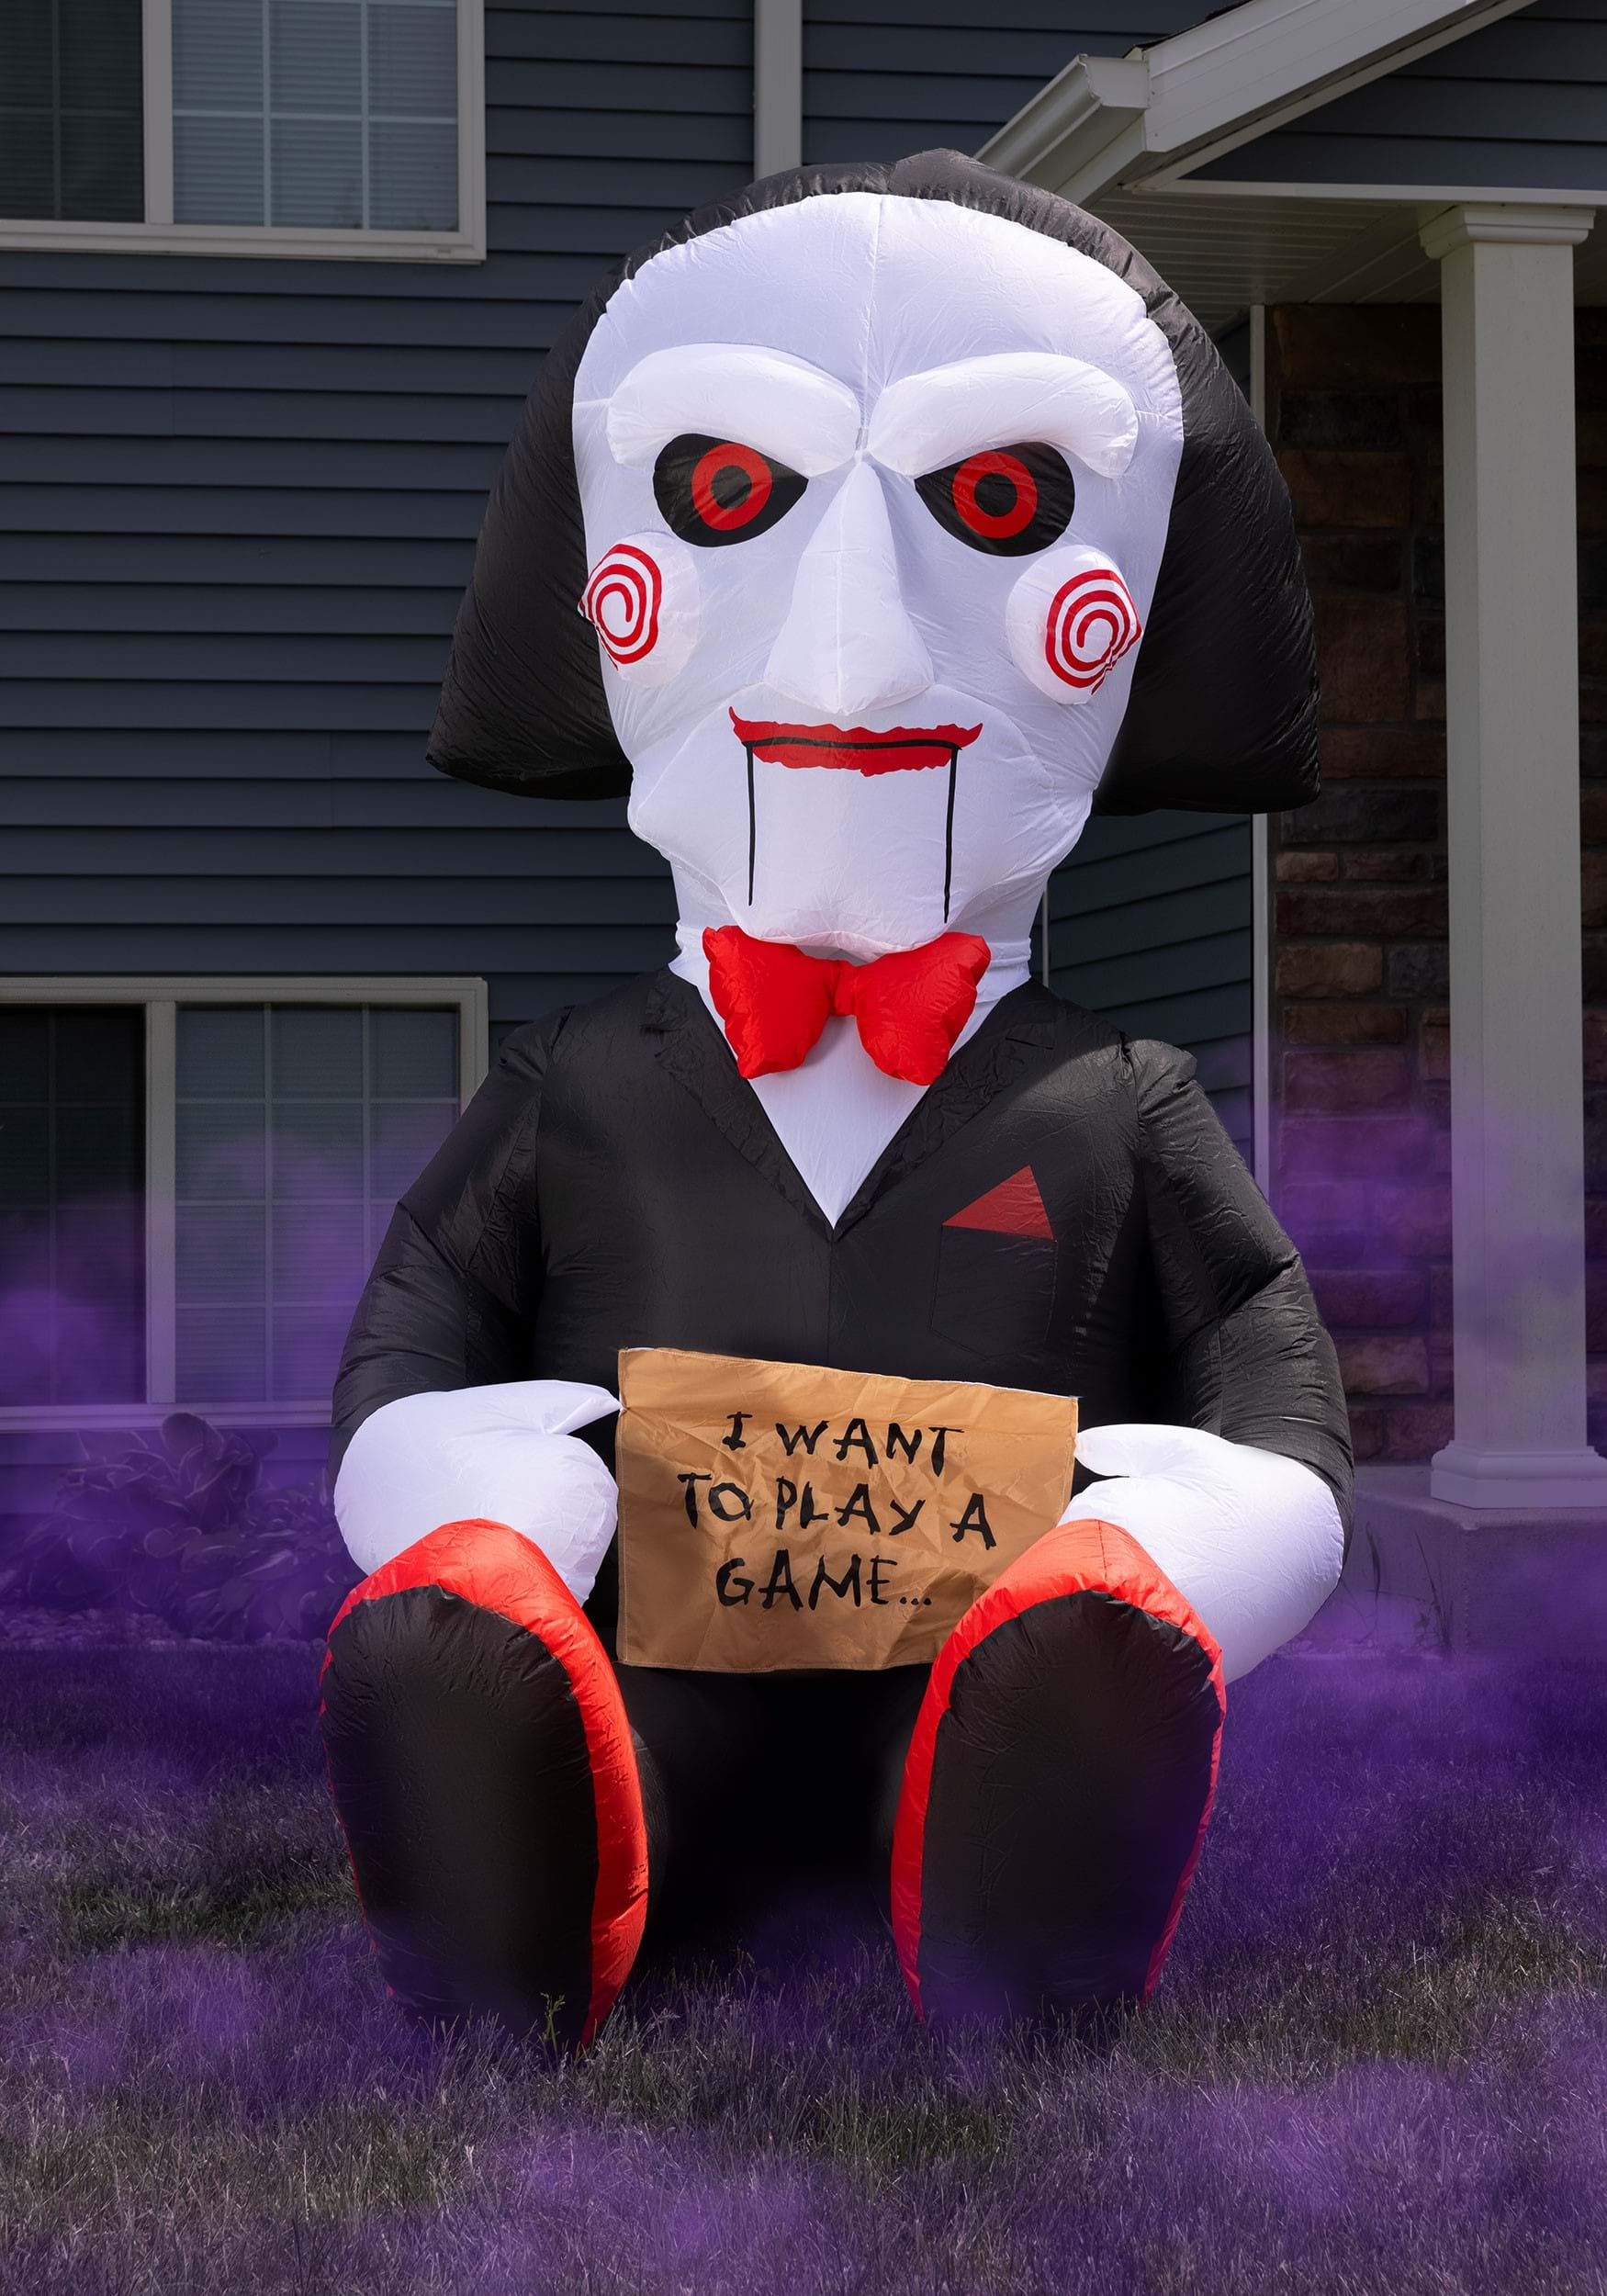
Saw decorations can range from realistic replicas of tools used in horror movies to artistic renditions that scream Halloween spirit. Whether you’re aiming for a haunted house vibe or a more whimsical approach, saw decorations can serve as stunning focal points.
Where to Use Saw Decorations
- Front Yard: Place saws near jack-o’-lanterns or tombstones for a haunting effect.
- Porch: Hang saws alongside other Halloween decorations to create a creepy entryway.
- Indoors: Use saws in your dining room or living area to create a themed space.
Types of Saw Decorations
There are various types of saw decorations you can consider. Some popular options include:
1. Realistic Saws
These can be old, rusty saws that evoke an authentic eerie feel. Ideal for those who want to create a horror movie set atmosphere.
2. Painted Saws
Painted saw decorations with spooky designs or Halloween themes can add a colorful twist to your decor.

3. DIY Saws
Craft your own saw decorations using cardboard or foam, perfect for a personal touch to your Halloween setup.
DIY Saw Decorations: Step-by-Step Guide
Nothing beats the satisfaction of crafting your own decorations. Here’s a step-by-step guide to creating your own DIY saw decorations.
Materials Needed
- Cardboard or plywood
- Paint (black, orange, and white)
- Brushes
- Wire for hanging
- Scissors or a saw for cutting
Instructions
- Sketch your saw design on the cardboard or plywood.
- Cut out the shape carefully.
- Paint your saw in spooky colors and let it dry.
- Add details like fake blood or ghostly designs.
- Attach wire for easy hanging.
Personal Experience
Last year, I decided to create a set of saw decorations for my front porch. I loved the process of painting them with spooky designs, and my neighbors were thrilled to see such unique decor. It sparked conversations and even brought in some kids from the neighborhood asking how I made them! Crafting my own decorations added a personal touch that truly made my Halloween special.
Comparing Saw Decorations: Pros and Cons

| Type of Decoration | Pros | Cons |
|---|---|---|
| Realistic Saws | Aesthetic appeal, authenticity | Safety concerns, may scare small children |
| Painted Saws | Colorful, creative freedom | May require more time to create |
| DIY Saws | Customizable, budget-friendly | Quality may vary, requires crafting skills |
Incorporating Saw Decorations into Your Theme
Your Halloween decor should tell a story. Here’s how you can incorporate saw decorations into different themes:

1. Haunted House Theme
Use realistic saws alongside cobwebs and skeletons for a spine-chilling atmosphere. Consider strobe lights for added effect!
2. Whimsical Halloween Theme
Paint your saws in bright colors and pair them with cheerful skeletons or friendly ghosts. This theme works well for families with young children.

3. Horror Movie Set Theme
Replicate scenes from classic horror films using realistic saws and props. Set the mood with eerie sound effects and dim lighting.
Maintaining Your Saw Decorations
To keep your saw decorations looking their best, consider the following maintenance tips:
Storage
Store saws indoors to prevent weathering. Use protective coverings if they need to be outside.

Cleaning
Wipe down your saws with a damp cloth to remove dust. For painted saws, be gentle to avoid chipping the paint.
Repurposing
If you have leftover saws after Halloween, consider repurposing them for other holidays or even as art pieces in your home!
Frequently Asked Questions about Saw Decorations
What are the best materials for making saw decorations?
The best materials are cardboard or plywood for structure, while paint and brushes will help bring your designs to life.
Can I use real saws for Halloween decorations?
While you can use real saws, it’s essential to ensure they are safely displayed to prevent injury. It’s often better to opt for replicas.
How can I safely display saw decorations outdoors?
Securely hang your saw decorations with hooks, ensuring they are out of reach of children. It’s also wise to check for any potential hazards around their placement.
Conclusion
Incorporating saw decorations into your Halloween setup can elevate your decor from ordinary to extraordinary. From DIY projects to carefully curated displays, saws offer unique and exciting ways to celebrate this spooky season. Remember to have fun with your creativity and make your Halloween decorations work for your personal style and theme!
Now that you have all the tips and ideas, it’s time to get started on your saw decorations and make this Halloween one to remember! Happy decorating!