Graduation is a monumental occasion, and personalizing your graduation cap is an amazing way to express your personality and celebrate your achievements! In this guide, I’ll share not just the essential supplies you need for graduation cap decoration but also some creative ideas, tips, and personal anecdotes to inspire you. Let’s dive in!
Understanding Your Graduation Cap
Before we explore the supplies, it’s vital to understand the basic structure of the graduation cap. Typically, a graduation cap consists of:
- The Cap: A flat, square piece usually made of polyester or a similar fabric.
- The Tassel: Attached to the center, representing your academic achievements.
- The Button: In the middle of the cap, where the tassel is attached.
Knowing this will help you decide how to decorate without damaging the cap.
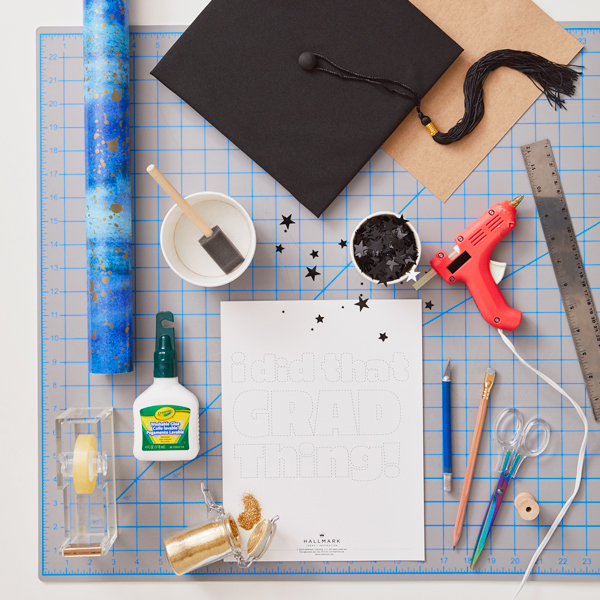
Essential Supplies for Graduation Cap Decoration
1. The Basics
The first step in decorating your graduation cap is gathering the basic supplies. Here’s a list to get you started:
| Supply | Purpose | Recommended Brands |
|---|---|---|
| Craft Glue | To attach embellishments | Elmer’s, Aleene’s |
| Scissors | For cutting materials | Fiskars, Westcott |
| Brushes & Sponges | For painting and applying glue | Da Vinci, Royal & Langnickel |

2. Decorative Materials
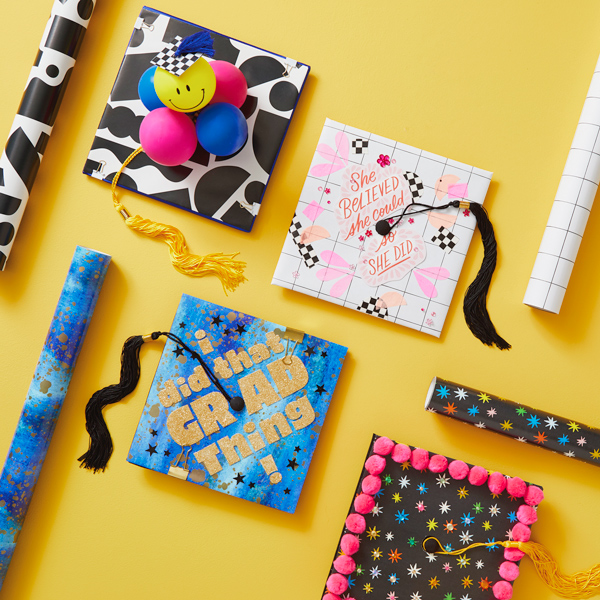
Once you have the basics covered, it’s time to think about the decorative elements. Here are some fun supplies to consider:
- Acrylic Paint: Perfect for a solid base color or intricate designs.
- Glitter: Adds a vibrant sparkle to any project!
- Fabric or Felt: Creates a textured layer for your design.
- Stickers & Decals: An easy way to add flair without much effort.
- Ribbons: Great for a pop of color and texture.
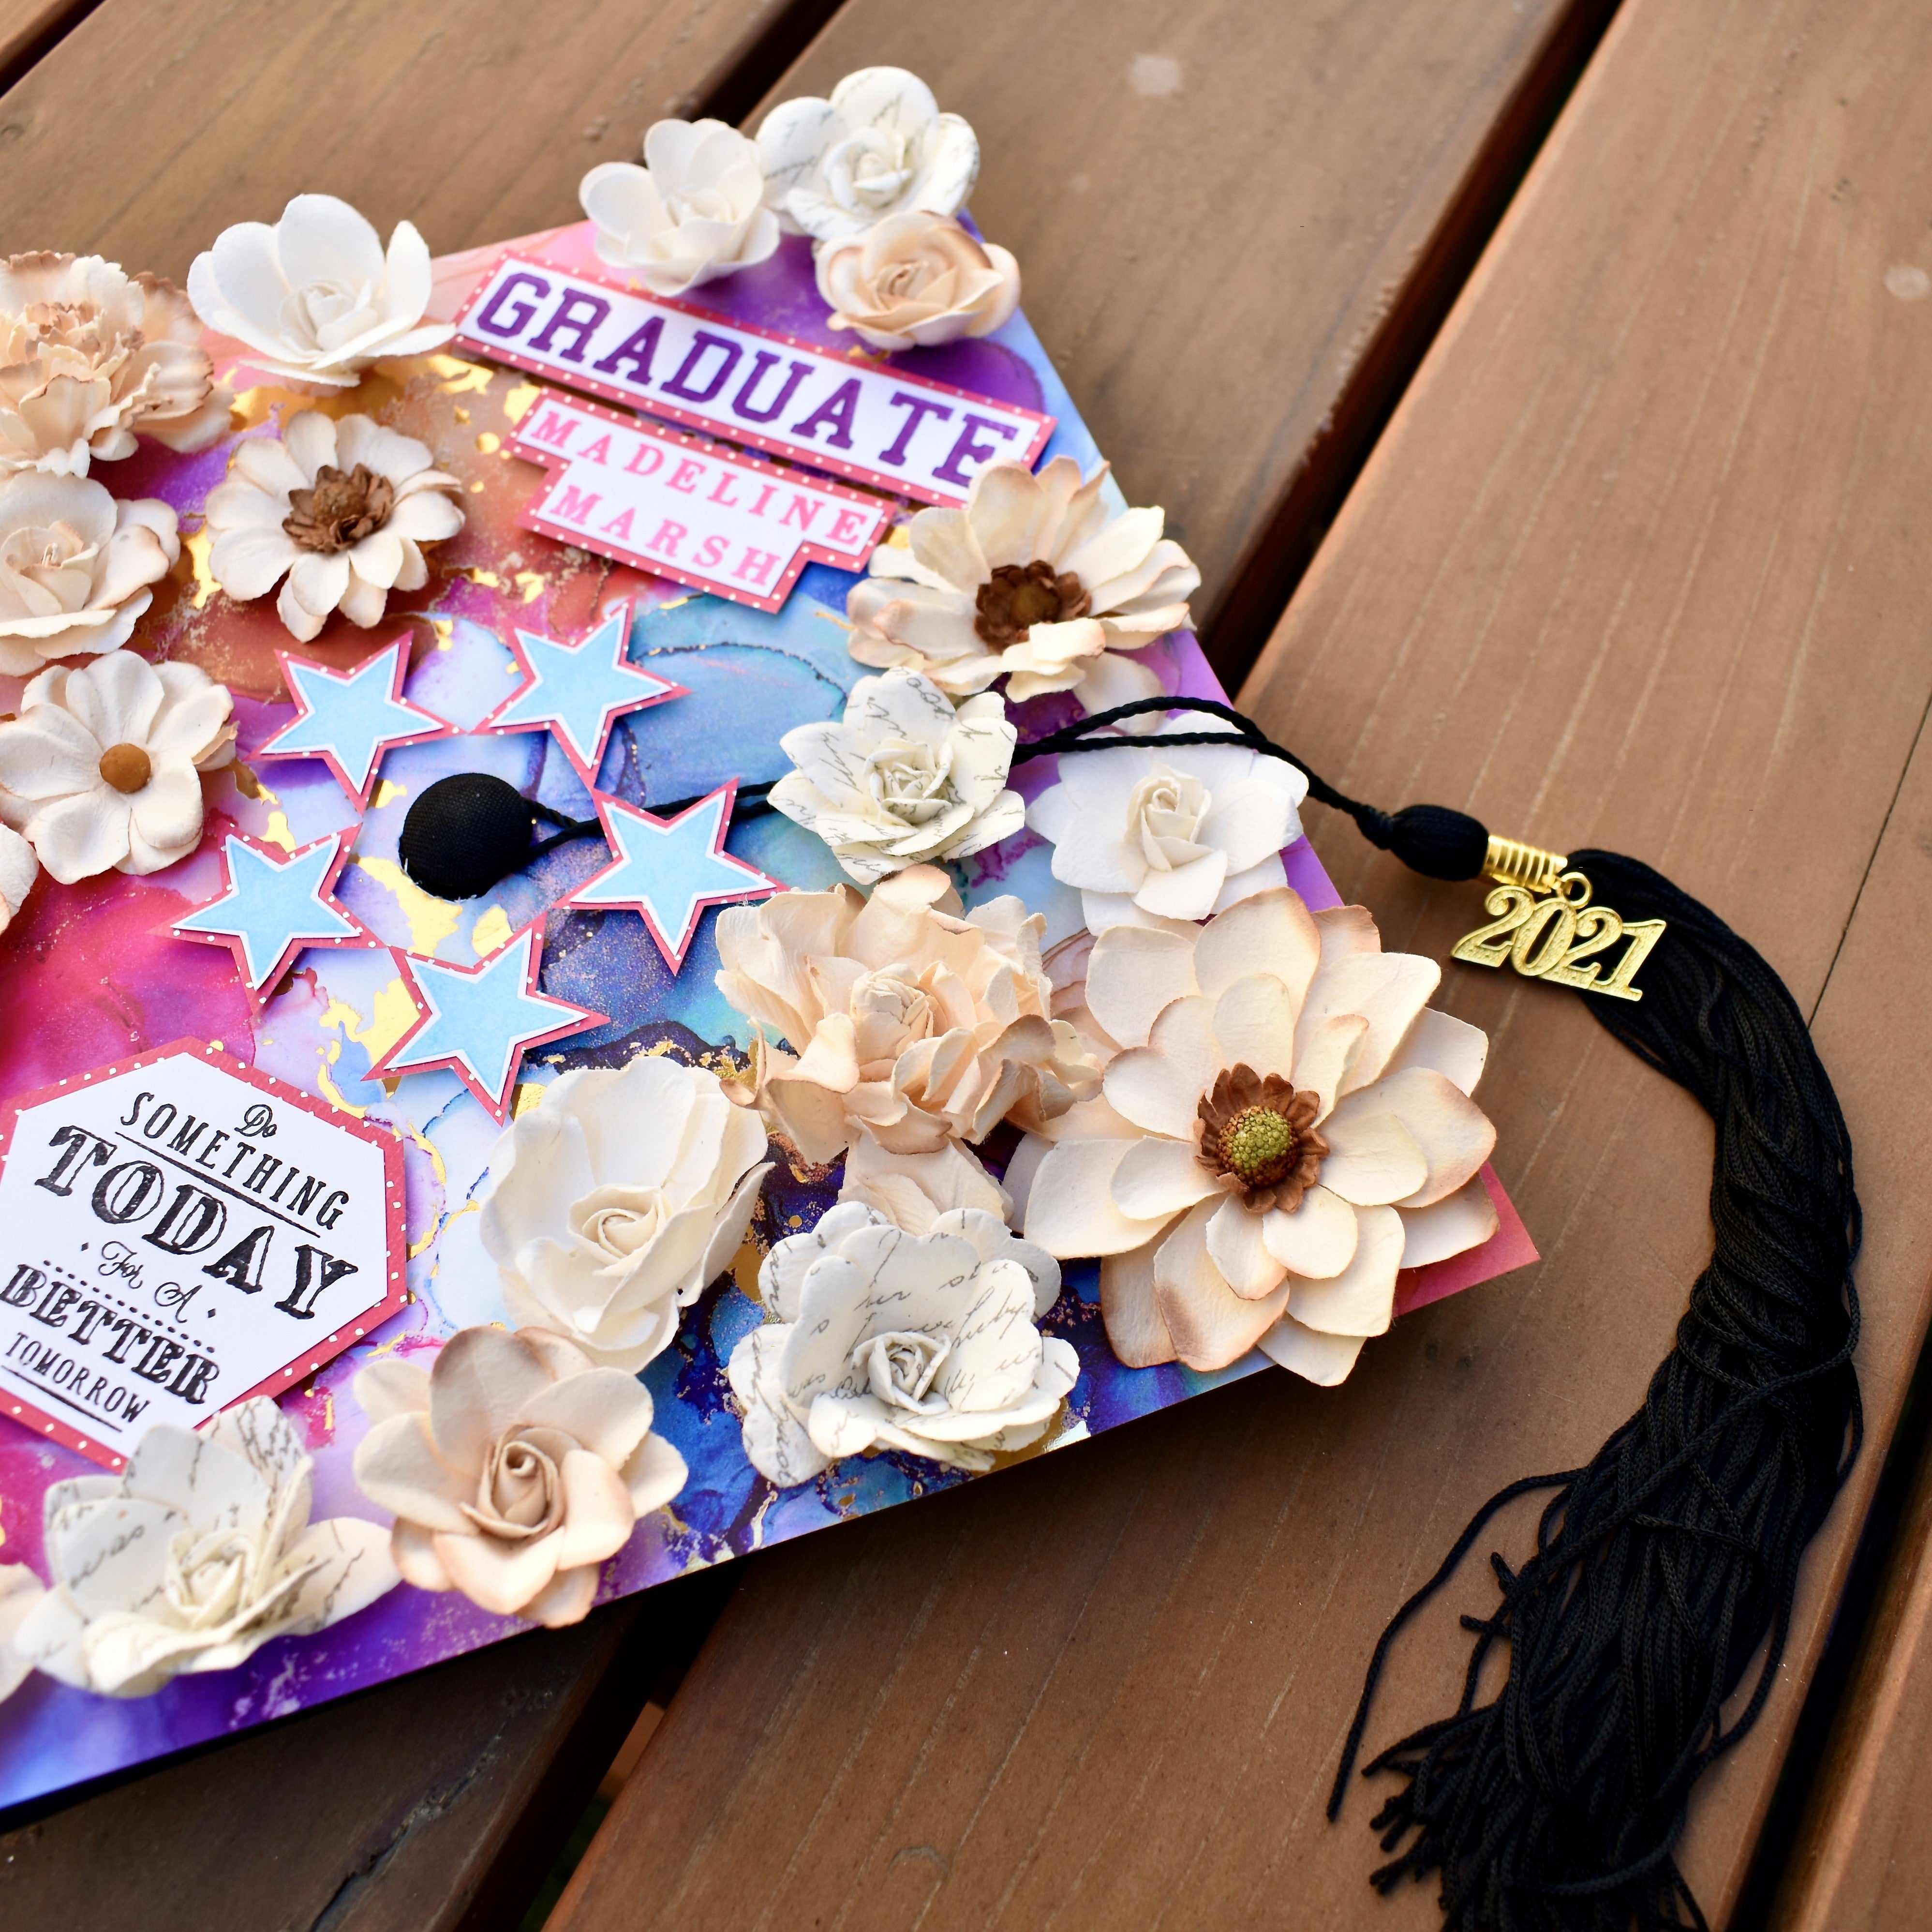
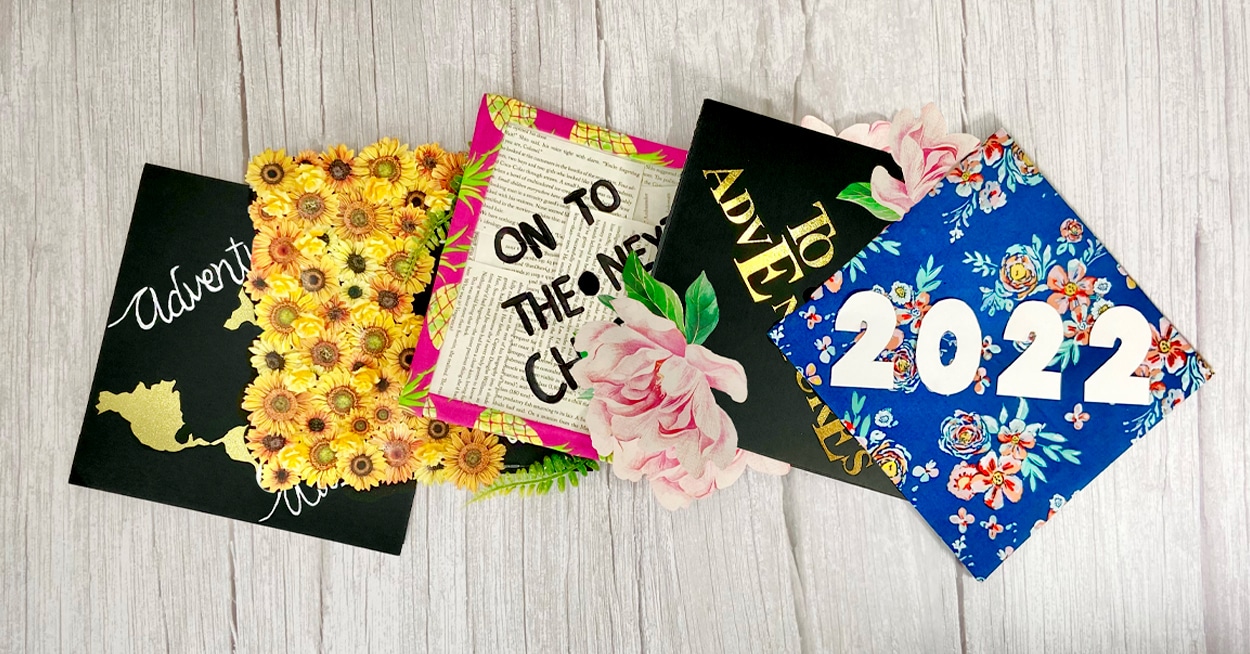
- Photos & Mementos: Personalize your cap with pictures or meaningful items.
3. Tools for the Project
In addition to decorative materials, having the right tools can make a world of difference:
- Hot Glue Gun: Ideal for attaching heavier embellishments.
- Craft Knife: Essential for detailed cutting.
- Measuring Tape: To ensure your design fits perfectly.
Creative Ideas for Graduation Cap Decoration
Now that you know what supplies you’ll need, let’s get creative! Here are some unique ideas based on my personal experiences:
1. Inspirational Quotes
Choosing a quote that resonates with you can be incredibly empowering. For my graduation cap, I used a quote from Maya Angelou that said, “You can’t use up creativity. The more you use, the more you have.” I painted it using bold colors to make it stand out!

2. Personal Achievements
Incorporate elements that showcase your hard work. I added small images representing each of my significant achievements throughout my academic journey, from my first science fair to my final thesis presentation.
3. Cultural Elements
Celebrate your heritage by integrating cultural symbols or traditional designs. One of my classmates adorned her cap with beautiful henna patterns that told her family’s story.
4. Fun Puns
If you enjoy humor, a pun can make your cap memorable! Try something like “The tassel was worth the hassle.” It’s a fun way to capture the essence of graduation!
DIY vs. Professional Services
When it comes to graduation cap decoration, you might wonder whether to DIY or hire professionals. Below, I compare the two options:

| Factor | DIY | Professional Services |
|---|---|---|
| Cost | Generally less expensive | Can be pricey, depending on design |
| Customization | Fully customizable | Limited to the artist’s style |
| Time Investment | Requires several hours | Quick turnaround, but may have a wait time |
| Skill Level | Requires crafting skills | Skilled artists handle it |
Tips for a Successful Decoration Process
Based on my experience and conversations with friends, here are some tips to ensure your graduation cap decoration goes smoothly:
1. Start Early
Don’t wait until the last minute! Starting your project a few weeks ahead of graduation gives you ample time to brainstorm, gather supplies, and make adjustments as needed.
2. Plan Your Design
Sketching out your idea can save you from potential mistakes. Consider how the colors and elements work together. A visual plan is a great guide!
3. Use Quality Materials
When it comes to glue, paint, and embellishments, quality matters. Using subpar materials can lead to disappointment when pieces fall off or colors fade.
4. Practice Beforehand
If you’re trying a technique for the first time, practice on scrap material. This will help you gauge how the final product will turn out.
FAQs About Graduation Cap Decoration
What are the best colors to use for graduation cap decoration?
Bright, bold colors tend to stand out well during ceremonies. However, consider your school colors for a more cohesive look!
Can I use fabric on my graduation cap?
Yes, fabric and felt are excellent options! Just make sure you attach them securely to prevent any mishaps on graduation day.
How can I attach heavier items to my graduation cap?
Using a hot glue gun is best for attaching heavier items. Ensure you allow sufficient time for the glue to dry completely.
Is there a specific way to decorate my cap without damaging it?
Absolutely! Use removable adhesives when possible, and avoid applying anything that could cause permanent damage to the cap material.
Conclusion
Decorating your graduation cap is a memorable way to express yourself and add a personal touch to your graduation ceremony. Whether you decide to go all out with intricate designs or keep it simple with a meaningful quote, the key is to enjoy the process. Remember, this cap will forever symbolize your hard work and achievements, so make it a reflection of who you are!
Now that you’re armed with all the supplies, ideas, and tips you need, it’s time to unleash your creativity. Happy decorating, and congratulations on your upcoming graduation!