There’s something incredibly satisfying about decorating your own cookies. Whether it’s for a birthday party, holiday celebration, or just a fun afternoon with friends, cookie decorating opens the door to creativity and deliciousness. In this guide, we’ll walk you through everything you need to know to create beautiful cookie designs, share personal experiences, and provide tips to ensure your cookies not only look great but taste amazing too. Let’s dive in!
Table of Contents
- Getting Started with Cookie Decorating
- Essential Tools for Cookie Decorating
- Best Cookie Recipes for Decorating
- Types of Icing for Cookie Decorating
- Cookie Decorating Techniques
- Themed Decorating Ideas
- Troubleshooting Common Issues
- FAQs
- Conclusion
Getting Started with Cookie Decorating
Before you start, here are a few things to consider:
- Choose the right occasion. Decorating cookies can be a great activity for kids’ parties, holidays, or simply as a creative outlet.
- Gather your friends or family. It can be a fun group activity!
- Set up a dedicated workspace. A clean, flat surface is a must.
From my personal experience, setting up a cozy decorating space with music and snacks makes the process even more enjoyable!
Planning Your Designs
Think about what kind of cookies you want to create. Do you want them to be festive, elegant, or fun? Sketching out a design can help you visualize the end product!
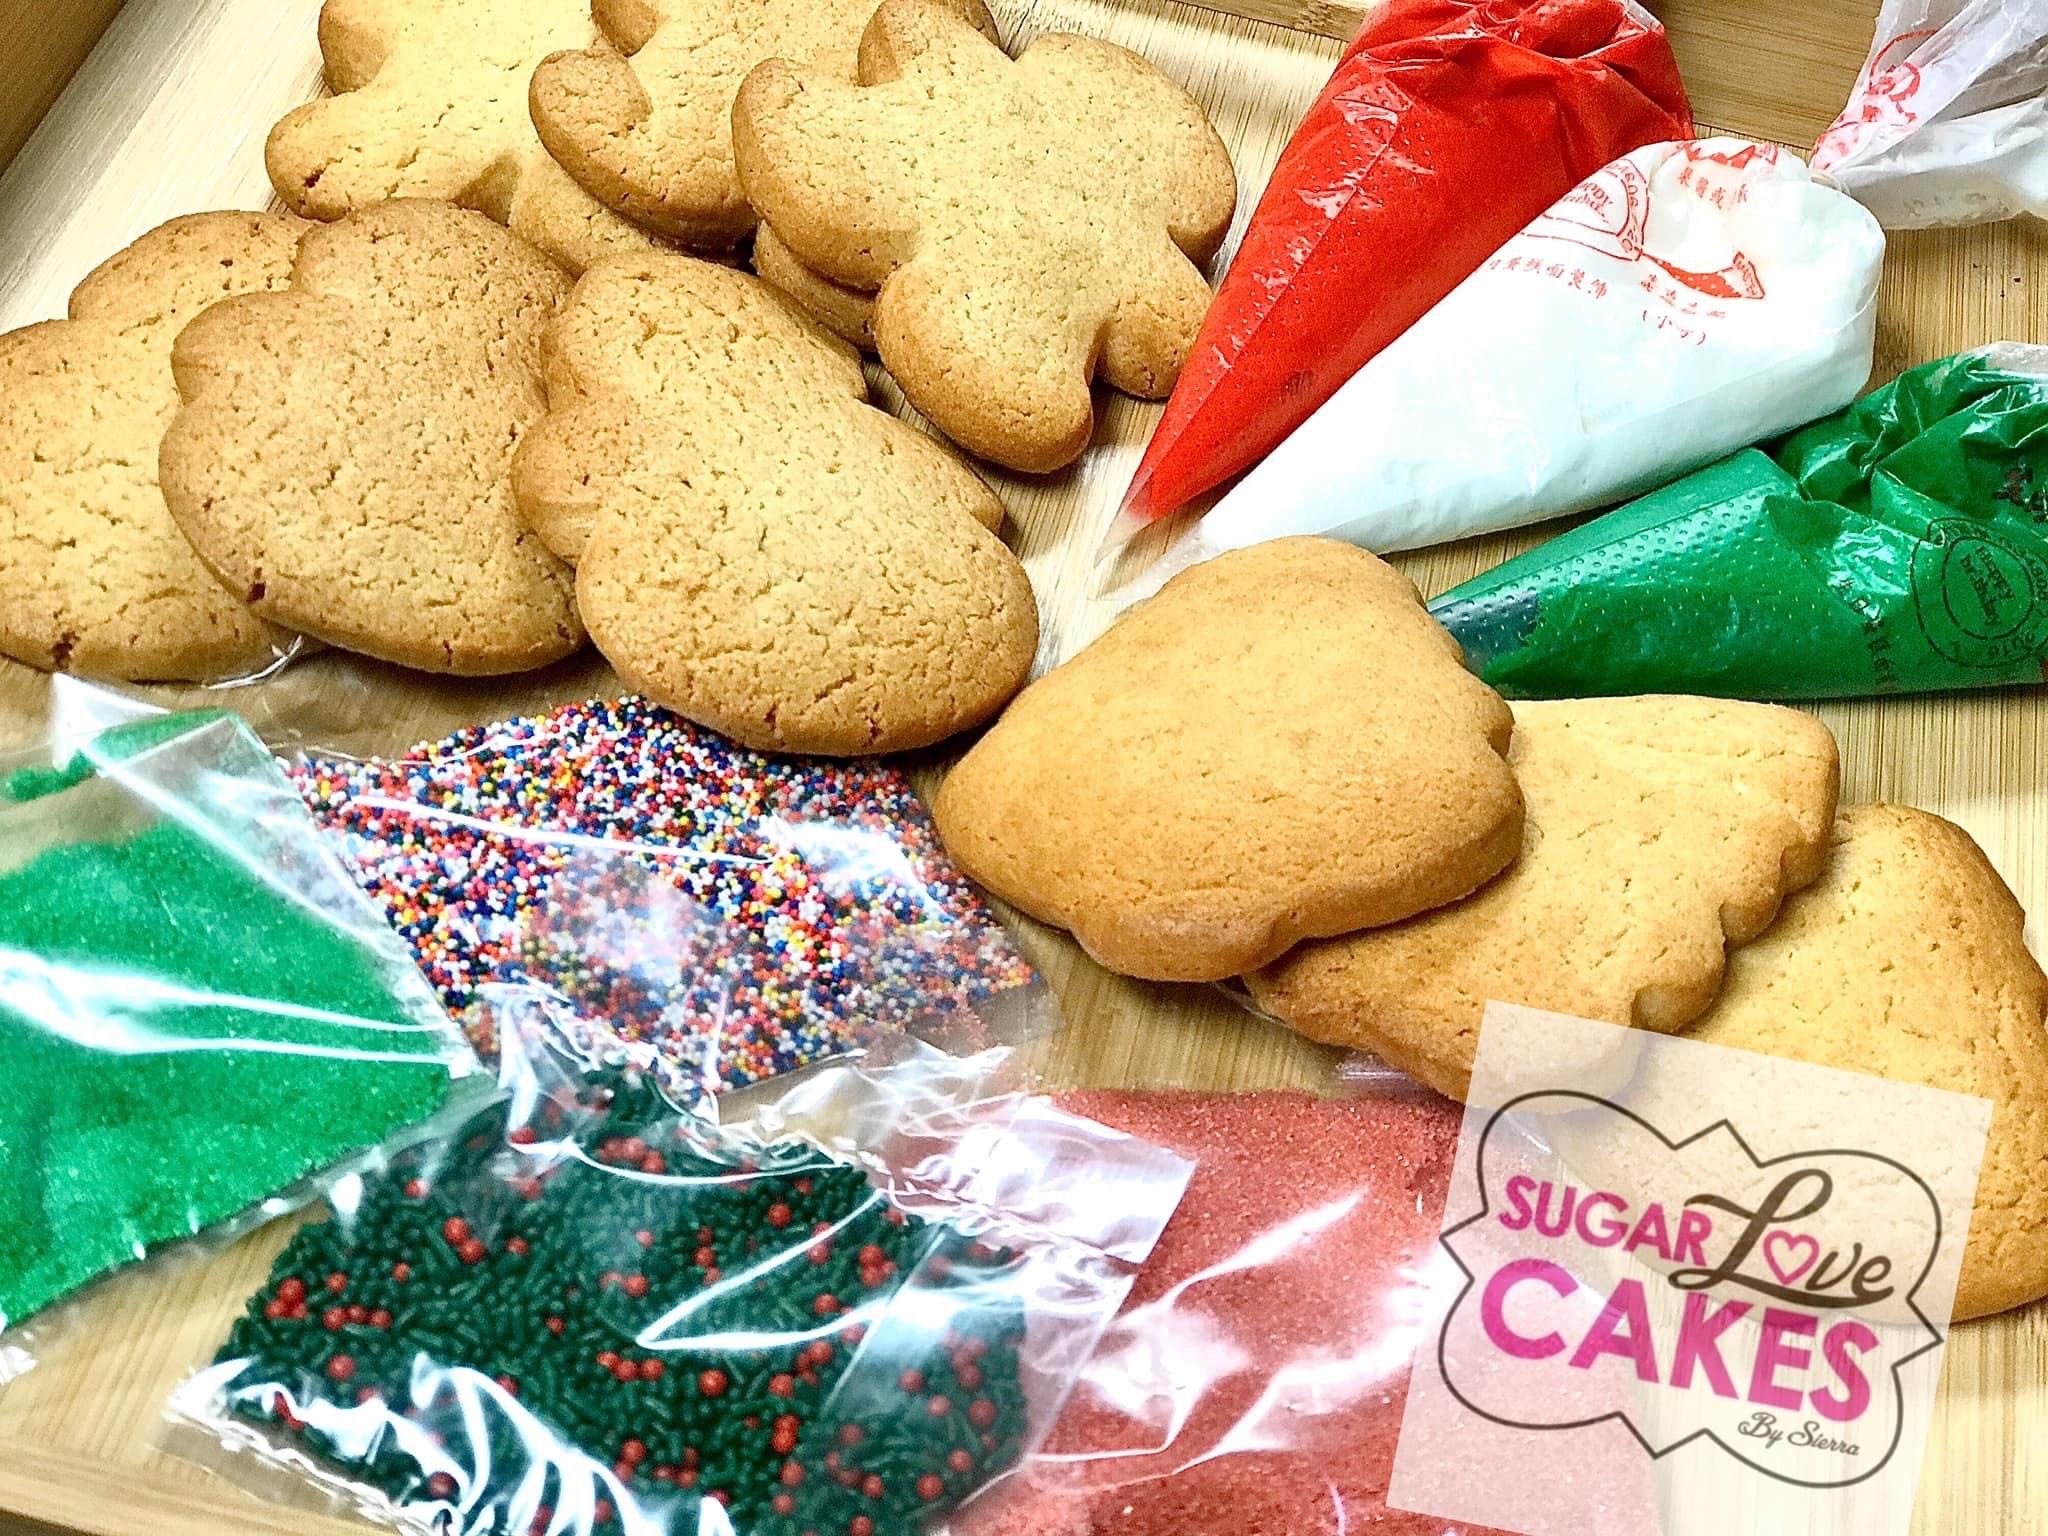
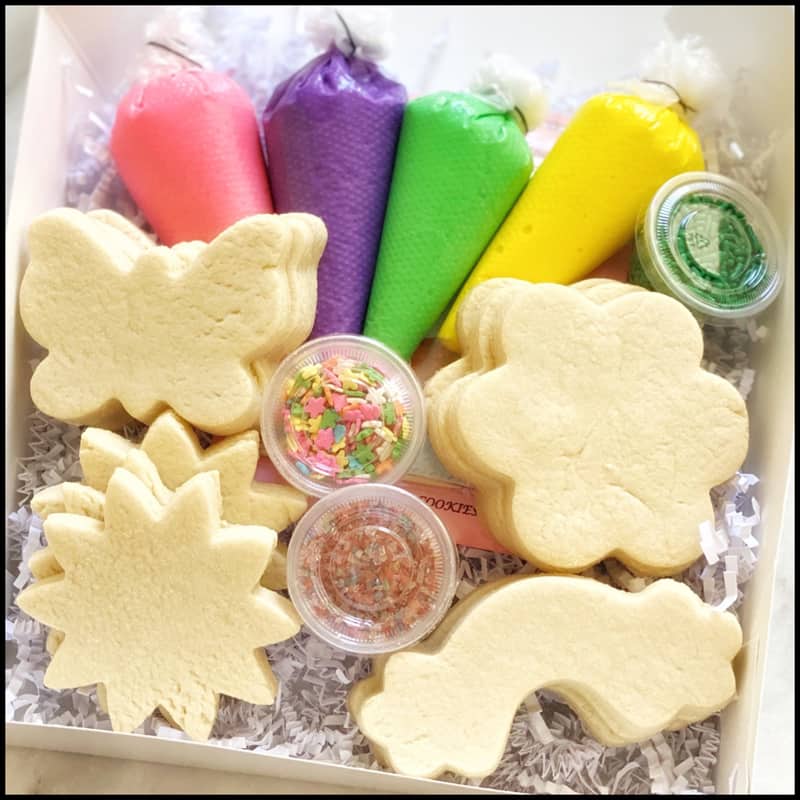
Essential Tools for Cookie Decorating
Having the right tools can make cookie decorating much easier and more enjoyable. Here’s a list of essential tools:
| Tool | Purpose |
|---|---|
| Piping Bags | For applying icing with precision. |
| Piping Tips | To create various icing designs. |
| Cookie Cutters | To shape your cookies. |
| Food Coloring | To add vibrant colors to your icing. |
| Sprinkles and Edible Decorations | To add flair and fun to your cookies. |
| Rolling Pin | To roll out your dough to an even thickness. |
Best Cookie Recipes for Decorating
The base of any great decorated cookie is a delicious recipe. Here are two of my favorite recipes:

Classic Sugar Cookies
- 2 3/4 cups all-purpose flour
- 1 teaspoon baking powder
- 1/2 teaspoon salt
- 1 cup unsalted butter, softened
- 1 1/2 cups white sugar
- 1 egg
- 1 teaspoon vanilla extract
Instructions
- Preheat your oven to 375°F (190°C).
- In a bowl, mix flour, baking powder, and salt.
- In another bowl, cream butter and sugar until smooth. Beat in egg and vanilla.
- Gradually add dry ingredients to the wet mixture.
- Roll out the dough and cut into desired shapes.
- Bake for 8-10 minutes or until lightly golden.
Chocolate Chip Cookies
- 2 1/4 cups all-purpose flour
- 1 teaspoon baking soda
- 1 teaspoon salt
- 1 cup unsalted butter, softened
- 3/4 cup granulated sugar
- 3/4 cup packed brown sugar
- 1 teaspoon vanilla extract
- 2 large eggs
- 2 cups semi-sweet chocolate chips
Instructions
- Preheat your oven to 375°F (190°C).
- Combine flour, baking soda, and salt in a bowl.
- In a large mixing bowl, beat butter, granulated sugar, brown sugar, and vanilla extract until creamy.
- Add eggs, one at a time, beating well after each addition.
- Gradually add dry ingredients to wet ingredients.
- Stir in chocolate chips.
- Drop by rounded tablespoon onto ungreased baking sheets.
- Bake for 9-11 minutes or until golden.

Types of Icing for Cookie Decorating
Choosing the right icing is crucial for your cookie decorating success. Here are some popular options:
Royal Icing
Royal icing dries hard, making it perfect for intricate designs. It consists of egg whites, powdered sugar, and lemon juice. This icing allows for detailed work, but remember to work quickly, as it can dry fast!

Glaze Icing
Glaze icing is softer and dries to a shiny finish. It’s made from powdered sugar and water or milk. It’s easier to apply and can be flavored with extracts, making it a favorite among beginners.
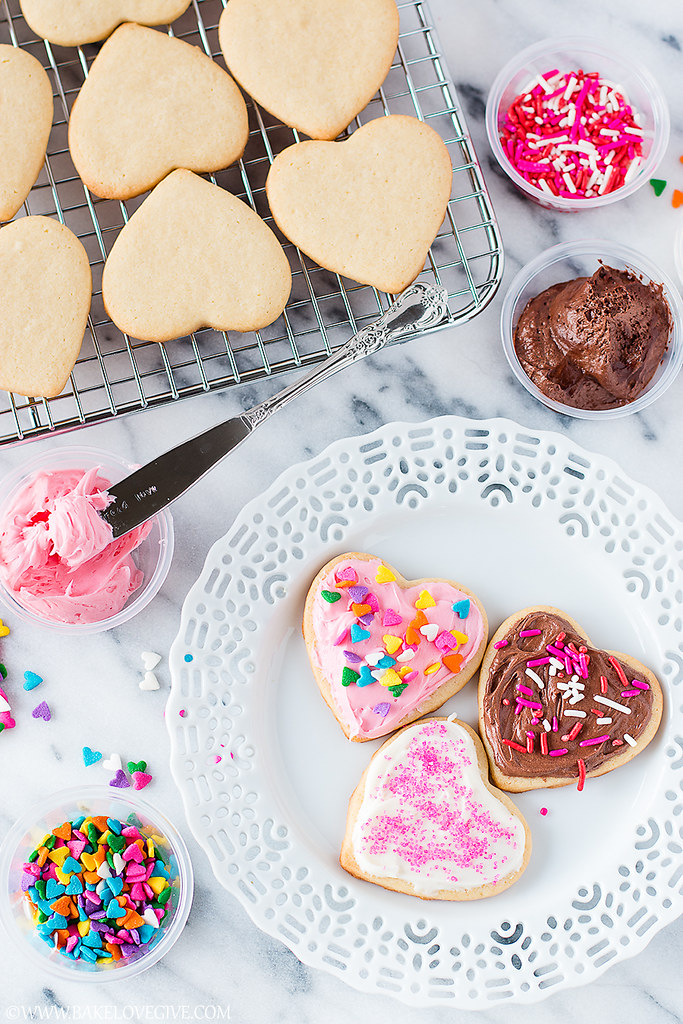
Buttercream Icing
This sweet and creamy icing is ideal for spreading and piping. It’s made with butter, powdered sugar, milk, and vanilla extract. While not suitable for detailed designs like royal icing, it’s perfect for fun decorations and adding flavors.
Pros and Cons of Icing Types
| Type | Pros | Cons |
|---|---|---|
| Royal Icing | Hardens well for decorating, suitable for detailed designs | Can dry quickly, harder to work with |
| Glaze Icing | Easier to apply, can have different flavors | Does not hold intricate designs as well |
| Buttercream Icing | Rich flavor, easy to spread | Too soft for fine decorating |
Cookie Decorating Techniques
Now that you’ve baked your cookies and have your icing ready, it’s time to decorate! Here are some techniques you can try out:
Piping
Using a piping bag to apply icing allows for precision in design. Practice different piping tips to create various effects, from delicate lines to bold borders.
This technique involves outlining your cookie with piping icing and then filling in the center with thinner icing. It creates a smooth, even finish that looks professional!
Stenciling
Using stencils can add intricate patterns to your cookies. Place the stencil on your cookie and dust with colored sugar or spray with edible color mist.
Painting
For a unique touch, use edible paints to create beautiful designs on your iced cookies. This allows for artistic expression and creativity!
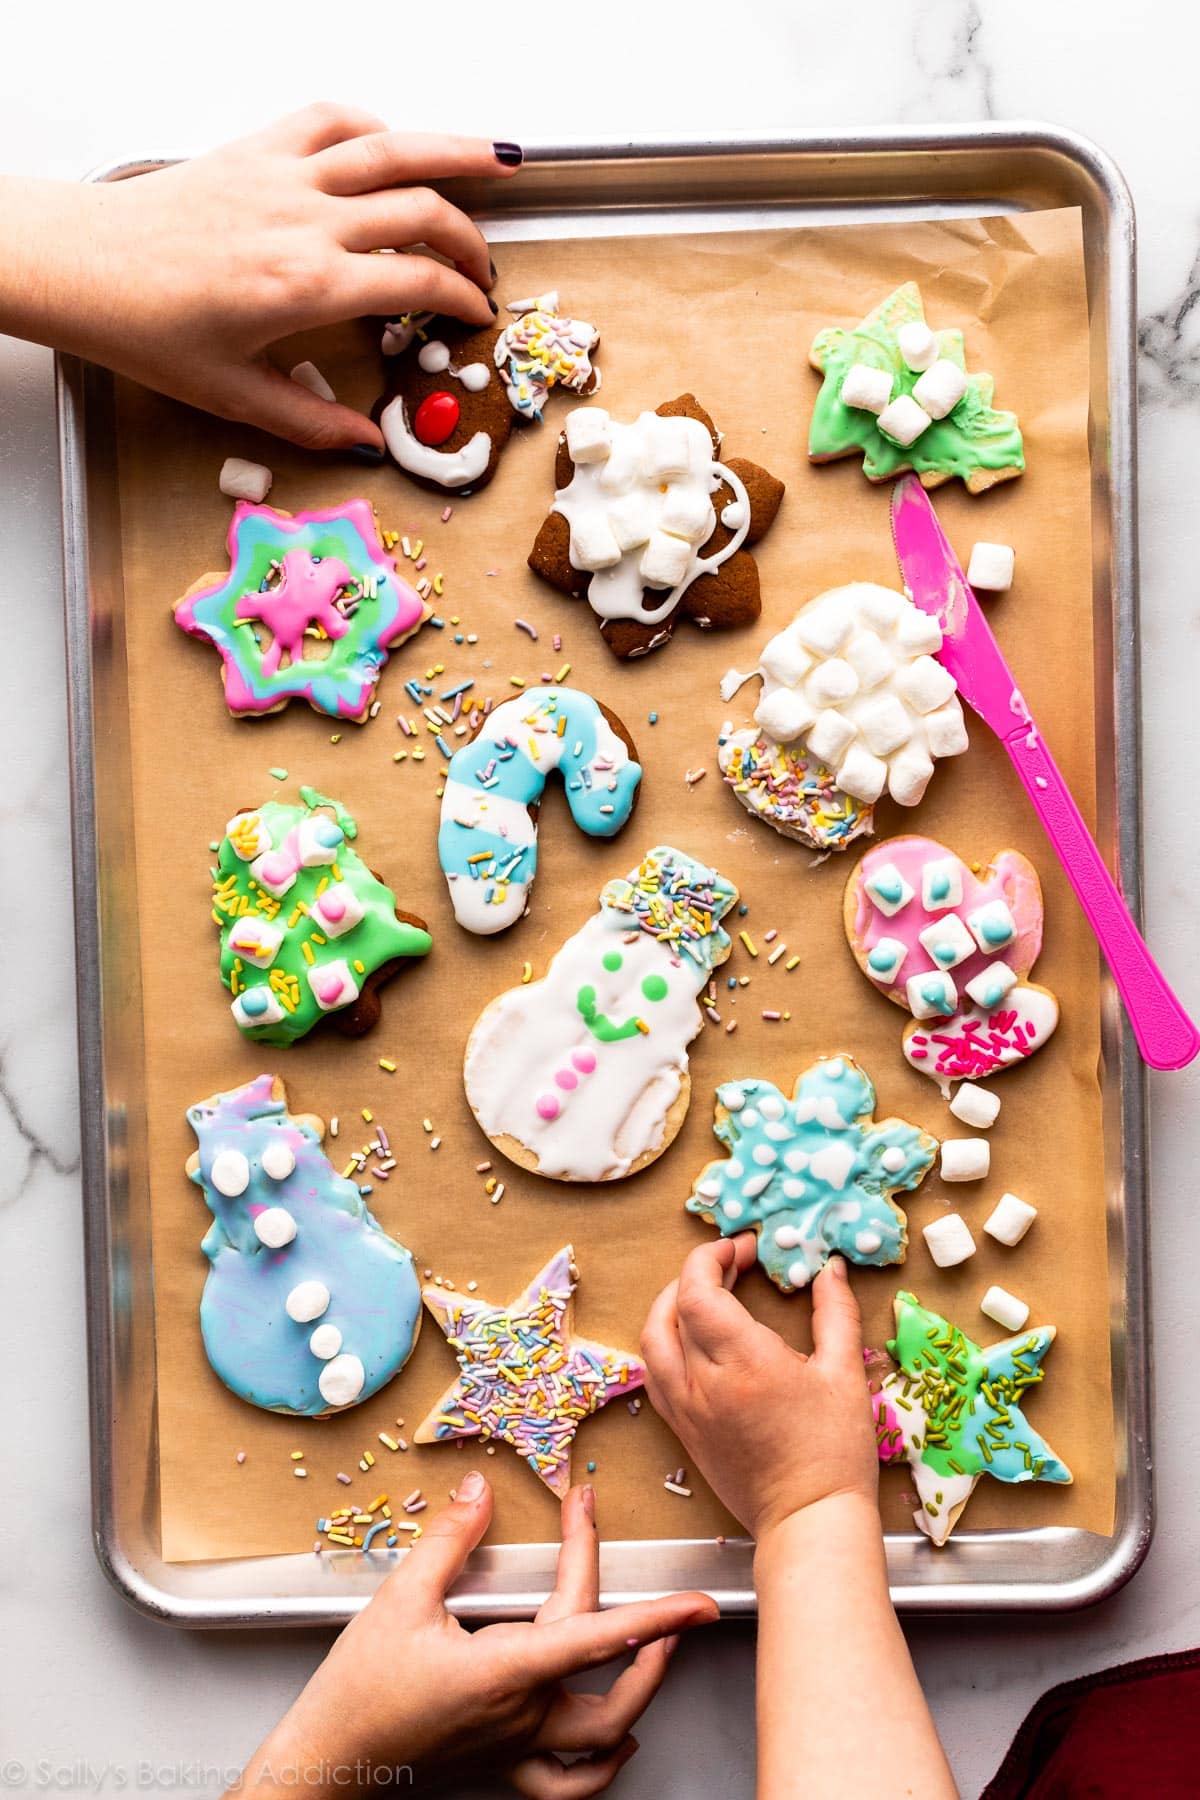
Themed Decorating Ideas
The beauty of cookie decorating is its versatility. Here are some themed ideas to get you inspired!
Holiday Themes
- Christmas: Decorate with red and green icing, add edible glitter, and use cookie cutters in festive shapes.
- Halloween: Create spooky designs with dark icing and orange accents. Don’t forget to add candy eyes!
Birthday Parties
- Choose the birthday person’s favorite colors and themes. Use themed cookie cutters (like stars or balloons) and match the icing to the party décor.
Seasonal Themes
- Spring: Use pastel colors and floral shapes to create cheerful spring cookies.
- Summer: Bright, tropical designs with fruit shapes can bring a summery vibe.
Troubleshooting Common Issues
Even the best cookie decorators face challenges. Here are some common problems and how to fix them:
Problem: Icing Runny or Too Thick
Solution: For runny icing, add more powdered sugar to thicken it. For thick icing, add a tiny bit of water to loosen it up. Always achieve a consistency that allows for piping without losing shape.
Problem: Cookies Spread During Baking
Solution: Make sure your butter is softened but not melted. Chill your dough for at least 30 minutes before rolling out to prevent spreading.
Problem: Icing Cracks or Breaks
Solution: Ensure your cookies are completely cooled before icing. If you’re working with royal icing, add a couple of drops of water to create a smoother consistency.
FAQs
What type of cookies are best for decorating?
Sugar cookies and gingerbread cookies are popular choices for decorating because they hold their shape well while baking.
How long do decorated cookies last?
Properly decorated and stored cookies can last up to two weeks at room temperature. Make sure they are in an airtight container to maintain freshness.
Can I freeze decorated cookies?
Yes, you can freeze decorated cookies! Just ensure they are completely dry before freezing and store them in a single layer in an airtight container.
Conclusion
Decorating your own cookies can be a rewarding and enjoyable experience that brings out your creativity. From selecting the right tools to mastering various techniques, the world of cookie decorating is vast and exciting. Whether you’re decorating for a special occasion or just for fun, remember that practice makes perfect. Enjoy the journey, and don’t forget to share your cookie masterpieces with friends and family!