As the leaves turn and the air gets crisp, the spirit of fall arrives, bringing with it the delight of pumpkin decorating. While many think of carving pumpkins, papier décor offers a unique and stress-free alternative that sparks creativity without the mess. In this article, we’ll explore various techniques to decorate pumpkins on paper, perfect for all ages. From simple designs to intricate artwork, let your imagination run wild!
Understanding the Basics of Pumpkin Decorating on Paper
Before diving into the creative process, let’s cover the essentials of decorating a pumpkin on paper.
What You Need for Pumpkin Decorating
- Colored paper (orange, green, black, etc.)
- Scissors
- Glue or tape
- Markers or paints
- Templates or stencils (optional)
- Accessories (glitter, sequins, stickers)
Choosing Your Pumpkin Design
When it comes to pumpkin designs, the options are endless. You could opt for traditional jack-o’-lantern faces, whimsical characters, or elegant floral patterns. Consider these factors:
- Theme: Is there a specific theme for your decor?
- Audience: Are you creating it for kids, adults, or a mixed group?
- Skill Level: What’s your comfort level with arts and crafts?
Step-by-Step Guide to Decorating a Pumpkin on Paper
Step 1: Prepare Your Materials
Gather all necessary materials and set up a comfortable workspace. A clutter-free area will help you focus on your creative project.

Step 2: Choose a Base Pumpkin Color
Decide whether you want your pumpkin to be orange or showcase a different color. You can color the paper or choose pre-colored sheets for convenience.
Step 3: Sketch Your Design
Using a pencil, lightly sketch your design on the paper. If you’re using templates, trace them onto your pumpkin paper.
Common Design Ideas
- Classic Grinning Jack-o’-lantern
- Friendly Ghost Pumpkin
- Floral Patterns
- Animal Faces (cats, owls)
Step 4: Cut Out Your Designs
Carefully cut out your sketches. If you are using stencils, place them on your colored paper before cutting. Always be cautious with scissors!

Step 5: Assemble and Glue
Start assembling your pumpkin by gluing or taping the cut-out pieces onto your base pumpkin paper. Be creative with layering and positioning!
Step 6: Add Final Touches
Enhance your pumpkin with additional decorations like glitter, stickers, or sequins. This step allows you to personalize your pumpkin further.
Different Techniques for Pumpkin Decorating
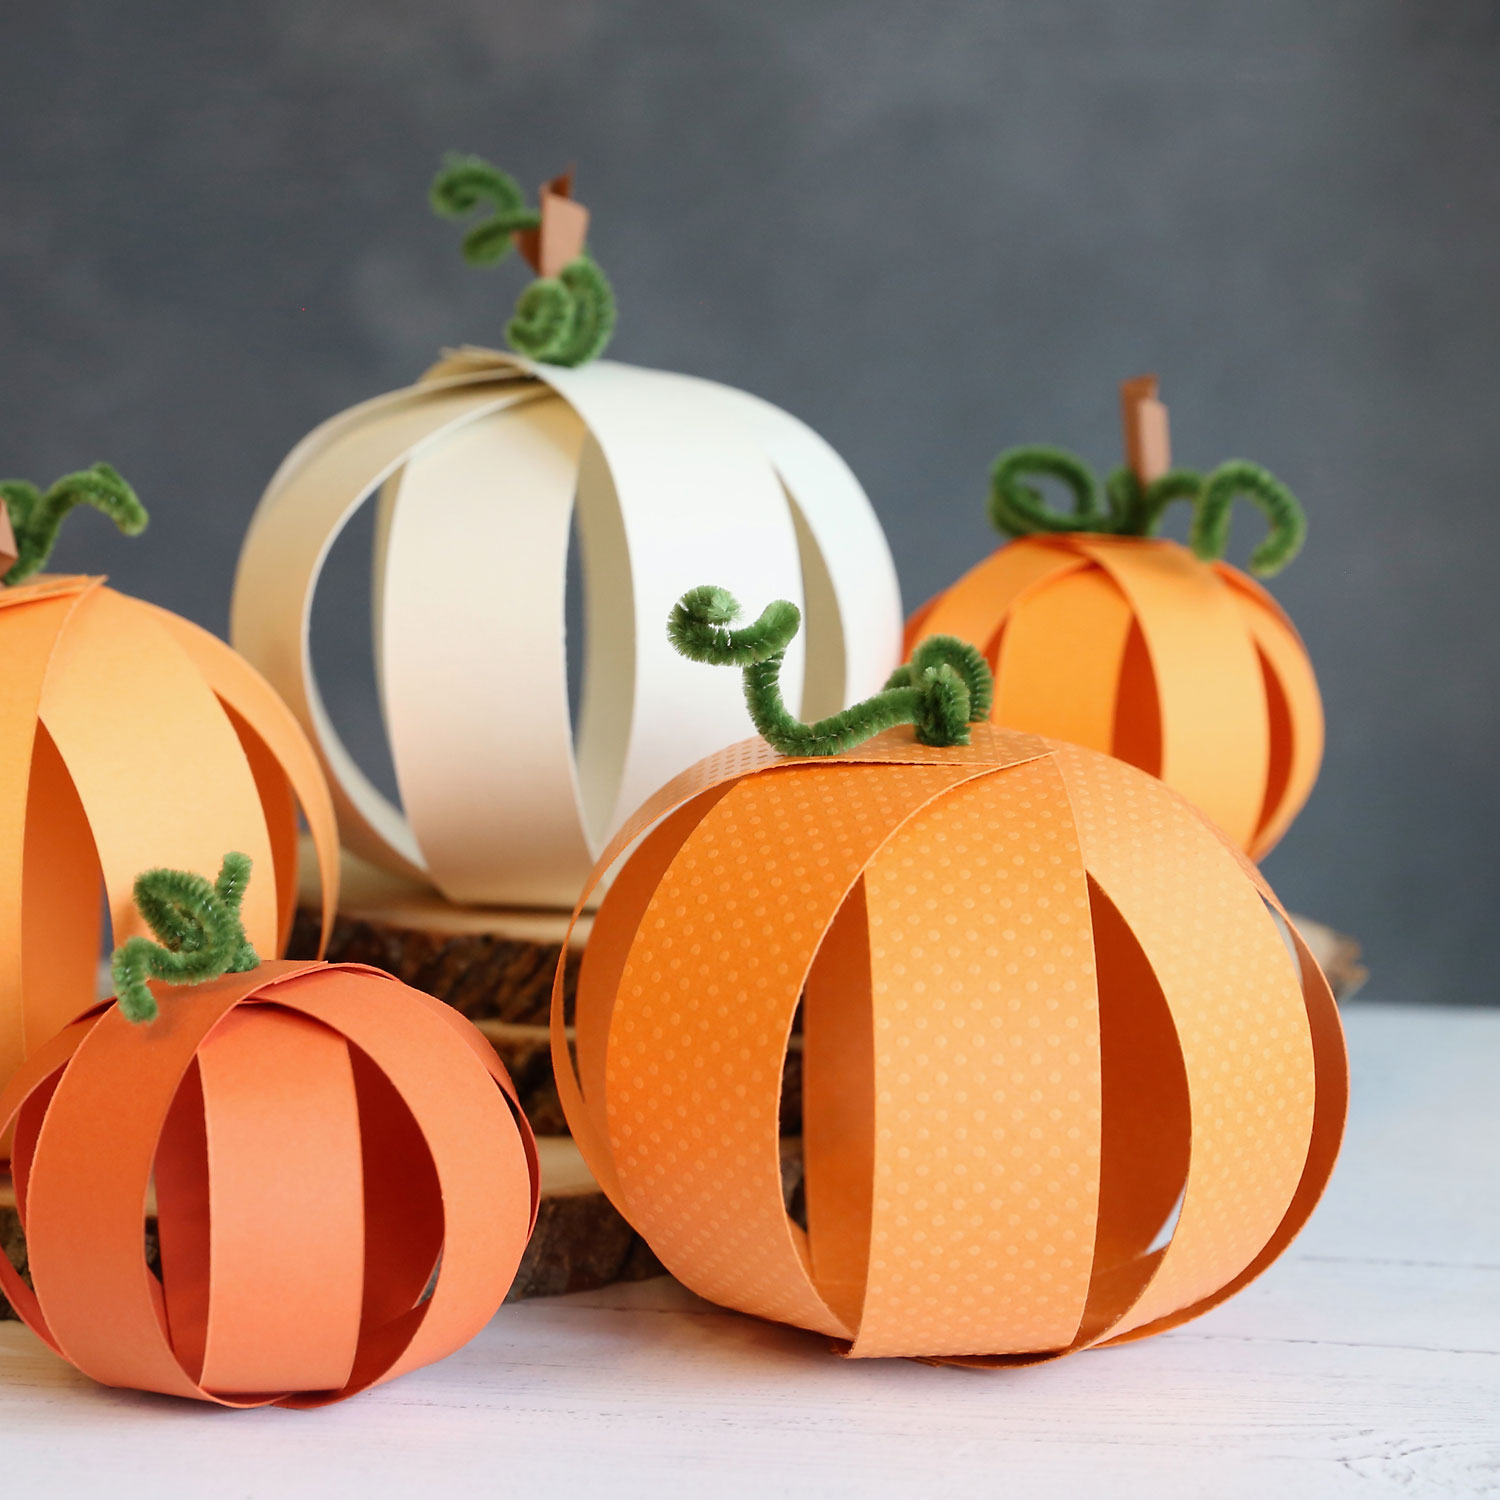
Paper Mache Pumpkins
Materials Needed
- Newspaper or tissue paper
- PVA glue or flour-water mixture
- Balloon or pumpkin form
Use paper mache techniques to create a textured pumpkin. This technique is great for making a three-dimensional piece!
Collage Pumpkins
Use cut-out images from magazines or old books to create a collage-style pumpkin. This technique allows for endless creativity and is a fun way to recycle.
Pros and Cons of Pumpkin Decorating on Paper
| Pros | Cons |
|---|---|
| No mess with carving | Less durable than carved pumpkins |
| Safer for children | Limited to flat surfaces |
| Can reuse materials | May require more time for detail work |

Creative Ideas for Pumpkin Decoration on Paper
Use Mixed Media
Mix different materials for a unique look. Combine fabric, sequins, and paper for a vibrant pumpkin.

Incorporate Nature
Utilize dried leaves, twigs, or flowers to enhance your pumpkin’s beauty. Natural elements can add depth and texture to your design.
Seasonal Themes
Consider incorporating seasonal themes such as Thanksgiving or Halloween into your pumpkin designs. Change the colors and accents to match the holiday.
Personal Experience with Pumpkin Decorating
I’ll never forget the first time I decorated a pumpkin on paper with my family. We transformed a simple sheet of paper into a vibrant autumn masterpiece, filled with laughter and joy. The kids loved expressing their creativity, and we ended up with a beautiful collection that still adorns our home. These memories are what make pumpkin season so special!
Frequently Asked Questions (FAQs)
What type of paper is best for pumpkin decorating?
Any kind of colored craft paper works well! Cardstock is sturdy, while tissue paper creates an interesting texture.
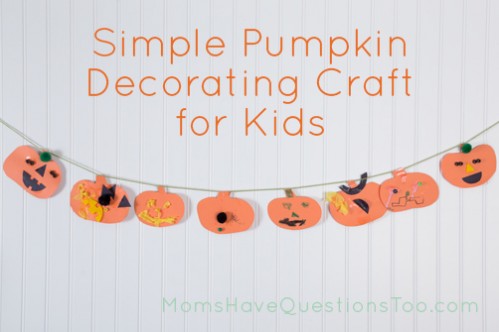
Can kids participate in pumpkin decorating on paper?
Absolutely! Pumpkin decorating on paper is safe and fun for children of all ages. Just be sure to supervise younger kids with scissors and glue.
How do I store my paper pumpkins?
Store your decorated pumpkins in a cool, dry place to avoid moisture damage. You can display them as part of your seasonal décor!
Is there a way to make my paper pumpkin waterproof?
To protect your pumpkin from moisture, consider using a clear sealant spray or placing it in a protective display case.
Conclusion: Embrace Your Creativity This Fall
Decorating pumpkins on paper is an enjoyable and creative way to celebrate the fall season. Whether you’re an experienced crafter or a novice, this activity can be adapted to suit any skill level and age group. Embrace the spirit of autumn, gather your supplies, and let your creativity flow!
Get Inspired: Share Your Pumpkin Creations!
After decorating your pumpkins, consider sharing your beautiful creations with family and friends. Post your designs on social media, or even host a pumpkin-decorating contest. The joy of decorating pumpkins on paper can be doubled when shared with others!