Skulls have captivated the imagination for centuries, serving as symbols of mortality, creativity, and even rebellion. Whether you’re an artist, a collector, or just someone looking to add a unique touch to your home décor, decorating skulls can be a fun and rewarding activity. In this comprehensive guide, we’ll explore various techniques, materials, and creative ideas for decorating skulls, all while sharing personal experiences to help inspire your own projects.
Why Decorate Skulls?
Decorating skulls offers numerous possibilities for artistic expression. Here are a few reasons why you might consider this unique art form:
- Artistic expression: Decorating skulls allows you to showcase your creativity and personal style.
- Unique décor: Skull decorations can add an edgy, artistic flair to any home or event.
- Symbolism: Skulls can symbolize strength, protection, and perspective on life.
Getting Started: Types of Skulls to Decorate
Before diving into the decorating process, it’s essential to decide what type of skull you want to work with. Here are the most common options:
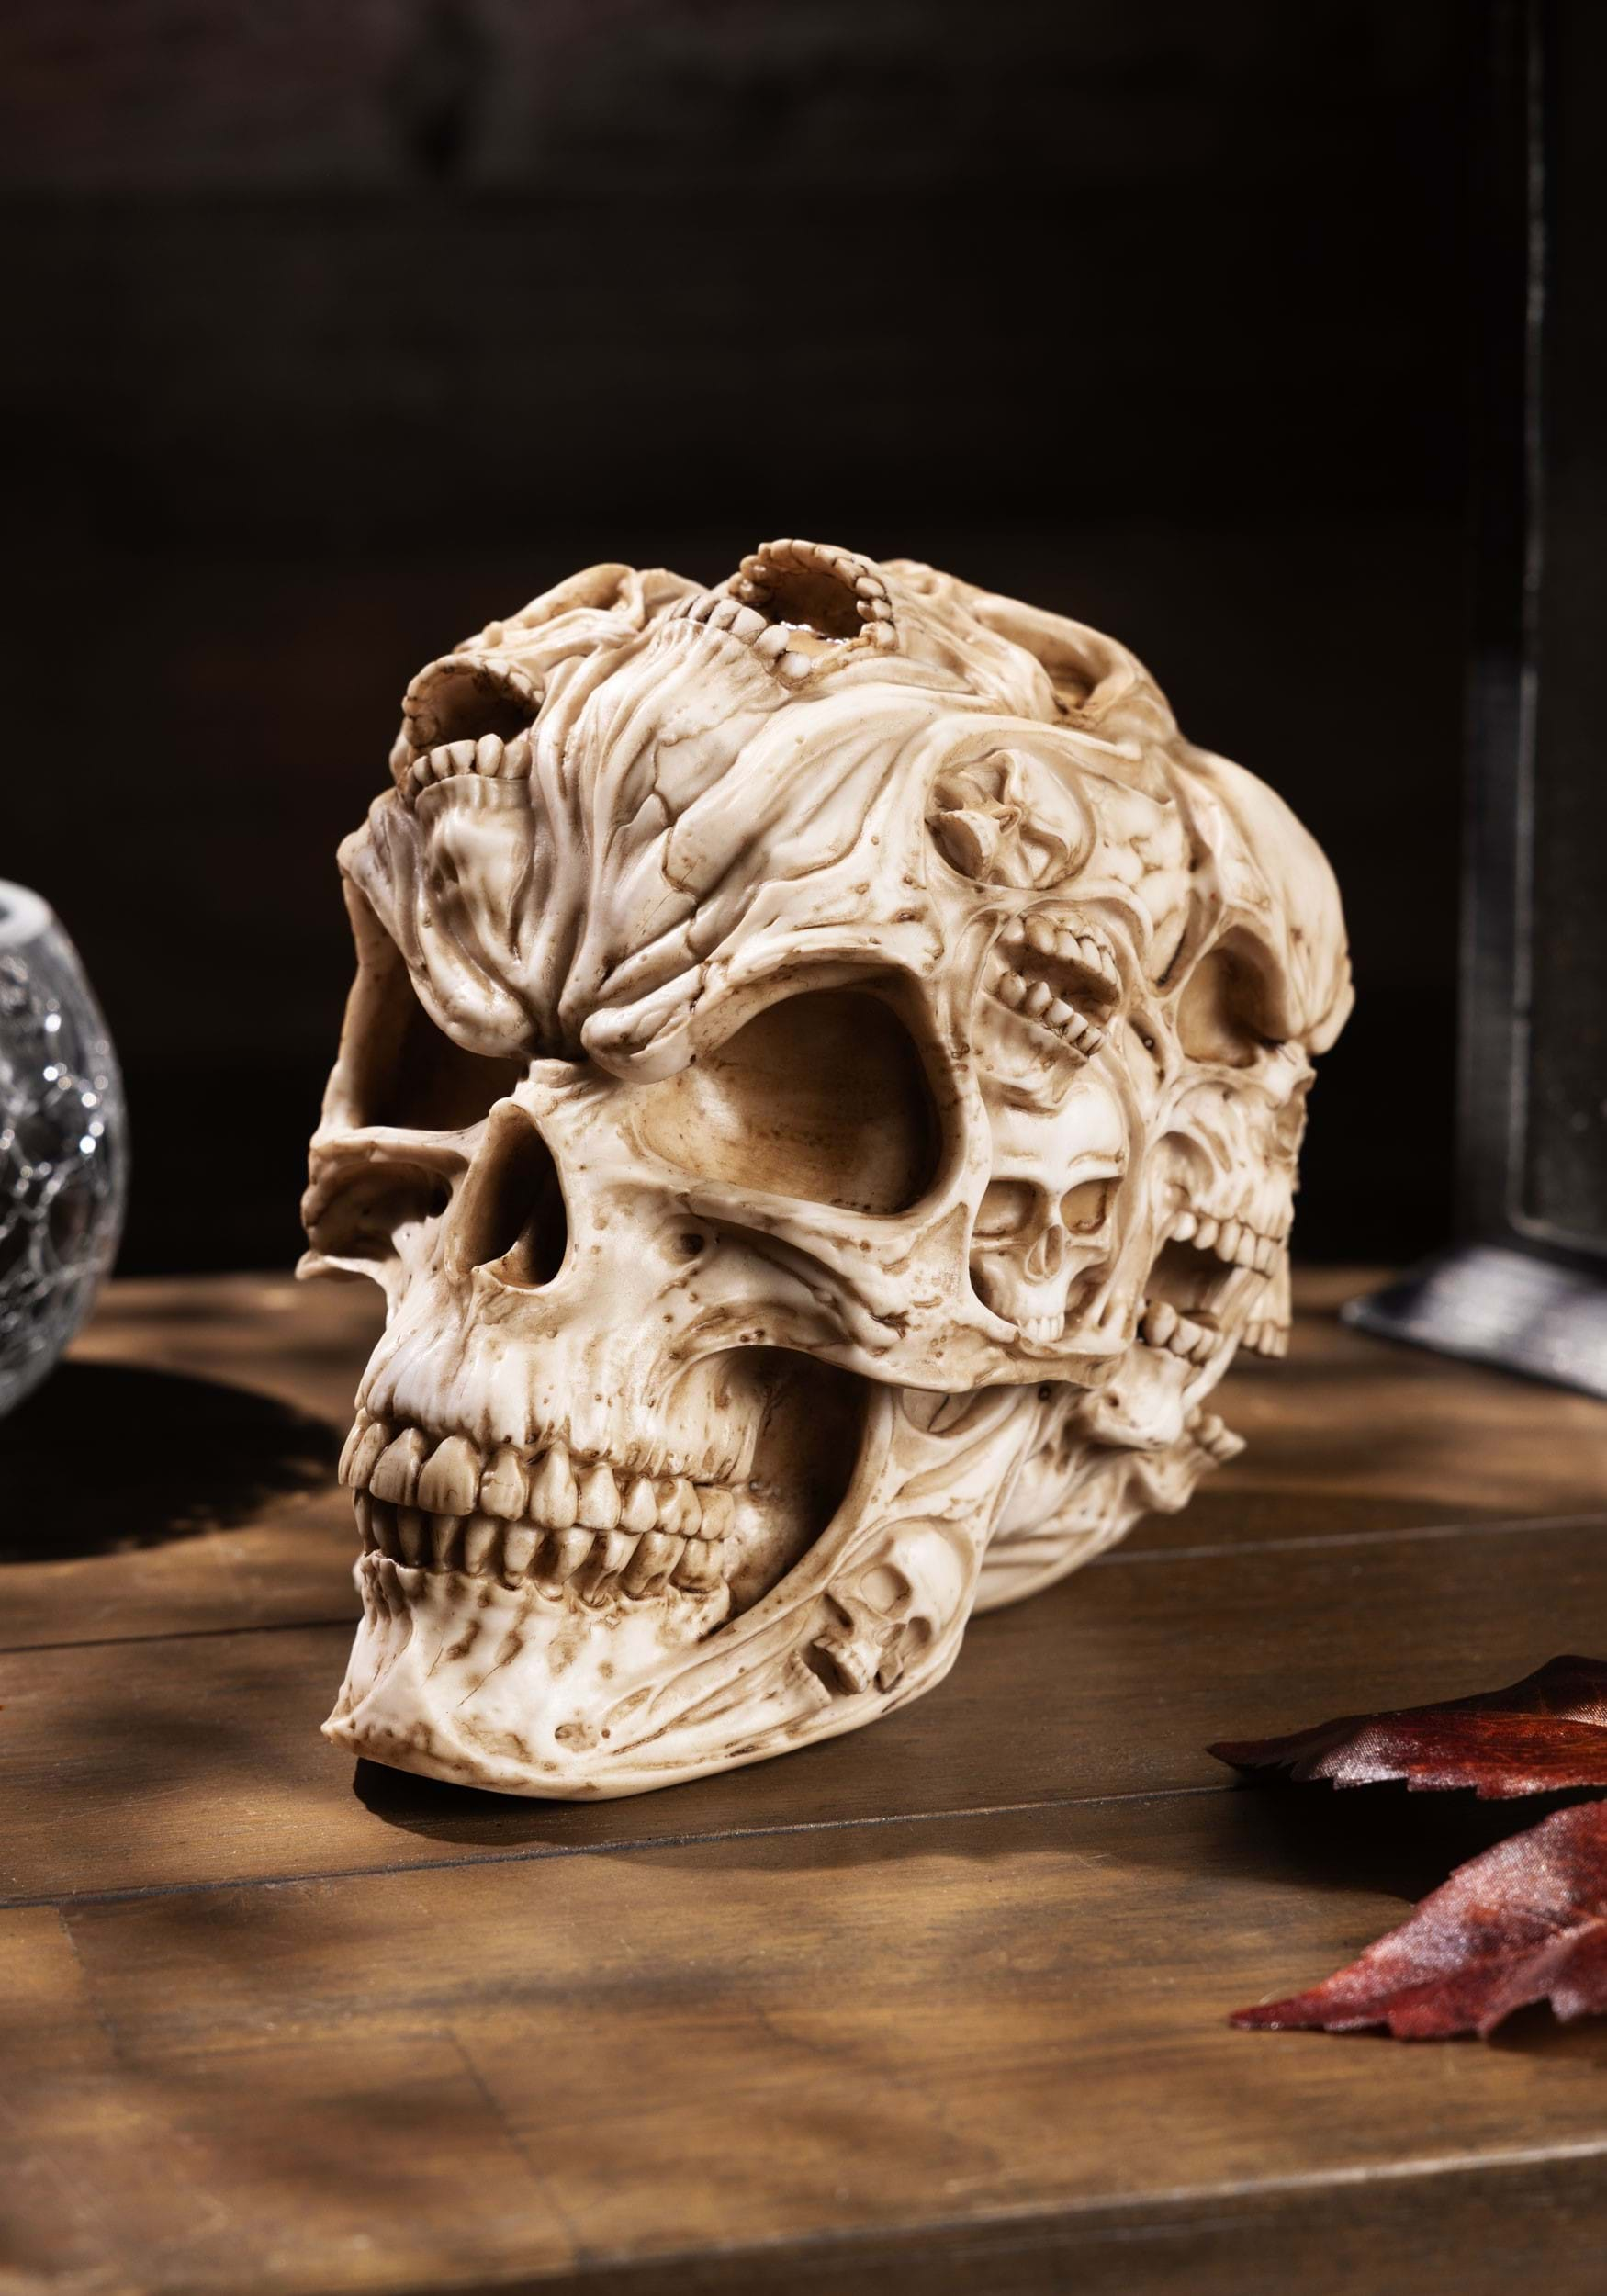
1. Natural Skulls
Natural animal skulls (like cow, deer, or even smaller animals) can be purchased from specialized suppliers. They have a raw, authentic look that can be stunning when painted or adorned.
2. Plastic Skulls
Plastic skulls are widely available, inexpensive, and perfect for beginners. They can be painted, decorated, or used as a base for your creative ideas.

3. Ceramic Skulls
Ceramic skulls provide a more polished surface, ideal for intricate designs. They can be found in various sizes and styles, making them a versatile choice.
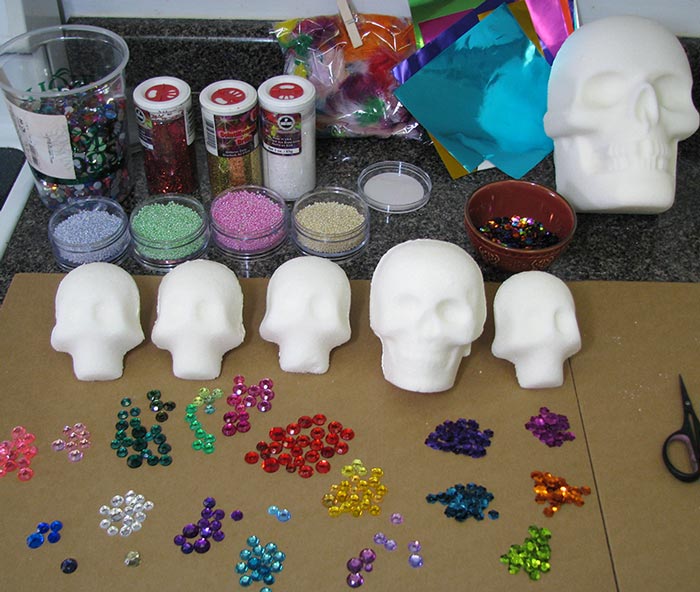
Materials You’ll Need
Gather the right materials before beginning your decoration project. Here’s a list of essential materials you might consider:
- Acrylic paints or spray paints
- Brushes of various sizes
- Glitter, sequins, or rhinestones
- Mod Podge or clear sealant
- Rope or decorative fabrics
- Hot glue gun and glue sticks
- Stencils or decals for patterns
Techniques for Decorating Skulls
Now that you have your materials, let’s explore some exciting techniques for decorating skulls.
1. Painting Techniques
Painting is one of the most popular methods for skull decoration. Here are some painting techniques to explore:
Freehand Painting
This technique allows for complete creative freedom. Use brushes to create unique patterns or designs, such as floral motifs or abstract art.
Stencil Painting
Utilize stencils for more intricate designs. Place the stencil on the skull and apply paint over it for a clean look.

Spray Painting
Spray paint can quickly cover large areas, and it’s great for achieving a sleek finish. Use it in layers for added depth.
Creative Decoration Ideas
Here are some innovative ideas to inspire your skull decorating projects:

1. Floral Designs
Incorporate faux flowers or paint flowers directly onto the skull for a beautiful contrast against the bone-like surface.
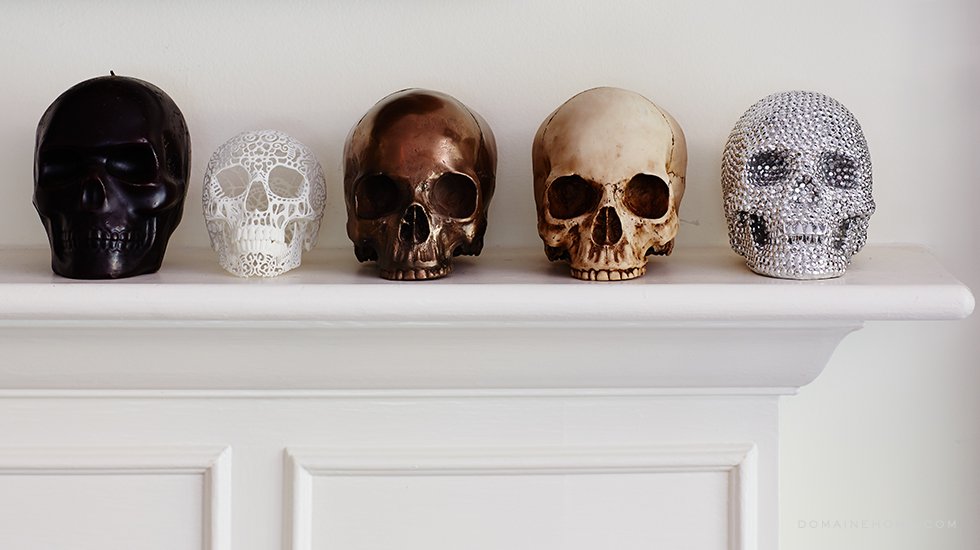
2. Metallic Finishes
Use metallic paints or leafing to create a chic and modern look. Gold, silver, or copper accents can elevate the overall design.

3. Gothic Themes
Go for a darker, more gothic aesthetic by using blacks, reds, and purples. Add lace or dark fabrics to enhance the mood.
4. Day of the Dead Inspired
Celebrate the Mexican holiday with vibrant colors and intricate designs. Paint floral patterns and skull designs typical of Día de los Muertos.
Step-by-Step Decoration Process
Ready to start decorating? Follow these easy steps for your skull project:
Step 1: Prepare Your Skull
Clean the surface of your skull with soap and water. Ensure it’s dry before starting your decoration.
Step 2: Plan Your Design
Sketch out your design on paper or directly on the skull with a light pencil. This will serve as a guide throughout the process.
Step 3: Begin Painting
Start with the base colors and gradually build your way up to detailed designs. Allow each layer to dry before adding the next.
Step 4: Add Decorative Elements
Use glue to attach any additional decorations such as gems, beads, or fabric for texture and interest.
Step 5: Seal Your Design
Once your skull is decorated, apply a clear sealant to protect your artwork. This will help preserve it for years to come.
Pros and Cons of Decorating Skulls
| Pros | Cons |
|---|---|
| Encourages creativity and artistic expression. | Can be challenging for beginners without experience. |
| Unique and eye-catching home décor. | Some materials may be costly. |
| Various techniques to explore, catering to different skills. | Time-consuming depending on the complexity of the design. |
Care and Maintenance of Decorated Skulls
To keep your decorated skulls in excellent condition, follow these maintenance tips:
1. Dust Regularly
Use a soft cloth to gently wipe away dust without damaging the paint or decorations.
2. Avoid Direct Sunlight
Keep your skulls out of direct sunlight to prevent fading of colors and deterioration of materials.
3. Store Properly
If you need to store your decorated skulls, wrap them in acid-free tissue paper and place them in a safe, dry location.
FAQs About Decorating Skulls
What type of paint should I use for decorating skulls?
Acrylic paint is highly recommended due to its vibrant colors and versatility. Spray paint is also an option for larger areas.
Can I use real animal skulls for decoration?
Yes, real animal skulls can be used, but ensure that they are ethically sourced and legal to possess in your area.
How do I attach decorations like rhinestones or fabric?
A hot glue gun is an effective way to attach decorative elements securely to the skull’s surface.
Are there any safety precautions I should take?
When using paints and adhesives, work in a well-ventilated area and wear gloves to protect your skin from irritation.
Conclusion
Decorating skulls can be a rewarding and creative endeavor. Whether you’re preparing for Halloween, looking for an art project, or simply wanting unique home décor, the techniques and ideas laid out in this guide will help you transform a skull into a stunning piece of art. Remember, the sky is the limit when it comes to creativity, so don’t be afraid to experiment and make your vision come to life!