Introduction to Decorative Rocks for Walls
Decorative rocks for walls can breathe new life into any room in your home, offering a unique blend of style, elegance, and practicality. As someone who has recently transformed my living room using these stunning elements, I can personally vouch for their ability to create a warm atmosphere while enhancing aesthetic appeal.
In this article, we’ll explore everything you need to know about decorative rocks for walls, including types, installation tips, and their pros and cons. By the end, you’ll be equipped with the knowledge to make an informed decision about incorporating these beautiful accents into your home.
Types of Decorative Rocks for Walls
Choosing the right type of decorative rock is crucial for achieving your desired effect. Below, I’ve compiled a list of popular types with their distinctive features.
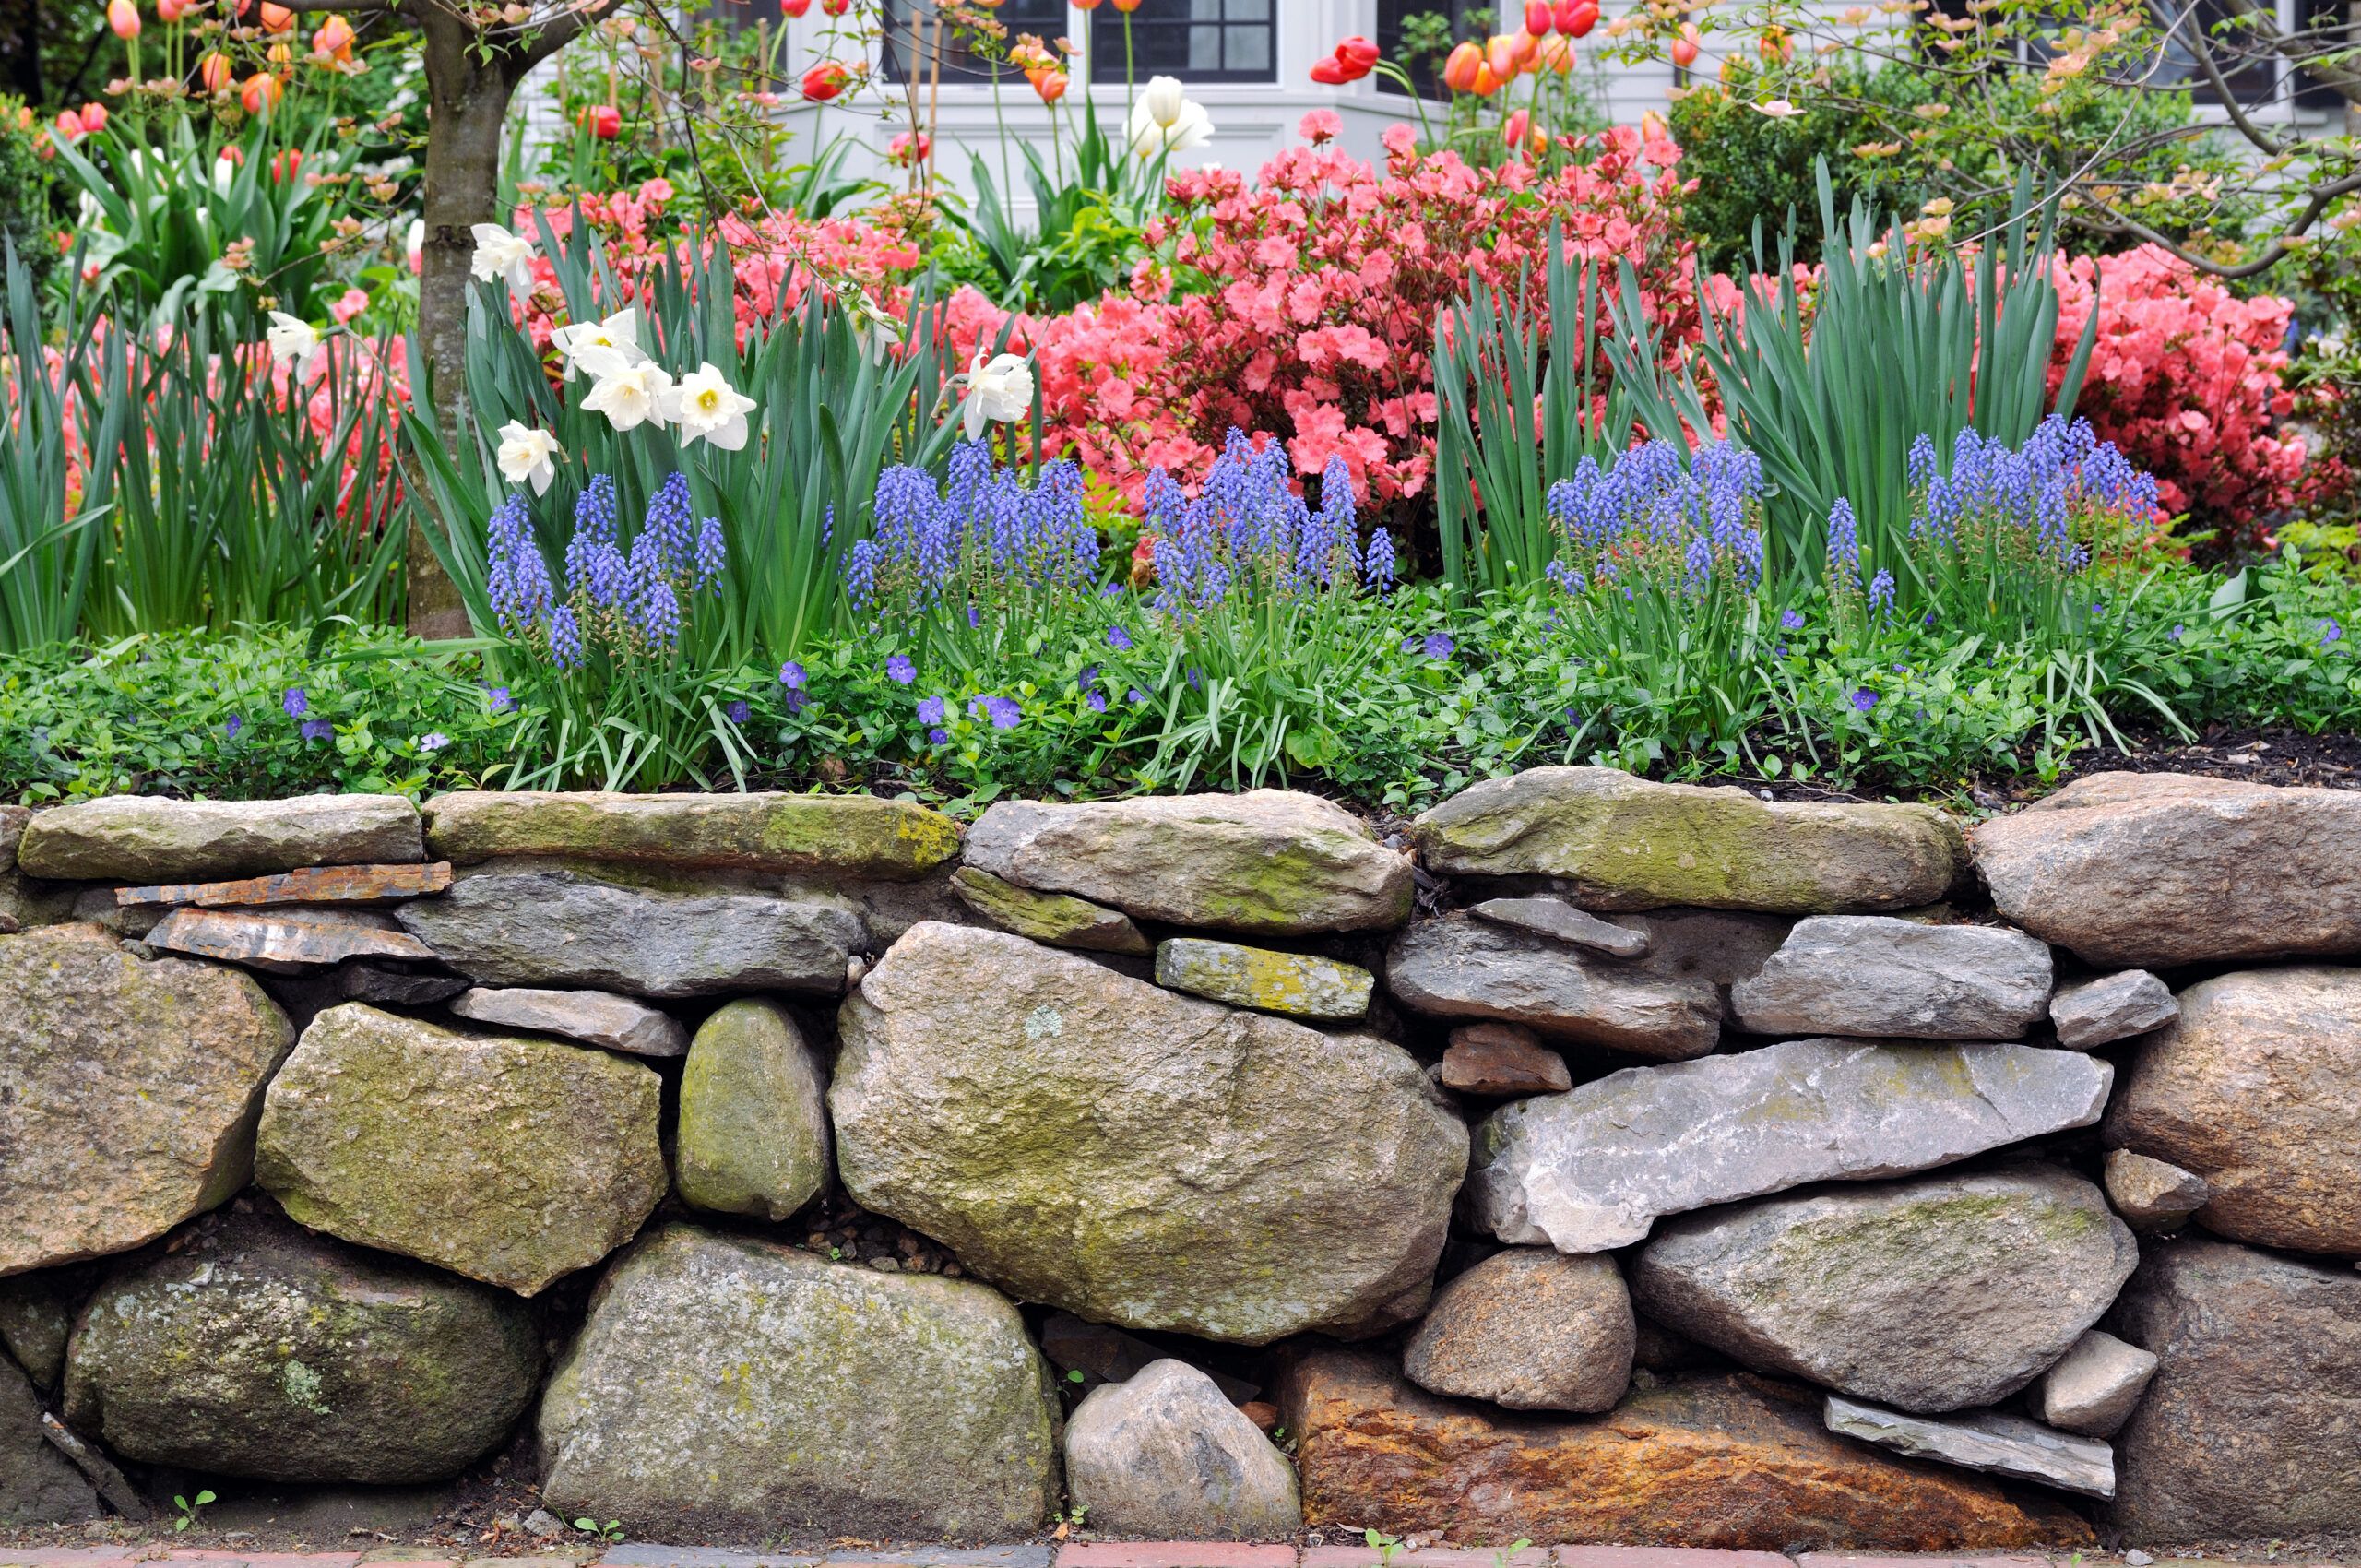
1. Natural Stone Veneer
Natural stone veneer is a popular choice for its authentic look. Made from thin pieces of real stone, it brings a rustic charm and durability.
2. Cultured Stone
Cultured stone, or manufactured stone, mimics the look of real stone but is lighter and often more cost-effective. It’s available in a variety of styles and colors.
3. Pebble Stones
Pebble stones can be used for a more casual, beachy vibe. They are perfect for creating an outdoor retreat or a cozy indoor accent wall.
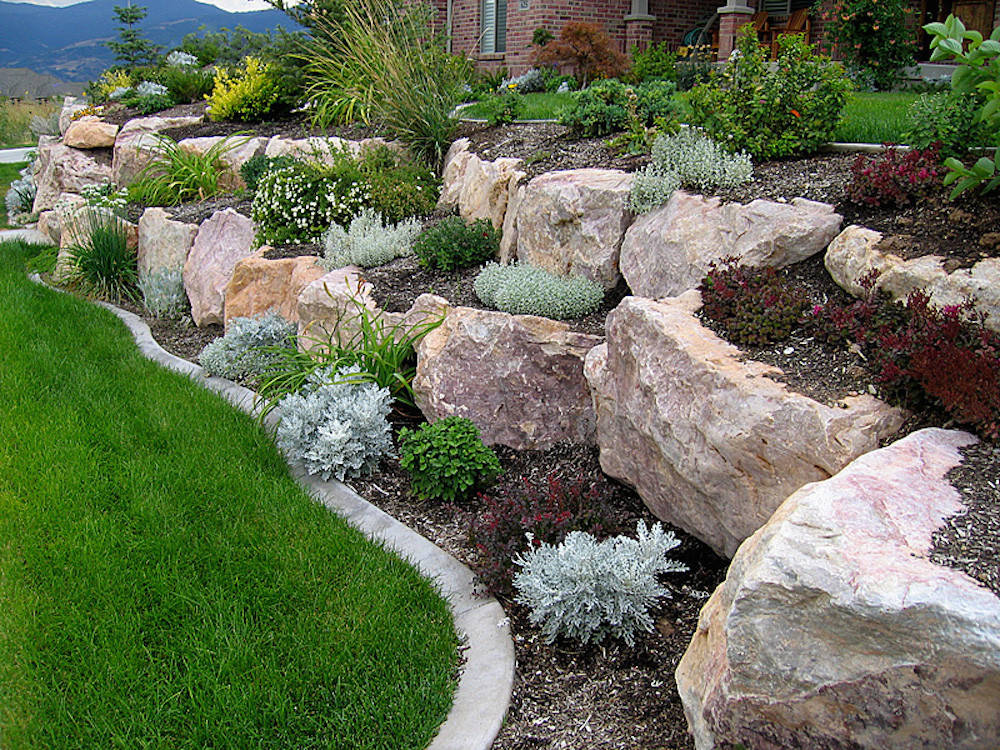
4. River Rocks
River rocks are smooth, rounded stones that offer a natural look. They are often used in landscaping but can make a stunning wall accent as well.
5. Slate Tiles
Slate tiles are a more refined option, providing a sleek finish that’s perfect for modern spaces. They are available in various colors and textures.
Comparison of Decorative Rock Types
| Type | Appearance | Cost | Durability | Installation Difficulty |
|---|---|---|---|---|
| Natural Stone Veneer | Authentic & rustic | High | Very durable | Moderate |
| Cultured Stone | Variety of styles | Moderate | Durable | Easy |
| Pebble Stones | Casual & organic | Low | Moderate | Easy |
| River Rocks | Natural & smooth | Moderate | Durable | Moderate |
| Slate Tiles | Sleek & refined | High | Very durable | Hard |
Benefits of Using Decorative Rocks for Walls
There are numerous advantages to incorporating decorative rocks in your home design. Here are some key benefits:
1. Aesthetic Appeal
Decorative rocks add a stunning aesthetic appeal to any space. Their natural variations in color and texture create a dynamic visual interest that can elevate your décor.
2. Durability and Longevity
These materials are incredibly durable, often outlasting traditional wall treatments. They are resistant to fading, wear, and weather, making them a long-lasting investment.
3. Versatility
Whether you want to create a cozy fireplace backdrop or a striking accent wall in your entryway, decorative rocks can suit any design preference and style.
4. Low Maintenance
Once installed, decorative rock walls require minimal maintenance. Occasional cleaning is usually all that’s needed to keep them looking their best.
5. Eco-Friendliness
Many decorative rocks are sourced sustainably, providing an eco-friendly option for home builders and decorators.

Installation Process for Decorative Rocks
Installing decorative rocks can be a rewarding DIY project or a job for professionals, depending on your skills and the complexity of your design. Here’s a step-by-step guide to help you through the process.
Step 1: Planning and Design
Before you start, determine the area you want to cover and sketch out your design. Consider the type of rock and color palette that will best fit your space.
Step 2: Gather Tools and Materials
Ensure you have all the necessary tools:
- Mortar or adhesive
- Trowel
- Level
- Grout (if necessary)
- Safety goggles and gloves
Step 3: Prepare the Wall Surface
Clean the wall surface and make necessary repairs to ensure a strong bond. If possible, use a cement board for added stability.
Step 4: Apply Adhesive
Spread an even layer of adhesive on the wall, starting from the bottom and working your way up. This helps to ensure that gravity doesn’t pull the rocks down as you work.
Step 5: Start Placing Rocks
Begin placing your decorative rocks, starting at the corners and working towards the center. Use a level to ensure even placement.
Step 6: Grouting and Finishing Touches
If your design includes grout, apply it once the adhesive has set. Clean excess grout off the stones for a polished look.
Step 7: Curing
Allow sufficient time for the adhesive and grout to cure, as per the manufacturer’s instructions, before subjecting the wall to any stress.
Cost Analysis of Decorative Rocks for Walls
When budgeting for decorative rocks, various factors influence the overall cost, including the type of rock, square footage, and installation method. Here’s a breakdown of estimated costs:
| Type of Rock | Cost per Square Foot (Material Only) | Installation Cost (Estimated) |
|---|---|---|
| Natural Stone Veneer | $15 – $30 | $5 – $10 |
| Cultured Stone | $8 – $20 | $4 – $8 |
| Pebble Stones | $3 – $10 | $3 – $6 |
| River Rocks | $5 – $15 | $4 – $8 |
| Slate Tiles | $10 – $25 | $6 – $12 |
As you can see, investing in decorative rocks can vary widely based on the materials and methods you choose. Planning and budgeting ahead of time can help ensure you stay within your desired range.
Pros and Cons of Decorative Rocks for Walls
As with any home improvement project, there are pros and cons to consider. Here’s a balanced look at the advantages and drawbacks of decorative rocks for walls.
Pros
- Unique Aesthetic: Each piece of rock is unique, contributing to a one-of-a-kind finish.
- Durability: Long-lasting materials that resist weather and wear.
- Low Maintenance: Easy to clean and maintain over time.
- Eco-Friendly Options: Many sources are sustainable and environmentally friendly.
Cons
- Higher Initial Cost: A more expensive option compared to traditional wall coverings.
- Installation Complexity: Can be challenging for beginners without DIY experience.
- Weight: Heavier materials may require additional structural support.
- Limited Color Options: While many colors are available, the palette may still be limited compared to paint or wallpaper.

Frequently Asked Questions about Decorative Rocks for Walls
1. Can decorative rocks be used indoors?
Yes! Decorative rocks can be used both indoors and outdoors. They add a beautiful, natural aesthetic to any space.
2. How do I clean decorative rock walls?
Cleaning typically involves a simple wipe down with a damp cloth or sponge. For tougher stains, a mild detergent can be used.

3. Are decorative rocks suitable for wet areas?
Some types of decorative rocks, like river rocks, are suitable for wet areas, but ensure that they are installed with appropriate waterproofing measures where necessary.
4. How long do decorative rock walls last?
With proper installation and care, decorative rock walls can last for decades, making them a worthwhile investment for your home.
5. Is professional installation recommended?
While DIY installation is possible for those with some experience, professional installation ensures a polished finish and can save time and potential mistakes.