Welcome to the delightful world of decorative Swiss rolls! If you’re anything like me, you probably find great joy in the process of baking and decorating. Swiss rolls, with their soft sponge and delightful fillings, not only taste incredible but also provide a fantastic canvas for your creativity. In this article, we’ll explore the various techniques, tips, and design ideas to elevate your Swiss roll game and create truly stunning edible masterpieces.
What is a Swiss Roll?
A Swiss roll, also known as a jelly roll, is a type of rolled cake filled with jam, cream, or icing. Traditionally, it consists of a light sponge cake that is baked in a flat pan, filled, and then rolled up. The result is a beautiful spiral of cake and filling that is both appealing and delicious. While the classic Swiss roll is already a treat, decorative designs add an extra flair that can impress guests and friends alike.
The Charm of Decorative Swiss Rolls
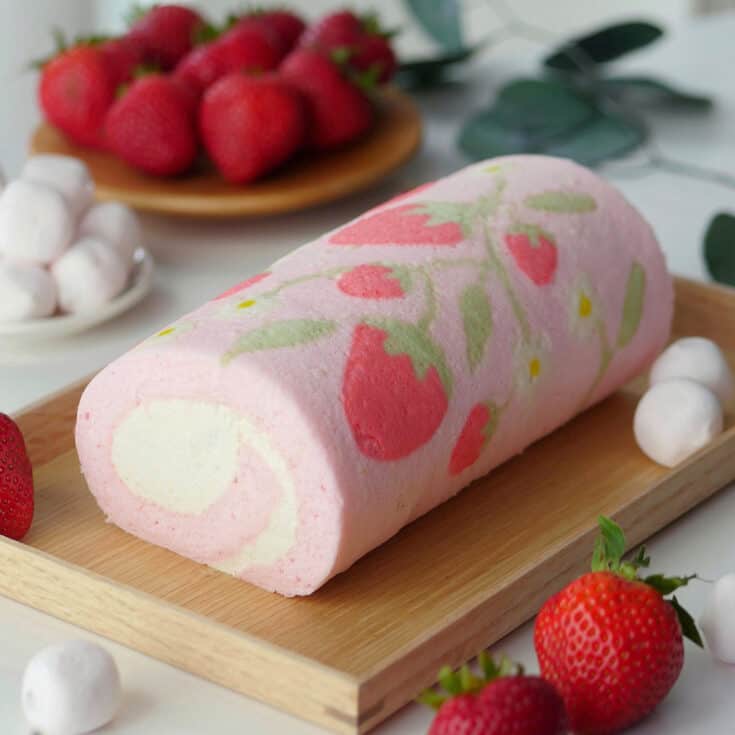
Decorative Swiss rolls are more than just desserts; they are works of art! With the right techniques, you can turn a simple Swiss roll into a vibrant centerpiece for any occasion. The beauty lies in the variety of designs you can create, from floral patterns to holiday-themed motifs.
History of Swiss Rolls
Swiss rolls have a fascinating history that dates back centuries. While they are associated with Switzerland, the exact origins are unclear. Variations of rolled cakes appear in many cultures, showcasing how this dessert evolved over time. As I’ve experimented with Swiss rolls, I’ve come to appreciate how this dish brings together culinary traditions from around the world.
Basic Swiss Roll Recipe
Before diving into decorative techniques, let’s start with a fundamental Swiss roll recipe. This is a basic foundation that you can customize to create spectacular designs.
Ingredients
- 4 large eggs
- 100g granulated sugar
- 100g all-purpose flour
- 1 tsp baking powder
- Pinch of salt
- 2 tbsp melted butter
- Filling of your choice (jam, cream, etc.)
Instructions
- Preheat your oven to 180°C (350°F) and line a 10×15 inch baking sheet with parchment paper.
- In a mixing bowl, whisk eggs and sugar until pale and fluffy.
- Sift together flour, baking powder, and salt, and gently fold into the egg mixture.
- Drizzle in melted butter and mix until just combined.
- Spread the batter evenly on the prepared sheet and bake for 10-12 minutes.
- Once baked, turn the cake onto a clean kitchen towel dusted with powdered sugar.
- Remove the parchment paper and roll the cake up tightly using the towel. Let it cool.
- Unroll the cooled cake, spread your filling, and roll it back up to serve.
Decorative Techniques for Swiss Rolls
Now that you have your basic Swiss roll recipe, it’s time to explore decorative techniques. Here are some popular methods that can transform your Swiss roll into a stunning dessert.
1. Marbled Designs
Marbling is a simple yet effective technique to create beautiful swirls in your Swiss roll. Here’s how:

Steps:
- Before baking, divide the batter into two bowls. Add food coloring or cocoa powder to one of the bowls.
- Using a spoon, dollop alternating spoonfuls of each batter into the pan.
- Use a knife to lightly swirl the two batters together, creating a marbled effect.
Pros and Cons of Marbled Designs
Pros
- Visually appealing with minimal effort.
- Customizable with various colors and flavors.
Cons
- Can be challenging to achieve the perfect swirl.
- Requires some practice to master.
2. Floral Patterns
Creating floral patterns with decorative cream is a fantastic way to personalize your Swiss roll. Here’s how to do it:
Steps:
- After filling your Swiss roll, use a piping bag fitted with a star tip to pipe small flowers on the roll.
- Use different colored frosting to create a more vibrant design.
- Decorate with edible glitter or sprinkles for added effect!

Pros and Cons of Floral Patterns
Pros
- Highly customizable with various colors.
- Perfect for special occasions and celebrations.
Cons
- Requires some piping skills and techniques.
- Time-consuming compared to other techniques.
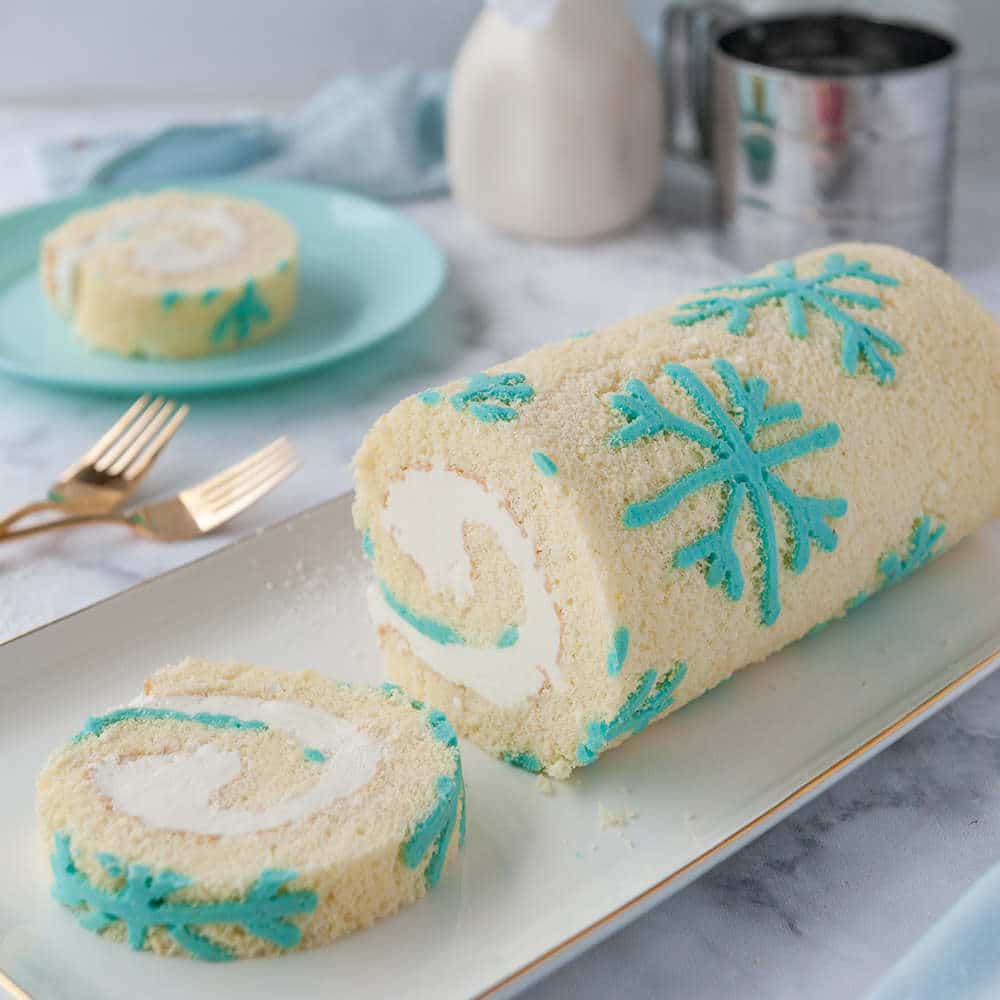
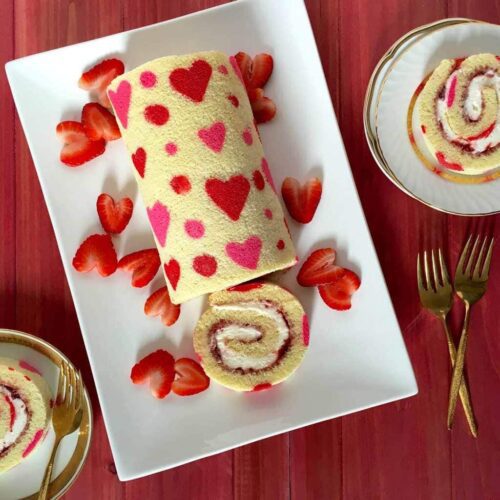
3. Themed Designs
Whether it’s for a holiday or a birthday party, themed designs can elevate your Swiss roll to new heights. Here are some ideas:
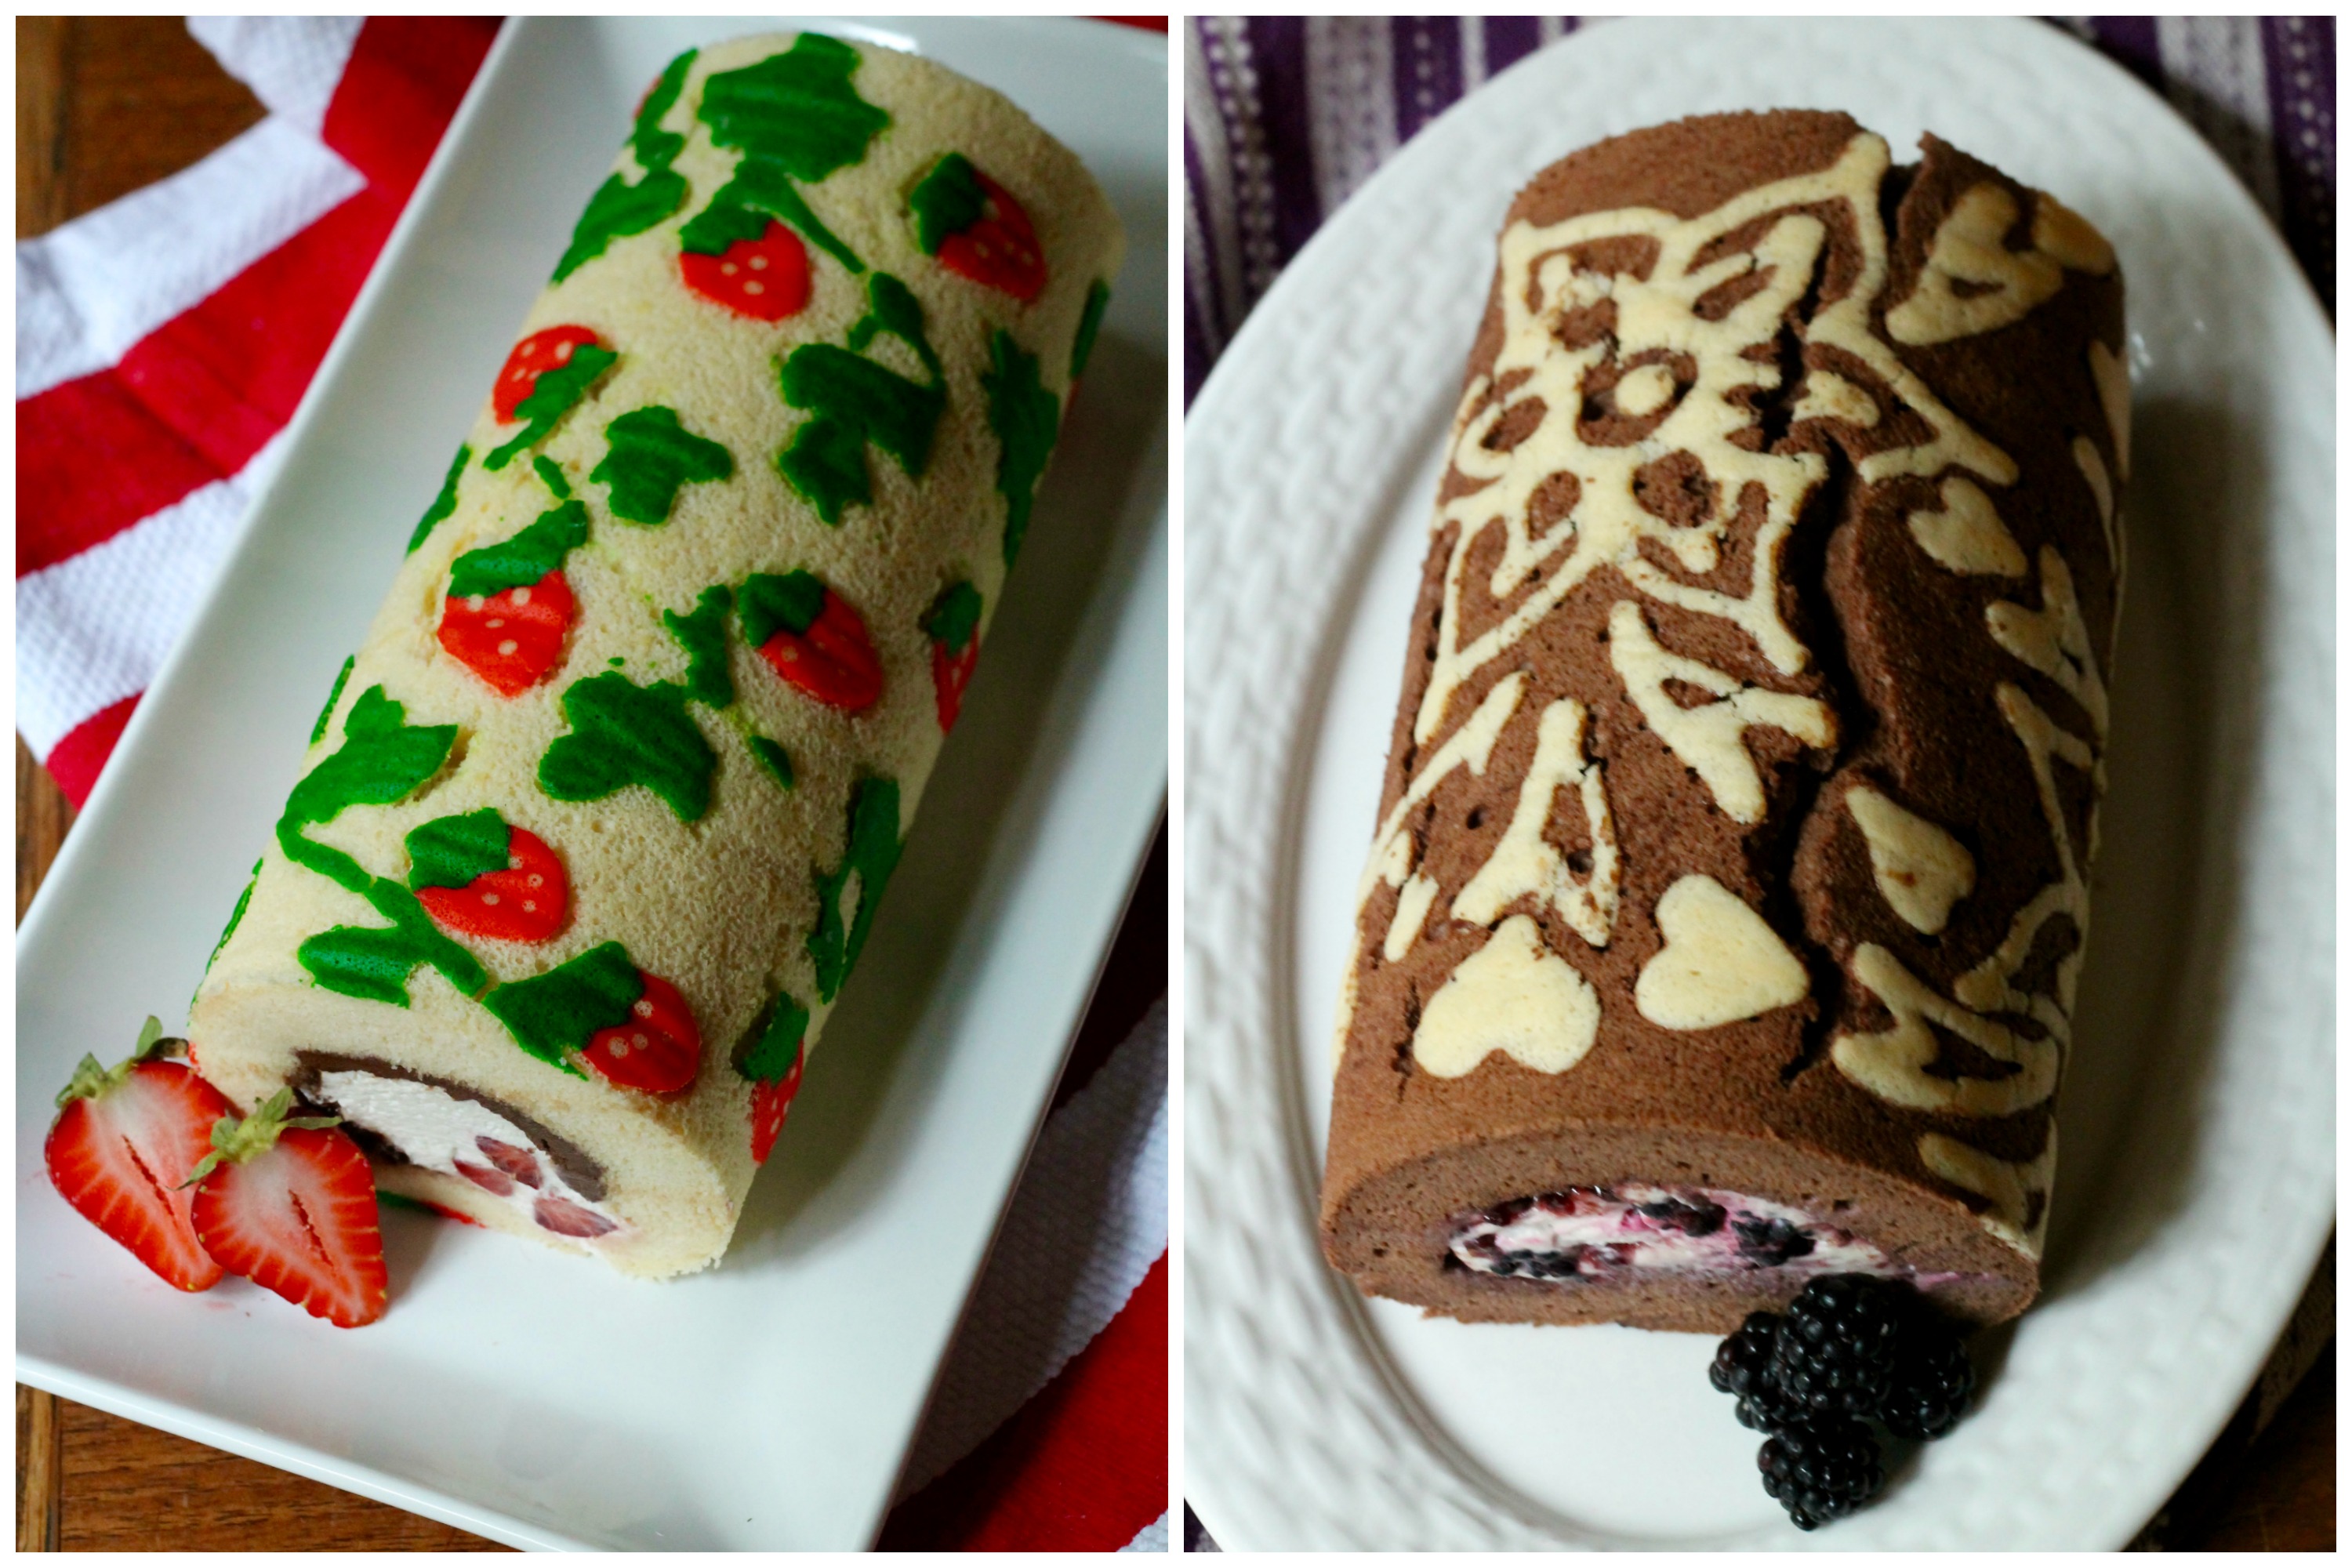
- **Halloween**: Use orange and black colored frosting to create a spooky design.
- **Christmas**: Decorate with green and red icing to resemble festive holly leaves.
- **Birthdays**: Add colorful sprinkles and a “happy birthday” message in icing.
Pros and Cons of Themed Designs
Pros
- Perfect for personalizing desserts for events.
- Engages guests and adds a fun element to the dessert table.
Cons
- Requires more planning and creativity.
- May need additional materials or tools for decoration.
Enhancing Flavors and Fillings
While the appearance is crucial, the flavor of your Swiss roll can also be enhanced with creative fillings. Consider these options:
| Filling | Description | Best For |
|---|---|---|
| Classic Jam | A traditional choice that provides sweetness and fruity notes. | General desserts, nostalgic themes. |
| Dulce de Leche | A creamy and caramel-like filling that’s rich and indulgent. | Special occasions, desserts for adults. |
| Whipped Cream and Berries | Light and fluffy with a burst of freshness from berries. | Summer gatherings, light desserts. |
| Chocolate Ganache | A decadent filling for chocolate lovers. | Birthdays, chocolate-themed events. |
Tips for Perfecting Your Decorative Swiss Roll
Here are some valuable tips that I’ve learned through trial and error to help you achieve Swiss roll perfection:
- **Use Fresh Ingredients**: Always opt for fresh eggs and high-quality ingredients for the best flavor.
- **Don’t Overmix**: When combining ingredients, be gentle to maintain the airy texture.
- **Practice Rolling**: The first few rolls may be tricky, but practice makes perfect. Use a clean towel to help.
- **Cool Completely**: Allow the roll to cool completely before decorating to prevent melting.
- **Chill for Better Slicing**: Refrigerating the Swiss roll for a bit can make slicing easier and cleaner.
Comparison of Popular Swiss Roll Decorations
Below is a comparison of various decorative techniques, helping you choose the best approach for your Swiss roll:
| Technique | Difficulty Level | Time Required | Visual Impact |
|---|---|---|---|
| Marbled | Easy | 30 minutes | Moderate |
| Floral | Intermediate | 1 hour | High |
| Themed | Varies | 1-2 hours | Very High |
Frequently Asked Questions (FAQs)
1. Can I make Swiss rolls ahead of time?
Absolutely! Swiss rolls can be made a day in advance. Simply store them tightly wrapped in plastic wrap in the refrigerator.
2. What types of fillings work best?
Fruits, creams, and jams are popular choices. You can also be adventurous and add flavored creams or even mousse!
3. How do I store a decorated Swiss roll?
Store your decorated Swiss roll in an airtight container in the refrigerator. If you have multiple layers of decorations, it’s best to keep it flat.
4. Can I freeze Swiss rolls?
Yes, Swiss rolls can be frozen. Wrap them tightly in plastic wrap and store in a freezer-safe bag for up to three months. Thaw in the refrigerator before serving.
Final Thoughts
Creating decorative Swiss rolls is a wonderful way to express your creativity in the kitchen. Whether it’s for a special occasion or just a treat for yourself, these delightful desserts are sure to impress. Remember, it’s all about having fun and experimenting with different designs and flavors. I hope this guide inspires you to try your hand at making stunning Swiss rolls that not only look good but taste amazing too!
Happy baking!