As the crisp autumn air settles in and the days grow shorter, it’s a clear sign that Halloween is approaching. If you’re like me, you love to decorate your home to capture the spooky spirit of the season. One of the most versatile and fun decorations to make is DIY skeletons. In this guide, I’ll share my personal experiences, tips, and tricks for creating eye-catching skull and bones that will thrill your guests and make your home the ultimate haunted house.
Understanding DIY Skeleton Decoration
Skeleton decorations evoke a classic Halloween vibe, and they can be used in countless ways—inside your home, in the yard, or even at a Halloween party. From cute and cartoonish skeletons to creepy and realistic ones, there’s something for everyone!
Why Choose DIY Skeleton Decorations?
Creating your own skeleton decorations allows you to customize them to your unique style and budget. Here are a few reasons to dive into DIY:
- Cost-Effective: Making your own decorations can save you money compared to purchasing ready-made ones.
- Personalized Touch: You can let your creativity shine and create something that reflects your personality.
- Fun Activity: Involving friends or family makes for a great bonding experience.
Materials You’ll Need for DIY Skeleton Decorations
Before we get started, let’s gather our materials. Here’s a list of essentials for making your DIY skeleton decorations:
Basic Materials
- Plastic skeletons or skulls
- Hot glue gun and glue sticks
- Paint (white, black, or any color you like)
- Decorative elements (fabric, glitter, etc.)
- Wire and wire cutters
- Textured materials (like burlap or gauze)
Advanced Materials
- LED lights (for a spooky glow)
- Spray paint (for effects)
- Mod Podge (for sealing and finishing)
- Wood boards or bases (for freestanding skeletons)

Step-by-Step Guide to Creating Your DIY Skeleton Decoration
Now that we have our materials, let’s get into the fun part—creating your skeleton! Below is a simple step-by-step guide.
Step 1: Design Your Skeleton
Before you start building, sketch out your ideas. Think about the pose, size, and style of your skeleton. Would you prefer a funny pose or a more sinister one? This is the time to unleash your creativity!

Step 2: Build the Skeleton Frame
If you’re starting from scratch, use wire to create the frame of your skeleton. Use long pieces for the spine and shorter pieces for the limbs.
Pro Tip:
To make the skeleton flexible, use pieces of wire that can be bent easily. This allows you to create dynamic poses!

Step 3: Attach the Skulls and Bones
Using a hot glue gun, attach the skull to the top of the spine. Next, glue the limbs to the spine to complete the basic structure of your skeleton.
Step 4: Paint and Decorate
Now it’s time to get creative! Paint your skeleton in your desired colors. Consider adding some sparkle with glitter or fabric for a unique touch.
Example Ideas:
- A skeleton dressed in a pirate outfit made from fabric scraps.
- A glamorous skeleton decorated with metallic paint and rhinestones.
Step 5: Create Your Scene
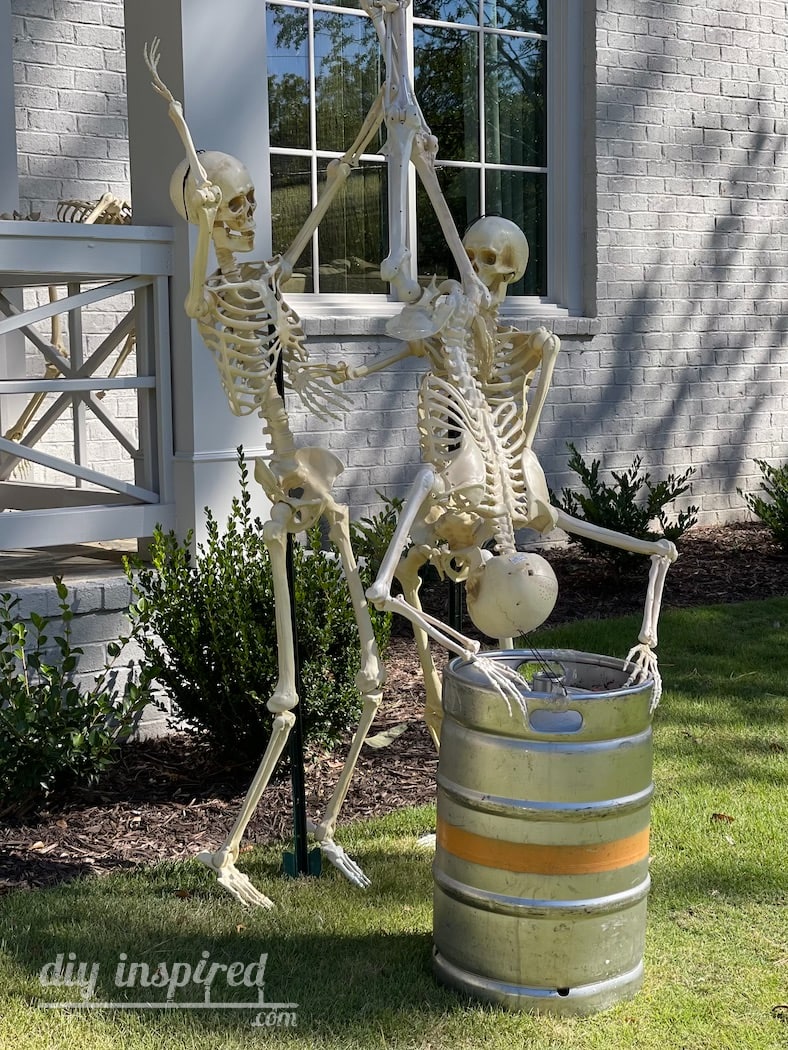
Don’t stop at just one skeleton! Build an entire Halloween scene. Pair your skeletons with pumpkins, cobwebs, and scary props to make an inviting fright zone.
Comparison: DIY Skeleton vs. Store-Bought Skeleton Decorations
| Feature | DIY Skeleton | Store-Bought Skeleton |
|---|---|---|
| Cost | Generally lower, depending on materials used | Varies, can be expensive for high-quality items |
| Customization | Highly customizable | Limited to available designs |
| Time Investment | Takes time to create | Instantly available |
| Fun Factor | Enjoyable DIY project | Less personal connection |
Pros and Cons of DIY Skeleton Decorations
Pros
- Unique to your style
- Fosters creativity and artistic expression
- Allows for family involvement
- Cost-effective

Cons
- Time-consuming
- Requires some crafting skills
- Potential for mess and cleanup
Personal Experiences: Lessons Learned While Making Skeleton Decorations
Throughout my journey of DIY skeleton creation, I’ve encountered a few hurdles along the way. Here are some lessons I learned:
Start Simple
As someone who loves to dive right into projects, I often began with complex designs only to feel overwhelmed. Starting with simpler skeletons helped build my confidence and skills.

Embrace Imperfections
One of my first skeletons looked a bit lopsided, and although I was initially disappointed, it became a quirky conversation starter! Remember, the charm is in the imperfections.
Have Fun with It!
Don’t stress too much about making everything perfect. The essence of DIY is to enjoy the process. Once I adopted this mindset, my projects became more enjoyable and less stressful.
FAQs About DIY Skeleton Decorations
1. What materials should I use for my DIY skeleton decorations?
You can use various materials including plastic skeletons, wire, paint, fabric, and more. Get creative and use whatever you have handy!
2. How do I make skeleton decorations look realistic?
Use natural colors, textures, and lighting effects to create a more lifelike appearance. Adding dirt or wear to your decorations can enhance realism.
3. Can I reuse my DIY skeleton decorations year after year?
Absolutely! With proper care and storage, your DIY skeletons can be reused for many Halloween seasons to come.
4. What are some unique ideas for skeleton decorations?
Consider themed skeletons—like a skeleton bride and groom or a skeletal pirate. You can also use them in interactive displays or scenarios for added creativity!
Conclusion: Embrace Your Creativity This Halloween
Creating DIY skeleton decorations is a fantastic way to express your creativity while getting into the Halloween spirit. Whether you’re crafting a charming skeleton family or a spooky graveyard scene, the possibilities are endless. Remember, the main goal is to have fun and enjoy the process. So, grab your materials, unleash your imagination, and make this Halloween the spookiest yet!
Happy decorating!