When it comes to enhancing the aesthetic appeal of both residential and commercial spaces, epoxy decorative chips have become increasingly popular. As an SEO expert and a DIY enthusiast, I’ve had the chance to work with these exquisite materials firsthand, and I am excited to share my insights with you.
What Are Epoxy Decorative Chips?
Epoxy decorative chips, also known as epoxy flake systems, are small pieces of colored materials that are added to epoxy resin flooring. They provide a unique textured finish that not only enhances the overall appearance but also offers durability and longevity.
Types of Epoxy Decorative Chips
- Polymeric Chips: These chips are made from polymer materials, offering high color stability and UV resistance.
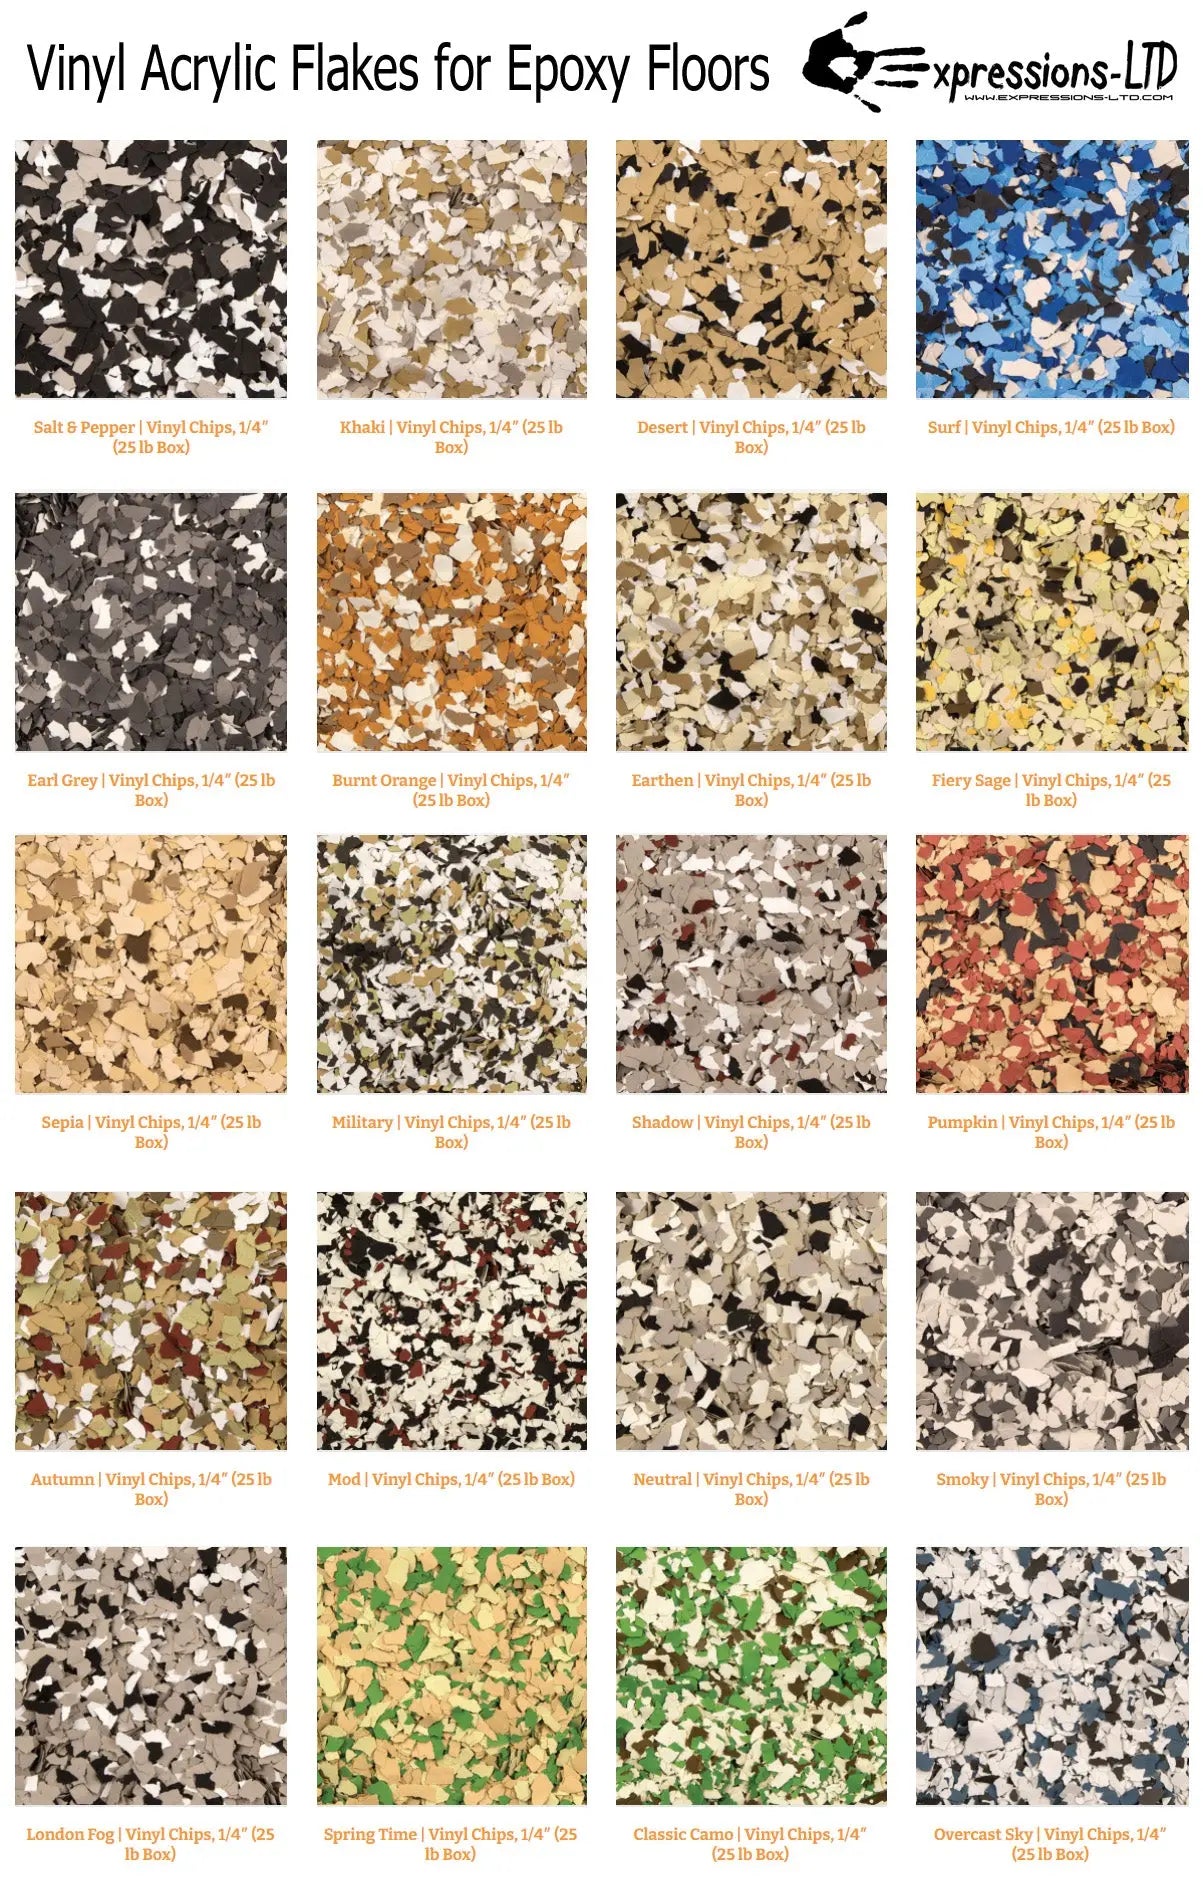
- Vinyl Chips: Made from vinyl, these chips can mimic natural elements and are quite durable.
- Metallic Chips: These add a stunning shimmer effect to your floors, perfect for modern aesthetics.
- Natural Stone Chips: Ideal for achieving a rustic look, they blend beautifully with natural environments.
Benefits of Using Epoxy Decorative Chips
Choosing epoxy decorative chips for your flooring or surfaces can provide numerous advantages:
1. Aesthetic Appeal
One of the primary reasons homeowners and businesses opt for epoxy chips is their visual appeal. They come in a wide variety of colors and combinations, allowing for endless customization options. You can create a unique look that reflects your personal style.

2. Durability
Epoxy flooring, enhanced with decorative chips, is resistant to wear and tear. It can withstand heavy traffic, making it ideal for both residential spaces and commercial properties.
3. Easy Maintenance
Not only are epoxy floors stunning, but they are also low-maintenance. A simple sweep and mop are often sufficient to keep the surface looking pristine.

4. Slip Resistance
When blended into the epoxy flooring, decorative chips add texture, increasing slip resistance—an essential feature for safety in both homes and workplaces.
Installation Process for Epoxy Decorative Chips
Installing epoxy decorative chips may seem daunting, but with the right tools and preparation, you can achieve stunning results. Here’s a step-by-step guide based on my experience:

Step 1: Prepare the Surface
Before applying epoxy, ensure that the surface is clean, dry, and free from any debris. This is crucial for adhesion.
Step 2: Mix the Epoxy
Follow the manufacturer’s instructions to mix the epoxy resin and hardener. Make sure to do this in a well-ventilated area.

Step 3: Apply the Epoxy
Using a roller, apply the mixed epoxy to the surface evenly. Work in small sections to avoid premature curing.
Step 4: Disperse the Decorative Chips
While the epoxy is still wet, sprinkle the decorative chips over the surface. You can adjust the density based on your preference.

Step 5: Seal the Floor
After the epoxy has cured, apply a clear topcoat to seal the decorative chips in place and enhance their durability.
Tips for Successful Installation
- Always wear protective gear, including gloves and a mask.
- Consider the temperature and humidity levels—ideal conditions are between 60-85°F.
- Test a small area first to ensure you love the design.
Comparing Epoxy Decorative Chips with Other Flooring Options
When considering flooring options, it’s essential to compare the benefits and drawbacks of different materials. Below is a comparison of epoxy decorative chips versus traditional flooring options.
| Feature | Epoxy Decorative Chips | Vinyl Flooring | Ceramic Tiles | Carpet |
|---|---|---|---|---|
| Aesthetic Variety | Highly customizable | Limited designs | Wide range of patterns | Variety of colors |
| Durability | Highly durable | Moderately durable | Very durable | Less durable |
| Maintenance | Low maintenance | Easy to clean | Requires regular sealing | High maintenance |
| Installation | DIY-friendly | Easy to install | Professional installation recommended | DIY-friendly |
| Cost | Affordable | Moderate cost | Higher cost | Variable cost |
Pros and Cons of Epoxy Decorative Chips
Like any flooring option, epoxy decorative chips have their advantages and disadvantages. Below is a breakdown to help you make an informed decision.
Pros
- Customizable design options
- Low maintenance requirements
- Durable and long-lasting
- Resistant to spills and stains
- Increased slip-resistance
Cons
- Requires proper surface preparation
- Potential for bubbling if not applied correctly
- Can be slippery when wet
- Initial setup may be time-consuming
Frequently Asked Questions (FAQs) About Epoxy Decorative Chips
1. Are epoxy decorative chips suitable for outdoor use?
Yes, certain epoxy systems are designed for outdoor use. Be sure to choose a UV-resistant epoxy to prevent discoloration.
2. How long does epoxy flooring with decorative chips last?
With proper care, epoxy flooring can last 10-20 years, even longer in high-traffic areas.
3. Can I install epoxy decorative chips myself?
Absolutely! While professional installation ensures perfect results, many homeowners successfully install epoxy themselves with the right tools and guidelines.
4. How do I choose the right color for my epoxy decorative chips?
Consider the overall theme of your space, the lighting, and the mood you want to create. Testing a small area can help visualize the final look.
5. Is epoxy flooring slippery?
While epoxy can be slippery when wet, adding decorative chips enhances texture and provides better slip resistance.
Conclusion: Elevate Your Space with Epoxy Decorative Chips
Epoxy decorative chips are a fantastic way to transform your living or working space. They combine style, durability, and easy maintenance into one solution. Whether you’re looking to upgrade your garage, patio, or kitchen, incorporating decorative chips into your epoxy flooring can add a beautiful, customized touch that will impress for years to come.
As I’ve experienced firsthand, the results can be stunning and a true reflection of your personal style. Don’t hesitate to explore this exciting option for your flooring needs!