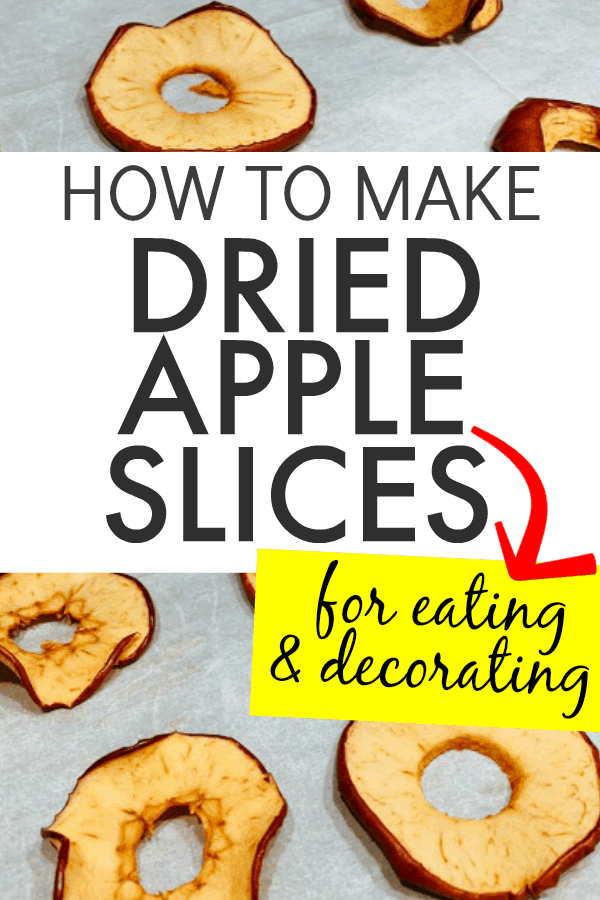
When it comes to creating beautiful and natural decorations, nothing beats the charm of dried apple slices. As someone who has dabbled in crafts and home decor for years, I can tell you that dried apple slices not only enhance your decorations but also carry a delightful aroma. In this comprehensive guide, we’ll explore how to dry apple slices perfectly, covering everything from preparation to decoration ideas, and even tips for long-term storage.
Why Dry Apple Slices?
Before we dive into the how-to, let’s discuss why you might want to dry apple slices in the first place. Dried apple slices can be used for:
- Craft projects
- Home fragrance
- Seasonal decorations
- Gifts
Choosing the Right Apples
The key to beautiful apple slices starts with selecting the right type of apples. Here are some varieties to consider:
| Apple Variety | Flavor Profile | Texture | Best Use |
|---|---|---|---|
| Granny Smith | Tart and Crisp | Firm | Decorations and Dishes |
| Honeycrisp | Sweet and Juicy | Crispy | Decorations and Snacking |
| Fuji | Sweet | Crunchy | Decorations and Baking |
Preparing Apple Slices for Drying
Once you have your apples picked out, it’s time to prepare them. Follow these simple steps:
Step 1: Washing and Cutting
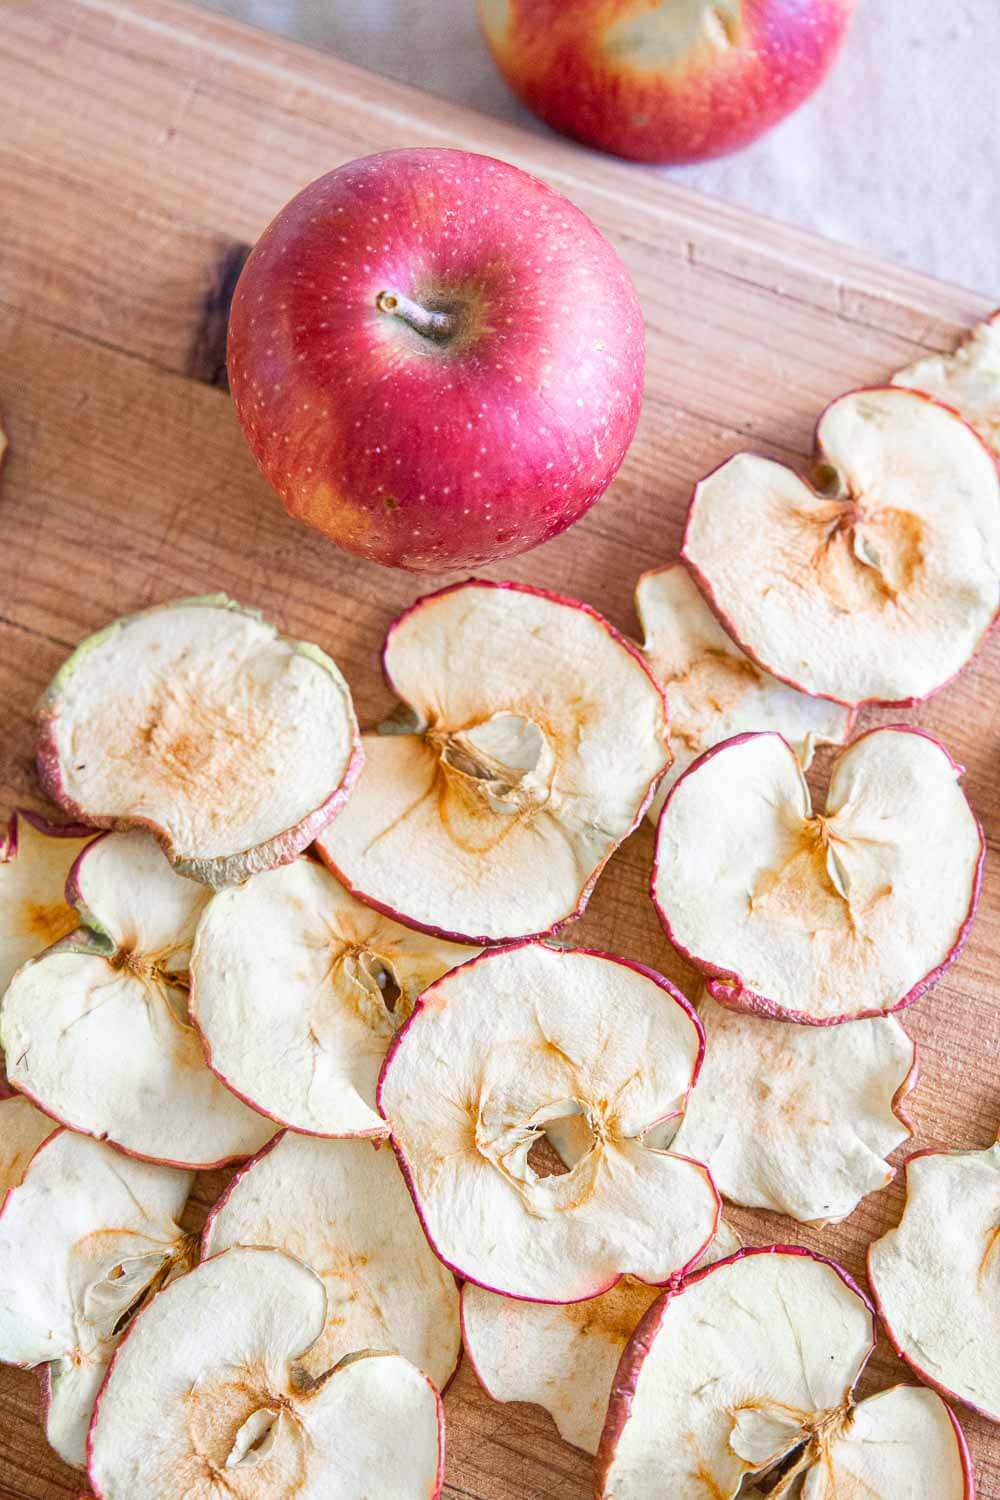
Start by washing your apples thoroughly to remove any dirt or wax. Once cleaned, slice your apples into uniform pieces about 1/4 inch thick. Uniformity is key to ensure even drying.
Step 2: Preventing Browning
To avoid that unappealing brown color that can form when apples are exposed to air, consider one of the following methods:
- Soak in a mixture of water and lemon juice (1:1 ratio) for 5-10 minutes.
- Use citric acid or ascorbic acid powder sprinkled directly onto the slices.
Notes on Preventing Browning
Prevention methods not only maintain color but also add a slight tartness to the flavor, which can enhance your decoration projects.
Methods for Drying Apple Slices
There are several methods for drying apple slices, each with its own advantages and disadvantages. Let’s discuss them:
1. Air Drying
This method is the most natural but takes the longest time. Place your apple slices on a mesh drying rack, ensuring they are not touching. Keep them in a dry, warm place for several days until they are completely dried.

2. Oven Drying
Using an oven is quicker and helps maintain a consistent temperature:
- Preheat your oven to 140°F (60°C).
- Line a baking sheet with parchment paper.
- Arrange apple slices in a single layer.
- Let them dry for 6-8 hours, flipping them halfway through.
Pros and Cons of Oven Drying
| Pros | Cons |
|---|---|
| Faster drying time | Requires electricity |
| Good temperature control | Can heat up the kitchen |
3. Dehydrator Method
If you plan to dry fruits regularly, investing in a dehydrator is worth considering:
- Set the dehydrator to 135°F (57°C).
- Layer apple slices evenly on the trays.
- Dehydrate for 6-12 hours, checking for doneness.
Pros and Cons of Using a Dehydrator
| Pros | Cons |
|---|---|
| Energy-efficient | Initial investment cost |
| Optimal for multiple batches | Requires space for storage |
Storing Your Dried Apple Slices
After the drying process is complete, proper storage ensures your creation stays fresh:
- Store dried apple slices in airtight containers.
- Keep them in a cool, dark place to prolong freshness.
- Consider vacuum-sealing for extended storage.
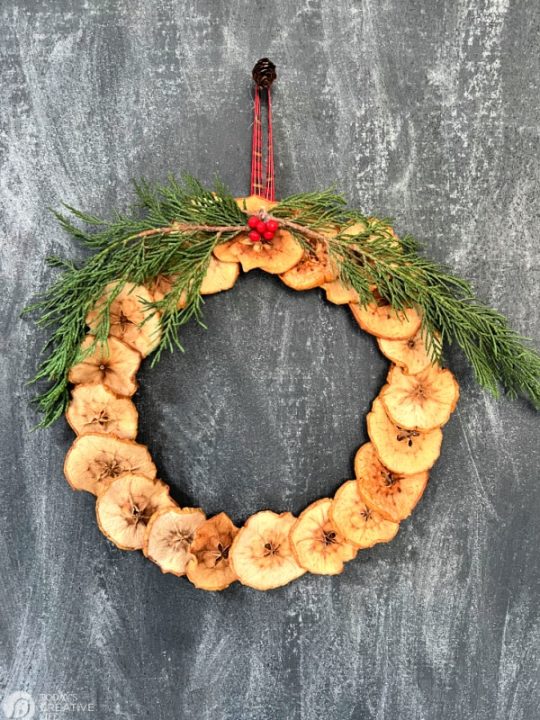
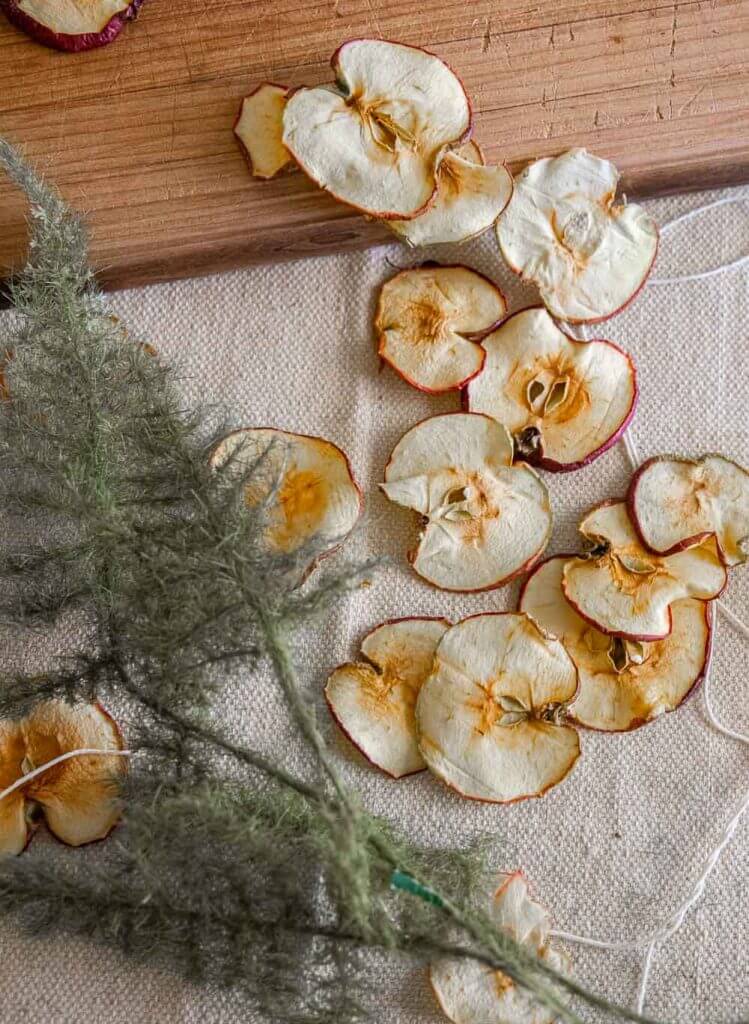
Creative Decoration Ideas with Dried Apple Slices
Dried apple slices can be used in various craft projects. Here are a few ideas to inspire you:
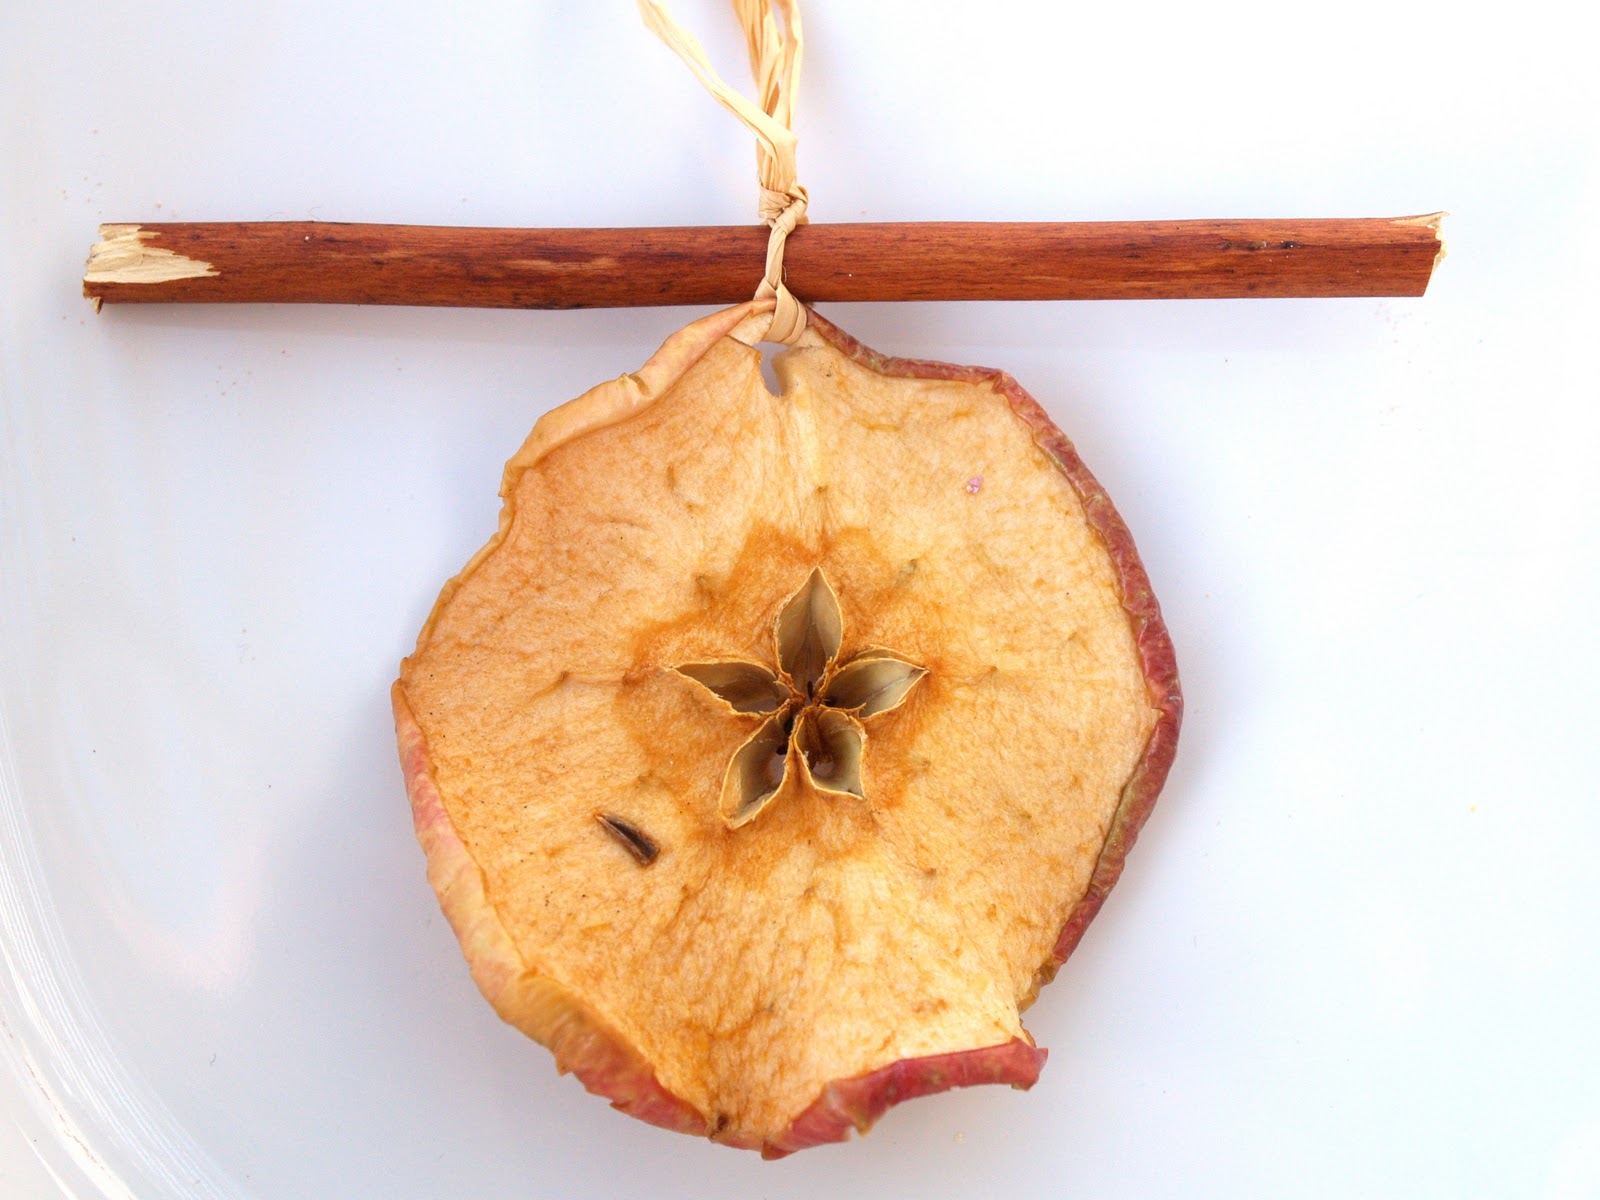
1. Garland Making
String dried apple slices along with cinnamon sticks and pinecones to create a cozy garland perfect for the holiday season.
2. Centerpiece Displays
Combine dried apple slices with dried flowers in a glass container for a rustic centerpiece.
3. Gift Wrapping
Add a special touch to your gift wrapping with a dried apple slice attached with twine.
FAQs About Drying Apple Slices
Can I use any apple variety for drying?
While most apple varieties can be dried, apples with firmer textures and balanced flavors, like Granny Smith and Fuji, tend to work best.
Should I remove the skin before drying?
It’s optional to remove the skin. Leaving it on adds fiber and can enhance the texture, but removing the skin results in a smoother appearance.
How do I know when my apple slices are properly dried?
Dried apple slices should be leathery and pliable. Test them by bending; they should not be sticky or wet.
Can I use dried apple slices in cooking?
Yes! Dried apple slices can be rehydrated in water and used in various recipes, enhancing both flavor and nutrition.
How long do dried apple slices last?
When properly stored, dried apple slices can last up to a year. Always check for any signs of spoilage before using.
Conclusion
Drying apple slices for decoration is a rewarding and enjoyable process. With the right techniques and a touch of creativity, you can create beautiful decor that adds a natural element to your home. Whether you’re preparing for a seasonal celebration or a simple craft project, dried apple slices are versatile and charming.
So, gather your apples, try out the different drying methods, and let your creative juices flow. Happy crafting!