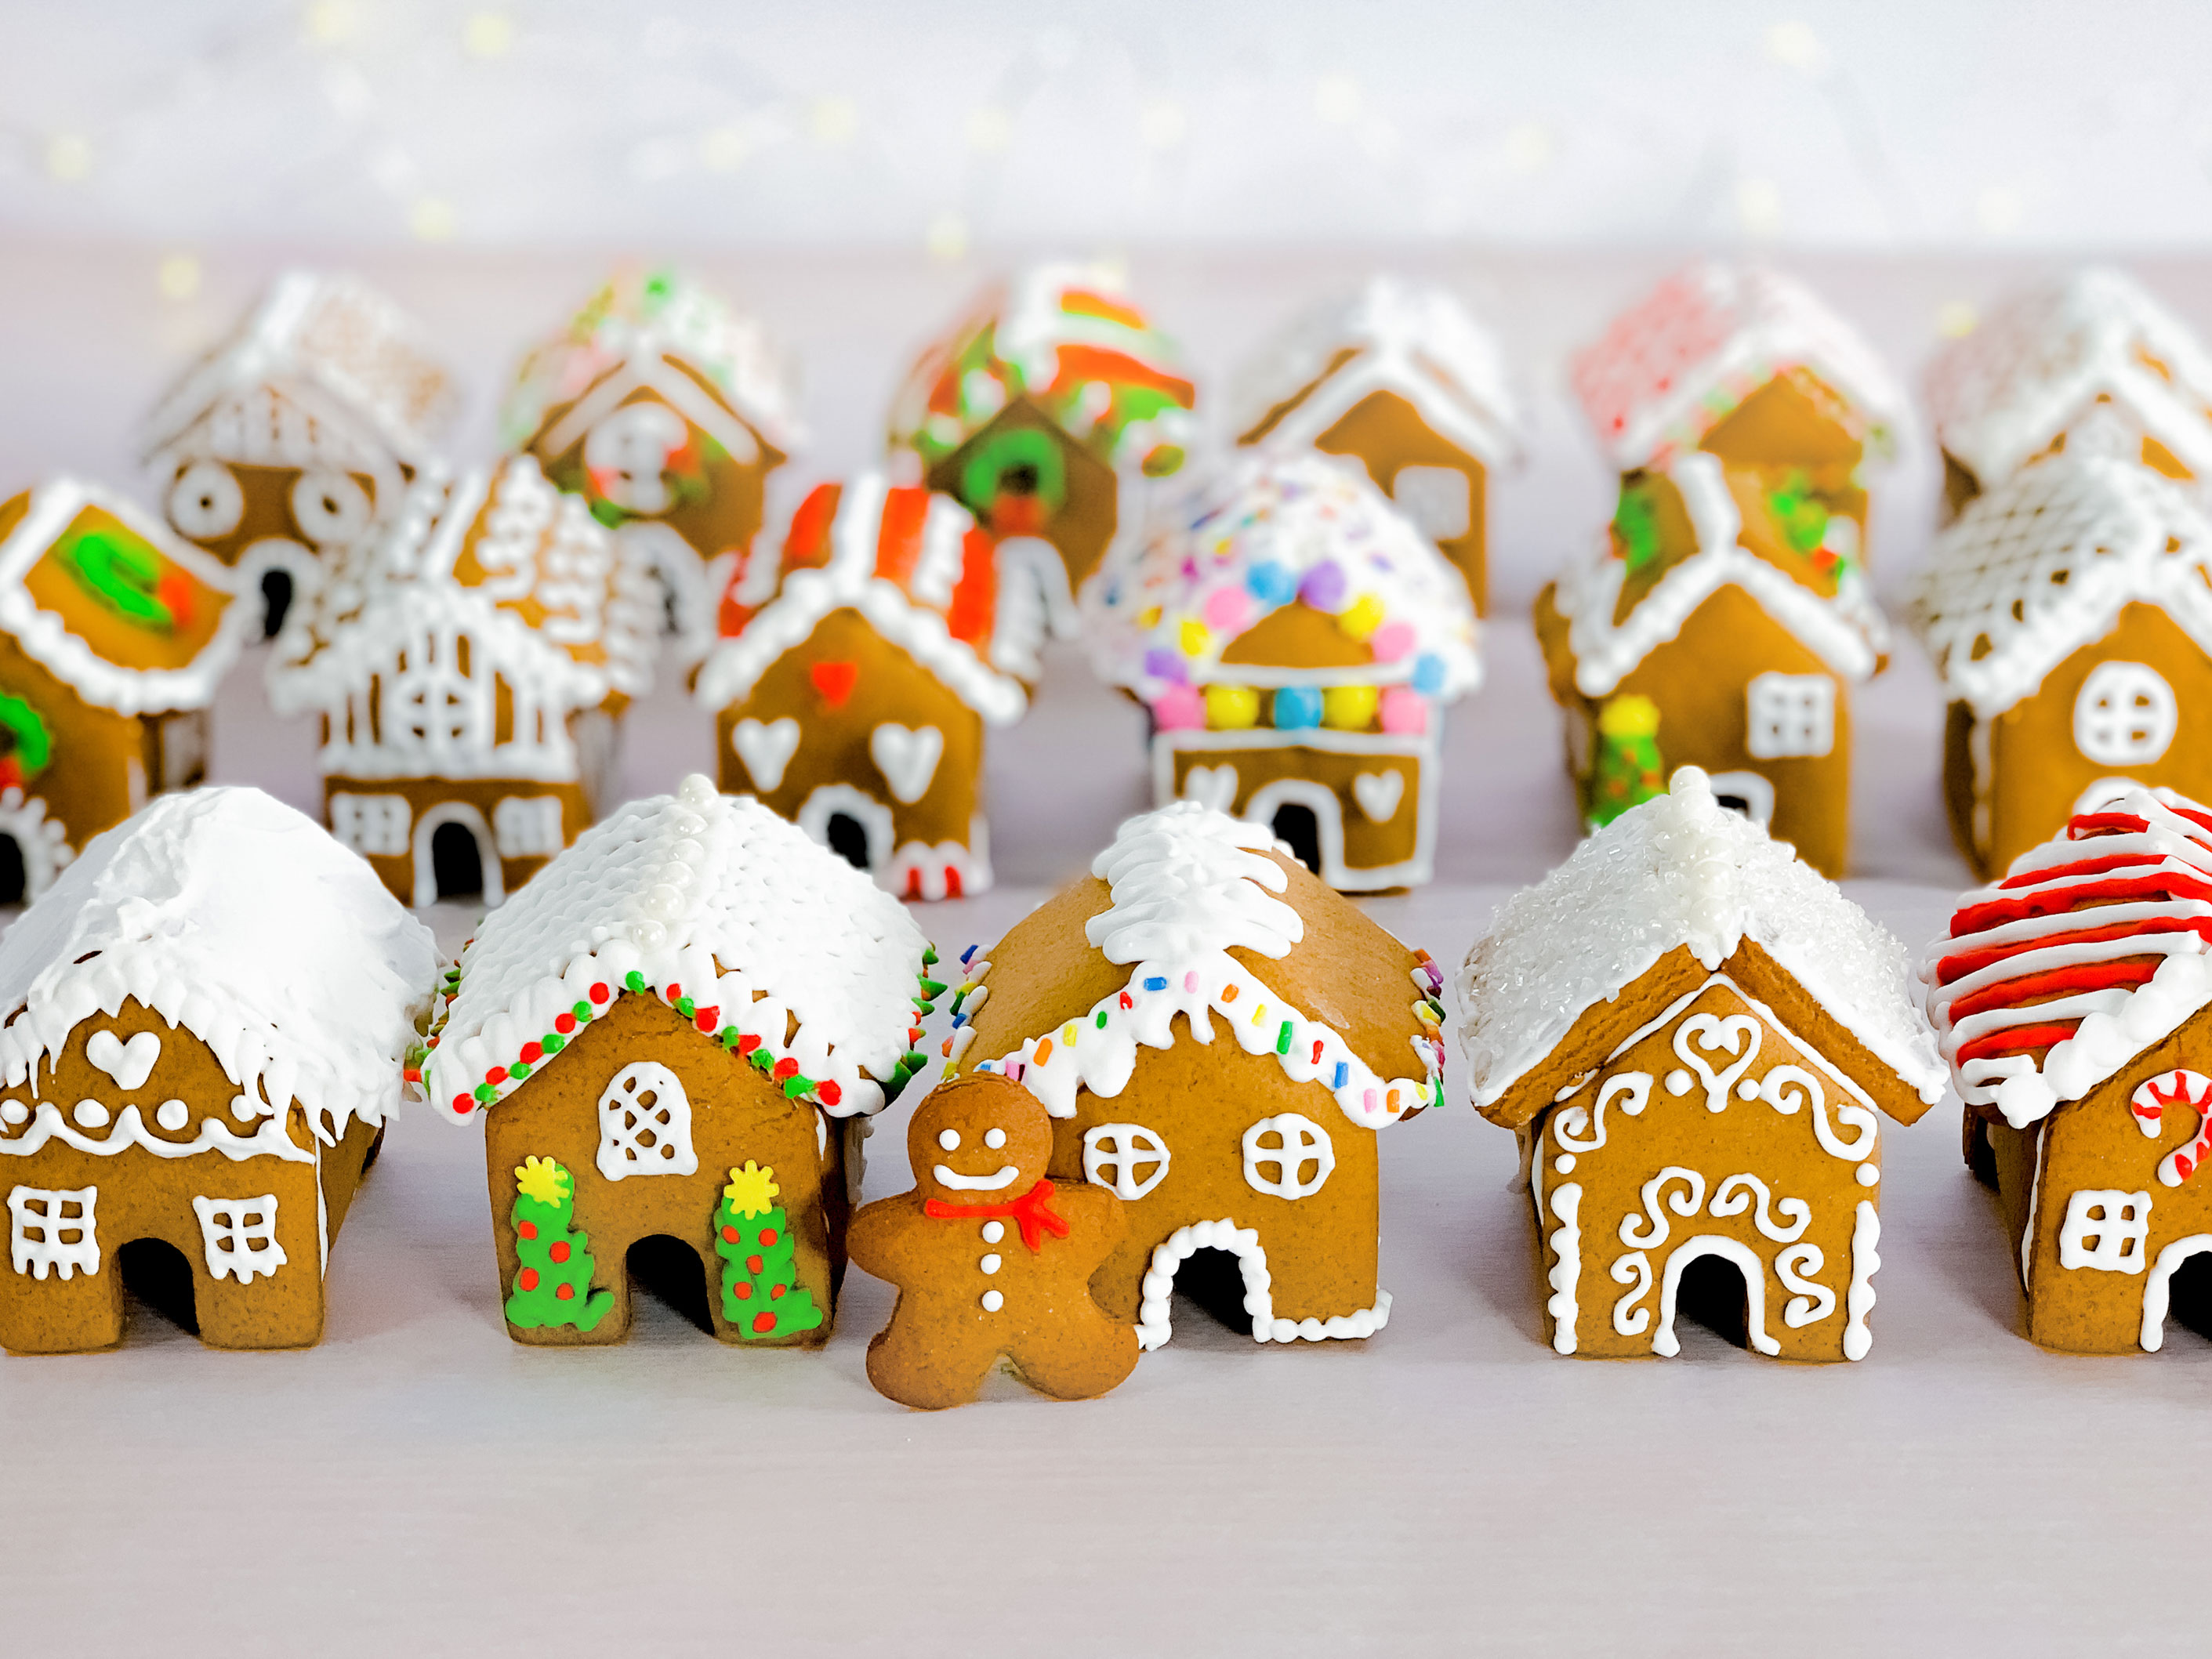
As the holiday season approaches, one of the most delightful traditions is decorating mini gingerbread houses. These tiny edible creations are not just a treat for the taste buds but also a canvas for creativity. In this article, I’ll share my personal experiences, tips, and tricks for creating stunning mini gingerbread house decorations that will impress friends and family alike!
What Are Mini Gingerbread Houses?
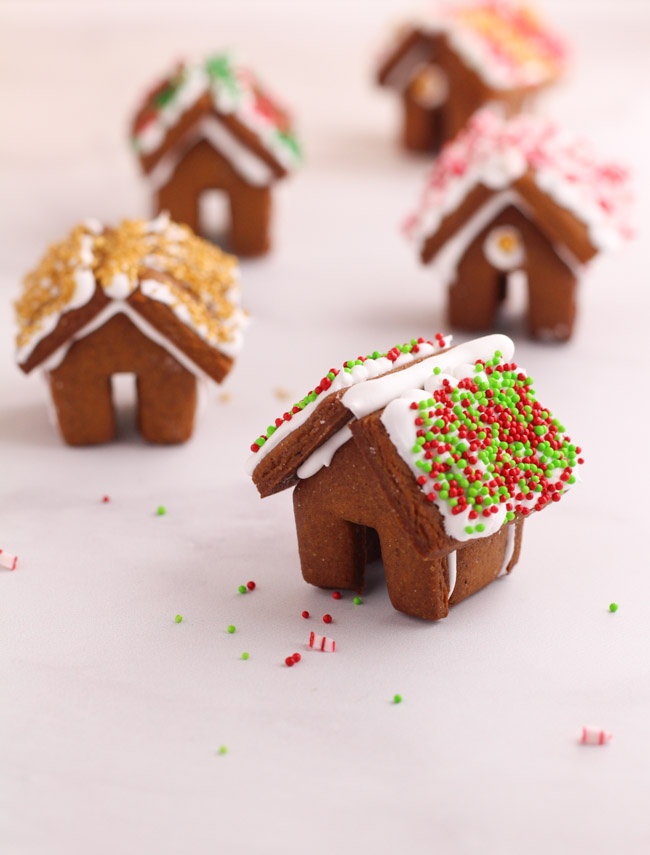
Mini gingerbread houses are small, often decorative structures made from gingerbread dough. They’re typically decorated with icing, candy, and various edible embellishments. Though they’re sometimes made for eating, many people prefer to showcase them as part of their holiday decor.
Why You Should Try Making Mini Gingerbread Houses
Creating mini gingerbread houses is not only a fun activity, but it also brings a sense of nostalgia and holiday spirit. Here are a few reasons why you should dive into this delightful craft:
- Creative Outlet: It’s a fantastic way to express your artistic side.
- Family Bonding: It encourages family collaboration and fun.
- Unique Decor: Each house can be uniquely designed to enhance your holiday decor.
Getting Started with Mini Gingerbread House Decorations
Before you embark on your gingerbread house decorating adventure, there are a few essential steps to follow:
Ingredients Needed
To make your mini gingerbread houses, you’ll need the following ingredients:
- Gingerbread dough (homemade or store-bought)
- Royal icing (for assembling and decorating)
- Assorted candies (like gumdrops, candy canes, and chocolate chips)
- Food coloring (optional)
Tools Required
Here are some essential tools that will make your mini gingerbread house crafting experience easier:
- Baking sheets
- Parchment paper
- Piping bags
- Scissors
- Rolling pin
Designing Your Mini Gingerbread House
Now that you have your ingredients and tools, it’s time to get creative! Here are some design inspiration ideas:
Traditional Styles
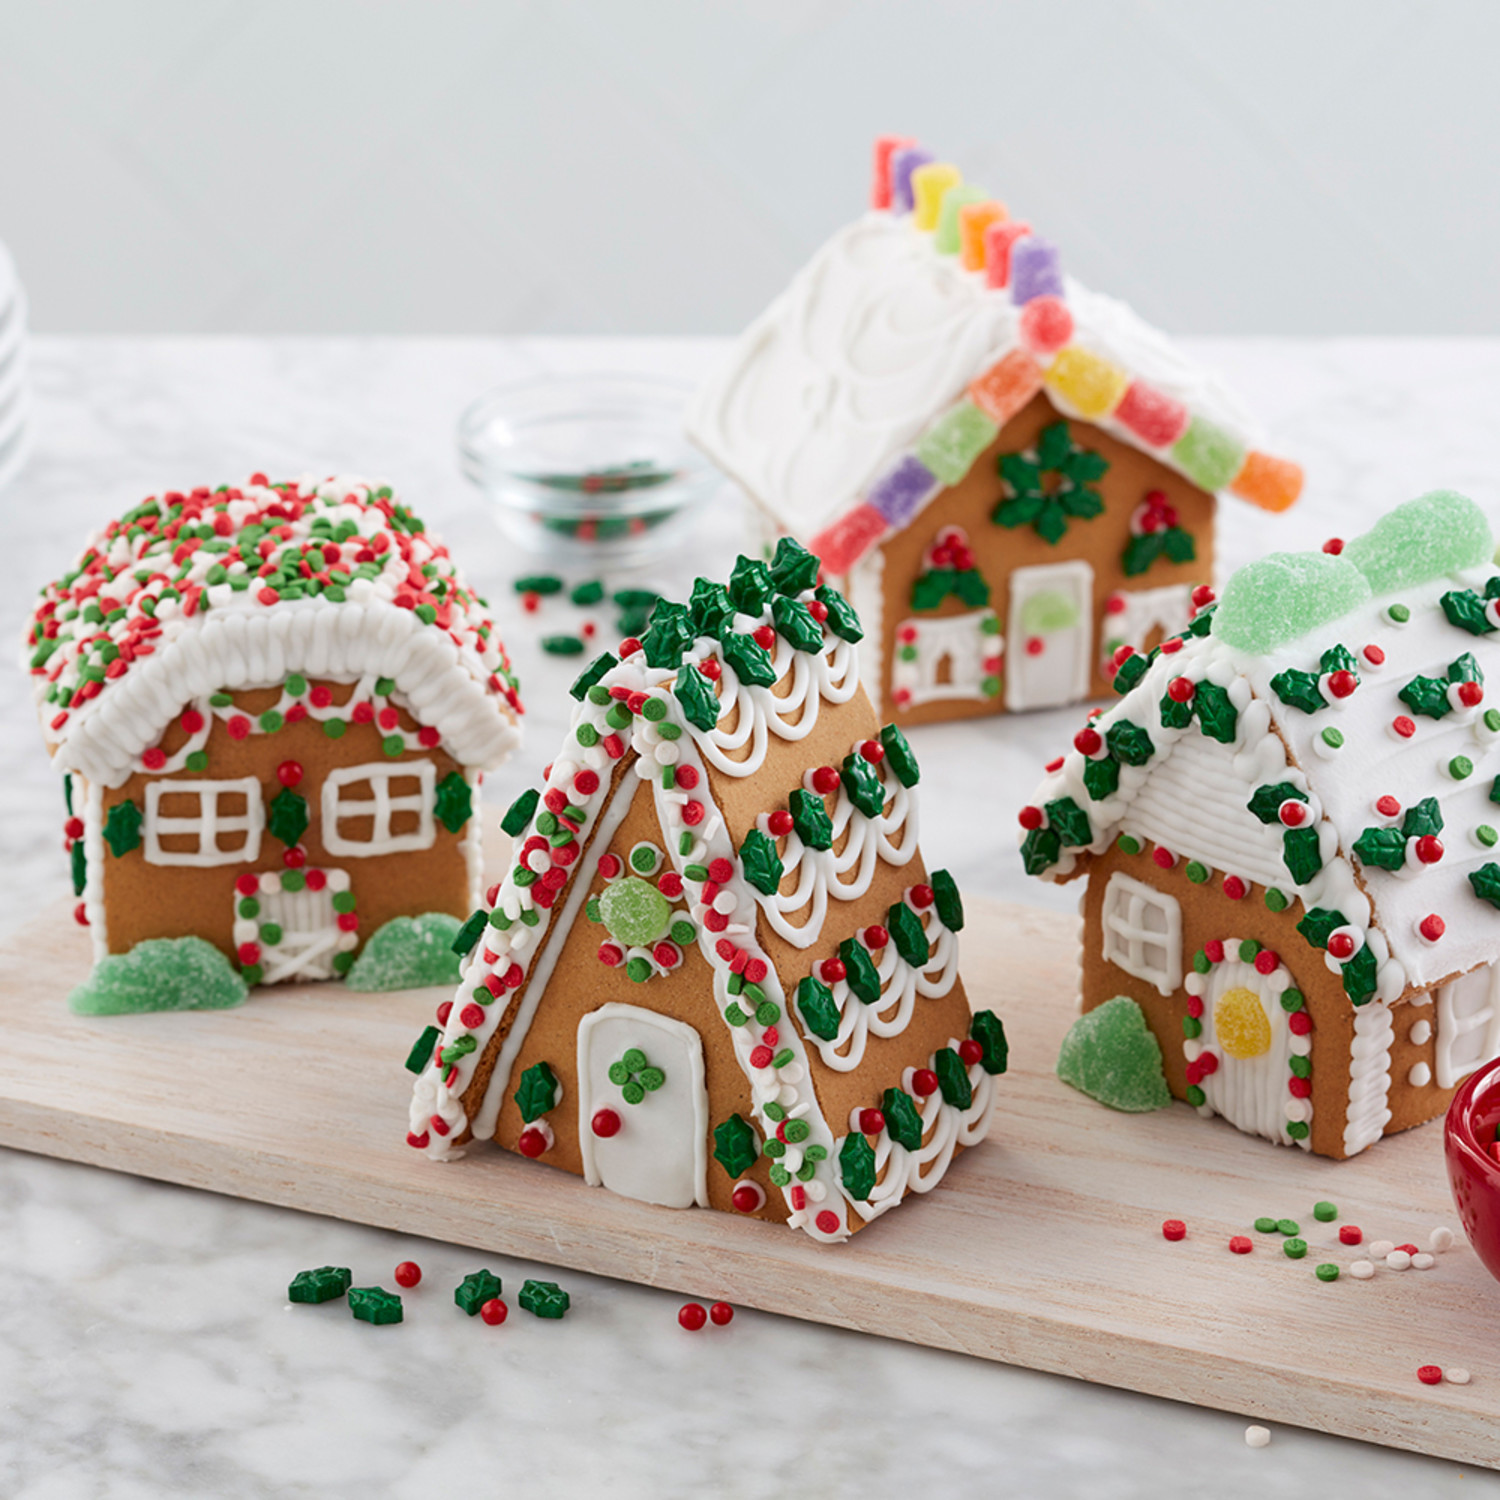
For those who love classic designs, consider creating a quaint little cottage with a peaked roof, adorned with icing and candy.

Modern Flair
If you lean towards modern aesthetics, think about geometric shapes and a minimalist approach. A monochromatic color scheme can also create a sleek look.
Themed Houses
Consider creating themed houses such as:
- Winter Wonderland
- Santa’s Workshop
- Enchanted Forest

Step-by-Step Guide to Crafting Mini Gingerbread Houses
Step 1: Preparing the Gingerbread
Make or buy gingerbread dough. Roll it out and cut it into desired shapes for your mini houses. Common shapes include walls, roofs, and base.
Step 2: Baking
Preheat your oven to the temperature specified in your recipe. Bake the gingerbread pieces until firm, allowing them to cool completely before decorating.
Step 3: Assembling the House
Use royal icing to glue the pieces together. Create a strong base by applying icing along the edges and holding pieces in place until they set.

Step 4: Decorating
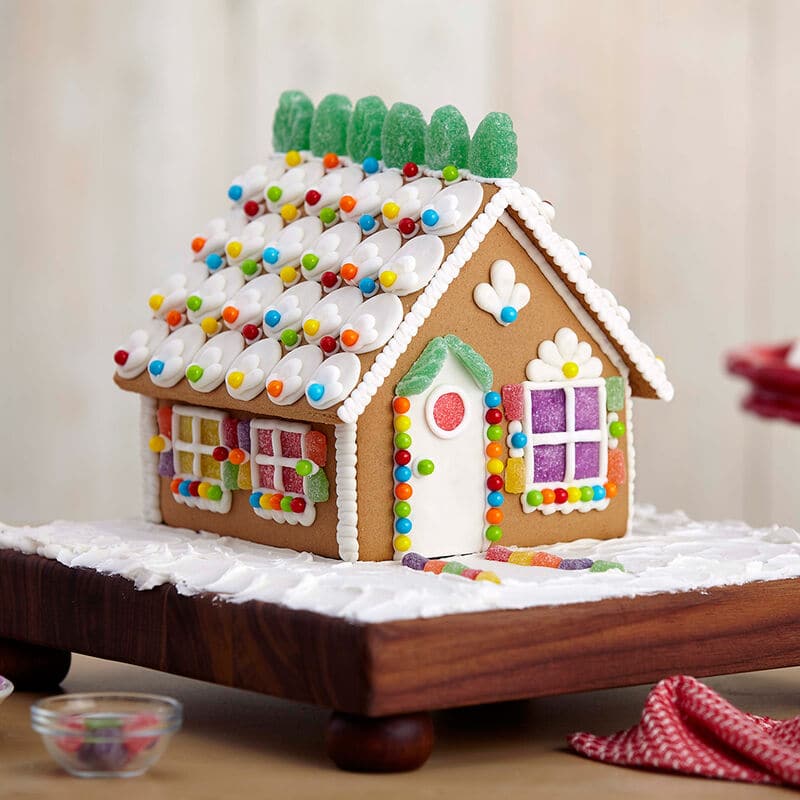
Here’s where the magic happens! Use your icing and assorted candies to bring your gingerbread house to life. Don’t hold back—let your imagination run wild!
Additional Tips for Decoration
- Consider using edible glitter for a sparkling effect.
- Utilize pretzel rods for fences or pathways.
- Incorporate mini marshmallows for a snowy effect on the roof.
Pros and Cons of Mini Gingerbread Houses
| Pros | Cons |
|---|---|
| Creative and fun activity for all ages | Can be time-consuming |
| Delicious and edible creations | Requires specific skills for intricate designs |
| Customizable to personal styles | Ingredients can be costly |
Common Mistakes to Avoid When Decorating Mini Gingerbread Houses
While creating mini gingerbread houses is fun, there are some common pitfalls to be wary of:
Rushing the Assembly
Take your time during assembly. Prematurely moving pieces can result in a collapse.
Overdoing the Icing
While icing is essential, overdoing it can lead to a messy house. Use it judiciously to adhere pieces together and for decoration.
Storing Your Mini Gingerbread Houses
Once you’ve completed your masterpiece, proper storage is crucial:
Room Temperature vs. Refrigeration
Store your mini gingerbread houses at room temperature in a cool, dry place. Avoid refrigeration, as moisture can cause the gingerbread to soften.
Longevity Tips
- Keep them covered to prevent dust accumulation.
- Avoid direct sunlight to prevent fading of colors.
Frequently Asked Questions (FAQs)
Are mini gingerbread houses safe for children to decorate?
Yes, mini gingerbread house decorating is a great activity for children, but be sure to supervise them, especially when using candy and icing.
How long do mini gingerbread houses last?
Mini gingerbread houses can last for several weeks when stored properly. However, they’re often too tempting to last that long!
Can I make mini gingerbread houses ahead of time?
Absolutely! You can make and decorate your gingerbread houses several days or even weeks in advance. Just store them properly to maintain freshness.
What kind of icing is best for mini gingerbread houses?
Royal icing is the most recommended, as it dries hard and holds decorations in place very well.
Conclusion
Creating mini gingerbread house decorations is a treasured holiday tradition that brings joy and creativity to any home. With just a few ingredients, tools, and a little imagination, you can craft delightful houses that will captivate your family and friends. So gather your supplies and let the festive decorating commence!
Share Your Mini Gingerbread House Adventures!
Have you created your own mini gingerbread houses? Share your experiences and tips in the comments below! Happy decorating!