Introduction to Decorated Pumpkin Cookies
As the leaves change color and the air turns crisp, there’s nothing quite like the warm, inviting aroma of freshly baked pumpkin cookies wafting through the home. Whether you’re gearing up for a festive fall gathering, Halloween, or simply want to indulge in a sweet treat, decorated pumpkin cookies are a delightful choice. In this article, I’ll guide you through the process of making, decorating, and enjoying these seasonal delights, sharing my personal experiences to inspire you along the way.
Why Decorate Pumpkin Cookies?
Decorating cookies isn’t just about aesthetics; it’s a chance to express creativity and bring a festive spirit to your baking. Decorated pumpkin cookies can serve multiple purposes:
- Creative Outlet: Decorating cookies allows you to unleash your artistic side.
- Perfect for Events: These cookies are great for parties, school events, and celebrations.
- Gift Options: They make wonderful, personalized gifts for friends and family.
Essential Ingredients for Pumpkin Cookies
Before we dive into the baking process, let’s venture through the essential ingredients that make pumpkin cookies so special.
Basic Ingredients
- 1 cup pumpkin puree
- 1 cup sugar
- 1/2 cup butter, softened
- 1 egg
- 2 cups all-purpose flour
- 1 teaspoon baking powder
- 1/2 teaspoon baking soda
- 1 teaspoon cinnamon
- 1/2 teaspoon nutmeg
- 1/4 teaspoon salt
Decorating Ingredients
- Royal icing (made with egg whites or meringue powder)
- Food coloring
- Edible glitter or sprinkles (optional)
- Cocoa powder for accents (optional)
Step-by-Step Instructions for Making Pumpkin Cookies
1. Preparing the Dough
The first step is to prepare the dough for your pumpkin cookies. Here’s how:
- Preheat your oven to 350°F (175°C).
- In a large bowl, cream together the softened butter and sugar until light and fluffy.
- Add the pumpkin puree and egg, mixing until smooth.
- In another bowl, whisk together the flour, baking powder, baking soda, cinnamon, nutmeg, and salt.
- Gradually add the dry ingredients to the wet mixture, stirring until just combined.
2. Shaping the Cookies
Once your dough is ready, it’s time to shape those adorable cookies. I prefer using cookie cutters shaped like pumpkins, leaves, or even ghosts for a fun twist!
Roll out the dough on a floured surface to about 1/4-inch thickness and cut out your shapes. Place them on a parchment-lined baking sheet.
3. Baking the Cookies
Bake your cookies in the preheated oven for 10-12 minutes or until they are slightly golden around the edges. Remove them from the oven and let them cool completely on a wire rack before decorating.
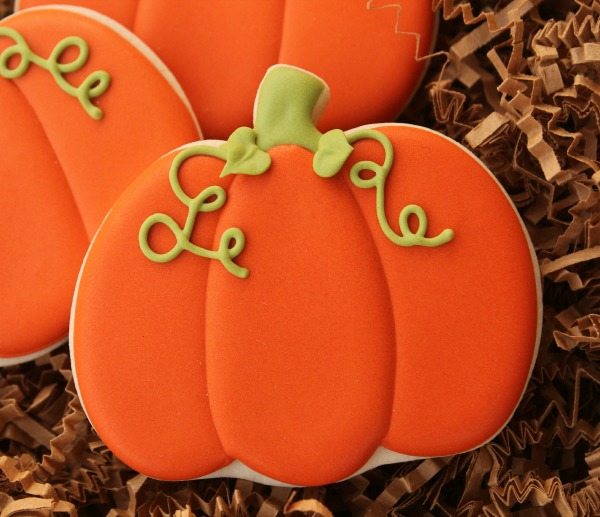
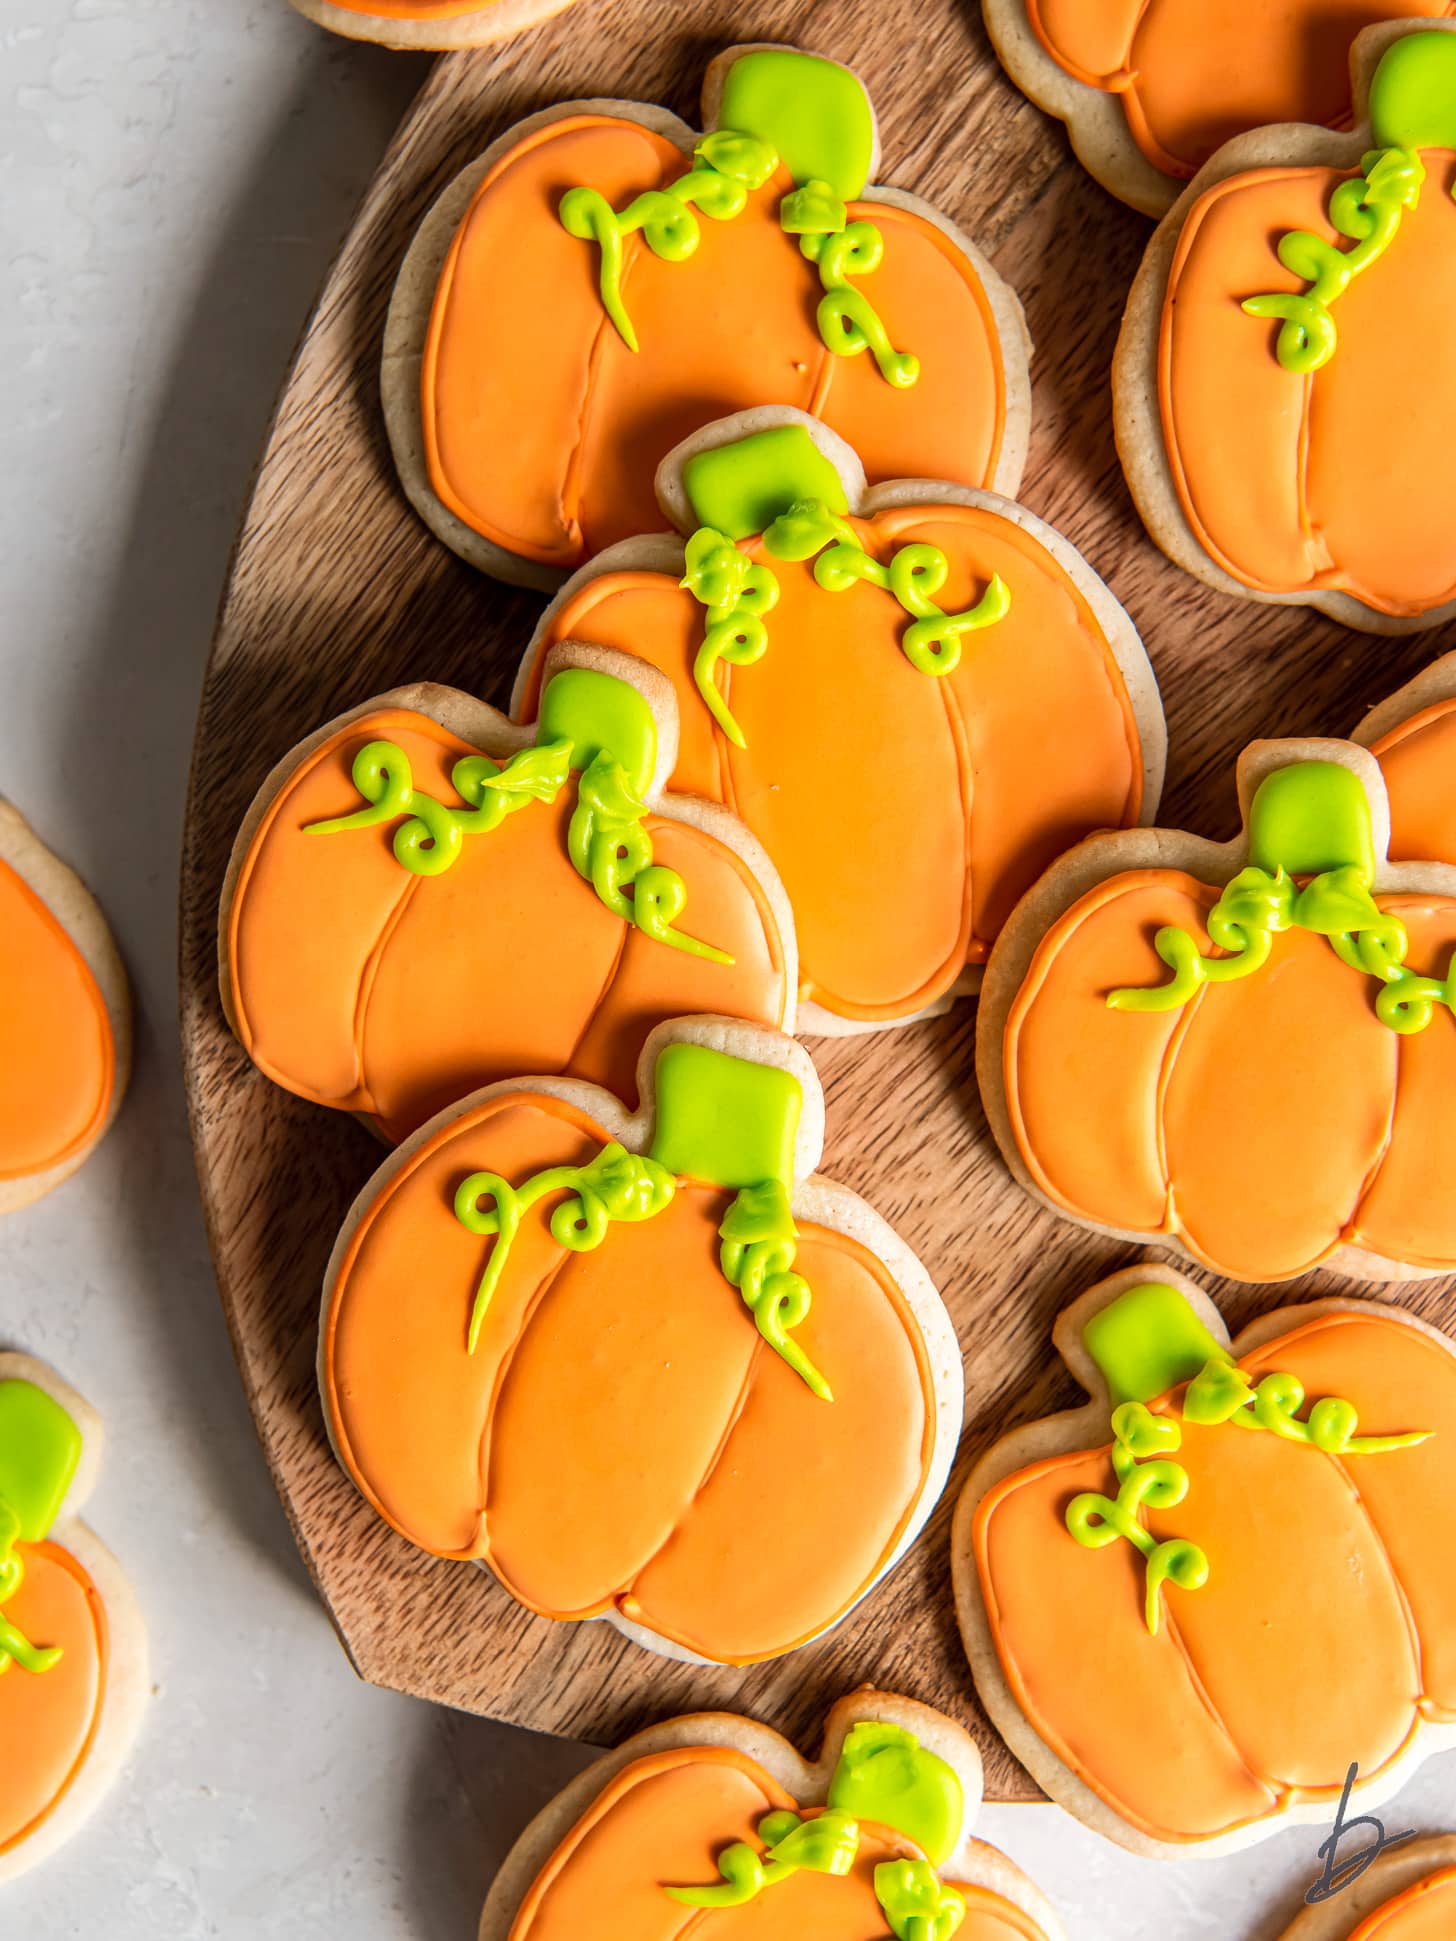
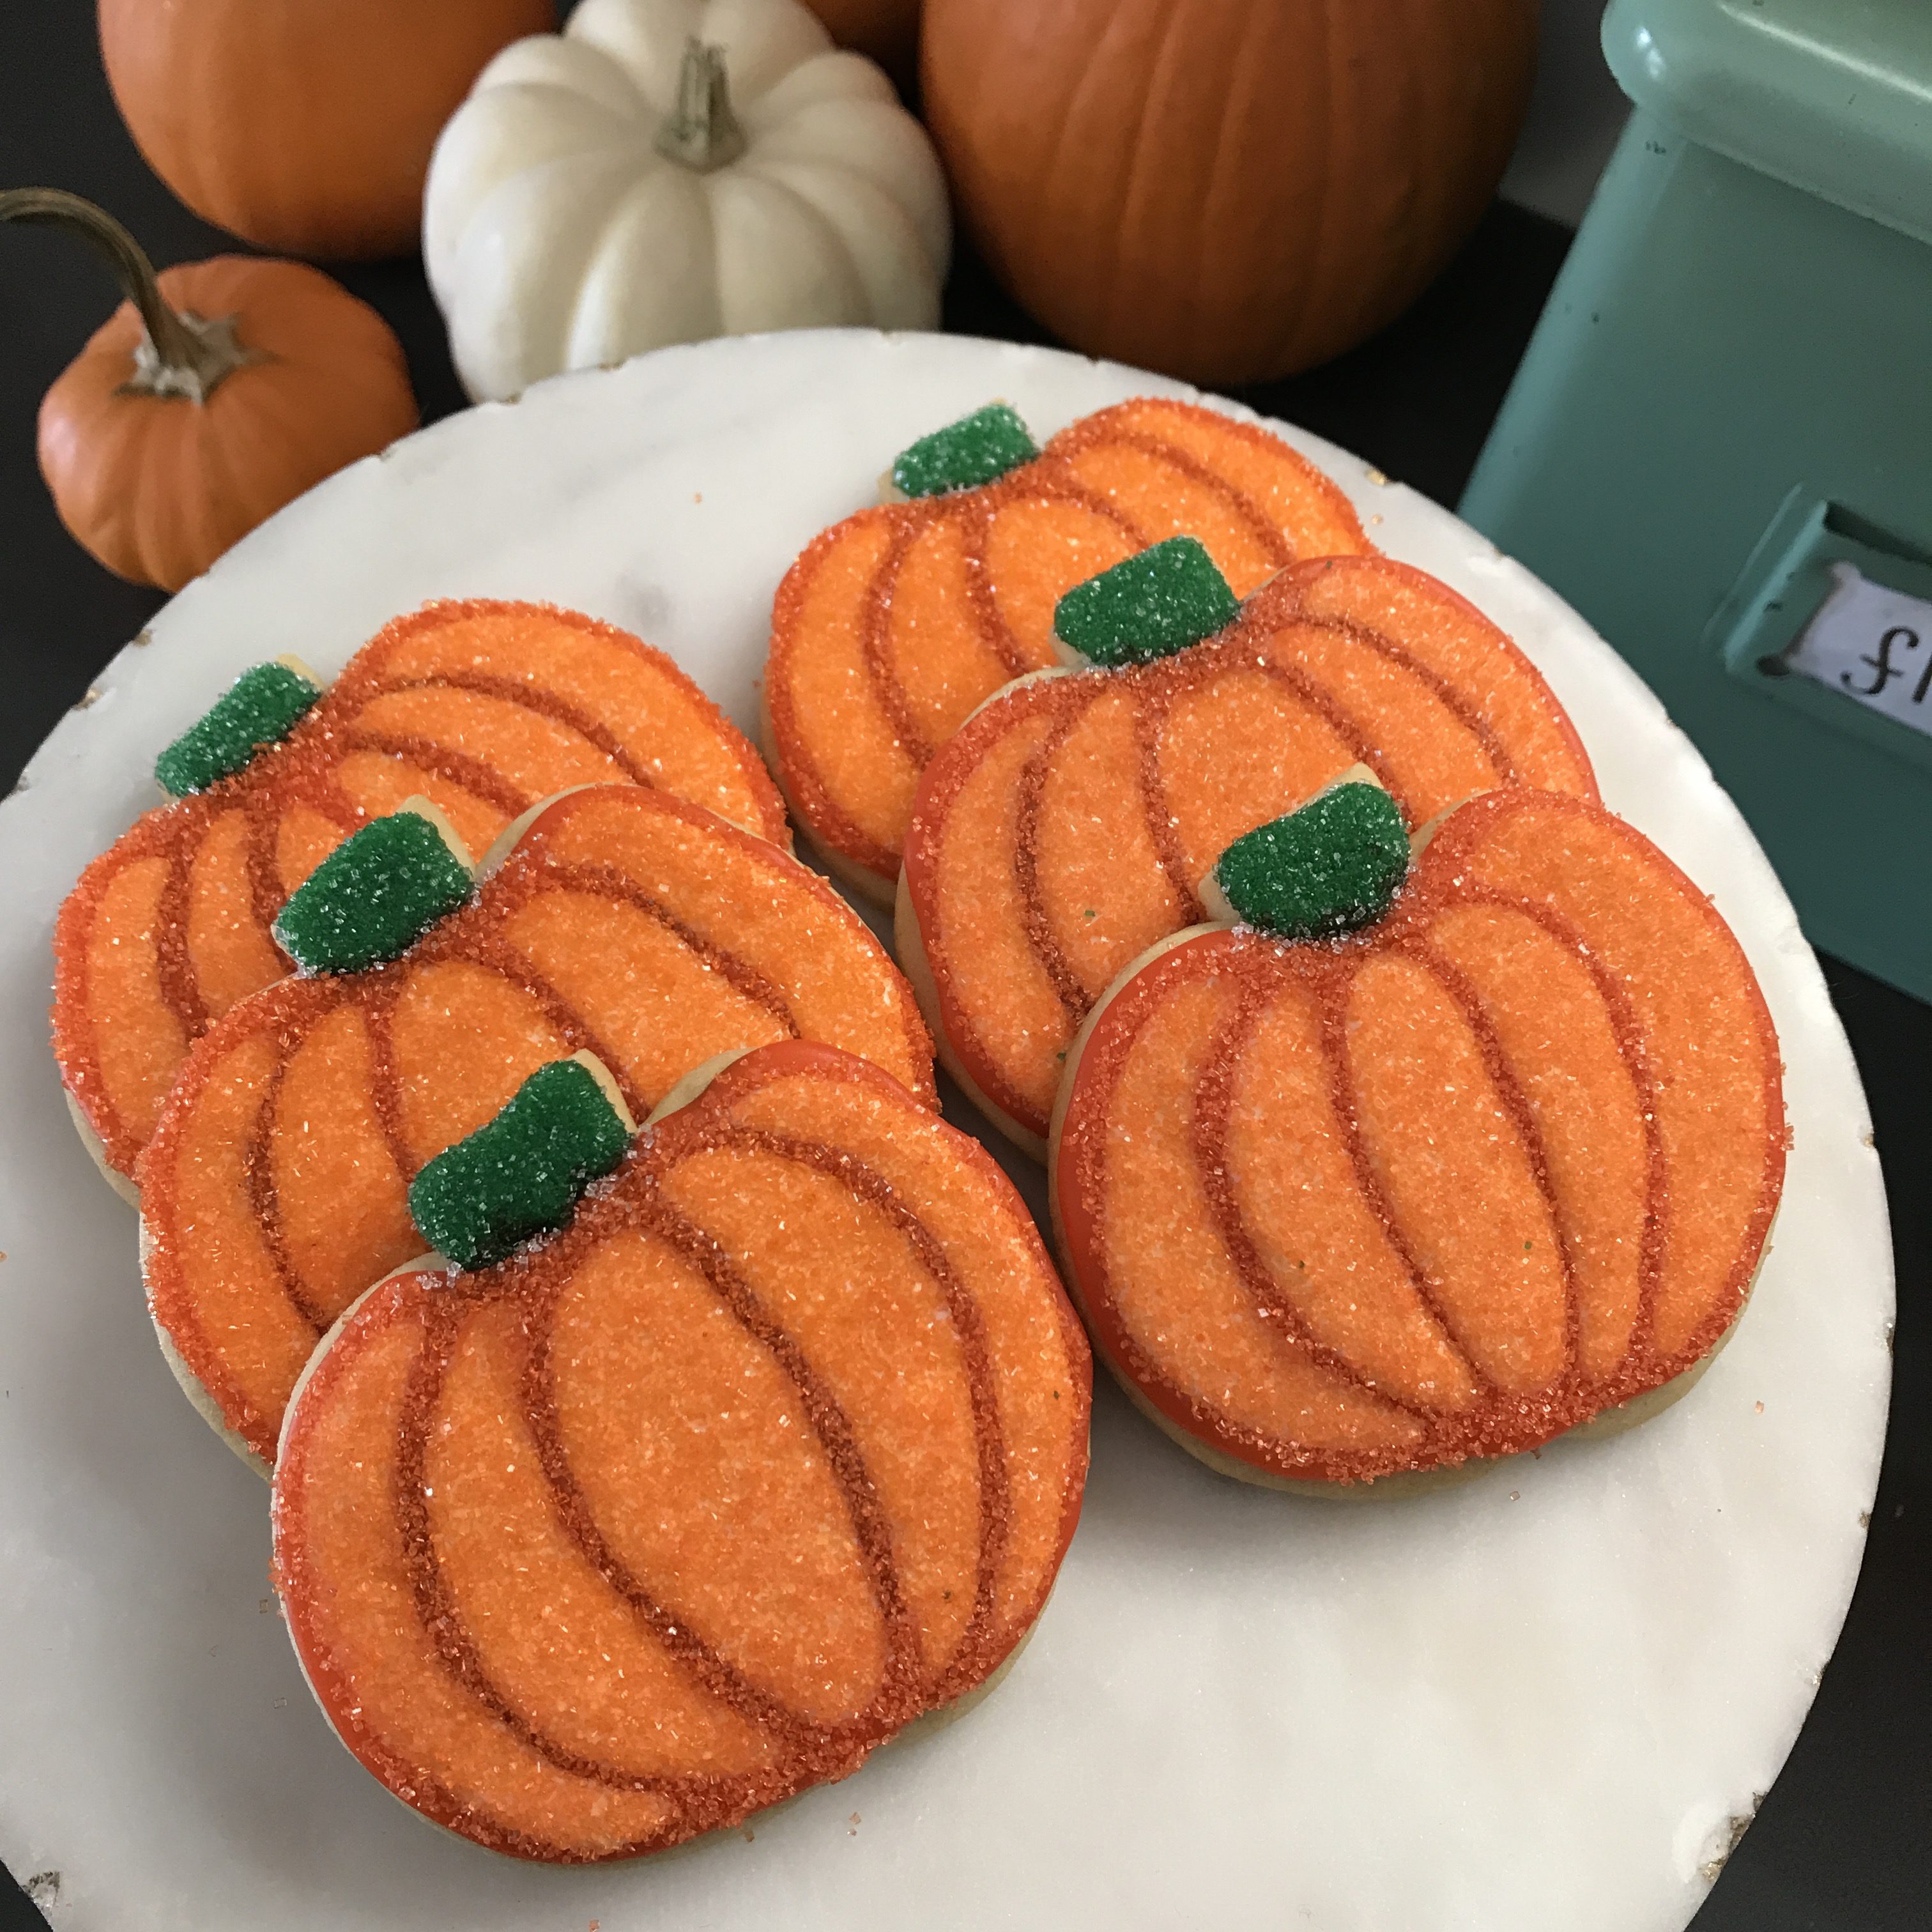
Decorating Your Pumpkin Cookies
Choosing Your Design
Here’s where the fun begins! You can choose to keep it simple or go all out with intricate designs. Here are some popular themes:
- Classic Halloween Faces
- Autumn Leaves
- Witch Hats
- Spooky Eyes
Preparing Royal Icing
Royal icing is the most popular choice for cookie decorating due to its smooth finish. Here’s a simple recipe:
- 3 egg whites
- 4 cups powdered sugar
- 1 teaspoon lemon juice
Beat the egg whites until frothy, then gradually add the powdered sugar and lemon juice, beating until the icing holds stiff peaks.

Decorating Techniques
Start by flooding the cookie with a base layer of icing and allow it to dry before adding details. You can use a piping bag for more intricate designs or a simple squeeze bottle for larger areas. Don’t forget to add edible glitter or sprinkles for that magical touch!
Tips for Perfect Decorated Cookies
- Work in a clean and dry environment to avoid any moisture interference.
- Pipe right away if you want the colors to blend.
- Experiment with different colors and textures.

Comparison: Royal Icing vs. Fondant
When it comes to decorating cookies, royal icing and fondant are two popular choices. Let’s compare them:
| Feature | Royal Icing | Fondant |
|---|---|---|
| Taste | Sweet, with a slight eggshell flavor | Sweet, with a chewy texture |
| Texture | Hard when dried, smooth finish | Soft and pliable |
| Application | Piped or flooded for designs | Rolled out and draped over cookies |
| Drying Time | Fast drying, can be used immediately | Takes longer to set |
| Decorative Detail | Great for intricate designs | Best for smooth surfaces and bulk coverage |
Storing Your Decorated Pumpkin Cookies
Once you’ve decorated your cookies, you’ll want to store them properly to keep them fresh. Here are some tips:
Short-Term Storage
For short-term storage (up to 5 days), place your cookies in an airtight container at room temperature. Avoid stacking them unless they have a thin layer of parchment paper between each cookie to prevent sticking.

Long-Term Storage
For longer storage (up to 3 months), consider freezing your cookies:
- Allow the cookies to dry completely.
- Layer them in an airtight, freezer-safe container with parchment paper in between.
- Label and date the container for easy access.
Personal Experience: My Favorite Pumpkin Cookie Memories
Every fall, my family gathers to bake decorated pumpkin cookies. I remember my first attempt at decorating; we ended up with more icing on the counter than on the cookies! But those moments filled with laughter and creativity made our cookies taste extra sweet. Over the years, I’ve refined my techniques, yet I still cherish the process of baking together. Whether it’s experimenting with new designs or sharing cookie-decorating contests, these cookies have become a beloved tradition in our home.

FAQs About Decorated Pumpkin Cookies
1. Can I use a different type of pumpkin for the cookies?
Yes! While canned pumpkin puree is the most common choice for convenience, fresh pumpkin can also be used. Just make sure to properly cook and puree it before adding it to your dough.
2. How long do decorated pumpkin cookies last?
Decorated pumpkin cookies can last up to 5 days at room temperature if stored properly. If frozen, they can maintain their quality for up to 3 months.
3. Can I make pumpkin cookies without egg?
Absolutely! You can replace the egg with applesauce or a commercial egg replacer to keep the cookies moist without using eggs.
4. What’s the best way to color royal icing?
Gel food coloring works best for royal icing, as it doesn’t add too much liquid. Start with a small amount and mix until you reach your desired shade.
Conclusion: Embrace the Joy of Decorating Pumpkin Cookies
Decorating pumpkin cookies is more than just a baking task; it’s a chance to create memories, express creativity, and indulge in seasonal flavors. Whether you keep it simple with a classic design or go all out with intricate patterns, these cookies are sure to delight friends and family. So roll up your sleeves, gather the ingredients, and let the joyous fall baking begin!