There’s something incredibly delightful about a beautifully decorated chocolate chip cookie. Whether you’re preparing for a holiday celebration, a birthday party, or just a cozy evening at home, these cookies can be a showstopper. In this article, we’ll explore everything from the basics of baking chocolate chip cookies to advanced decorating techniques, all while ensuring that the journey is as enjoyable as the outcome!
The Origin of Chocolate Chip Cookies
Chocolate chip cookies have a rich history that dates back to the 1930s. Ruth Wakefield, the inventor of the chocolate chip cookie, was running the Toll House Inn when she decided to add chopped chocolate to her butter cookie recipe. The rest is history! Today, chocolate chip cookies are a staple in many households, and the addition of decorations has taken them to a whole new level.
Why Decorate Chocolate Chip Cookies?
Decorating cookies is not just about aesthetics; it adds an element of fun and personalization. Here are a few reasons to consider:
- Customization: You can tailor the decorations to match any theme, event, or personal preference.
- Creativity: Decorating cookies allows for endless creativity and self-expression.
- Gifts and Treats: Decorated cookies make excellent gifts and can be a special treat for friends and family.
- Memorable Experiences: Baking and decorating can create lasting memories, especially when shared with loved ones.
Basic Chocolate Chip Cookie Recipe
Before diving into the world of decoration, it’s crucial to have a solid chocolate chip cookie base. Here’s a classic recipe that never fails!
Ingredients
- 2 1/4 cups all-purpose flour
- 1/2 teaspoon baking soda
- 1 cup unsalted butter, at room temperature
- 1/2 cup granulated sugar
- 1 cup packed light-brown sugar
- 1 teaspoon salt
- 2 teaspoons pure vanilla extract
- 2 large eggs
- 2 cups semisweet and/or milk chocolate chips
Instructions
- Preheat your oven to 350°F (175°C).
- In a small bowl, whisk together the flour and baking soda; set aside.
- In a large bowl, using an electric mixer, beat the butter and sugars on medium speed until light and fluffy.
- Add salt, vanilla, and eggs; beat until well combined.
- Gradually add the flour mixture and mix until just combined.
- Fold in chocolate chips.
- Drop tablespoon-sized balls of dough onto baking sheets lined with parchment paper.
- Bake cookies for 10-12 minutes or until golden brown. Allow to cool.
Essential Tools for Decorating
To create stunning decorated chocolate chip cookies, having the right tools is essential. Here’s a handy list:
Must-Have Tools
- Piping bags and tips for intricate designs
- Food-safe decorating brushes
- Cookie cutters in various shapes
- Edible markers for detailed designs
- Royal icing or fondant for professional-looking finishes
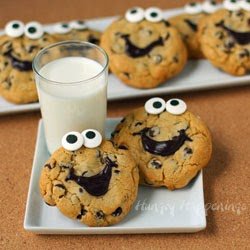
Popular Decorating Techniques
Now that you have your cookies baked, let’s explore some popular decorating techniques that will take your cookies from ordinary to extraordinary.

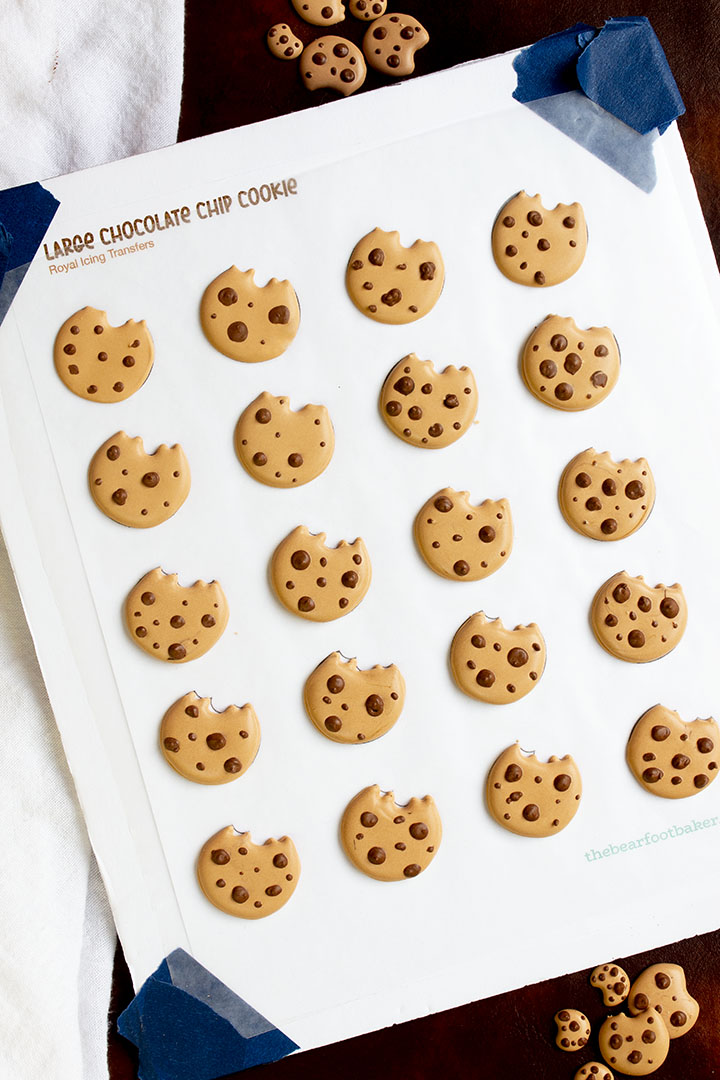
1. Royal Icing
Royal icing is a classic cookie decoration technique. It dries hard, making it perfect for creating intricate designs.
How to Make Royal Icing
Simply mix egg whites (or meringue powder), powdered sugar, and lemon juice until it reaches a smooth consistency. Use food coloring to achieve your desired shades.
2. Fondant
Fondant isn’t just for cakes; it can also be used for cookies! It gives a smooth, polished look and can be easily colored and shaped.

3. Chocolate Dip and Drizzle
Dipping your cookies in chocolate adds both flavor and decoration. Use melted chocolate or candy melts, and drizzle them over the cookies for a beautiful finish.
4. Sprinkles and Edible Glitter
Sometimes, a little sparkle is all you need! Sprinkles, edible glitter, and colored sugar can be added right after icing for a fun touch.
Comparison Table: Decorating Techniques
| Technique | Ease of Use | Time Required | Appearance |
|---|---|---|---|
| Royal Icing | Intermediate | Moderate | Professional |
| Fondant | Intermediate | Long | Elegant |
| Chocolate Dip | Easy | Short | Delicious |
| Sprinkles | Very Easy | Very Short | Fun |
Personal Experience: My First Decorated Cookies
I remember my first attempt at decorating chocolate chip cookies was both thrilling and intimidating. I invited a few friends over, and we turned my kitchen into a mini bakery. Armed with frosting, sprinkles, and a ton of enthusiasm, we had a blast! While our designs were far from perfect, the laughter and joy we shared made everything worthwhile.
Pros and Cons of Decorating Cookies
Pros
- Allows for creativity and self-expression.
- Can elevate the visual appeal of baked goods.
- Great for hosting parties and events.
- Fun activity to do with friends or family.
Cons
- Can be time-consuming, especially for intricate designs.
- Requires certain skills and tools, which may be daunting for beginners.
- Messy process that may require extra cleanup!
Frequently Asked Questions
Can I use store-bought cookie dough for decorating?
Absolutely! Store-bought dough is a great option for beginners or when you’re short on time. Just make sure to bake them until they’re golden brown for the best results.
How far in advance can I decorate cookies?
You can decorate cookies a day or two in advance. Just be sure to store them in an airtight container to keep them fresh.
What are some good themes for decorated cookies?
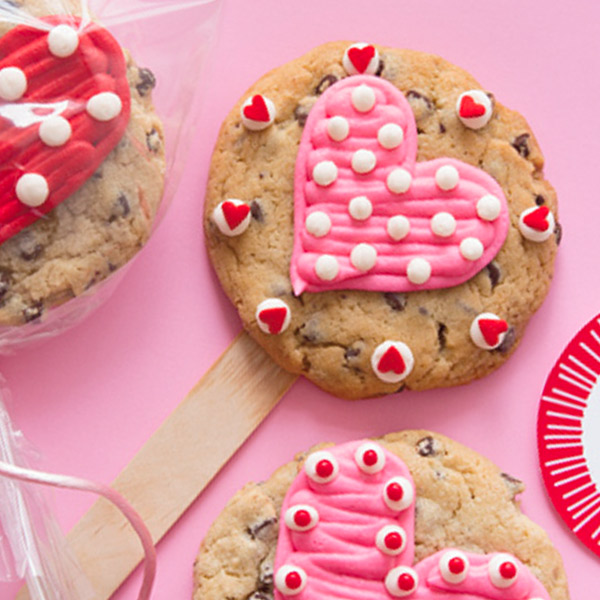
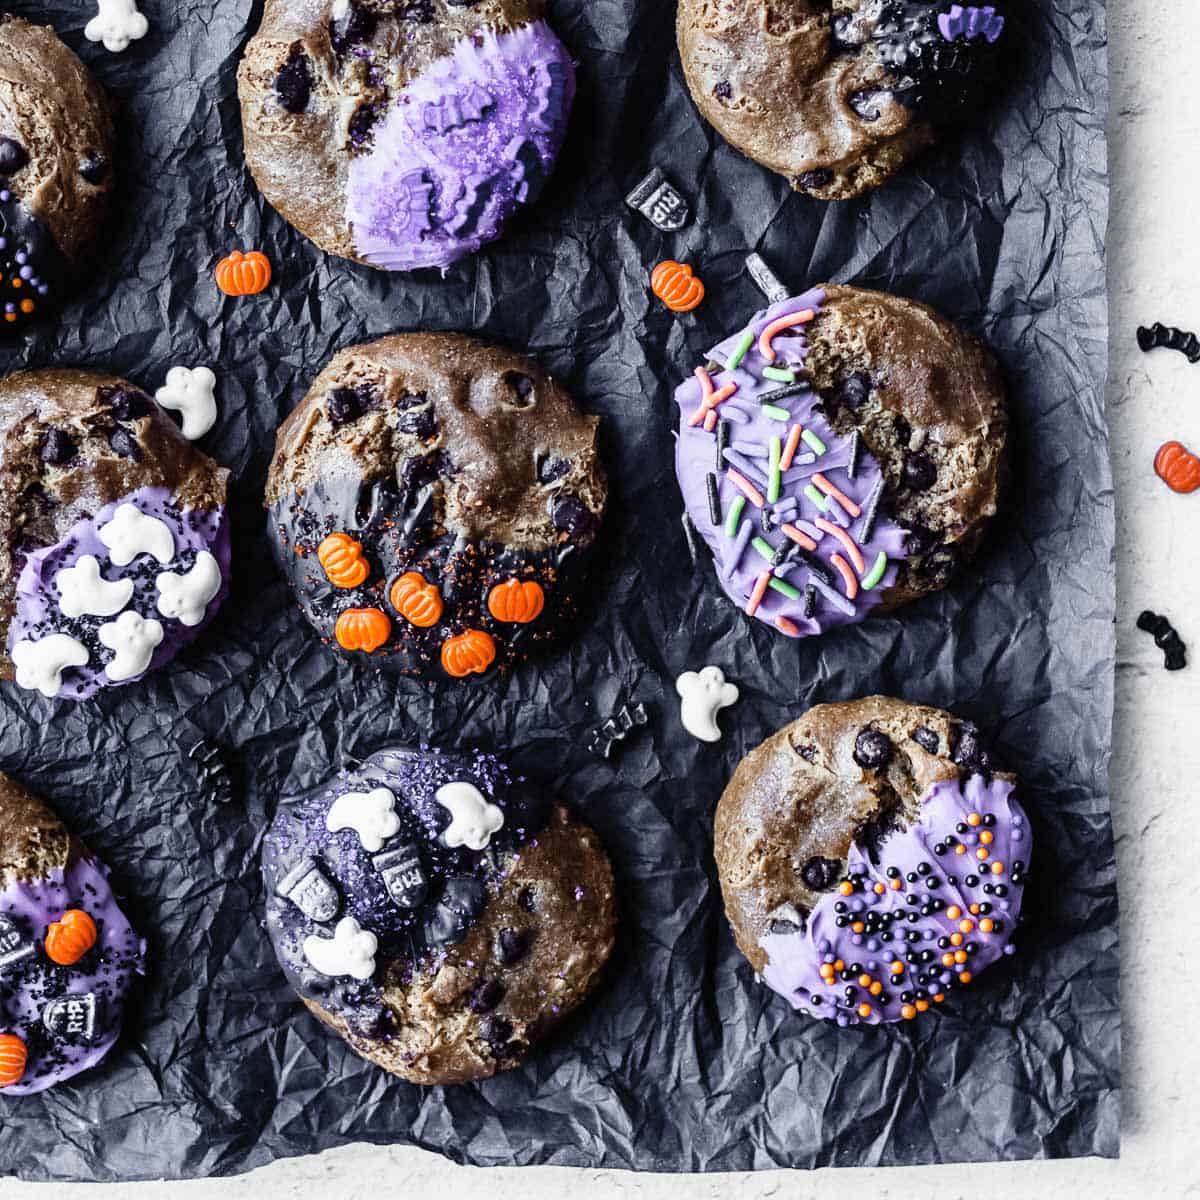
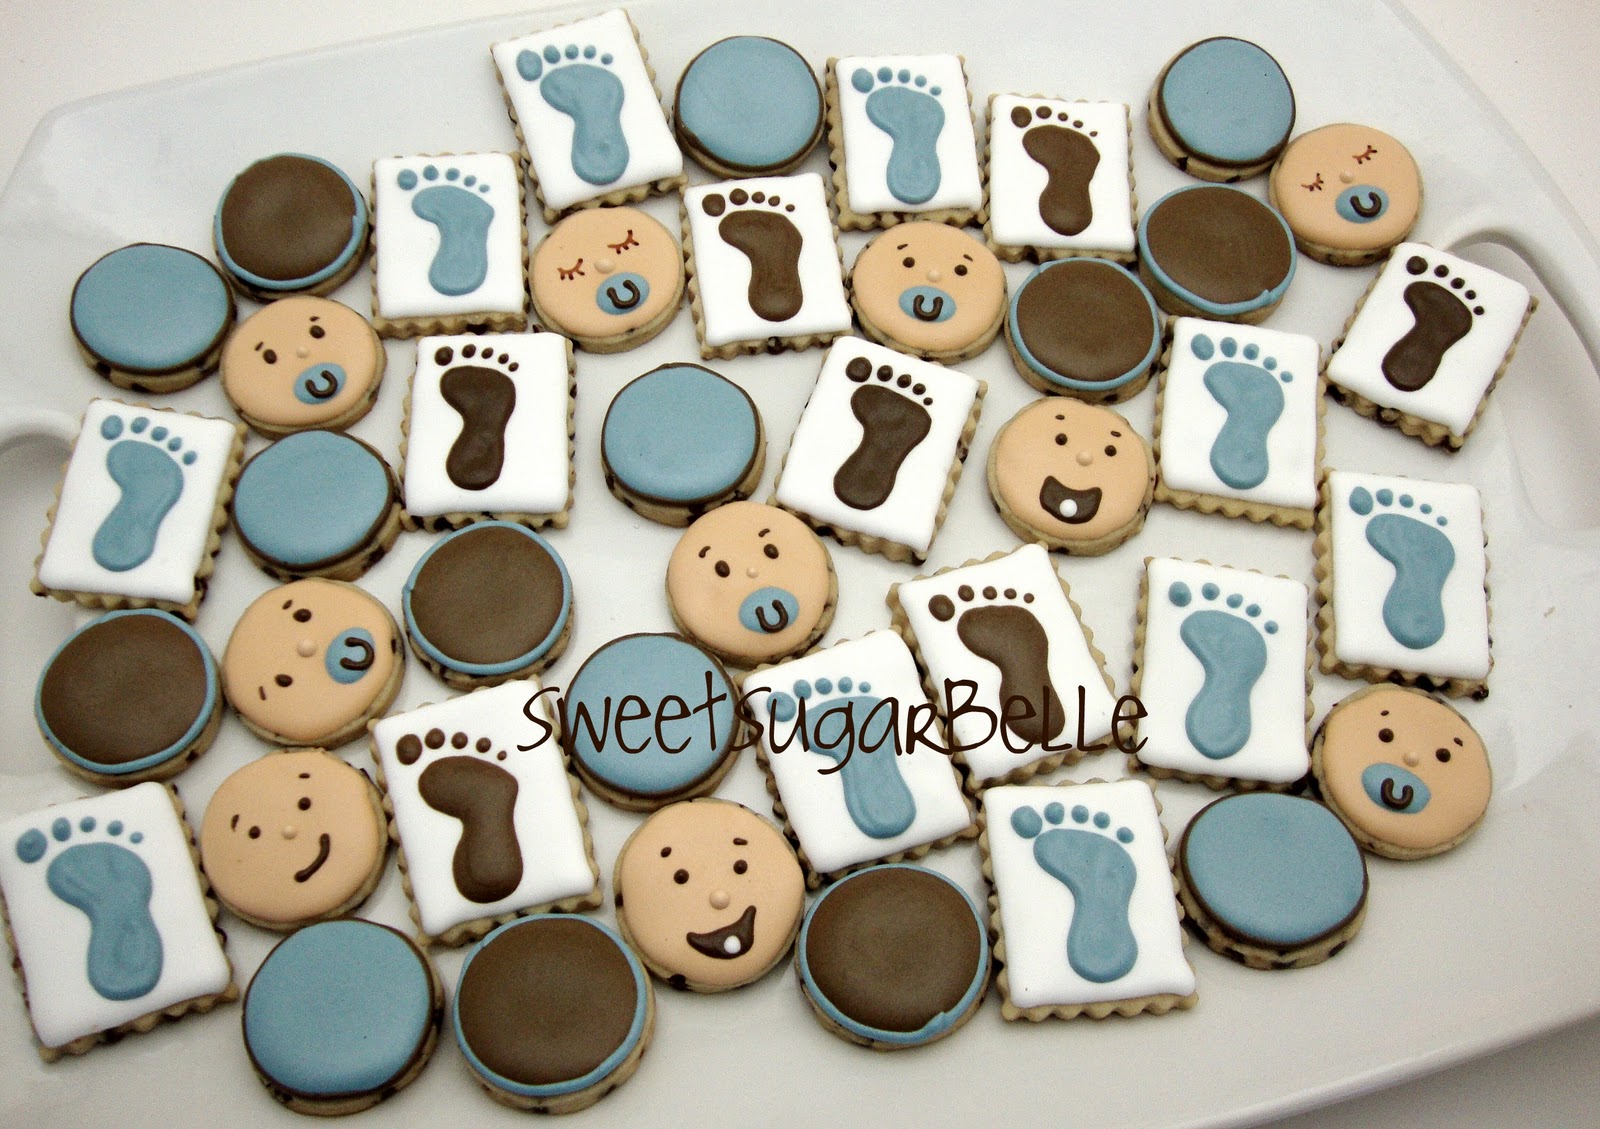
Popular themes include holidays (Christmas, Halloween), birthdays, weddings, and even seasonal themes like spring or summer. The possibilities are endless!
Can I freeze decorated cookies?
Yes, you can freeze decorated cookies! Just ensure they are fully dry and placed in an airtight container. They can typically be stored for up to three months.
Conclusion
Decorated chocolate chip cookies are not just treats; they are canvases for creativity and love. Whether you’re baking for a special occasion or just to satisfy a sweet tooth, the joy of creating and sharing your decorated cookies is an experience like no other. With a solid recipe, the right tools, and some creativity, you’re well on your way to becoming a cookie decorating pro. Happy baking!