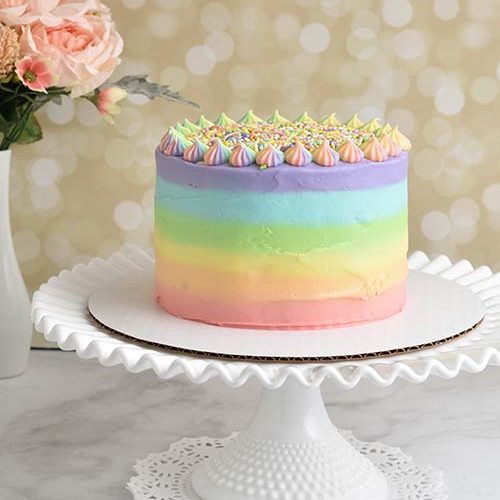
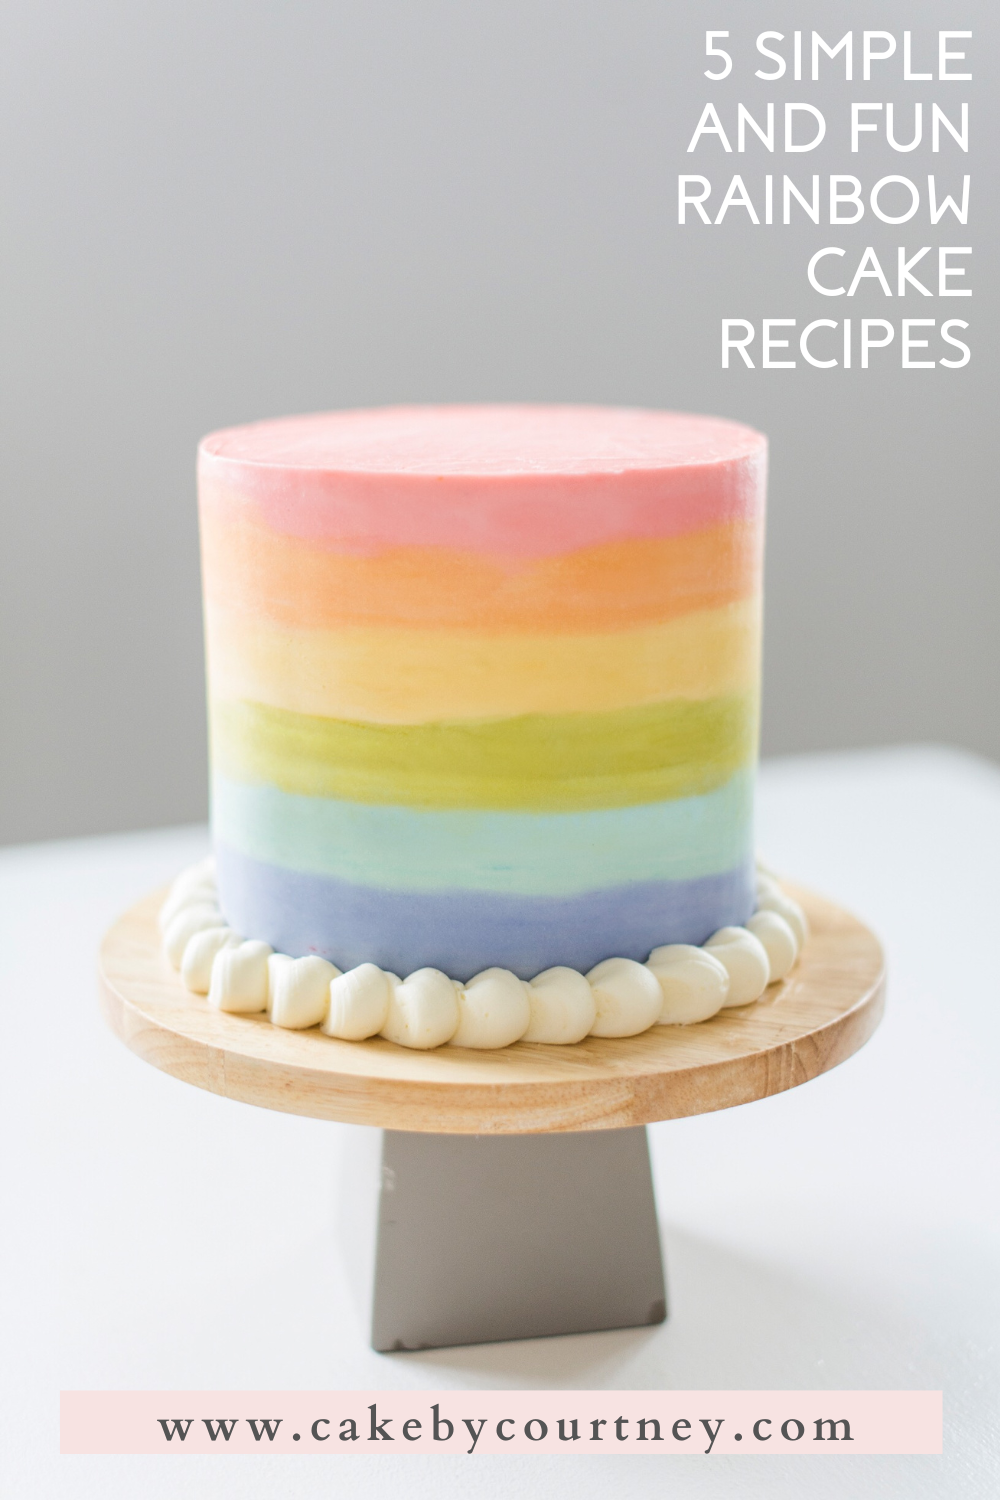
Baking is not just a culinary skill; it’s an art form that brings joy to countless celebrations. One cake that consistently garners attention and delight is the rainbow cake. With its vivid layers and playful colors, a rainbow cake is perfect for birthdays, graduations, and any event that calls for a sprinkle of joy. As someone who has decorated countless rainbow cakes for family gatherings, I’m excited to share my experiences, tips, and techniques to help you create a cake that will leave everyone in awe.
Understanding the Rainbow Cake
Before we dive into the decorating process, let’s explore what makes a rainbow cake so special.
What Is a Rainbow Cake?

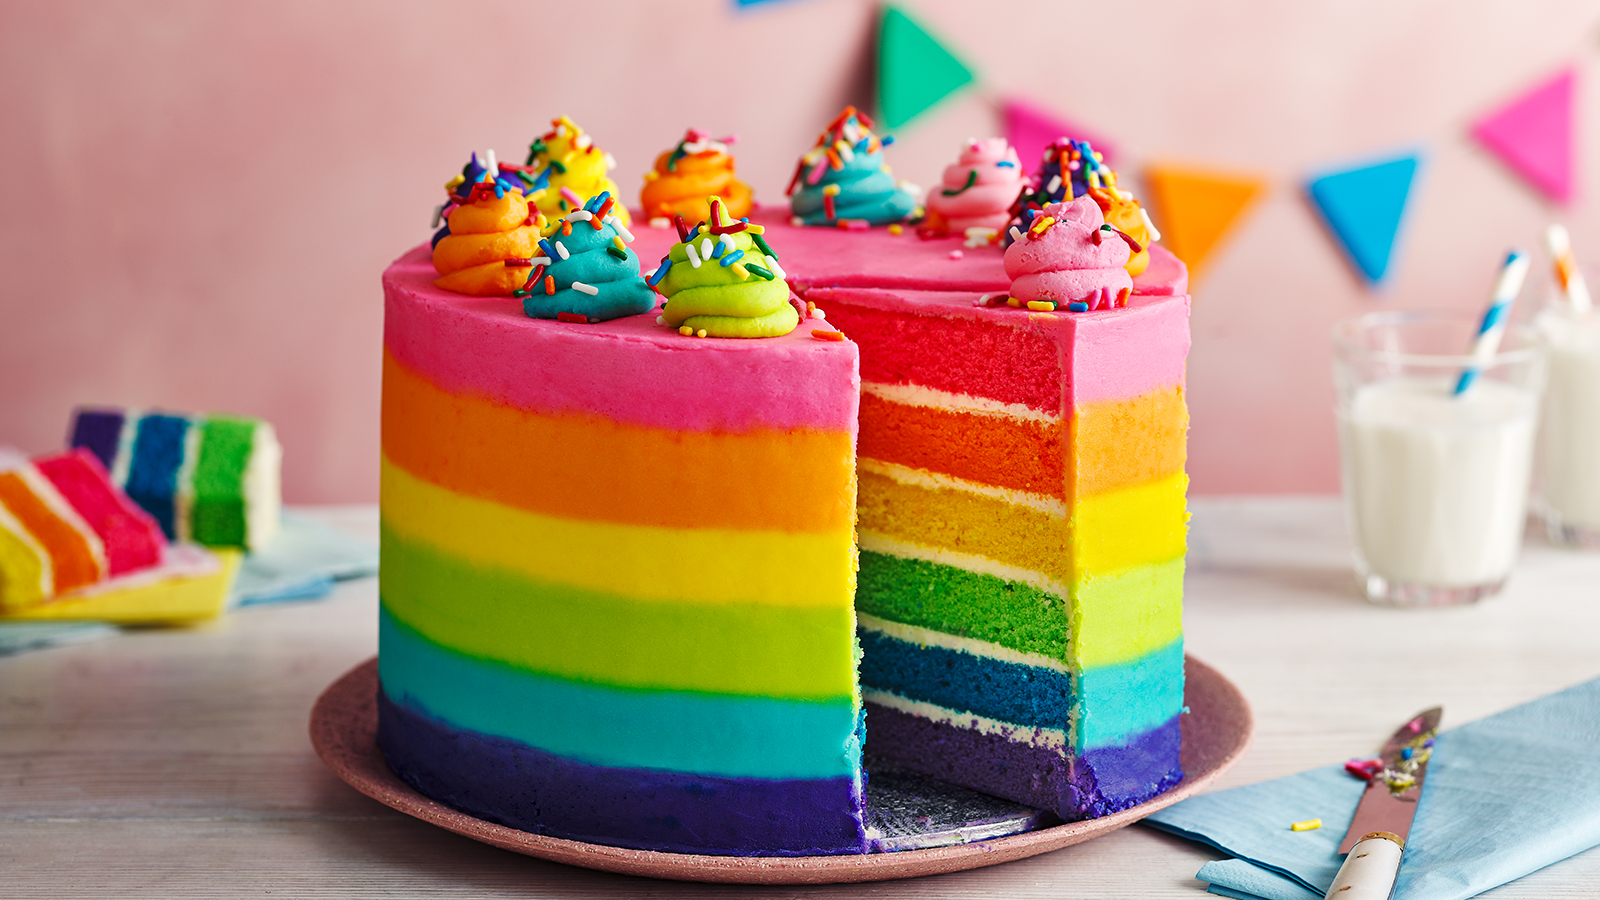
A rainbow cake typically consists of multiple layers, each boasting a vibrant color that reflects the hues of a rainbow. The most common colors are red, orange, yellow, green, blue, indigo, and violet. However, you can get creative and add more shades if you desire!
Why Choose a Rainbow Cake?

There are a few reasons why a rainbow cake is a fantastic choice:
- Visual Appeal: Its striking colors are eye-catching and fun.
- Versatile Flavor: You can use any flavor for the cake layers.
- Perfect for All Occasions: Whether it’s a birthday or a celebration of life, it fits any theme.
Ingredients for a Rainbow Cake

Here are the essential ingredients you’ll need to create a delicious rainbow cake:
Basic Cake Ingredients
- 2 ½ cups all-purpose flour
- 2 ½ tsp baking powder
- 1 cup unsalted butter
- 1 ½ cups granulated sugar
- 5 large eggs
- 1 cup milk
- 2 tsp vanilla extract
- Food coloring (red, orange, yellow, green, blue, indigo, violet)

Frosting Ingredients
- 1 cup unsalted butter (softened)
- 4 cups powdered sugar
- 2 tsp vanilla extract
- 2-4 tbsp milk
- Optional: additional food coloring for decoration
Baking the Perfect Rainbow Cake

Now that you have your ingredients ready, let’s move on to the baking process.
Step-by-Step Baking Instructions
- Preheat your oven to 350°F (175°C).
- Grease and flour six 8-inch round cake pans.
- In a large mixing bowl, cream together the butter and sugar until light and fluffy.
- Add eggs one at a time, mixing well after each addition. Then stir in the milk and vanilla extract.
- In another bowl, combine the flour and baking powder. Gradually add this mixture to the wet ingredients, stirring just until combined.
- Divide the batter evenly into six bowls. Color each bowl with a different food coloring, stirring until fully incorporated.
- Pour each color into the prepared cake pans and smooth the tops.
- Bake for 25-30 minutes or until a toothpick inserted into the center comes out clean.
- Let the cakes cool in the pans for about 10 minutes, then transfer to wire racks to cool completely.

Decorating Your Rainbow Cake
Once your cakes are completely cool, it’s time to decorate!

Essential Tools for Decorating
- Offset spatula
- Turntable (optional but helpful)
- Decorating knife
- Food-safe brush for colors
- Decorative piping bags and tips
- Cake board or serving platter
Step-by-Step Decorating Instructions
- Level the tops of each cake layer using a serrated knife.
- Place the first layer on the cake board or serving platter. Spread a thin layer of frosting on top.
- Top with the next layer and repeat until all layers are stacked.
- Use a crumb coat to cover the entire cake lightly with frosting, then chill for 30 minutes.
- Apply a final layer of frosting over the entire cake. Smooth the sides and top for a clean finish.
Advanced Decoration Techniques
Creating Colorful Swirls
If you want to take your decoration to the next level, consider creating colorful swirls. Here’s how:
- Divide the frosting into several bowls and color each with different shades.
- Using a piping bag, layer the colored frosting side by side within the bag without mixing.
- Pipe swirls on top of the cake for a fun, colorful effect.
Adding Fun Toppings
Enhance your rainbow cake with toppings like:
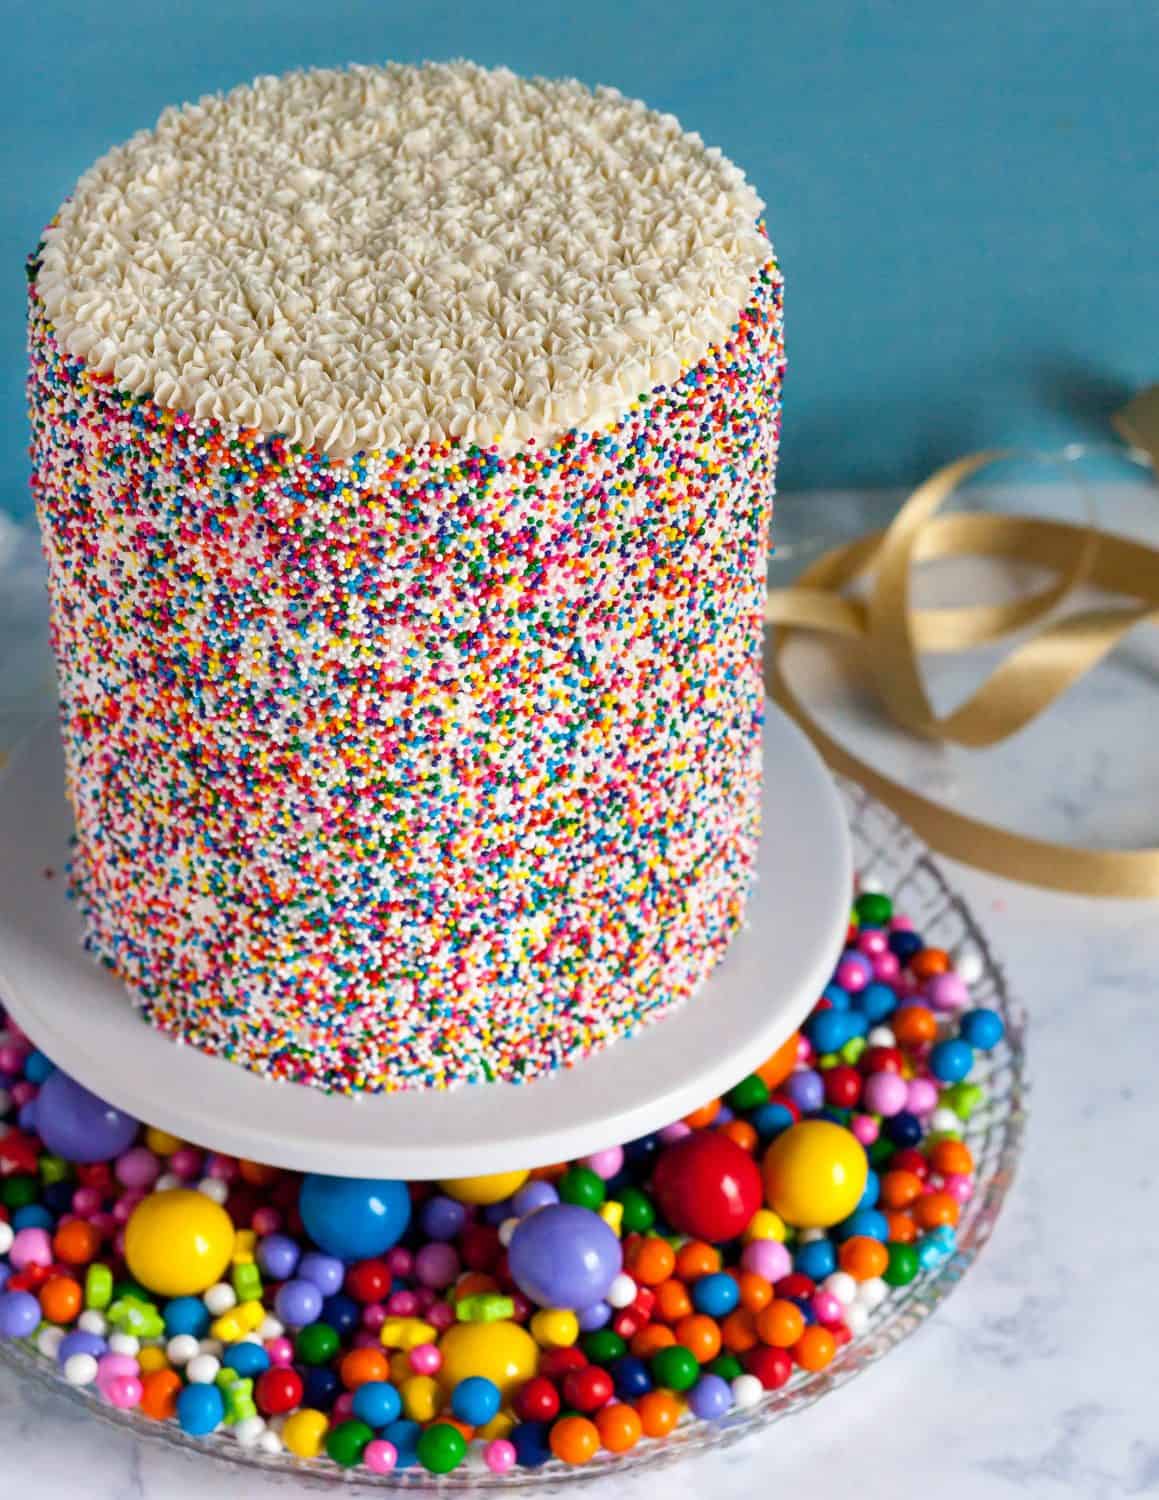
- Rainbow sprinkles
- Edible glitter
- Fruit slices for freshness
- Whipped cream for added texture
Comparison Table: Frosting Options
| Type of Frosting | Texture | Flavor | Best For |
|---|---|---|---|
| Buttercream | Rich and creamy | Sweet, buttery | General decoration |
| Fondant | Silky, smooth | Sweet, slightly chewy | Smooth finishes, sculpted decorations |
| Whipped Cream | Light and airy | Refreshing, milky | Layered cakes, lighter flavors |
Pros and Cons of a Rainbow Cake
Pros
- Visually stunning presentation
- Customizable flavors and colors
- Great for celebrations and parties
Cons
- Can be time-consuming to bake and decorate
- Requires multiple tools and ingredients
- May lead to food coloring stains if not handled carefully
FAQs About Decorating Rainbow Cakes
What is the best way to store a decorated rainbow cake?
Store your rainbow cake in an airtight container in the refrigerator. It will stay fresh for about 3-5 days. Allow it to come to room temperature before serving for the best flavor and texture.
Can I make a rainbow cake ahead of time?
Absolutely! You can bake the layers ahead of time and freeze them. Just make sure they are well-wrapped to prevent freezer burn. Thaw them in the refrigerator before decorating.
How can I make my cake layers more vibrant?
Using gel food coloring instead of liquid food coloring can yield more vibrant colors. Gel colors are more concentrated and require less product, which won’t affect the texture of your cake.
Is it possible to make a gluten-free rainbow cake?
Yes! You can substitute the all-purpose flour with a gluten-free blend. Be sure to check for a blend that includes xanthan gum for the best texture.
Conclusion
Decorating a rainbow cake is not only a fun and creative endeavor but a wonderful way to bring joy and color to any celebration. With the right ingredients, techniques, and a little bit of practice, you can inspire awe in your family and friends. So roll up your sleeves, get your baking supplies ready, and let your creativity shine. I hope my personal experiences and tips help you make a rainbow cake that everyone will remember fondly. Happy decorating!