When it comes to decorating for a party or special occasion, nothing adds a whimsical touch quite like DIY lollipop decorations. Not only are they visually appealing, but they also evoke a sense of nostalgia and sweetness that guests of all ages can appreciate. In this comprehensive guide, I will share my personal experiences, tips, and tricks to help you create stunning lollipop decorations. Whether you’re planning a birthday party, wedding, or just want to add a pop of color to your home, you’ve come to the right place!
Why Choose DIY Lollipop Decorations?
There are countless reasons to opt for DIY lollipop decorations. From the fun of crafting to the ability to customize colors and designs, DIY projects offer a personal touch.
Benefits of DIY Lollipop Decorations
- Cost-Effective: DIY options can save you money compared to store-bought decorations.
- Customization: Make them in your favorite colors and flavors.
- Engaging Activity: Perfect for involving kids and friends in the crafting process.
- Unique Touch: Stand out with personalized creations that reflect your style.
Gathering Your Supplies
Before diving into crafting, it’s essential to gather all necessary supplies. Here’s a handy checklist:
- Colorful cardstock or patterned paper
- Wooden sticks or lollipop sticks
- Scissors and glue
- Markers, stickers, and other embellishments
- Cellophane bags (optional) for wrapping
Where to Buy Supplies

You can find most supplies at local craft stores, online retailers, or even your home. Look for discounts and bulk options, especially for stick and paper.
Creative Ideas for DIY Lollipop Decorations

Now that you have all your supplies ready, let’s explore some creative ideas that can spark your imagination!
1. Lollipop Bouquets

A lollipop bouquet is a fun and eye-catching centerpiece for any table. To create one, follow these simple steps:
- Take a small vase and fill it with floral foam or rice for stability.
- Insert lollipop sticks into the foam, arranging them to look like flowers.
- Add artificial flowers or greenery around the lollipops for a fuller look.

Pros and Cons of Lollipop Bouquets
| Pros | Cons |
|---|---|
| Visually striking and unique | Can be time-consuming to assemble |
| Great for all occasions | May require additional supplies |
2. Themed Lollipop Garland
Garlands are another excellent way to utilize lollipops in your decorations. You can theme them according to the event (Halloween, Christmas, birthdays)!
- Create a lollipop by wrapping your favorite candies in colored paper.
- Using a needle and thread, string the lollipops together to create a garland.
- Hang it across walls, doorways, or above tables.
Pros and Cons of Lollipop Garlands
| Pros | Cons |
|---|---|
| Easy to make | May attract bugs if not stored properly |
| Adaptable for any theme | Can take up space if made large |
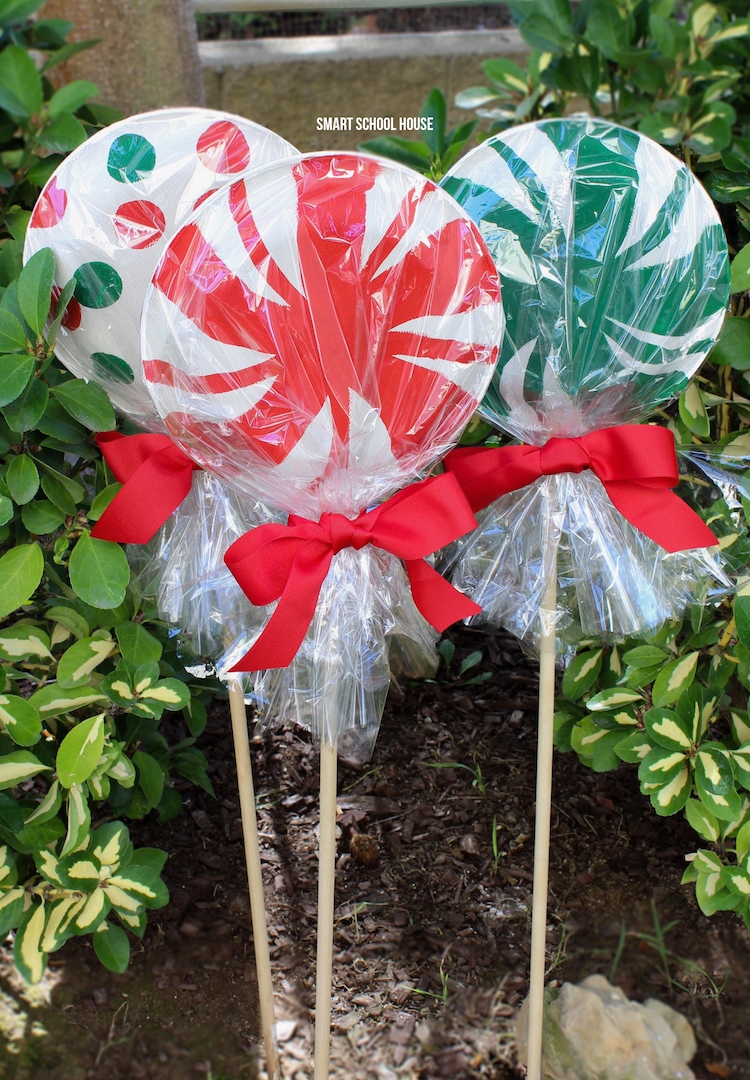
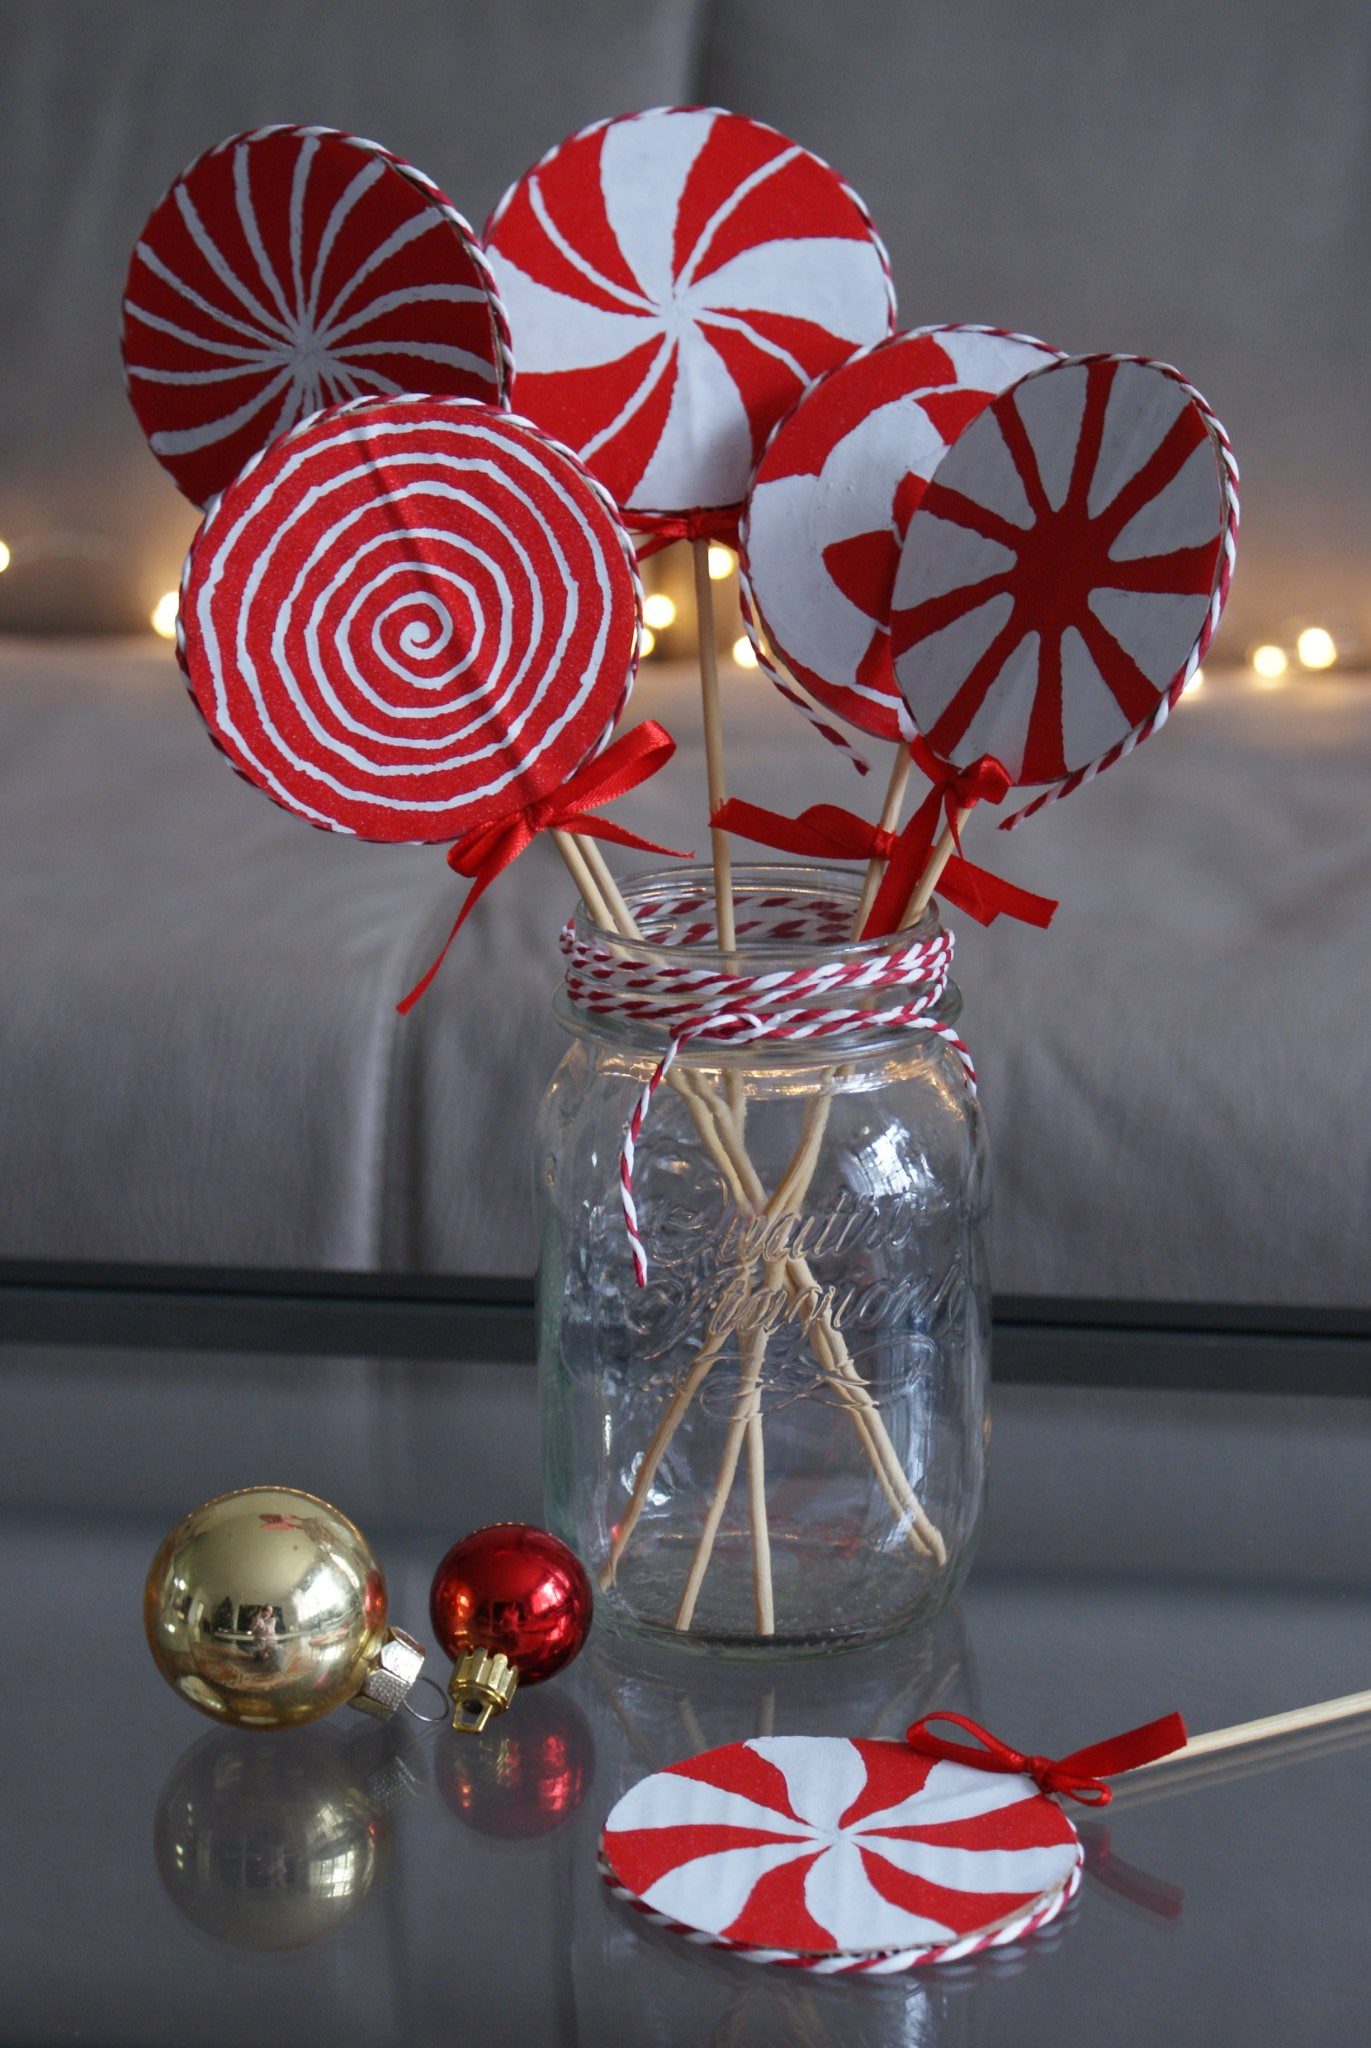
3. Lollipop Centerpieces
Transform any table with beautiful lollipop centerpieces that draw attention. Here’s a quick guide:
- Fill a decorative jar or pot with colored sand or rice.
- Insert lollipop sticks at varying heights into the filler.
- Embellish with ribbons or flowers for added flair.
Comparing Centerpiece Options
| Type | Materials Needed | Time to Make |
|---|---|---|
| Simple Centerpiece | Glass jar, filler, lollipops | 10 minutes |
| Elaborate Centerpiece | Decorative pot, flowers, lollipops | 30 minutes |
Color Schemes and Themes for Lollipop Decorations
Choosing the right colors can elevate your lollipop decorations. Here are some popular themes:
1. Pastel Party
Soft colors like pink, mint, and lavender create a dreamy atmosphere perfect for baby showers or spring parties.
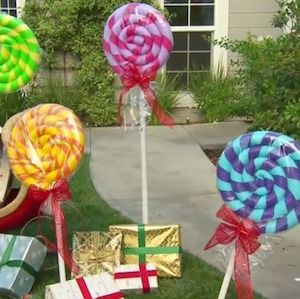
2. Bold and Bright
Vibrant colors work well for birthday parties and children’s events, adding energy and excitement.
3. Seasonal Themes
Adapt your color scheme according to the season, such as warm hues for autumn or icy blue for winter!
Tips for Personalizing Your Lollipop Decorations
Adding a personal touch makes your decorations even more special. Here are some ideas:
1. Include Photos
Attach small photos of guests or the guest of honor to lollipop sticks for a personal touch.
2. Custom Labels
Create custom labels for each lollipop with names or fun phrases—perfect for parties!
3. Incorporate Favorite Colors
Use the favorite colors of the guest of honor as a primary color scheme.
Storing Your Lollipop Decorations
To ensure your lollipop decorations remain fresh for your event, proper storage is crucial. Here are some tips:
- Keep them in a cool, dry place to avoid melting.
- Wrap them in cellophane bags for protection.
- Store centerpieces in airtight containers to maintain their shape.
FAQ: Your Top Questions Answered
What type of lollipops are best for decorations?
Stick to sturdy lollipops that can withstand some handling, such as classic swirl lollipops or fruit-flavored varieties.
Can I use edible decorations?
Absolutely! Edible decorations are a great way to enhance the theme of your party while giving guests a sweet treat.
How can I make my decorations last longer?
Store lollipops away from sunlight and humidity, and only set up your decorations close to the event time to maintain freshness.
Are lollipop decorations suitable for all age groups?
Yes! Lollipop decorations appeal to both kids and adults, making them versatile for any gathering.
Conclusion
Creating DIY lollipop decorations is a fun and rewarding craft project that can bring a cheerful ambiance to any event. From colorful bouquets to themed garlands, the possibilities are endless. Remember, the key is to enjoy the process and get creative! By adding personal touches and thoughtful details, your lollipop decorations can be the highlight of any gathering. Now, grab your supplies and start crafting some sweet memories!