Have you ever tasted a cookie that not only delighted your taste buds but also captured your heart with its intricate design? Custom decorated cookies are a delightful blend of culinary skills and artistic expression. In this article, we will delve deep into the world of custom cookies, exploring their history, crafting techniques, and tips for creating show-stopping treats for any occasion.
What Are Custom Decorated Cookies?
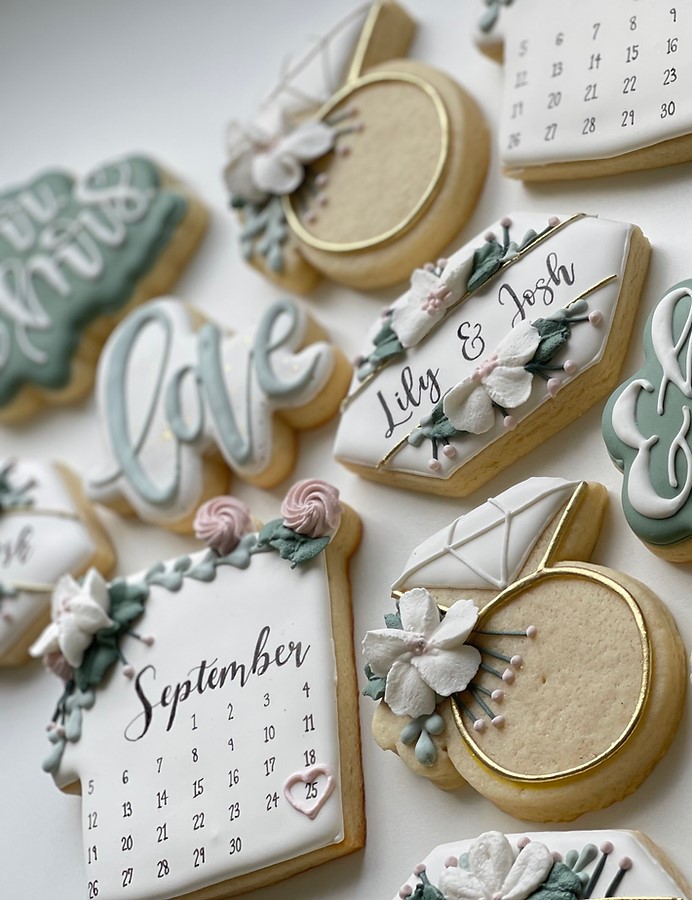
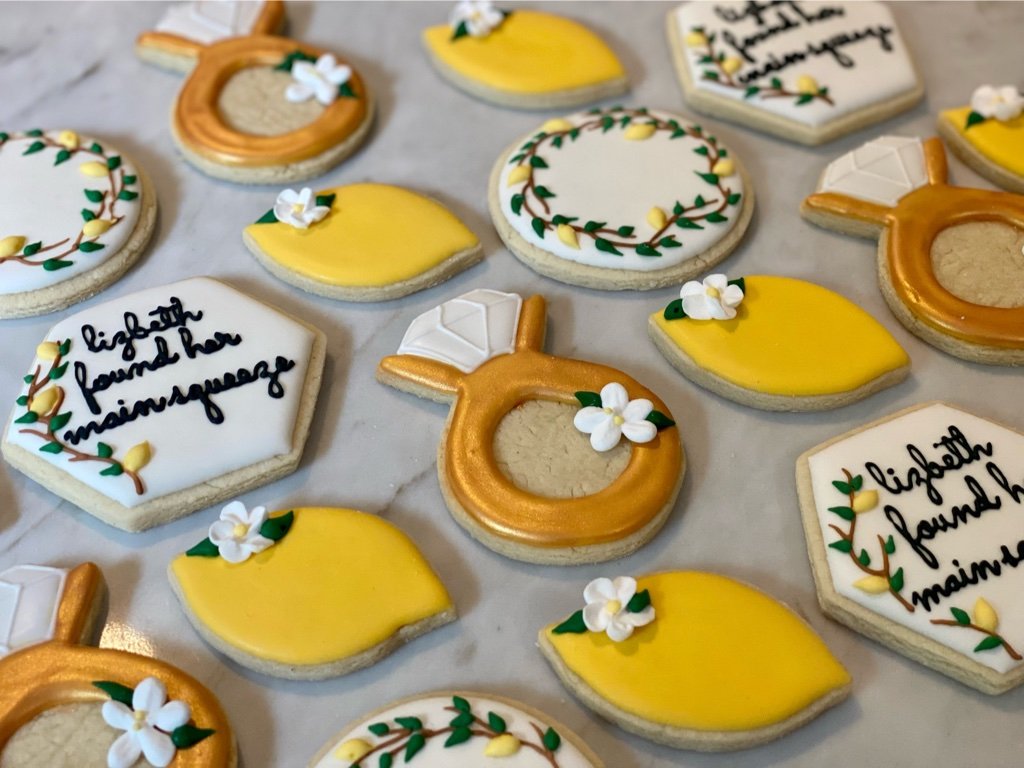
Custom decorated cookies are baked goods that are personalized and designed to fit specific themes or occasions. These cookies can be anything from simple sugar cookies adorned with royal icing to elaborate works of art featuring fondant decorations and edible prints. They are often used at celebrations such as weddings, birthdays, baby showers, and holidays.
The History of Cookies
The cookie’s journey dates back to the 7th century AD, when they were believed to be first made in Persia. As cultures evolved, so did cookies. In the 16th century, sugar became more widely available in Europe, leading to the creation of cookies as we know them today. Fast forward to modern times, and cookies have transformed into a versatile canvas for the culinary artist, especially with the rise of custom decorated cookies.
Why Choose Custom Decorated Cookies?
Custom cookies are more than just desserts; they tell a story and evoke memories. Here are some compelling reasons to choose them for your next event:
- Personal Touch: Personalized cookies make for unforgettable gifts or favors.
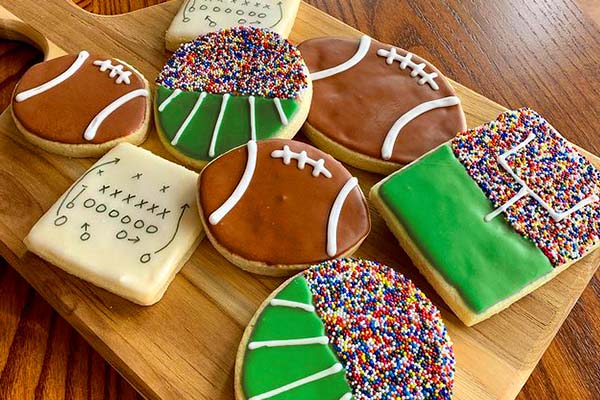
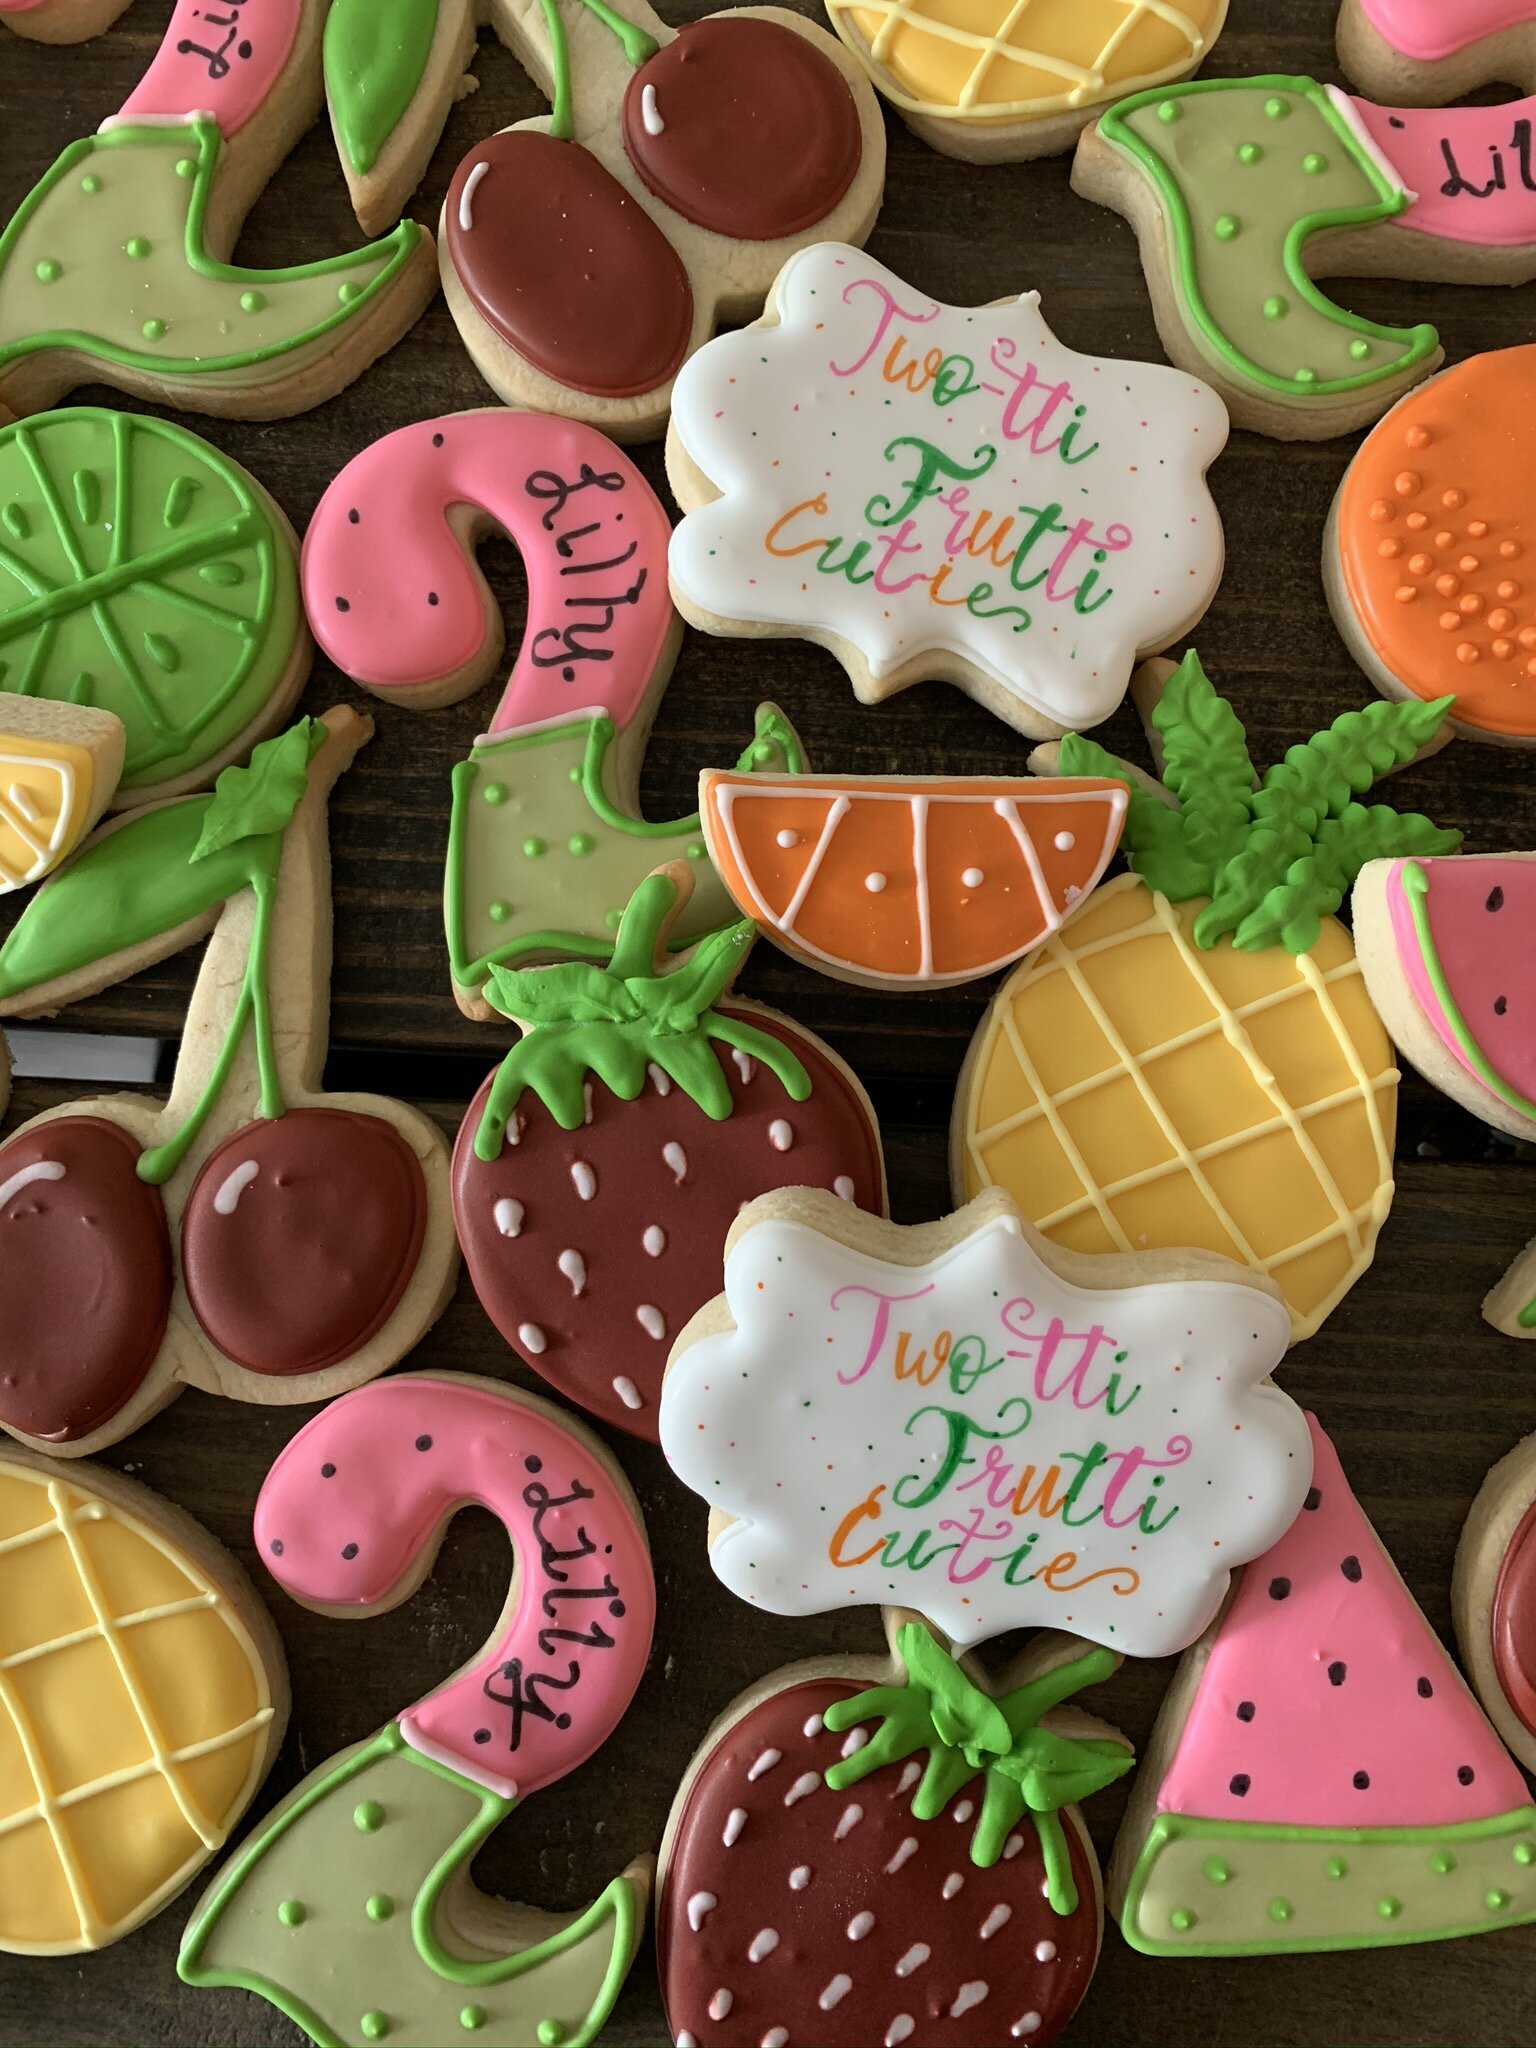
- Versatile Designs: From corporate branding to whimsical birthday themes, the design possibilities are endless.
- Deliciousness: Made with quality ingredients, they are irresistibly delicious.
- Visual Appeal: Decorated cookies are a feast for the eyes, drawing attention and admiration.

Types of Custom Decorated Cookies
Understanding the different types of custom cookies can help you choose the right style for your event. Here’s a breakdown:
1. Classic Sugar Cookies
The backbone of most custom cookie creations, sugar cookies are soft, chewy, and incredibly versatile.
Characteristics:
- Lightly sweetened
- Perfect for intricate designs
- Soft texture
2. Gingerbread Cookies
Gingerbread cookies are not just for the holidays; they offer a warm, spiced flavor that’s loved year-round.
Characteristics:
- Rich, spiced flavor
- Sturdy for intricate designs
- Great for building cookie houses
3. Royal Iced Cookies
Royal icing transforms simple cookies into stunning masterpieces. This icing dries hard and is perfect for intricate designs.
Characteristics:
- Hard finish when dried
- Ideal for detailed artwork
- Versatile in color and effect
4. Fondant Covered Cookies
Fondant provides a smooth, professional finish and can be molded into various shapes and designs.
Characteristics:
- Soft texture, easy to mold
- Adds a layer of sweetness
- Available in numerous colors
How to Create Custom Decorated Cookies: A Step-by-Step Guide
Creating custom decorated cookies may seem daunting, but with a little practice, you can master it. Here’s my tried-and-true method:

Step 1: Gather Your Ingredients
To start, gather the following ingredients:
- For the Cookie Dough: Flour, sugar, butter, eggs, vanilla extract, baking powder, and salt.
- For Royal Icing: Powdered sugar, meringue powder, water, and food coloring.
Step 2: Making the Cookie Dough
In a mixing bowl, cream together butter and sugar until fluffy. Add in eggs and vanilla, mixing well. Gradually combine the dry ingredients, and chill the dough for at least 30 minutes before rolling it out.

Step 3: Baking the Cookies
Preheat your oven to 350°F (175°C). Roll the dough to about ¼ inch thick, cut out shapes with cookie cutters, and place them on a baking sheet lined with parchment paper. Bake for 8-10 minutes until lightly golden.
Step 4: Preparing Royal Icing
In a mixing bowl, combine powdered sugar, meringue powder, and water. Beat until the icing is glossy and forms stiff peaks. Divide the icing and color as desired.
Step 5: Decorating the Cookies
Once the cookies have cooled, outline them with stiff icing. Fill in the outlines with thinned icing, using a toothpick to spread it evenly. Let it dry for several hours before adding any additional decorations.
Step 6: Enjoy and Share!
Your custom decorated cookies are ready! Package them beautifully and enjoy sharing your creations with friends and family.
Tips for Perfecting Your Custom Cookies
To elevate your cookie game, here are some expert tips:
- Invest in Quality Ingredients: Using high-quality butter, vanilla, and food coloring can significantly affect taste and appearance.
- Practice Makes Perfect: Don’t be discouraged by initial failures. Keep practicing, and you’ll see improvement.
- Master the Consistency: Different designs require different icing consistencies—know when to use stiff, flooding, and piping consistency.
- Use Piping Bags: For more control over your designs, use piping bags fitted with various tips.
- Watch Tutorials: There are countless online resources that can provide visual guidance and inspiration.
Custom Decorated Cookies: Pros and Cons
| Pros | Cons |
|---|---|
| Highly customizable for any occasion | Time-consuming to create |
| Impressive visual appeal | Requires practice to master the techniques |
| Great as gifts or party favors | Can be costly depending on ingredients and tools |
| Delicious and impressive | Can be fragile and require careful handling |
FAQs about Custom Decorated Cookies
1. How long do custom decorated cookies last?
When properly stored in an airtight container, custom decorated cookies can last up to two weeks. However, they are best enjoyed fresh!
2. Can I freeze decorated cookies?
Yes, you can freeze decorated cookies. Wrap them individually in plastic wrap and place them in an airtight container. They can be frozen for up to three months.
3. What is the best way to store decorated cookies?
Store your cookies in a cool, dry place. An airtight container is ideal to keep them fresh and prevent them from becoming stale.
4. Are custom decorated cookies suitable for all dietary restrictions?
Custom cookies can be made to accommodate various dietary needs, including gluten-free, vegan, and nut-free options. Be sure to communicate any dietary restrictions when ordering or baking.
5. Can I use any type of icing for decorating cookies?
While you can use various types of icing, royal icing is the most popular for decorating cookies because it hardens well and holds intricate designs.
Conclusion: Embrace the Art of Cookie Decorating
Custom decorated cookies are not just a treat; they are an expression of creativity and personalization. Whether you are baking for a special occasion or simply want to indulge in a new hobby, the process of creating these sweet masterpieces can be rewarding and fun. So gather your supplies, unleash your creativity, and enjoy the sweet rewards of your hard work!