Welcome to the delightful world of bee icing decorations! If you’re looking to add a playful yet elegant touch to your baked goods, then this guide is for you. Drawing from personal experience and a wealth of knowledge in the baking community, I’m here to share everything you need to know about these charming decorations. Get ready to unleash your inner baker and step into a world where the sweet charm of bees takes center stage!
What Are Bee Icing Decorations?
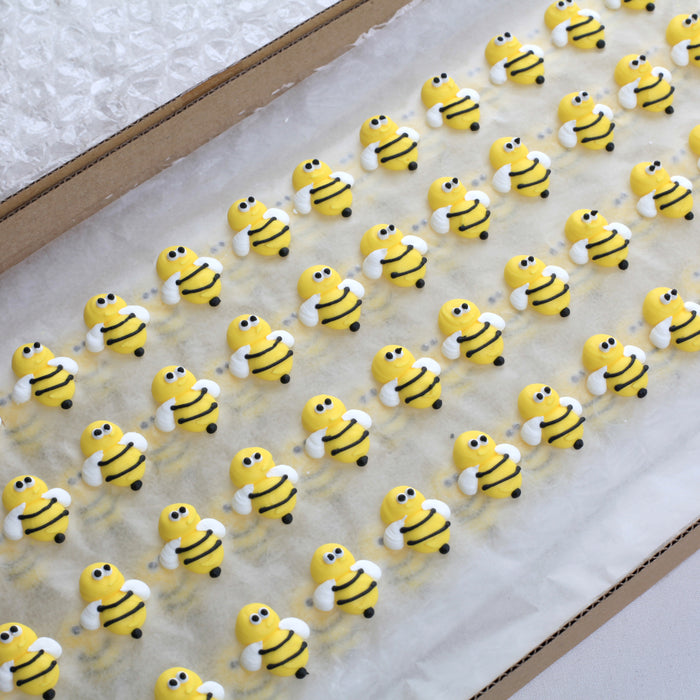
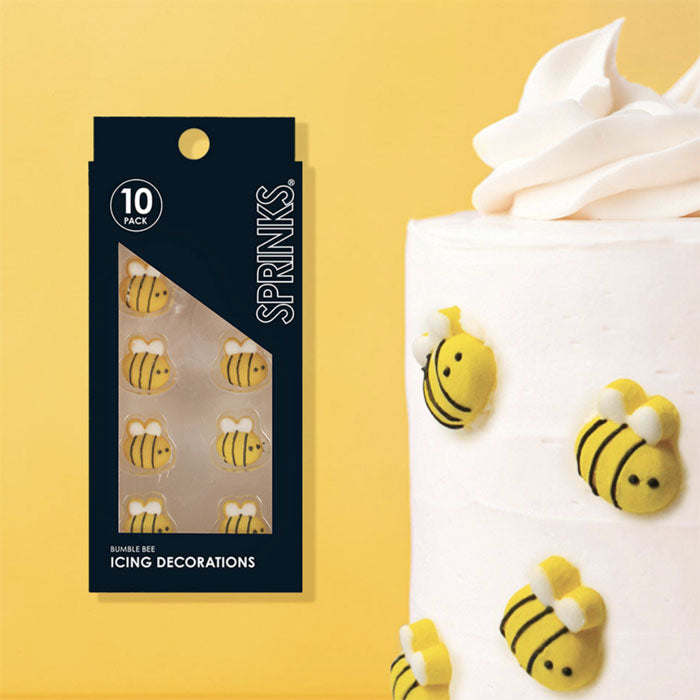
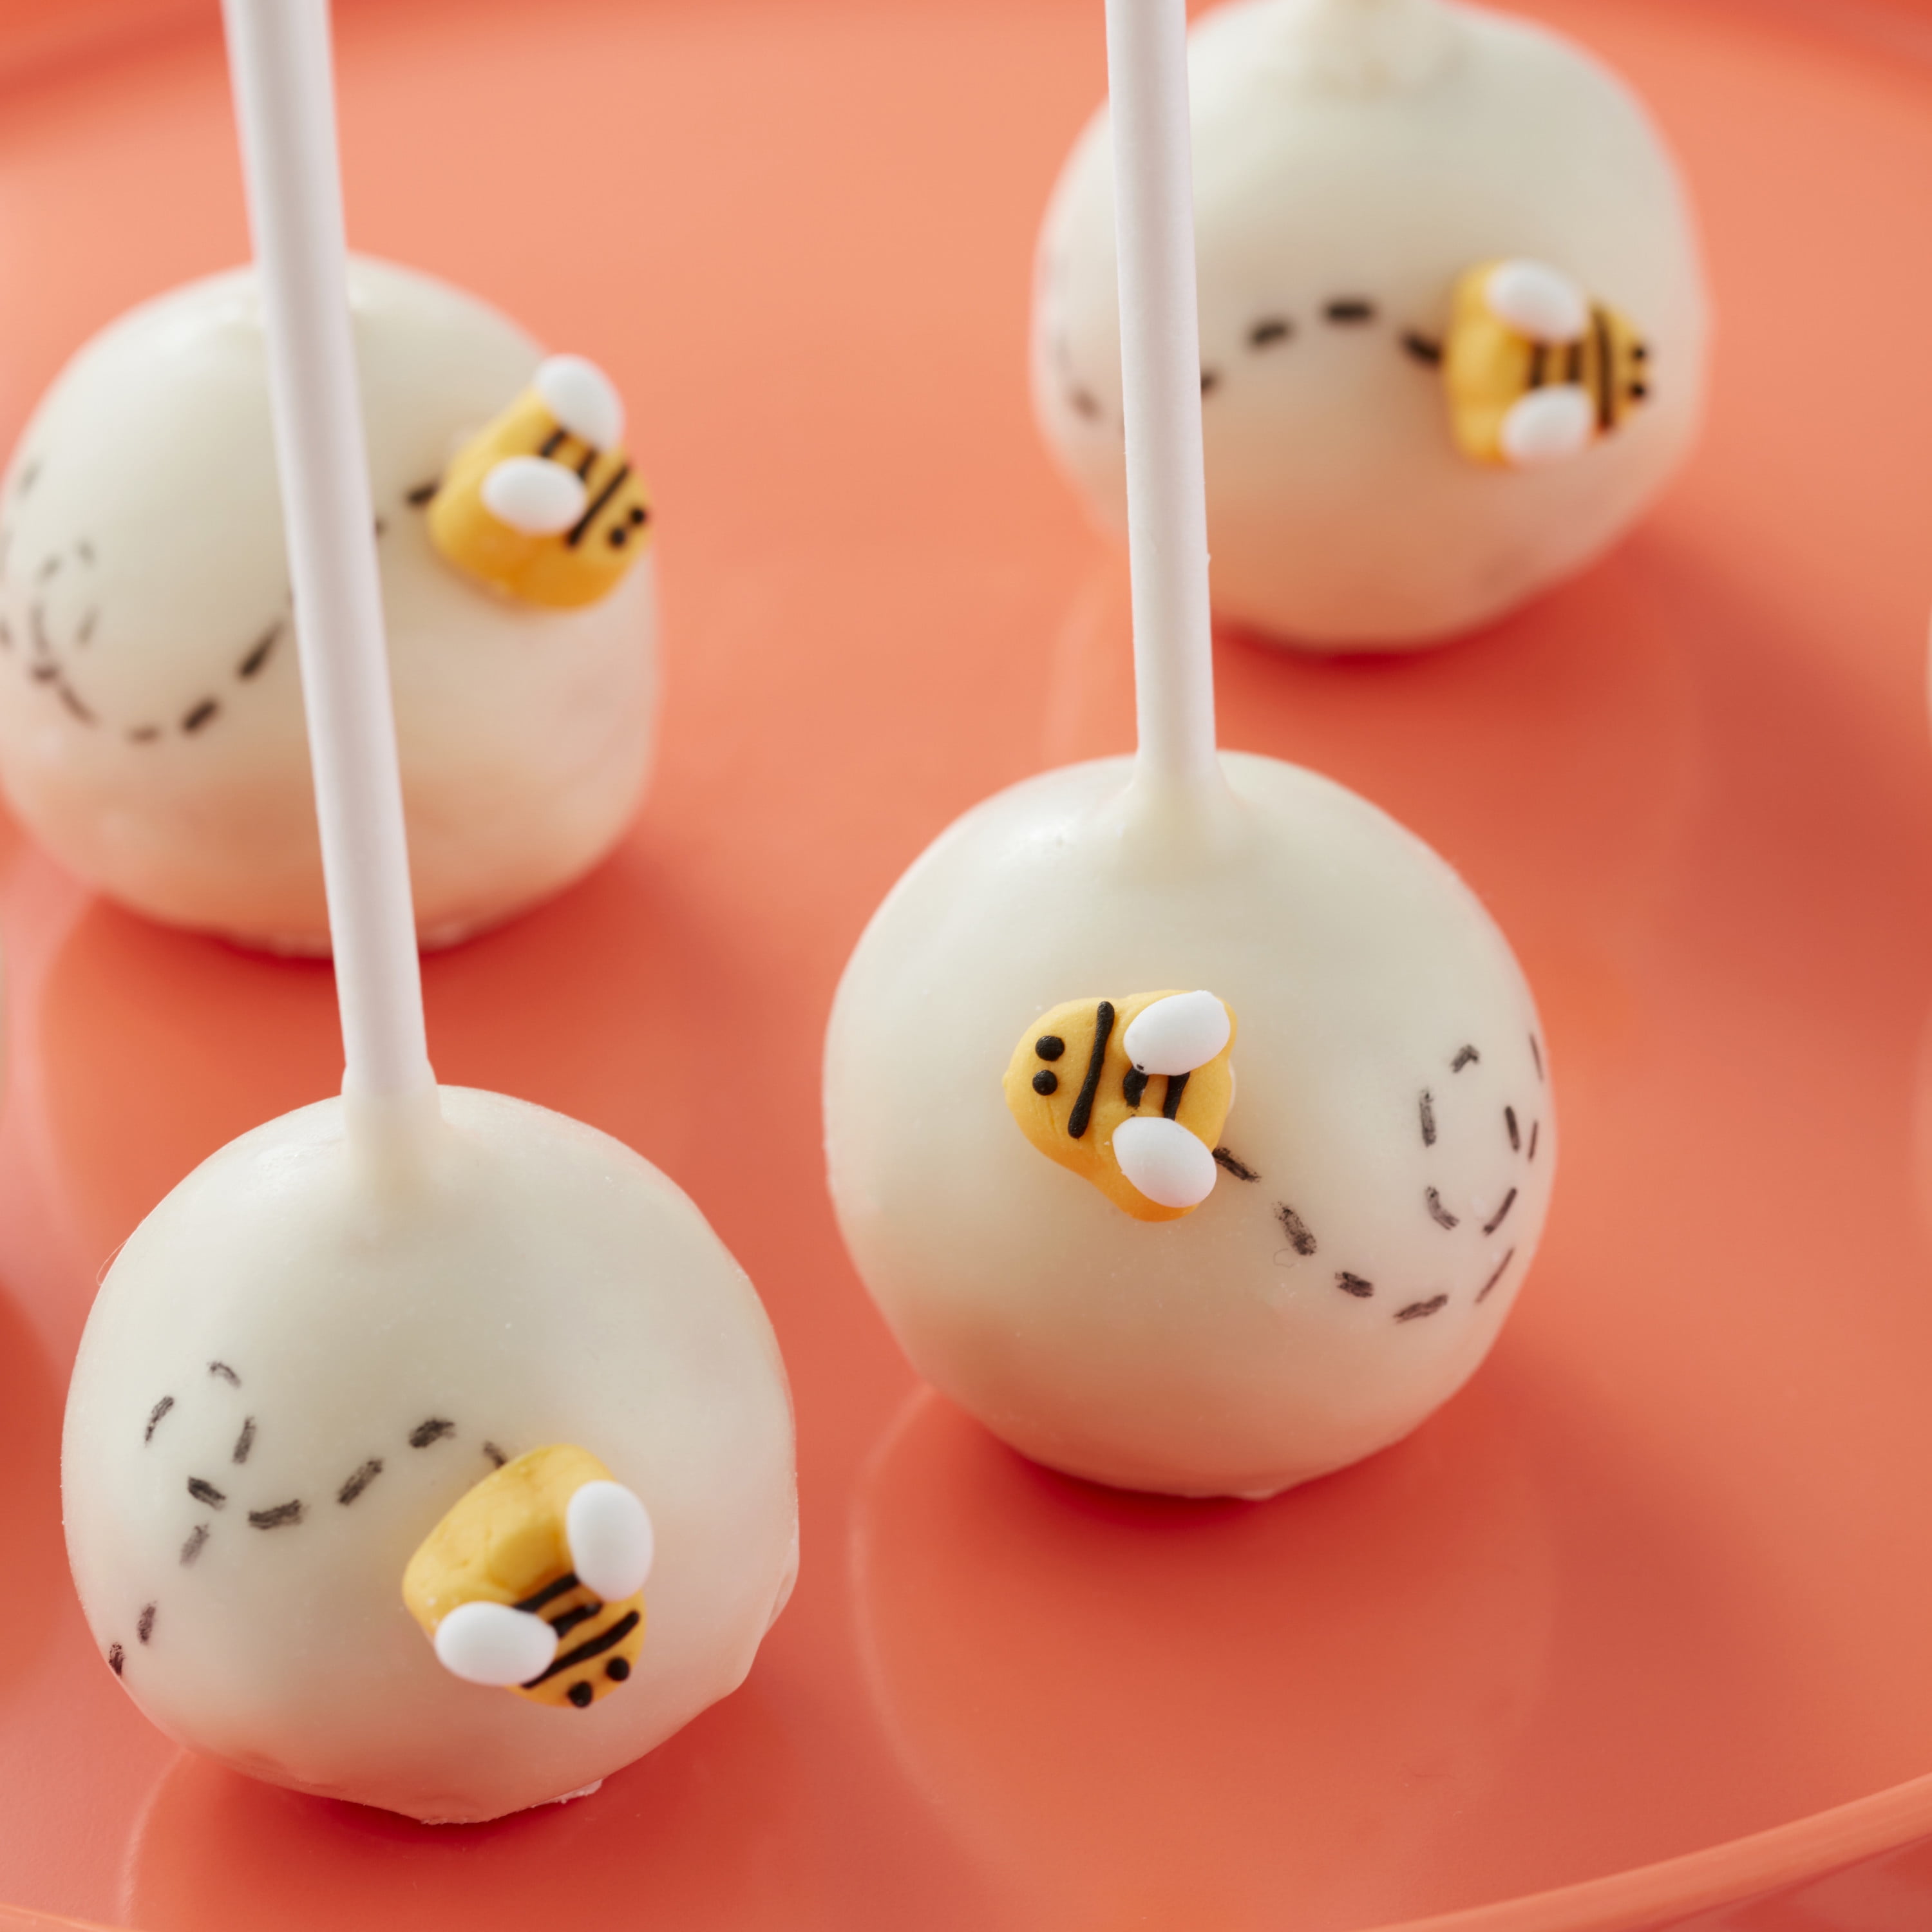
Bee icing decorations are edible cake toppers that resemble adorable bees, often crafted from fondant or royal icing. These decorations can be used on cakes, cupcakes, cookies, and even pastries, adding a whimsical touch to any dessert. They’re perfect for a variety of occasions, from birthday parties to baby showers, and are especially popular during the spring and summer months.
Why Choose Bee Icing Decorations?
The reasons to incorporate bee icing decorations into your baking repertoire are as sweet as they are numerous. Here’s a closer look at some of the benefits:

- Visual Appeal: Adorn your baked treats with charming bee designs that are sure to catch the eye.
- Themed Events: Perfect for garden parties, bee-themed baby showers, or a summer picnic.
- Fun for All Ages: Kids and adults alike love the playful design of bees!
How to Create Bee Icing Decorations

Creating stunning bee icing decorations may seem daunting, but with the right tools and techniques, you can easily make them at home. Here’s a simple step-by-step guide.
Ingredients and Tools You’ll Need

- Cake or cupcake bases
- Royal icing or fondant
- Gel food coloring (yellow, black, white)
- Piping bags and tips
- Edible glue or water for sticking
- Brush for dusting edible glitter (optional)
Step-by-Step Instructions

- Prepare Your Icing: If using royal icing, prepare your icing in a sturdy bowl and divide it into portions to color.
- Color Your Icing: Use gel food coloring to dye portions of icing yellow and black for the bee’s bodies.
- Shape the Bees: Roll small balls of yellow fondant or icing for the bodies, then shape the head and thorax separately.
- Add Wings: Flatten pieces of white fondant or icing for the wings and attach them to the bee body using edible glue.
- Detailing: Use black icing to add stripes and tiny eyes on your bee. Be creative!
- Setting: Allow the bee decorations to dry completely before using them on your desserts.
Bee Icing Decoration Ideas

Here are some creative ways to use bee icing decorations to elevate your baked goods:
1. Cupcake Toppers
Transform plain cupcakes into buzzing beauties by placing tiny bee decorations on top. Use a swirl of yellow icing to mimic honey on top of the cupcake.

2. Cake Design
For a special occasion cake, consider creating a honeycomb effect using hexagonal shapes made of yellow fondant. Place the bee decorations atop the cake for an enchanting look.
3. Cookie Accents
Decorate sugar cookies using bee icing decorations for parties or as fun, edible gifts. They can be incorporated into a variety of designs, such as floral patterns.
4. Themed Desserts
For events like baby showers, create a dessert table featuring bee-themed treats, such as honey-colored pastries and cupcakes topped with bee decorations.
Bee Icing Techniques
To master bee icing decorations, consider leaning into various techniques that can enhance your designs:
1. Piping Techniques
Learn to use different piping techniques to create intricate designs. For example, a fine piping tip can help you create the delicate wings of a bee.
2. Airbrushing
Use an airbrush tool for a soft, gradient effect on your icing, which can create a beautiful background for your bee decorations.
3. Luster Dust
A little edible luster dust can go a long way in dazzling your bee decorations with a shimmer that catches the eye.
Tips for Perfect Bee Icing Decorations
Here are some helpful tips to ensure your bee icing decorations come out perfectly:
- Practice: Don’t be discouraged if your first attempt doesn’t come out as expected. Practice makes perfect!
- Use Quality Ingredients: Higher quality icing and food colors yield better results.
- Stay Calm: Enjoy the process! Have fun creating your bee decorations without stressing over perfection.
Comparison of Royal Icing vs. Fondant for Bee Decorations
| Feature | Royal Icing | Fondant |
|---|---|---|
| Texture | Thin, smooth finish | Soft, pliable |
| Taste | Sweet, slightly chalky | Sweeter, cake-like |
| Decoration Techniques | Piping, flooding, and detailing | Shaping and molding |
| Drying Time | Dries hard; can take hours | Dries soft; quick to handle |
| Storage | Best used fresh; can become brittle | May dry out; cover well |
Pros and Cons of Bee Icing Decorations
Pros
- Versatile for various baked goods
- Adorable and eye-catching designs
- Customizable according to theme
- Fun activity for family and friends
Cons
- Can be time-consuming to create
- Requires practice to perfect techniques
- Potential for messy workspaces
- Ingredients can be hard to source
Frequently Asked Questions (FAQs)
1. Can I make bee icing decorations in advance?
Yes! You can make bee icing decorations in advance and store them in an airtight container. Most decorations will hold well for a few days, but be cautious of humidity.
2. How do I store leftover royal icing or fondant?
Store leftover royal icing in an airtight container at room temperature. Fondant should be tightly wrapped in plastic wrap and stored in a cool place.
3. Are bee icing decorations safe for kids?
Yes, bee icing decorations are safe for kids as long as all ingredients are edible. Make sure to check for allergies if using specific food colors or flavorings.
4. Can I use other themes along with bee decorations?
Absolutely! Bee decorations pair beautifully with floral themes, honeycomb patterns, or other garden elements for a charming presentation.
5. What are some good flavor pairings with bee decorations?
Complement your bee designs with flavors like lemon, honey, vanilla, or floral notes like lavender for a delightful treat.
Conclusion
Bee icing decorations are more than just sugary embellishments; they are a fun and creative way to add charm to your baked goods. Whether you’re a novice baker or a seasoned pro, these delightful decorations can transform your desserts into show-stopping pieces. So grab your piping bags, unleash your creativity, and let your desserts buzz with life!