Welcome to the delightful world of cake decoration, where creativity meets scrumptiousness! Today, we’re diving deep into an adorable theme that has captured the hearts of many—teddy bear cake decorations. Whether you’re a novice baker or a seasoned cake decorator, this guide aims to equip you with all the tools, techniques, and tips needed to create your very own teddy bear cake that’s sure to impress at any celebration.
Understanding the Teddy Bear Cake Trend
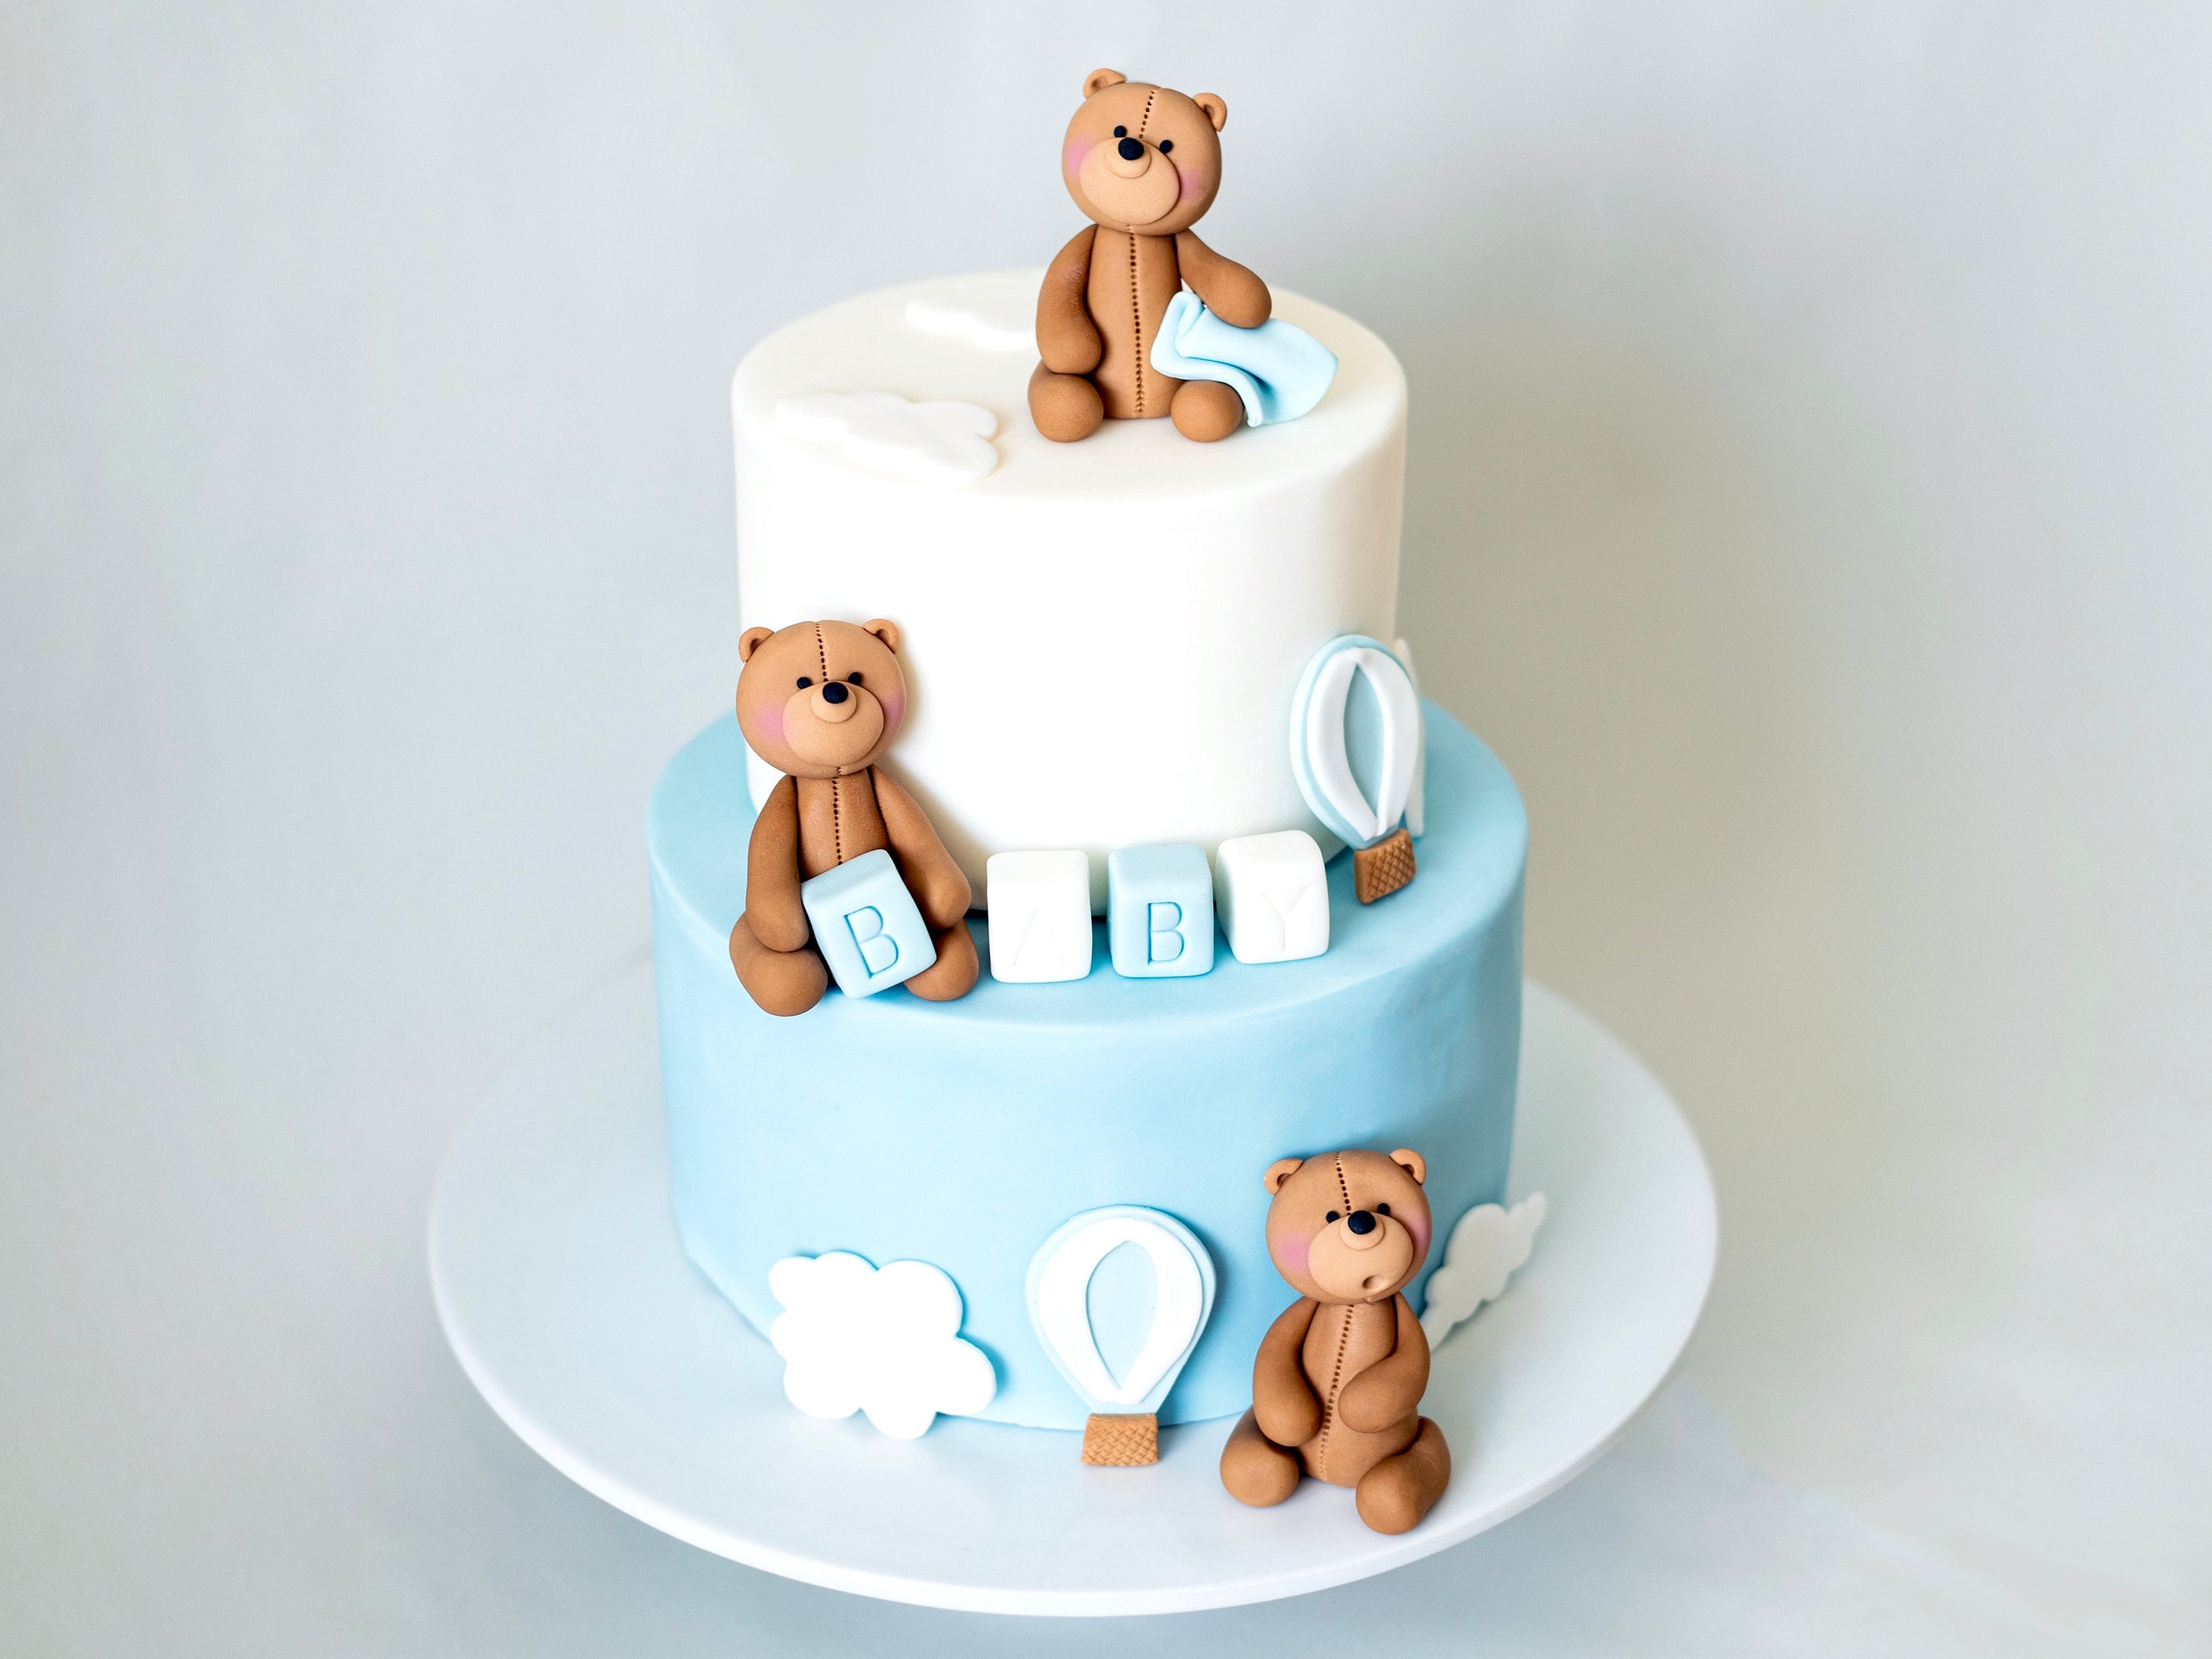
Teddy bear cakes have gained immense popularity over the years, particularly in children’s birthday parties, baby showers, and special occasions. The combination of a cuddly teddy bear design with delicious cake makes for a perfect centerpiece. But what makes these cakes so special? Let’s take a look at the reasons behind their popularity:
- Cuteness Factor: Teddy bears evoke feelings of nostalgia and warmth, making them a favorite among both kids and adults.
- Versatility: Teddy bear designs can be tailored for various themes and occasions, from simple designs to elaborate creations.
- Interactive: Kids love teddy bears, and incorporating them into a cake adds an interactive element that enhances the party experience.
Essential Tools and Ingredients for Teddy Bear Cake Decoration

Before we get our hands into cake decorating, let’s gather the essential tools and ingredients.
Tools You Will Need
- Mixing bowls
- Electric mixer or whisk
- Cake pans (round, oval, or any teddy bear mold)
- Offset spatula and palette knife
- Fondant and modeling tools
- Food coloring
- Piping bags and tips
- Edible glue or water for fondant
- Turntable for decorating
Basic Ingredients
| Ingredient | Purpose |
|---|---|
| Butter | For moisture and flavor |
| Sugar | To sweeten the cake |
| Flour | Base for the cake |
| Baking powder | For leavening |
| Eggs | For structure and richness |
| Milk | For moisture |
| Vanilla extract | For flavor |
Creating the Base Teddy Bear Cake

Now that we have all our tools and ingredients ready, let’s explore how to bake the perfect teddy bear cake base.
Step-by-Step Guide to Baking the Cake

- Preheat the Oven: Start by preheating your oven to 350°F (175°C).
- Prepare Your Cake Pans: Grease and flour your pans to prevent sticking. If you’re using a teddy bear mold, make sure it’s well-coated.
- Mix Ingredients: In a large bowl, cream together the butter and sugar until light and fluffy. Add in eggs one at a time, mixing well after each addition. Stir in the milk and vanilla.
- Combine Dry Ingredients: In another bowl, mix together flour and baking powder. Gradually add the dry mixture to the wet, stirring until just combined.
- Bake: Pour the batter into the prepared pans and bake for 25-30 minutes or until a toothpick inserted comes out clean.
- Cool: Once baked, allow the cakes to cool completely.
Teddy Bear Cake Decorating Techniques
After your sponge is cool, it’s time to get creative! Here are steps to decorate your teddy bear cake.
Preparing the Icing

Buttercream frosting is a favorite for decorating teddy bear cakes due to its smooth texture and delicious flavor. You can also use fondant for a polished look.
Buttercream Recipe
- ½ cup unsalted butter (softened)
- 4 cups powdered sugar
- 2-4 tablespoons milk
- 1 teaspoon vanilla extract
Beat the butter until creamy, gradually add powdered sugar, then add milk and vanilla until you reach a spreadable consistency.

Coloring the Frosting
Add food coloring to create shades for your teddy bear. For a classic look, use light brown for the main body, darker brown for accents, and pink for the inner ears.
Assembly and Decoration
Follow these steps to assemble and decorate your teddy bear cake:
- Layer Your Cake: Stack the cooled cakes, using a layer of buttercream between them.
- Crumb Coat: Apply a thin layer of frosting over the entire cake to lock in crumbs and smooth the surface.
- Final Coat: Once the crumb coat is set, apply a thicker layer of frosting and smooth it out.
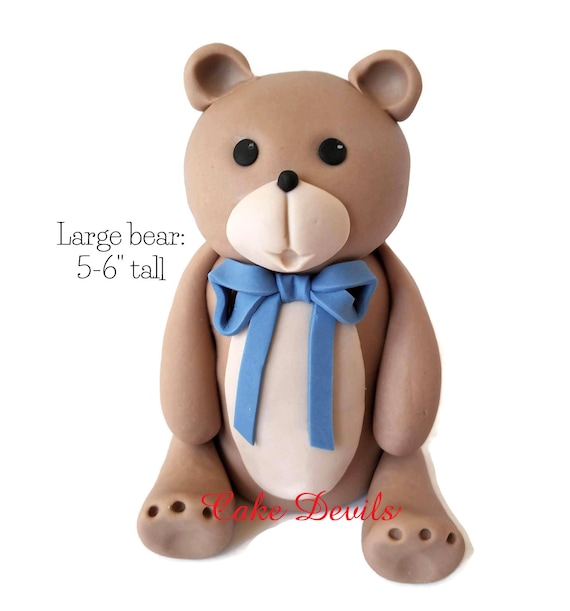
- Create the Teddy Bear Face: Use fondant or buttercream to create eyes, nose, and mouth. Don’t forget the ears!
- Add Decorations: Use edible decorations like candies for the buttons, or fondant for extra details.
Personal Touches: Adding Unique Features
One of the best aspects of cake decoration is the personal touch you can add. Here are some ideas based on my own experiences:
Customized Features
- Include the birthday child’s name on the cake using fondant letters.
- Add a small fondant bow tie or scarf for a stylish teddy bear.
- Incorporate themed colors or elements that represent the guest of honor’s favorite characters.
Incorporating Different Flavors
Try using fun flavor combinations like chocolate cake with raspberry filling or vanilla with lemon zest for a refreshing twist! The combination of flavors will make your teddy bear cake even more memorable.
Pros and Cons of Teddy Bear Cake Decorations
Pros
- Visually appealing and creative design.
- Perfect for various occasions.
- Allows for customization based on the theme.
- Interactive and fun for kids.
Cons
- Time-consuming to create intricate designs.
- Requires some practice to master the techniques.
- Potential for mess when working with fondant and decorations.
Teddy Bear Cake FAQ
1. How far in advance can I make a teddy bear cake?
You can bake the cake a day or two in advance; just keep it well-covered to maintain moisture. Decorate it on the day it will be served for the best results.
2. Can I use store-bought cake mixes for my teddy bear cake?
Absolutely! Store-bought cake mixes are a great time-saver. Just follow the instructions and focus your efforts on decorating the cake.
3. What tools are essential for fondant work?
Essential tools include a rolling pin, fondant cutter, flower veiner, and silicone molds. These tools help create intricate designs and shapes.
4. What is the best way to store a decorated teddy bear cake?
Store the cake in a cool, dry place, ideally in a cake box to keep it protected. Avoid refrigeration as it can dry out the cake.
Final Thoughts: Embrace Your Creativity
Decorating a teddy bear cake is not just a skill, but an art that allows for creativity and personal expression. Don’t be afraid to experiment with different designs and flavors. Each cake is a chance to create something unique! With this guide, you’re now equipped to embark on your cake-decorating journey. Remember, practice is essential, and with each cake, you’ll become more confident and skilled. Happy baking!