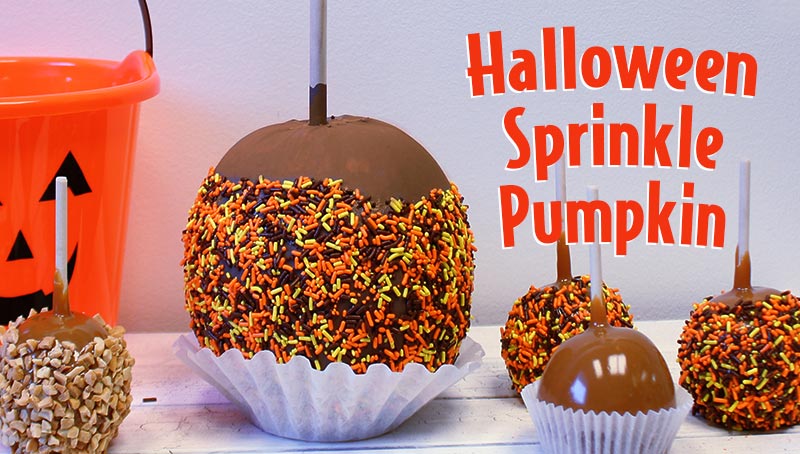
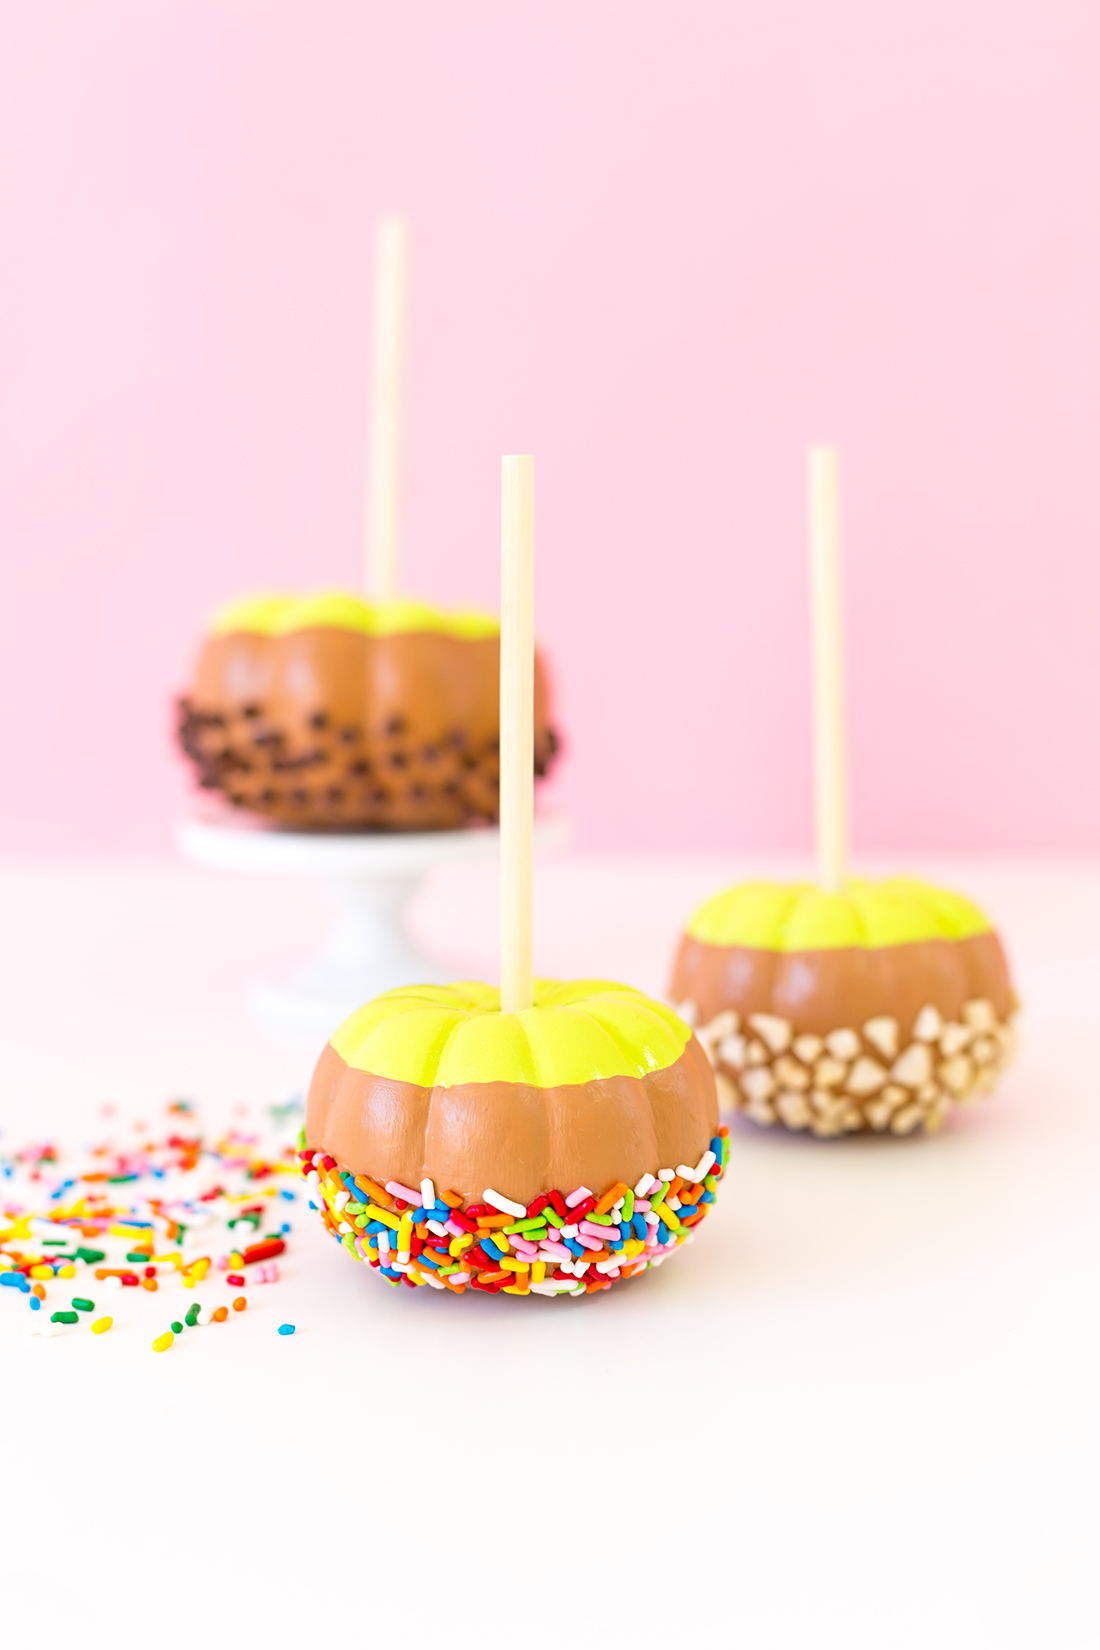
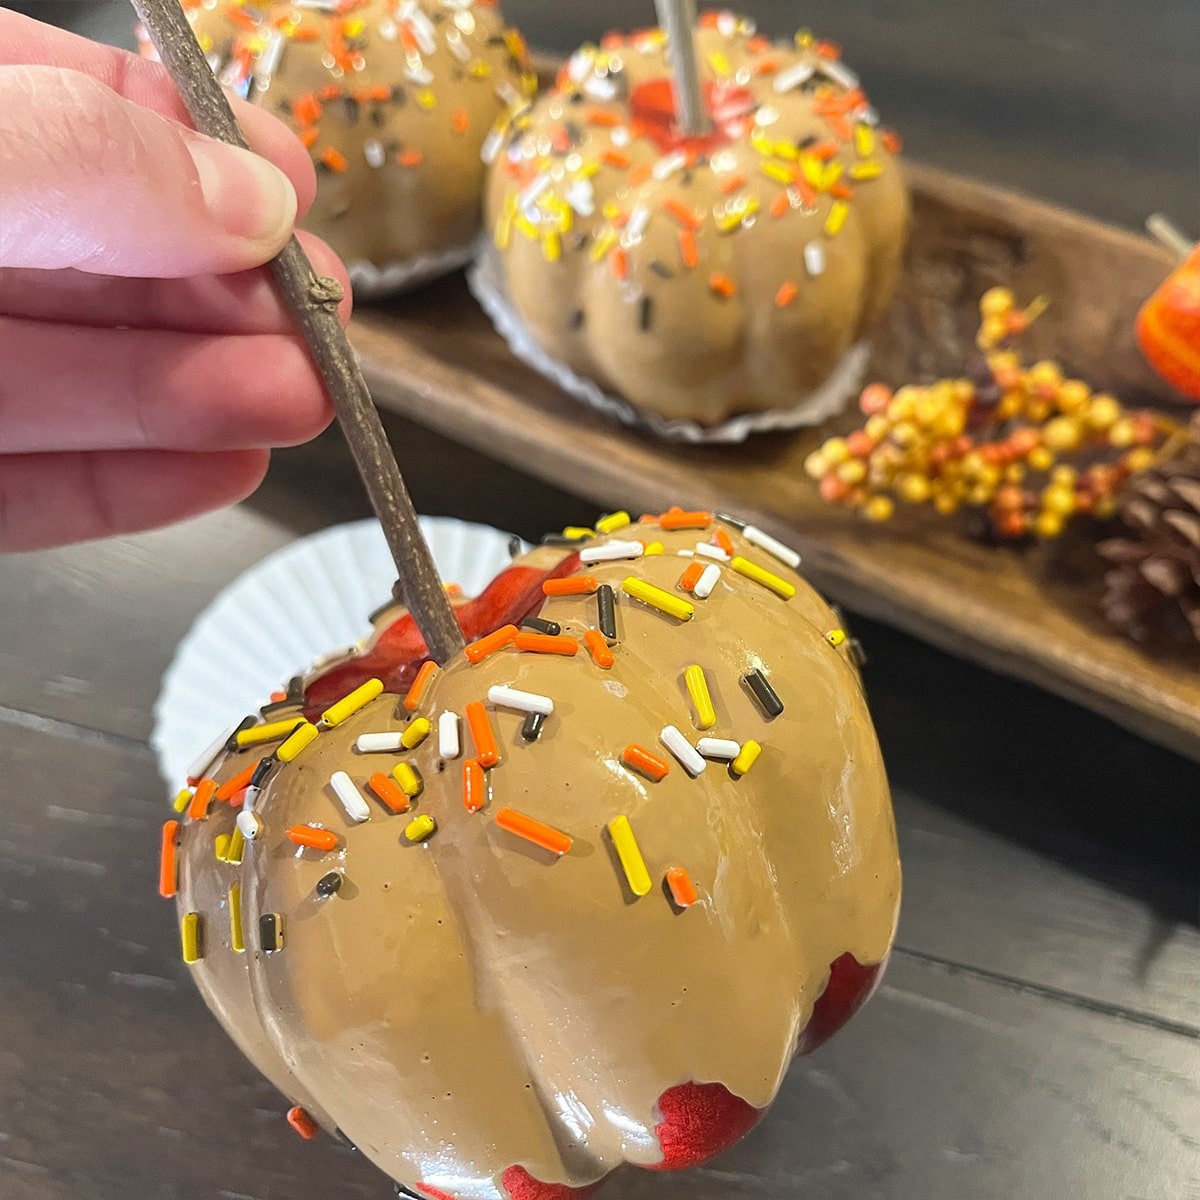
The crisp air and falling leaves of autumn signal a time for cozy sweaters, warm drinks, and festive decorations. One of the most delightful—and surprisingly simple—ways to celebrate the season is through candy apple pumpkin decorating. This fun activity not only brings out your creativity but also provides a fantastic opportunity to bond with family and friends. In this guide, we’ll explore everything you need to know about candy apple pumpkin decorating, from choosing the right pumpkins to creating stunning designs that will amaze everyone at your Halloween party!
What is Candy Apple Pumpkin Decorating?
Candy apple pumpkin decorating is a whimsical combination of traditional pumpkin decorating and the sweetness of candy apples. Imagine vibrant pumpkins adorned with colorful candy, sweet toppings, and fun embellishments that capture the joy of the season. This activity embraces the spirit of creativity, allowing you to transform ordinary pumpkins into extraordinary works of art.
Why You Should Try Candy Apple Pumpkin Decorating
- Creative Expression: This craft allows you to showcase your personal style.
- Family Friendly: A perfect activity for all ages, from kids to adults.
- Unique Decorations: Stand out with unique decorations that add charm to your home.
- Delicious Treats: Incorporate edible elements that everyone will enjoy.

Gather Your Supplies
Before diving into the fun, it’s essential to gather all the supplies you’ll need for candy apple pumpkin decorating. Here’s a comprehensive list:

Essential Supplies
- Fresh pumpkins (medium-sized work best)
- Candy apple coating (you can find this in stores or make your own)
- Candy toppings (sprinkles, crushed nuts, chocolate chips, etc.)
- Skewers or lollipop sticks
- Parchment paper or wax paper
- Food coloring (optional)
- Decorative items (glitter, ribbons, stickers, etc.)
Choosing the Perfect Pumpkin
When selecting pumpkins, consider the following:
- Size: Medium-sized pumpkins are easier to handle and decorate.
- Shape: Look for pumpkins with unique shapes to create more interesting designs.
- Surface: Smooth surfaces make decorating with candy easier.

Step-by-Step Instructions for Candy Apple Pumpkin Decorating
Step 1: Prepare the Pumpkins
Start by rinsing your pumpkins under warm water to remove any dirt. Dry them thoroughly with a clean towel. This ensures that the candy coating adheres better to the pumpkin’s surface.

Step 2: Melt the Candy Coating
In a saucepan over low heat, melt your candy apple coating. You can also use a microwave in 30-second intervals until fully melted. If you desire different colors, add food coloring to the melted coating.
Step 3: Insert Skewers
Insert a skewer or lollipop stick into the top of each pumpkin. This will make it easier to dip the pumpkin into the candy coating.

Step 4: Dip the Pumpkins
Carefully dip each pumpkin into the melted candy coating, making sure to cover all sides evenly. Allow the excess coating to drip off before placing it on parchment or wax paper.
Step 5: Add Toppings
While the candy coating is still wet, sprinkle your desired toppings onto the pumpkin. Get creative with combinations of sprinkles, nuts, and other fun edible decorations!

Step 6: Let Them Set
Allow the decorated pumpkins to set for a few hours or until the coating hardens completely. You can place them in the refrigerator to speed up this process.
Display Your Candy Apple Pumpkins

Once your pumpkins are set and decorated, it’s time to show them off! Here are some creative ideas for displaying your candy apple pumpkins:
- Front Porch: Line your entryway with the pumpkins for a festive welcome.
- Table Centerpiece: Create a beautiful centerpiece for your dining table.
- Kids’ Room: Decorate a child’s room to bring in the spirit of Halloween.
Creative Display Ideas
| Display Idea | Description |
|---|---|
| Hay Bales | Arrange the pumpkins on small hay bales for a rustic look. |
| Lights | String lights around the display for a magical glow. |
| Autumn Leaves | Use faux leaves as a base to enhance the fall theme. |
Pros and Cons of Candy Apple Pumpkin Decorating
Pros
- Fun and engaging activity for all ages.
- Creative outlet that results in beautiful decorations.
- Can be customized based on your preferences.
- End product is edible, reducing waste.
Cons
- Requires preparation and time, depending on the number of pumpkins.
- Messy process; be prepared for some cleanup.
- May attract pests if left outside for too long.
Frequently Asked Questions
What type of pumpkins are best for candy apple decorating?
Medium-sized pumpkins with smooth surfaces are ideal as they allow for easy handling and better candy adhesion.
Can I use store-bought candy melts?
Absolutely! Store-bought candy melts are convenient and come in various colors, making them perfect for this project.
How long do candy apple pumpkins last?
Candy apple pumpkins can last up to a week if stored properly. Keep them in a cool, dry place and consume them before they start to lose freshness.
Can I use non-edible decorations on my pumpkins?
Yes, feel free to use non-edible items like glitter, ribbons, or stickers to enhance your candy apple pumpkins’ appearance!
Conclusion
Candy apple pumpkin decorating is a delightful way to celebrate the fall season and embrace your creativity. Whether you’re creating spooky designs for Halloween or festive ones for Thanksgiving, this craft offers something for everyone. By following the steps outlined in this guide, you can easily create stunning and delicious decorations that will be the centerpiece of any autumn celebration. So gather your supplies, unleash your creativity, and enjoy the joy of candy apple pumpkin decorating with your loved ones!