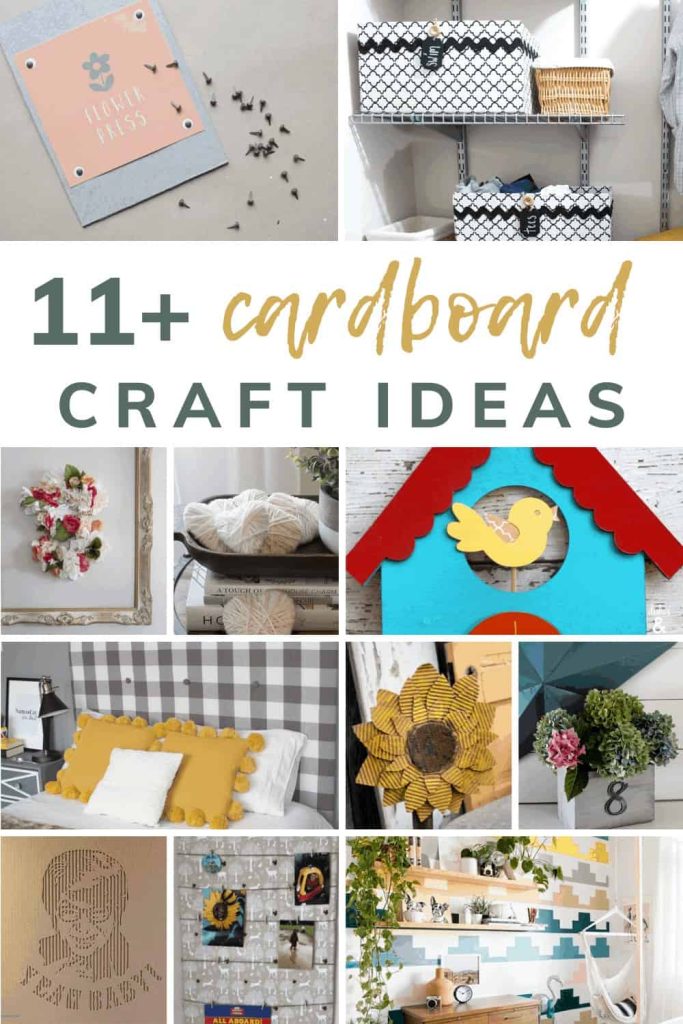
Are you ready to dive into the world of cardboard crafts? These budget-friendly ideas not only help you unleash your creativity but also contribute to eco-friendly living. Whether you’re looking for decorative accents or functional pieces, cardboard can be transformed into stunning home decor items. Join me as we explore some unique cardboard craft ideas that will rejuvenate your space!
Why Use Cardboard for Home Decor?
Cardboard is often seen as just packaging material, but it can be so much more! Here are some compelling reasons to use cardboard in your home decor projects:
- Cost-effective: Cardboard is inexpensive and often readily available.
- Eco-friendly: Repurposing cardboard reduces waste and promotes sustainability.
- Versatile: It can be crafted into a wide range of shapes and sizes.
- Customizable: Easily paintable and can be adorned with various materials.
Essential Tools and Materials for Cardboard Crafts
Before we dive into specific projects, let’s gather our materials. Here’s a simple checklist:
- Cardboard sheets (old boxes work great!)
- Craft knife or scissors
- Ruler and measuring tape
- Glue (hot glue gun works best)
- Paints and brushes
- Decorative items (glitter, fabric, washi tape)

Exciting Cardboard Craft Ideas for Home Decor
Now, let’s explore some fantastic DIY projects!
1. Cardboard Wall Art
Transform your walls with unique cardboard wall art. This project allows for endless creativity!

Materials Needed:
- Cardboard sheets
- Paints or wallpaper for decoration
- Glue or double-sided tape
Instructions:
- Cut the cardboard into various shapes (circles, triangles, etc.).
- Paint or cover with wallpaper.
- Arrange the pieces on the wall in a visually appealing layout.
- Secure them using glue or double-sided tape.

2. Cardboard Picture Frames
Make your memories stand out with custom cardboard picture frames!
Materials Needed:
- Cardboard
- Scissors
- Decorative materials (buttons, ribbons)

Instructions:
- Cut the cardboard to the desired frame size.
- Cut out a rectangle in the center for the picture.
- Decorate the frame with paints and embellishments.
- Insert your picture and display it on a shelf or wall.
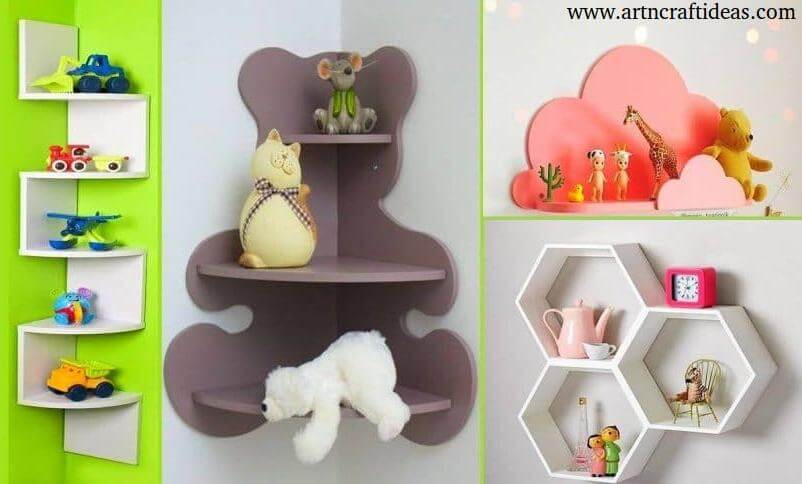
3. Cardboard Shelves
Create stylish and functional shelves from cardboard.

Materials Needed:
- Sturdy cardboard
- Glue
- Paint (optional)
Instructions:
- Cut the cardboard into shelf shapes (rectangular boxes can work).
- Glue multiple layers for durability.
- Paint and let dry before mounting onto walls.

4. Cardboard Planters
Plant your favorite succulents in these adorable cardboard planters!
Materials Needed:
- Cardboard boxes (miniature sizes work great)
- Plastic liners or bags (to prevent water damage)
- Soil and plants

Instructions:
- Line the cardboard box with a plastic liner.
- Add soil and carefully plant your succulents.
- Place in a spot that receives indirect sunlight.
5. Cardboard Candle Holders
Enhance your space with eco-friendly candle holders.
Materials Needed:
- Cardboard
- Candle (tea lights or votives)
- Glue
Instructions:
- Cut cardboard into strips and form a holder shape.
- Glue the edges securely.
- Place a candle inside and enjoy the ambiance.
6. Cardboard Storage Boxes
Get organized with stylish cardboard storage boxes.
Materials Needed:
- Large cardboard boxes
- Wrapping paper or paint
- Labels (optional)
Instructions:
- Cover the boxes with wrapping paper or paint them.
- Add labels to each box for easy identification.
- Use them to store items neatly.
7. Cardboard Coasters
Protect your surfaces with fun, customizable coasters!
Materials Needed:
- Cardboard sheets
- Decorative paper or paint
- Sealant (optional)
Instructions:
- Cut the cardboard into coaster-sized squares.
- Decorate each piece with paint or decorative paper.
- Seal with a clear coat for durability if desired.
Comparison Table: Cardboard Craft Projects
| Project | Duration | Difficulty Level | Usage |
|---|---|---|---|
| Wall Art | 2 hours | Medium | Decorative |
| Picture Frames | 1 hour | Easy | Decorative |
| Shelves | 3 hours | Hard | Functional |
| Planters | 1 hour | Medium | Functional |
| Candle Holders | 30 minutes | Easy | Decorative |
| Storage Boxes | 2 hours | Medium | Functional |
| Coasters | 1 hour | Easy | Functional |
Tips for Successful Cardboard Crafting
Here are some tips I’ve learned through personal experience that can enhance your cardboard crafting:
- Choose the right cardboard: Thicker cardboard provides more stability for functional pieces.
- Seal your projects: If you plan to use your crafts outdoors or for storing items, consider sealing them with a clear coat.
- Be patient: Allow glue and paint to dry completely for the best results.
Pros and Cons of Cardboard Crafts
| Pros | Cons |
|---|---|
| Environmentally friendly | May not be as durable as other materials |
| Cost-effective | Can be damaged by water |
| Highly customizable | Requires careful handling |
| Great for kids’ projects | Limited weight capacity for functional items |
Frequently Asked Questions (FAQs)
1. What kind of cardboard should I use for crafts?
Use clean, sturdy cardboard from boxes or sheets. Avoid cardboard that is too thin, as it may not hold shape well.
2. Can I paint cardboard crafts?
Absolutely! Acrylic paint works wonderfully on cardboard. Make sure to use a primer if you want even application.
3. Are cardboard crafts safe for children?
Yes, cardboard crafts are safe for kids. Just ensure supervision when using scissors or glue guns.
4. How long do cardboard crafts last?
With proper care and sealing, cardboard crafts can last for several months to years, depending on environmental conditions.
5. How do I store cardboard crafts?
Store them in a dry place away from moisture to prevent damage. If possible, use protective boxes.
Conclusion
Cardboard crafting is not only a fun activity but also a creative solution for home decor. The projects mentioned above can add personality and warmth to your space, all while being gentle on the wallet and the environment. So, gather your cardboard, unleash your creativity, and start crafting!