The holiday season is here, and what better way to celebrate than by decorating Christmas tree cookies? These delightful treats not only taste amazing but also provide a fun activity for families and friends. With the scent of gingerbread filling the air and the jingle of festive tunes, it’s the perfect time to get creative in the kitchen. In this article, we’ll dive into a plethora of Christmas tree cookie decorating ideas, complete with tips, techniques, and inspiration drawn from personal experiences that will help you craft the most beautiful cookies to share this season.
Why Decorate Christmas Tree Cookies?
Decorating Christmas tree cookies is more than just creating a visually appealing dessert. Here are some reasons why this holiday tradition is so beloved:
- Creative Expression: Decorating cookies allows you to unleash your inner artist. Personalize your cookies to reflect your style, choose your favorite colors, and make unique designs.
- Quality Time: It’s a wonderful way to bond with family and friends. Gather everyone around the table, share stories, and let the laughter flow as you decorate together.
- Holiday Spirit: These cookies serve as joyful symbols of the season, perfect for gifting or decorating your home.
Basic Recipe for Christmas Tree Cookies
To start your decorating journey, you need a solid cookie base. Here’s a simple sugar cookie recipe that works perfectly for cutting out Christmas tree shapes.
Ingredients:
- 2 ¾ cups all-purpose flour
- 1 teaspoon baking soda
- ½ teaspoon baking powder
- 1 cup unsalted butter, softened
- 1 ½ cups white sugar
- 1 egg
- 1 teaspoon vanilla extract
- 3 to 4 tablespoons of milk
Instructions:
- Preheat oven to 375°F (190°C).
- In a bowl, stir together flour, baking soda, and baking powder.
- In another bowl, cream together the butter and sugar until smooth. Beat in the egg, then stir in the vanilla and milk.
- Gradually blend the dry ingredients into the butter mixture. Roll rounded teaspoonfuls of dough into balls, and place onto ungreased cookie sheets. Flatten each ball slightly.
- Bake 8 to 10 minutes in the preheated oven. Allow cookies to cool on the baking sheet before transferring to a wire rack.
Essential Decorating Supplies
Before you start decorating, gather your supplies. Here’s a list of essential tools and materials that will make your cookie decorating experience seamless:

- Icing: Royal icing is ideal for detailed work, while glaze icing works well for a smooth finish.
- Food Colorings: Invest in gel food colors for vibrant hues without altering the icing’s consistency.
- Piping Bags and Tips: Use piping bags with different tips for various designs, from fine lines to wider decorations.
- Sprinkles and Edible Decorations: Stock up on a variety of sprinkles, edible glitter, and decorative candies for added flair.
- Cookie Cutters: Christmas tree-shaped cutters are a must, but consider getting a set that includes stars, ornaments, and other festive shapes.
Creative Decorating Ideas for Christmas Tree Cookies
Now, let’s explore a variety of decorating ideas that will take your Christmas tree cookies to the next level. These methods range from simple to more complex designs, ensuring there’s something for everyone!
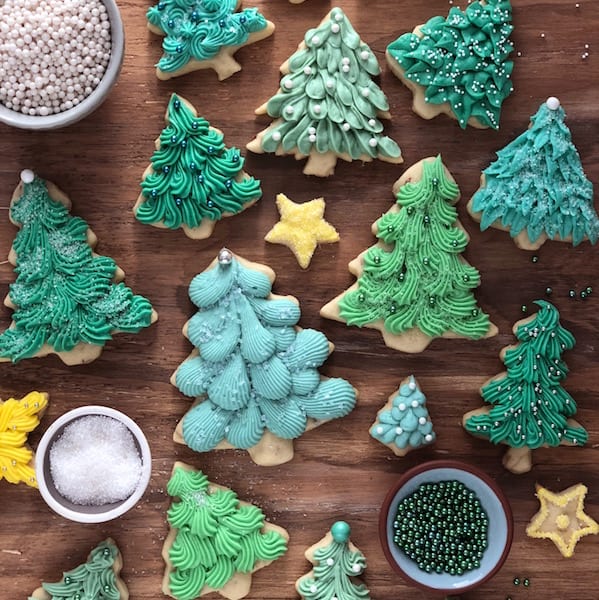
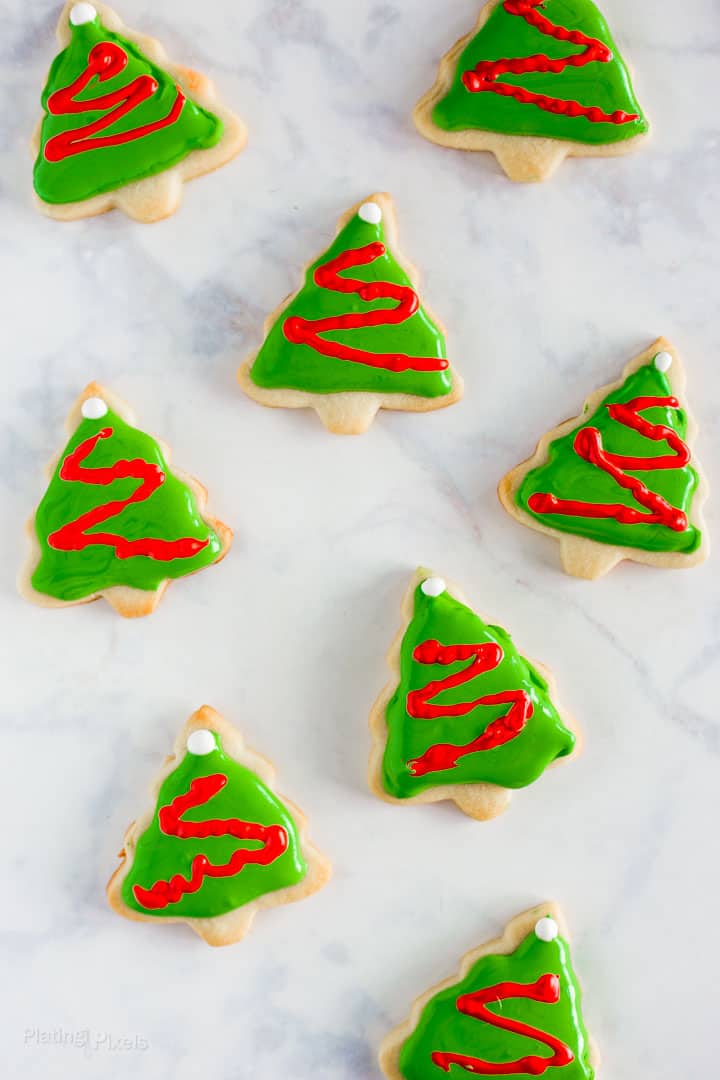
1. Classic Royal Icing Decoration
Royal icing is a popular choice for cookie decorating due to its ability to harden and provide a smooth surface for intricate designs.
- Technique: Use a piping bag to outline the shape of the tree. Allow it to dry before flooding the center with thinned icing to create a smooth finish.
- Tips: Add small details like ornaments and garlands with contrasting colors once the base icing has dried.
Comparison of Icing Types
| Icing Type | Texture | Drying Time | Best For |
|---|---|---|---|
| Royal Icing | Hard and smooth | Several hours | Detailed designs |
| Glaze Icing | Shiny and soft | 1-2 hours | Simple flooding |
| Buttercream Icing | Soft and creamy | Quick | Spreadable decorations |
2. Fun with Sprinkles and Edibles
Sprinkles can transform your cookies into festive delights!
- Technique: After icing, sprinkle your desired toppings while the icing is still wet to ensure they stick.
- Variations: Use themed sprinkle mixes for different holidays — think snowflakes, stars, or even candy canes!
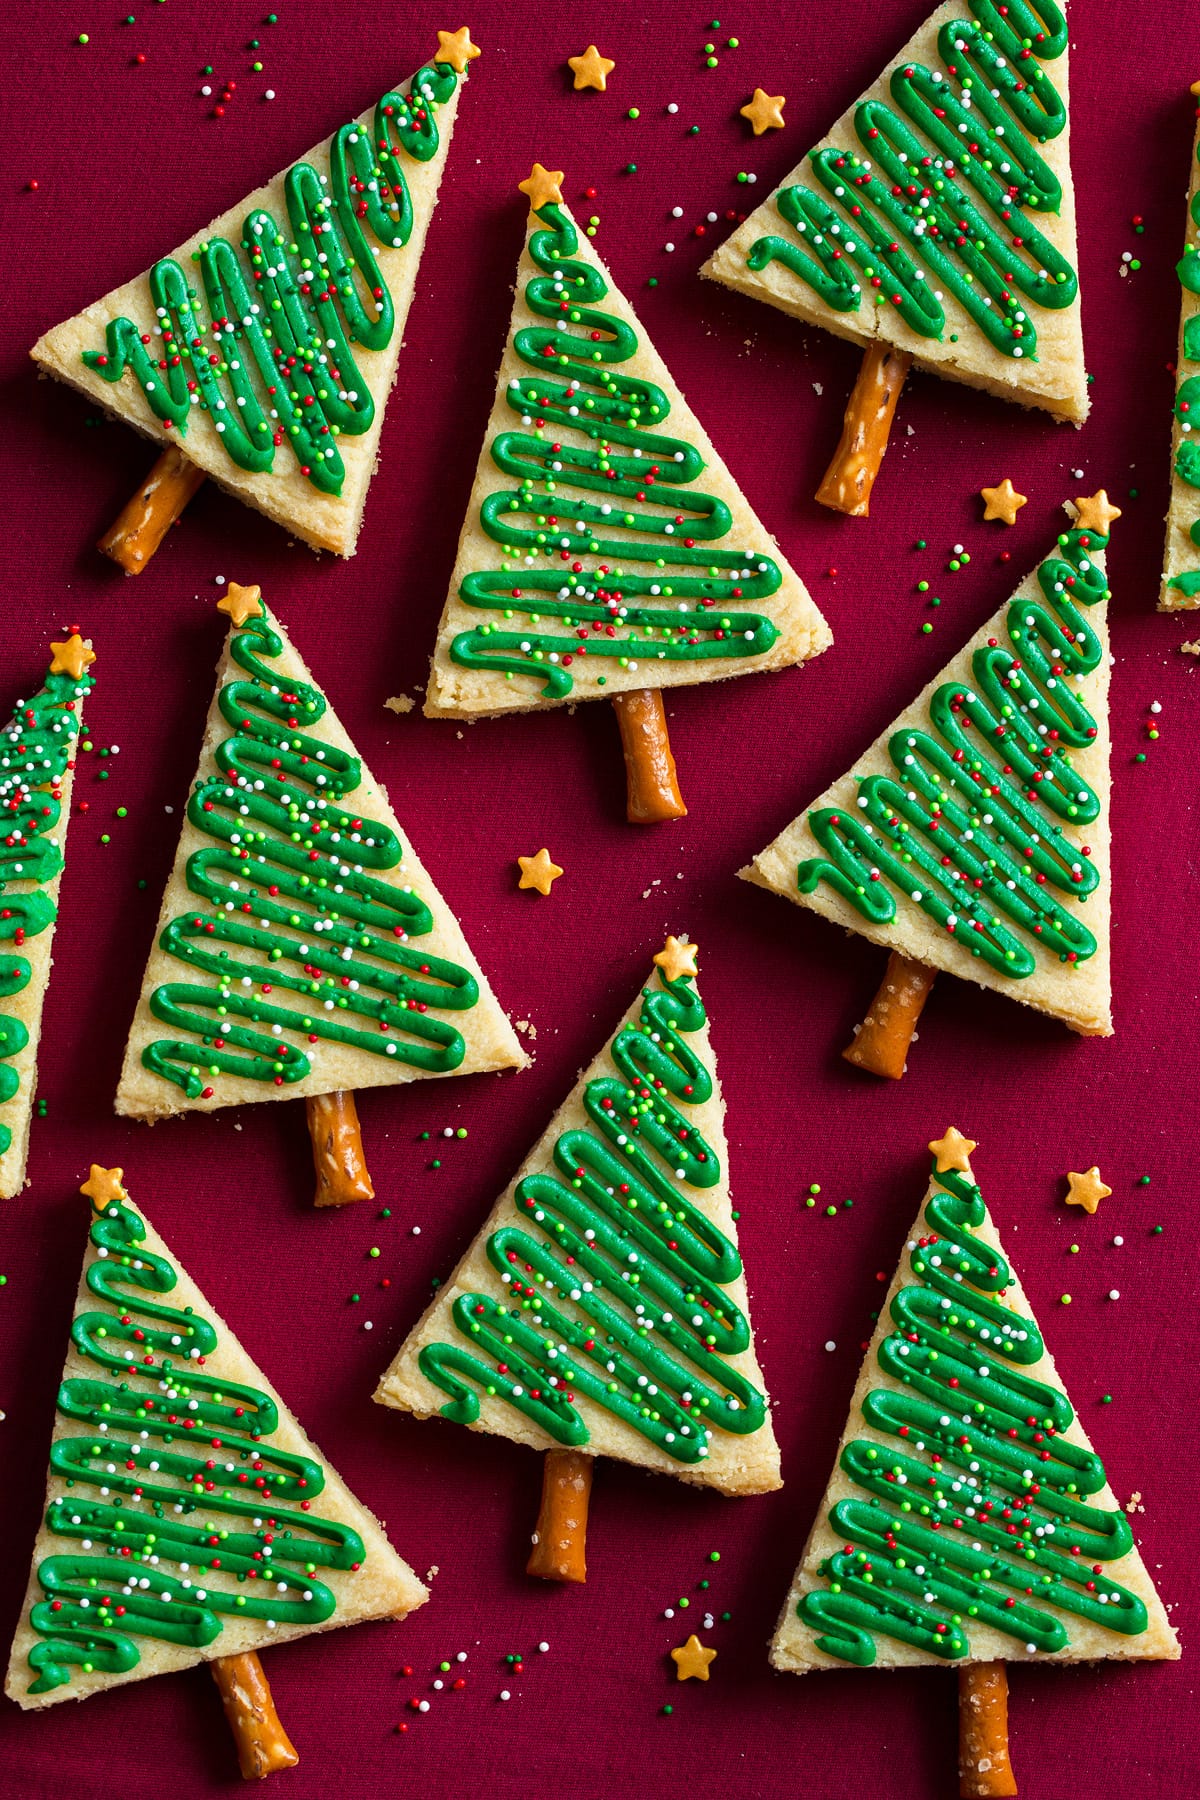
3. Chocolate Drizzle and Fondant
For a modern twist, consider using chocolate drizzle and fondant decorations.
- Technique: Melt chocolate and use a piping bag to drizzle over the iced cookies. Fondant can be rolled out and cut into shapes for an elegant touch.
- Personal Touch: Create small fondant decorations like stars or gifts to place on your trees for added detail.
4. Edible Markers for Easy Designs
If you’re looking for a quick and simple way to add colorful details, edible markers are your best friend!
- Technique: Once your cookies are cooled and iced (if desired), use edible markers to draw designs directly onto the cookies.
- Creative Ideas: Write holiday messages or draw fun characters to bring your cookies to life.

5. Stencil Fun
Using stencils is an effective way to create beautiful patterns on your Christmas tree cookies.
- Technique: Place a stencil on the iced cookie and dust with powdered sugar or cocoa. Lift gently to reveal a stunning design.
- Tip: Consider creating your own stencils for truly unique designs!
Pros and Cons of Different Decorating Techniques

Pros and Cons Table
| Technique | Pros | Cons |
|---|---|---|
| Royal Icing | Versatile, hardens well, great for details | Long drying time, can be challenging for beginners |
| Sprinkles | Easy to use, adds color and texture | Can be messy, may not stick well |
| Chocolate Drizzle | Rich flavor, visually appealing | Can melt or smudge easily |
| Edible Markers | Quick, easy for kids, minimal mess | Limited design options, may fade over time |
Tips for Success
Listed below are some tried-and-true tips that will help you achieve cookie decorating success:
- Practice Makes Perfect: If you’re new to cookie decorating, practice your piping skills on parchment paper before moving to cookies.
- Be Patient: Allow each layer of icing to dry completely before adding more decorations to prevent smudging.
- Make it a Team Effort: Involve your loved ones in the decorating process to create lasting memories and share ideas.
- Stay Organized: Keep your workspace clean and arrange your supplies before you start for a smooth decorating session.
Frequently Asked Questions (FAQs)
What type of icing is best for decorating Christmas tree cookies?
Royal icing is highly recommended for intricate designs as it dries hard, allowing for detailed work. Glaze icing is easier for beginners and offers a shiny finish.
How can I store decorated cookies?
Store decorated cookies in an airtight container at room temperature. If using royal icing, allow the icing to dry completely before stacking to prevent sticking.
Can I freeze Christmas tree cookies after decorating?
Yes, you can freeze decorated cookies! Wrap them tightly in plastic wrap and a layer of foil before placing them in a freezer-safe container.
What is the best way to transport decorated cookies?
Use a cookie box or a sturdy container lined with parchment paper to keep the cookies safe during transport. Avoid stacking them directly on top of each other.
Conclusion
Decorating Christmas tree cookies is an enjoyable way to bring the holiday spirit into your home. With the ideas, techniques, and tips shared in this article, you’ll be well on your way to creating stunning and delicious cookies that will impress everyone at your holiday gatherings. Remember, the key is to have fun and express your creativity. Happy baking and decorating!