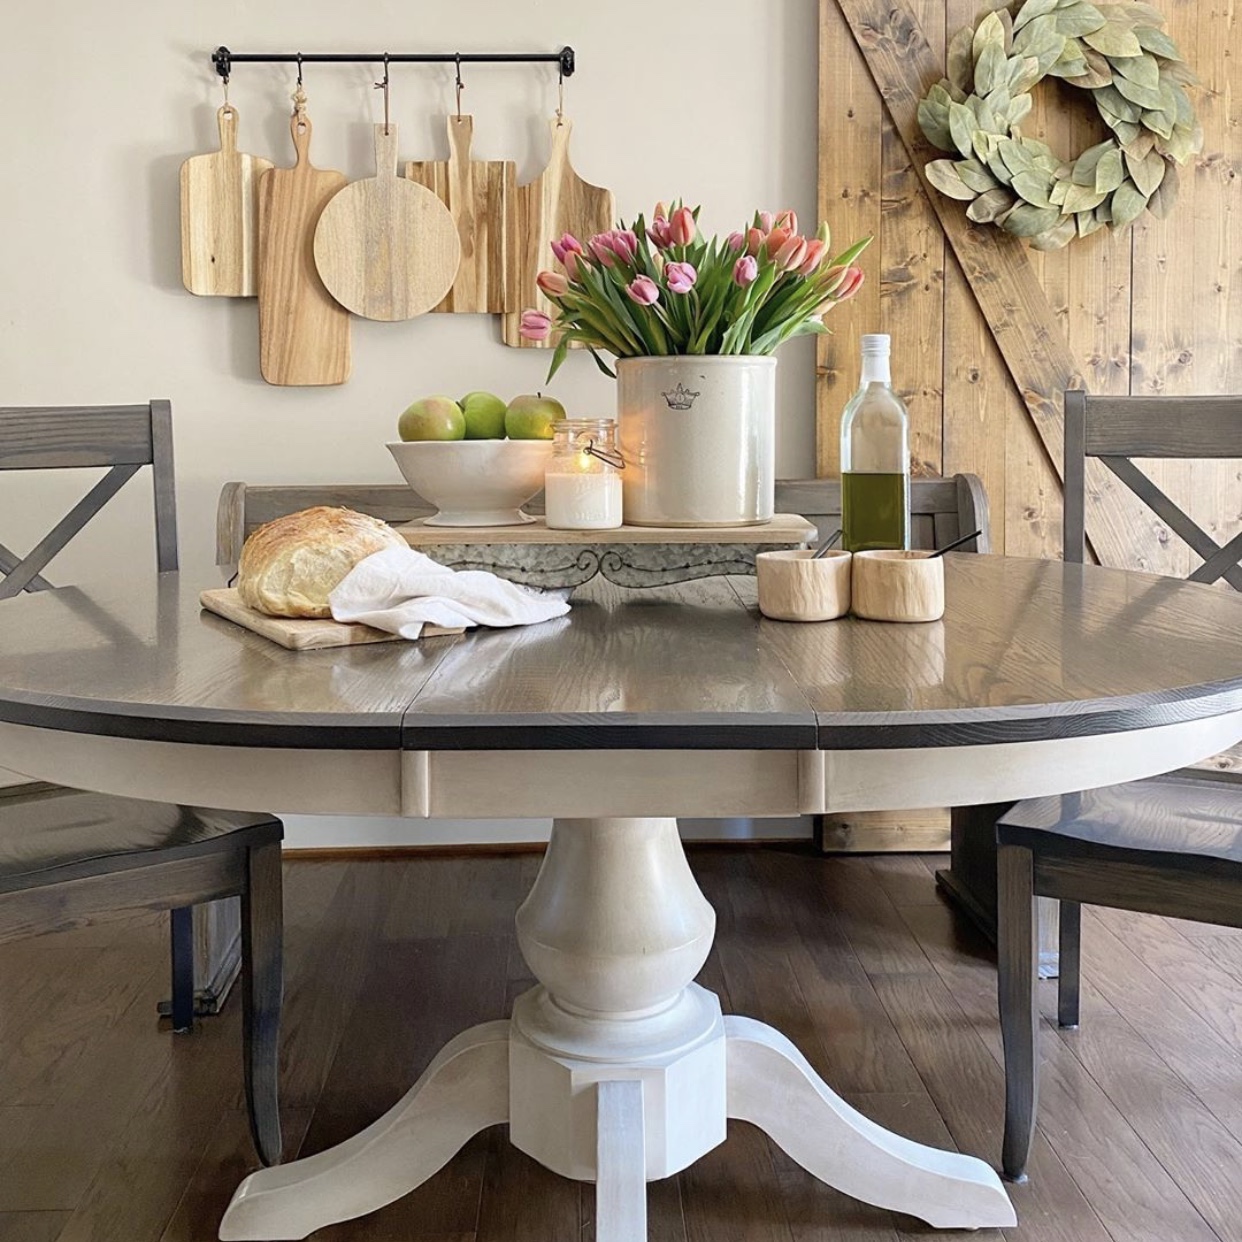
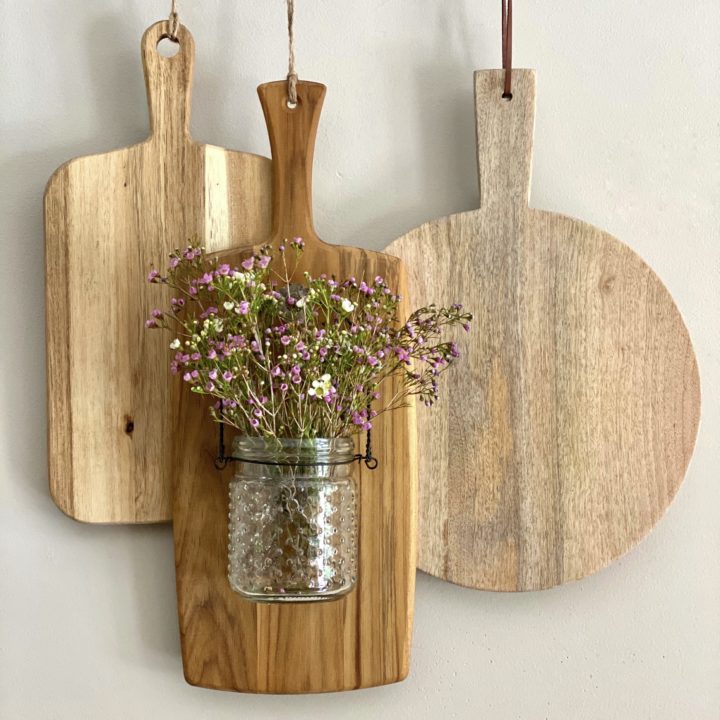
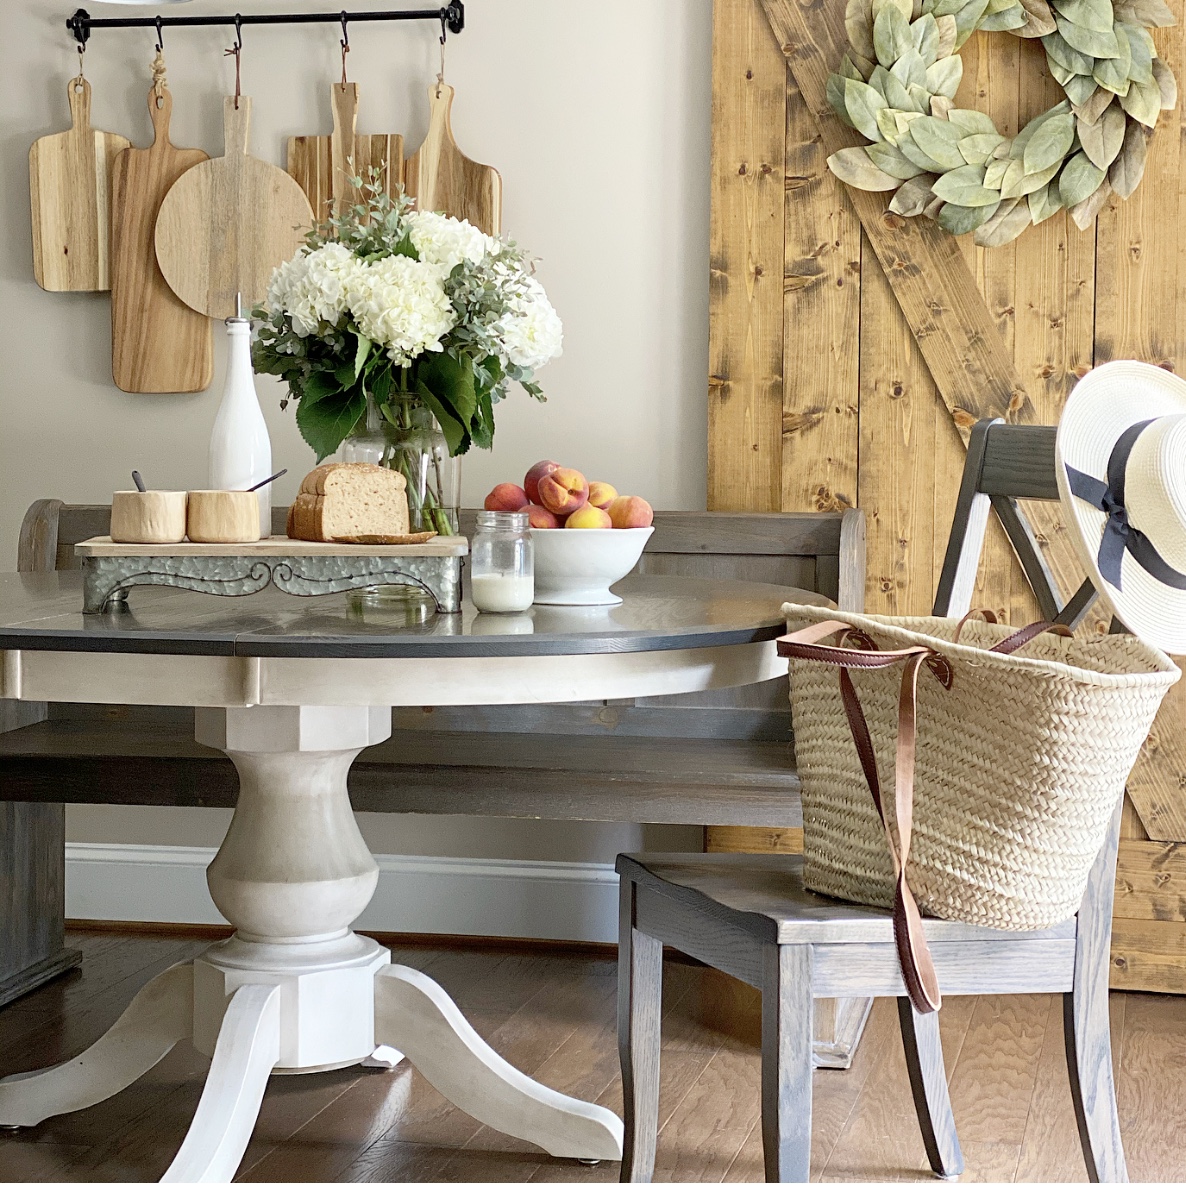
Cutting boards are not just functional kitchen tools; they can also be beautiful decorative elements that enhance your culinary space. Whether you’re a cooking enthusiast or simply want to spice up your kitchen decor, decorating your cutting board can be an exciting and fulfilling project. In this article, we will explore various ideas for decorating cutting boards, delve into various materials, and share personal experiences that will inspire your creativity.
Why Decorate Your Cutting Board?
Decorating cutting boards can serve multiple purposes:
- Personalization: Customize your kitchen with items that reflect your style.
- Functionality: Enhance the usability of your cutting board while making it visually appealing.
- Gift Ideas: Hand-decorated cutting boards can make for unique and heartfelt gifts.
Materials for Decorating Cutting Boards
Before we dive into decorating ideas, it’s important to understand the types of materials that cutting boards can be made from:
Types of Cutting Boards
| Material | Pros | Cons |
|---|---|---|
| Wood | Durable, aesthetic appeal, self-healing | Requires maintenance, can warp |
| Plastic | Easy to clean, lightweight, affordable | Less durable, can stain |
| Bamboo | Eco-friendly, sturdy, stylish | Can dull knives, requires regular oiling |
| Glass | Non-porous, hygienic, easy to clean | Can dull knives, slippery |
Decorating Ideas for Cutting Boards
Now that we’ve covered the materials, let’s dive into some creative and fun decorating ideas!
1. Painting Your Cutting Board
Painting can transform a plain cutting board into a stunning centerpiece. Here’s how:

Materials Needed:
- Acrylic paint or food-safe paint
- Paintbrushes
- Stencils (if desired)
- Sealant (food-safe)
Steps:
- Clean the cutting board thoroughly and sand it down if necessary.
- Apply your base coat and let it dry.
- Use stencils or freehand paint your desired design.
- Once dry, apply a food-safe sealant to protect your artwork.

Pros and Cons:
Pros: High customization, artistic expression.
Cons: Can chip if not sealed properly, may not be dishwasher safe.
2. Wood Burning Art
Wood burning, or pyrography, is a technique that can add intricate designs to wooden cutting boards. Here’s how I got started with it:

Materials Needed:
- Wood burner tool
- Pencil (for sketching)
- Sandpaper
Steps:
- Sketch your designs lightly on the cutting board.
- Use the wood burner to trace over your designs.
- Sand down rough edges for a clean finish.

Pros and Cons:
Pros: Unique, long-lasting designs; great for personal expression.
Cons: Requires practice; must be cautious with burning temperature.
3. Decoupage for a Unique Look
This method involves gluing decorative paper onto the cutting board and sealing it with a varnish. Here’s a simple way to decoupage:

Materials Needed:
- Decoupage glue (like Mod Podge)
- Decorative paper or fabric
- Sealant
Steps:
- Cut the decorative paper to fit your cutting board.
- Apply a thin layer of decoupage glue onto the board.
- Place the paper onto the board and smooth out any bubbles.
- Once dry, apply a sealant for protection.

Pros and Cons:
Pros: Endless design options, relatively easy to do.
Cons: Not entirely waterproof; may require reapplication over time.
4. Using Vinyl Wraps and Stickers
Vinyl wraps can add an instant pop to your cutting board without much effort. This is one of my go-to options for quick decorating!

Materials Needed:
- Vinyl sheets or pre-cut stickers
- Vinyl cutter (if designing your own)
- Transfer tape (optional)
Steps:
- Cut your design from vinyl sheets.
- Weed out excess vinyl carefully.
- Use transfer tape to position and apply your design onto the board.
Pros and Cons:
Pros: Quick and easy application; removable.
Cons: Less permanent; may peel off over time.
5. Engraving for a Timeless Finish
Engraving your cutting board can create a sophisticated, personalized touch. Here’s my experience with laser engraving:
Materials Needed:
- Laser engraving machine (or hand engraving tools)
- Design template
Steps:
- Create or choose your design template.
- Set the cutting board in the engraving machine.
- Follow the machine’s instructions to engrave your design.
Pros and Cons:
Pros: Permanent, high-quality finish.
Cons: Expensive equipment; requires skill or professional help.
Maintenance Tips for Decorated Cutting Boards
Once you’ve successfully decorated your cutting board, caring for it correctly will help maintain its beauty:
Cleaning Your Board
- Hand wash with mild soap and warm water.
- Avoid soaking the board or placing it in the dishwasher.
- Use a food-safe mineral oil to condition the wood every few months.
Storage Recommendations
- Store vertically or flat to avoid warping.
- Keep away from direct sunlight to prevent fading.
Inspiration from Personal Experience
When I first started decorating my cutting boards, I experimented with numerous techniques. One of my favorites is combining wood burning with painting. I created a rustic-themed board with a sunflower design that I use for family gatherings. Every time I bring it out, I receive compliments, and it has become a conversation starter!
FAQs About Cutting Board Decorating
What types of paint can I use on a cutting board?
It’s best to use food-safe acrylic or chalk paint. Always seal your painted designs with a food-safe sealant for durability.
Can I put my decorated cutting board in the dishwasher?
No, it’s advisable to hand wash your decorated cutting board to protect the designs and the material.
How do I remove old decor from my cutting board?
You can gently sand away designs or use a heat gun for vinyl wraps, but be cautious with wooden boards to avoid damage.
Are there any food safety concerns with decorating cutting boards?
Use only food-safe materials and sealants to ensure that your decorated board remains safe for food preparation.
Conclusion
Decorating a cutting board is a fun and creative way to express your personality and enhance your kitchen decor. Whether you choose to paint, wood burn, decoupage, or engrave, the possibilities are endless. So roll up your sleeves, gather your materials, and get started on your next DIY project!