As the leaves begin to change and the air turns crisp, there’s no better way to embrace the spirit of fall than through decorating. One of my favorite DIY projects is creating beautiful, personalized paper pumpkins. Not only are they an affordable and eco-friendly decorating option, but they also allow for a lot of creativity and personal expression. In this article, I’ll share an array of decorate paper pumpkin ideas, tips, and techniques that will inspire you to create your own stunning fall decor.
Why Choose Paper Pumpkins for Fall Decor?
Paper pumpkins offer a wonderful alternative to traditional pumpkins. Here are a few reasons why I love using paper pumpkins:
- Durability: Unlike real pumpkins, paper pumpkins won’t rot, allowing you to display them all season long.
- Customization: You can paint, embellish, and personalize paper pumpkins in any way you want.
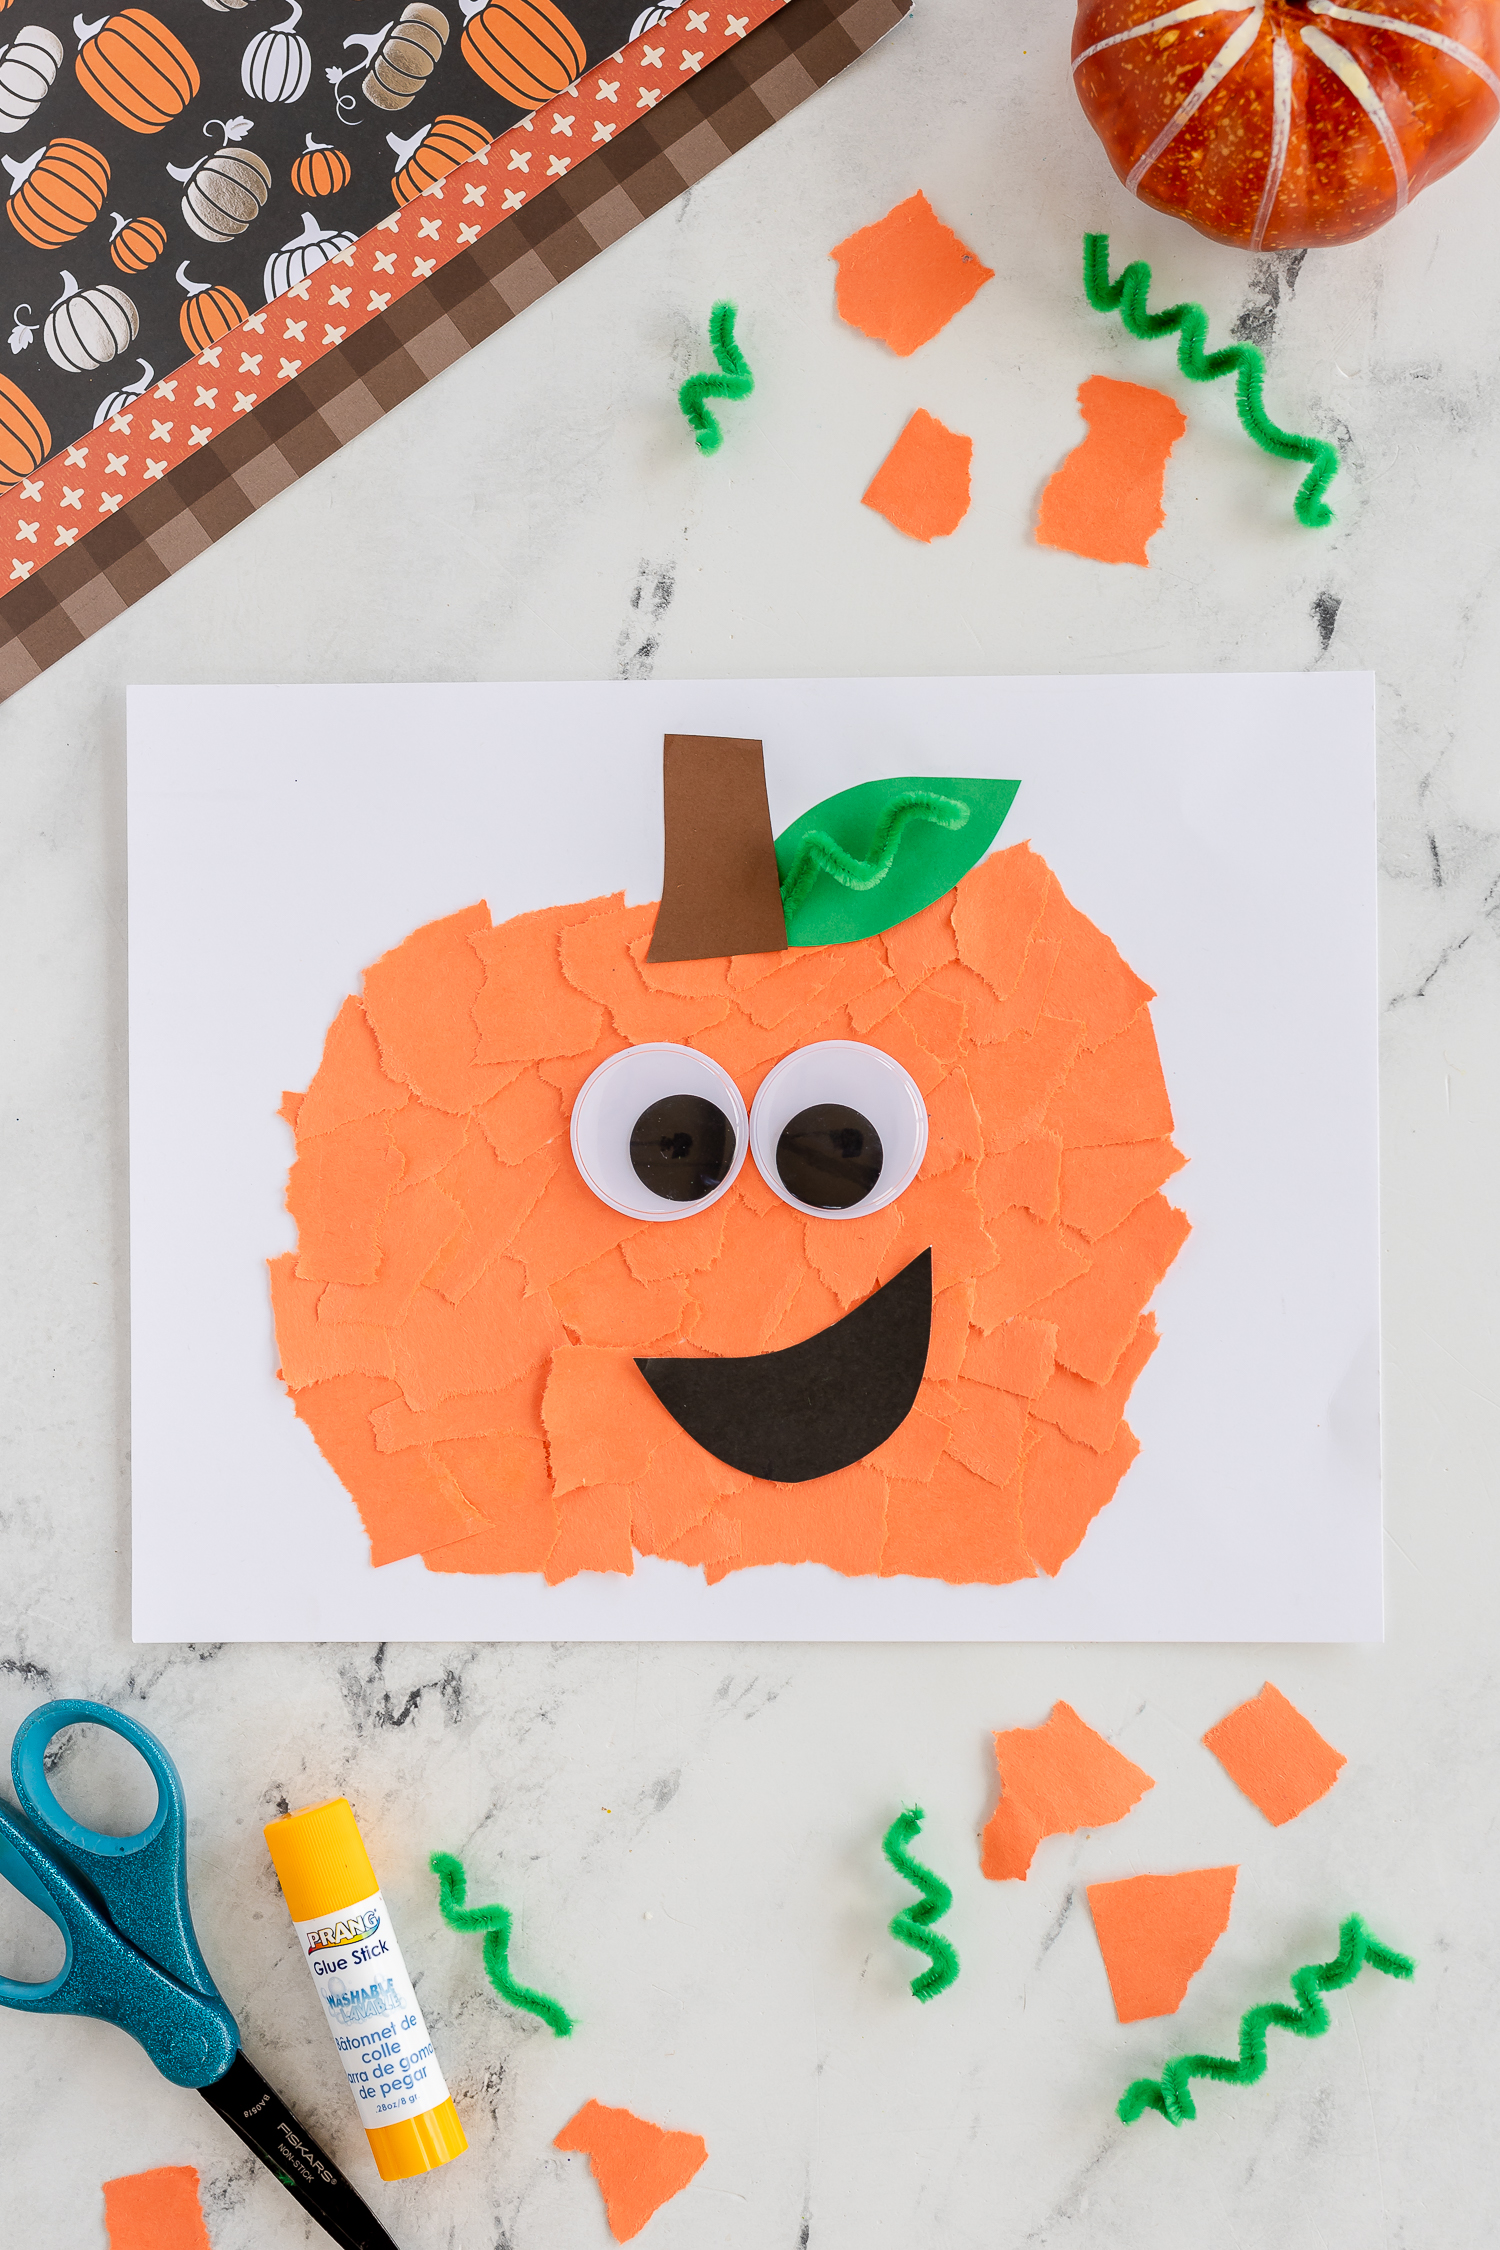
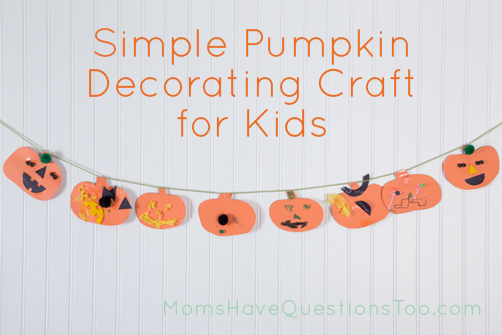
- Kid-friendly: Paper crafting is a safe and enjoyable activity for children.
- Eco-friendly: Recycling old paper or using leftover scrapbook paper is a fantastic way to reduce waste.
Materials Needed for Decorating Paper Pumpkins
Before we dive into specific ideas, let’s gather the materials you’ll need:
- Colored paper (orange, green, yellow, brown, etc.)
- Scissors
- Glue or a glue gun
- Ruler
- Pencil or pen
- Embellishments (ribbons, stickers, glitter, etc.)
- Optional: Paint, stamps, and stencils

Different Styles of Paper Pumpkins
Now let’s explore some fun and creative ideas to decorate your paper pumpkins!
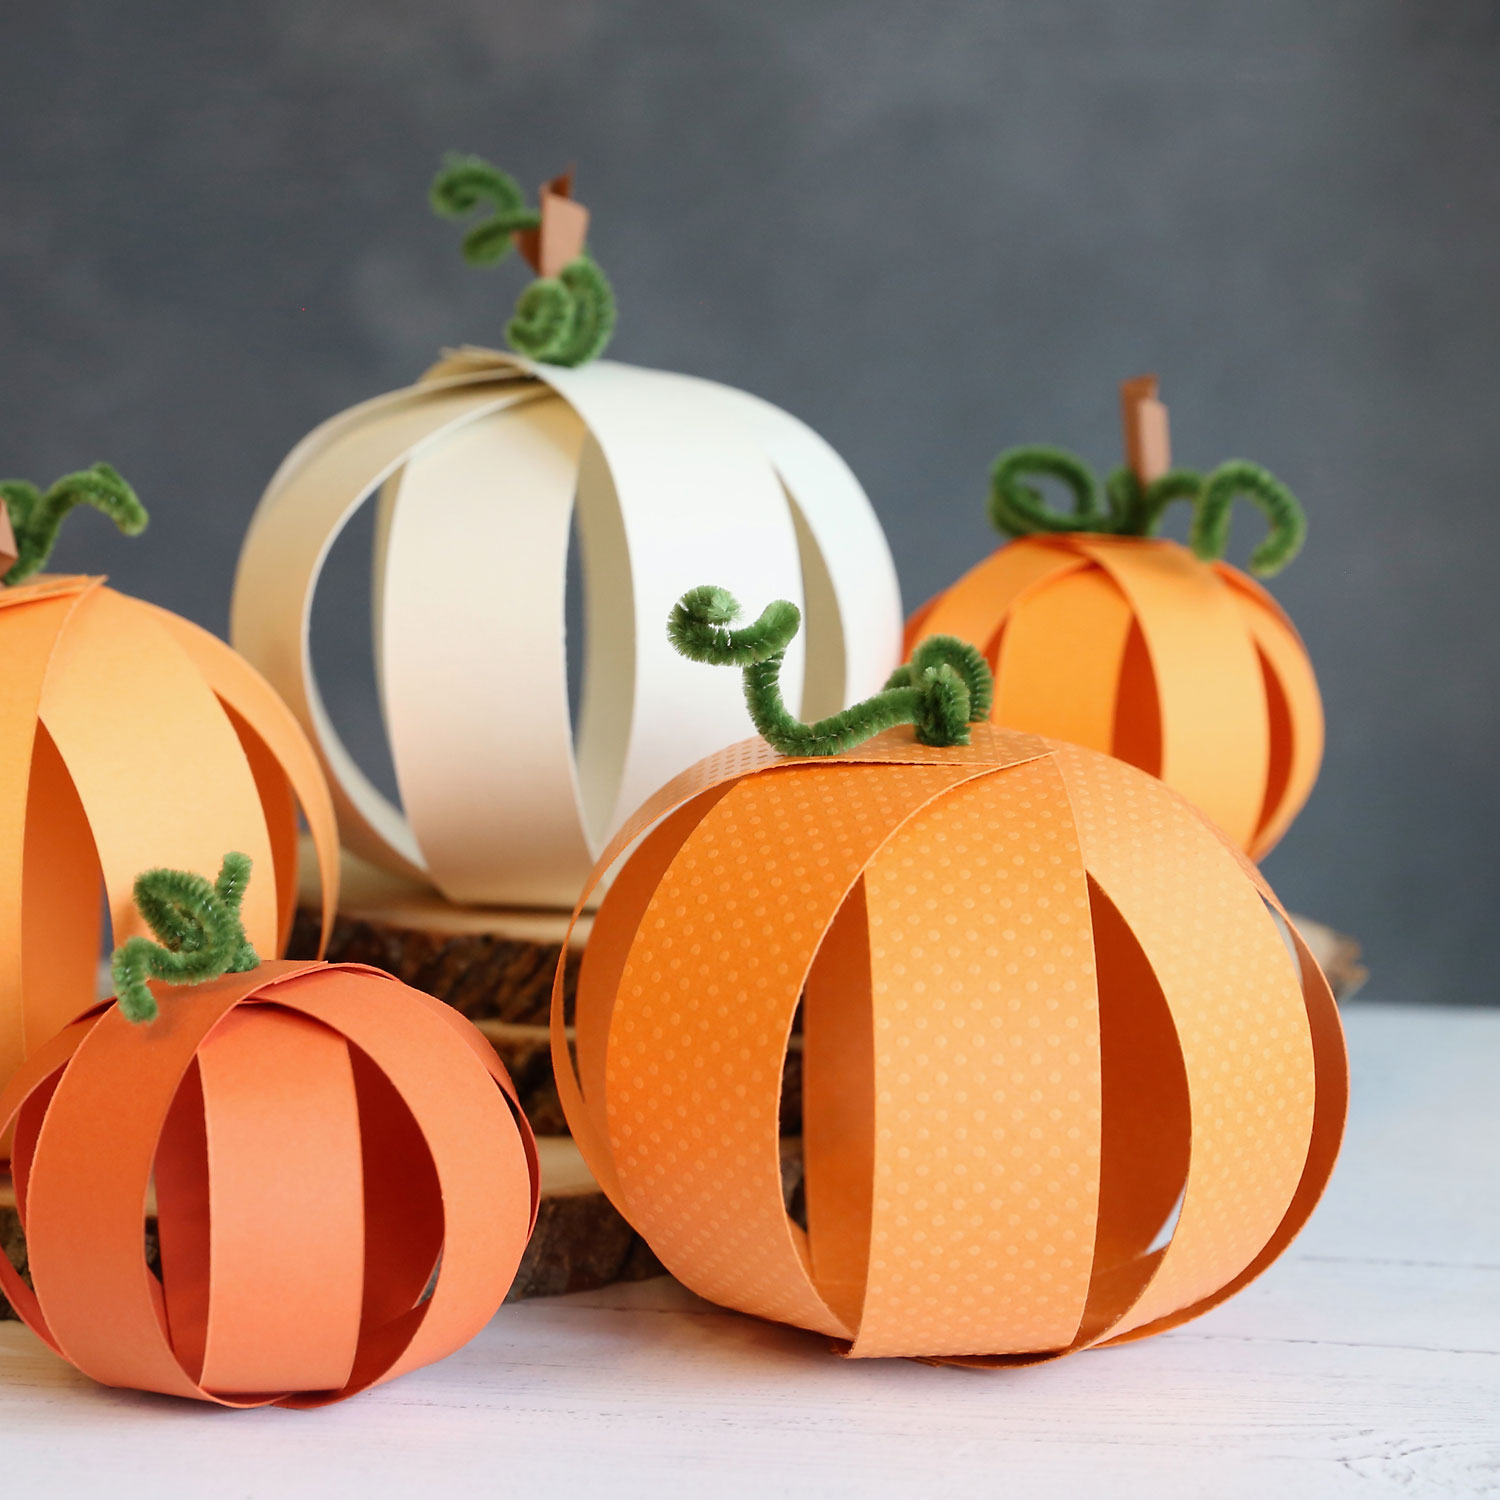
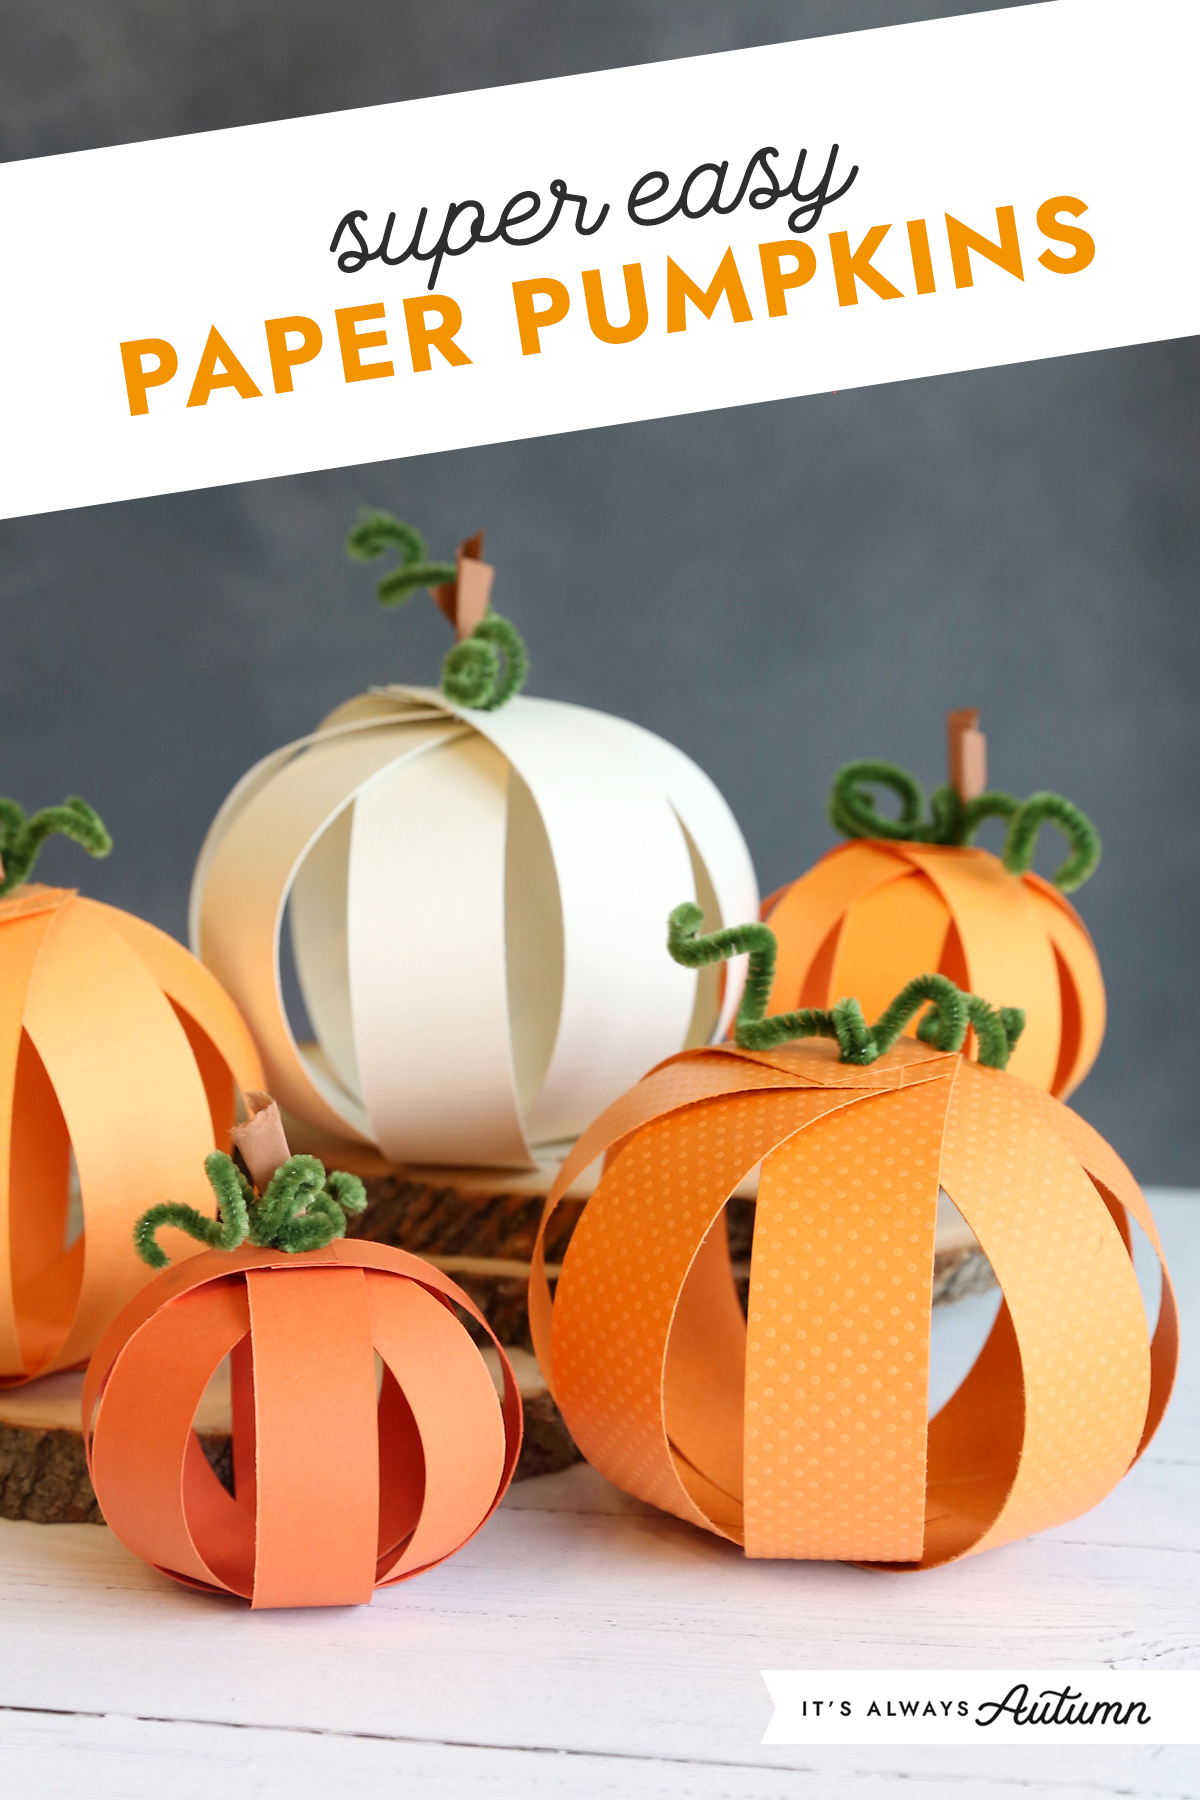
Classic Folded Paper Pumpkins
These pumpkins are simple to make and can add a touch of classic charm to your decor.
Instructions:
- Cut multiple strips of orange paper, each about 1 inch wide and 8-10 inches long.
- Stack the strips together and fold them in half.
- Use a stapler or glue to secure the center fold.
- Spread the strips out to create a pumpkin shape and add a green stem on top.
Pros and Cons
| Pros | Cons |
|---|---|
| Easy to make | May need to be reinforced for stability |
| Fun for kids | Less detailed than other designs |
Quilled Paper Pumpkins
If you’re looking to add a bit of elegance to your fall decor, quilled paper pumpkins can be a fantastic choice.
Instructions:
- Cut strips of paper (1/4 inch wide) in various shades of orange.
- Using a quilling tool, roll the strips into tight coils.
- Shape the coils into teardrop forms and arrange them to create a pumpkin shape.
- Secure the pieces together with glue and add a stem.
Pros and Cons
| Pros | Cons |
|---|---|
| Highly decorative | Requires more skill and patience |
| Unique texture | Can be time-consuming |

Painted Paper Pumpkins
For those who love to paint, creating painted paper pumpkins is a wonderful way to express your artistic flair.

Instructions:
- Cut pumpkin shapes from sturdy cardboard or thick paper.
- Use acrylic paints to decorate your pumpkins in vibrant fall colors.
- Add details with paint pens or brushes, such as vines or leaves.
- Once dry, display your artwork proudly!
Pros and Cons
| Pros | Cons |
|---|---|
| Fully customizable | Requires painting skills |
| Allows for artistic expression | Can be messy |
3D Paper Pumpkins
These pumpkins create a beautiful 3D effect that will surely catch your guests’ eyes.
Instructions:
- Cut several pumpkin templates from colored paper.
- Score the edges for easier folding.
- Glue the sides together to form a three-dimensional pumpkin.
- Finish with embellishments like leaves or glitter.
Pros and Cons
| Pros | Cons |
|---|---|
| Visually striking | More complex to assemble |
| Great for table centerpieces | Requires more materials |
Incorporating Personal Touches
One of the most rewarding aspects of crafting is the ability to add your personal touches. Here are some ideas to make your paper pumpkins even more special:
- Family Handprints: Use family members’ handprints to create unique designs on your pumpkins.
- Photos: Attach small family photos or meaningful quotes to your pumpkins for a heartwarming touch.
- Seasonal Themes: Change the decorations on your pumpkin based on holidays (Halloween, Thanksgiving, etc.).
Displaying Your Paper Pumpkins
After you’ve crafted your stunning paper pumpkins, it’s time to showcase them! Here are some ideas for displaying your creations:
- Table Centerpieces: Create a beautiful arrangement of various sizes and styles in the center of your dining table.
- Entryway Decor: Place pumpkins at the entrance to welcome guests with festive vibes.
- Window Displays: Set pumpkins on your windowsill for a charming view from outside.
FAQs about Decorating Paper Pumpkins
What type of paper is best for making pumpkins?
For durability and ease of use, it’s best to use cardstock or heavy scrapbook paper. These materials hold their shape well and allow for easy decorating.
Can kids participate in making paper pumpkins?
Absolutely! Decorating paper pumpkins is a great family activity. Just supervise younger children when using scissors and glue.
How long do paper pumpkins last?
Paper pumpkins can last indefinitely if stored properly and kept away from moisture. They won’t rot like real pumpkins, making them a great long-term decoration.
Can I use recycled materials to make paper pumpkins?
Yes! Old magazines, newspapers, and cardboard can be great for crafting paper pumpkins. They provide unique texture and color variations.
Conclusion: Crafting Your Own Fall Tradition
Creating and decorating paper pumpkins is a delightful way to celebrate the fall season. Whether you’re going for a classic look or a modern twist, the possibilities are endless. As you embark on this creative journey, remember that the most important thing is to enjoy the process. Grab your materials, gather your loved ones, and start making memories—one paper pumpkin at a time!