Decorated eggs, or “huevos decorados,” are not just for Easter! They offer a fantastic opportunity for creativity and bonding time with your little ones. Drawing from my own experiences and a wealth of ideas, this article will explore various techniques, themes, and tips for making egg decorating a delightful activity for girls. Let’s jump right in!
Why Decorated Eggs?
Decorating eggs is a beloved tradition in many cultures worldwide. This craft activity provides numerous benefits:
- Creativity: Letting your child’s imagination run wild with colors and designs.
- Motor Skills: Developing fine motor skills through hands-on activities.
- Bonding: Creating precious memories while working together.
Types of Decorated Eggs
There are countless ways to decorate eggs, each with its own flair. Below, we break down some popular types that are perfect for girls.
1. Painted Eggs
Painting eggs is a classic method that can be both simple and elaborate.
Materials Needed:
- Hard-boiled eggs or wooden eggs
- Acrylic paints
- Paintbrushes of various sizes
- Water cups and paper towels for cleanup
Steps to Paint Eggs:
- Prepare your workspace by covering it with newspaper.
- Hard-boil the eggs (if using real ones) and let them cool.
- Start painting with light colors as a base.
- Once dry, add details and patterns.
2. Decoupage Eggs
This technique involves using decorative paper cutouts to create beautiful designs.
Materials Needed:
- Eggs (real or faux)
- Mod Podge or white glue
- Brushes for applying glue
- Colored tissue paper or napkins
Steps to Decoupage Eggs:
- Cut your chosen paper into small pieces.
- Apply a thin layer of Mod Podge onto the egg.
- Place the paper pieces on the egg and seal with another coat of glue.
3. Glitter Eggs
Who doesn’t love a bit of sparkle? Glitter eggs are perfect for adding a flashy touch.
Materials Needed:
- Hard-boiled or artificial eggs
- Glue
- Glitter in various colors
Steps to Create Glitter Eggs:
- Cover the egg with a layer of glue.
- Sprinkle glitter over the glue until fully covered.
- Allow to dry before handling.
Themed Egg Decorating Ideas
To make the decorating process even more exciting, consider choosing a theme. Here are some delightful options:
1. Princess Theme
Transform eggs into sparkling crowns or beloved princess characters.
Ideas:
- Use pink and purple paints with jewel stickers.
- Draw tiaras or use glitter for a royal touch.
2. Nature-Inspired Eggs
Celebrate the beauty of nature with floral patterns and earthy colors.
Ideas:
- Use real leaves to create a leaf-print pattern.
- Paint flowers or butterflies for an enchanting look.

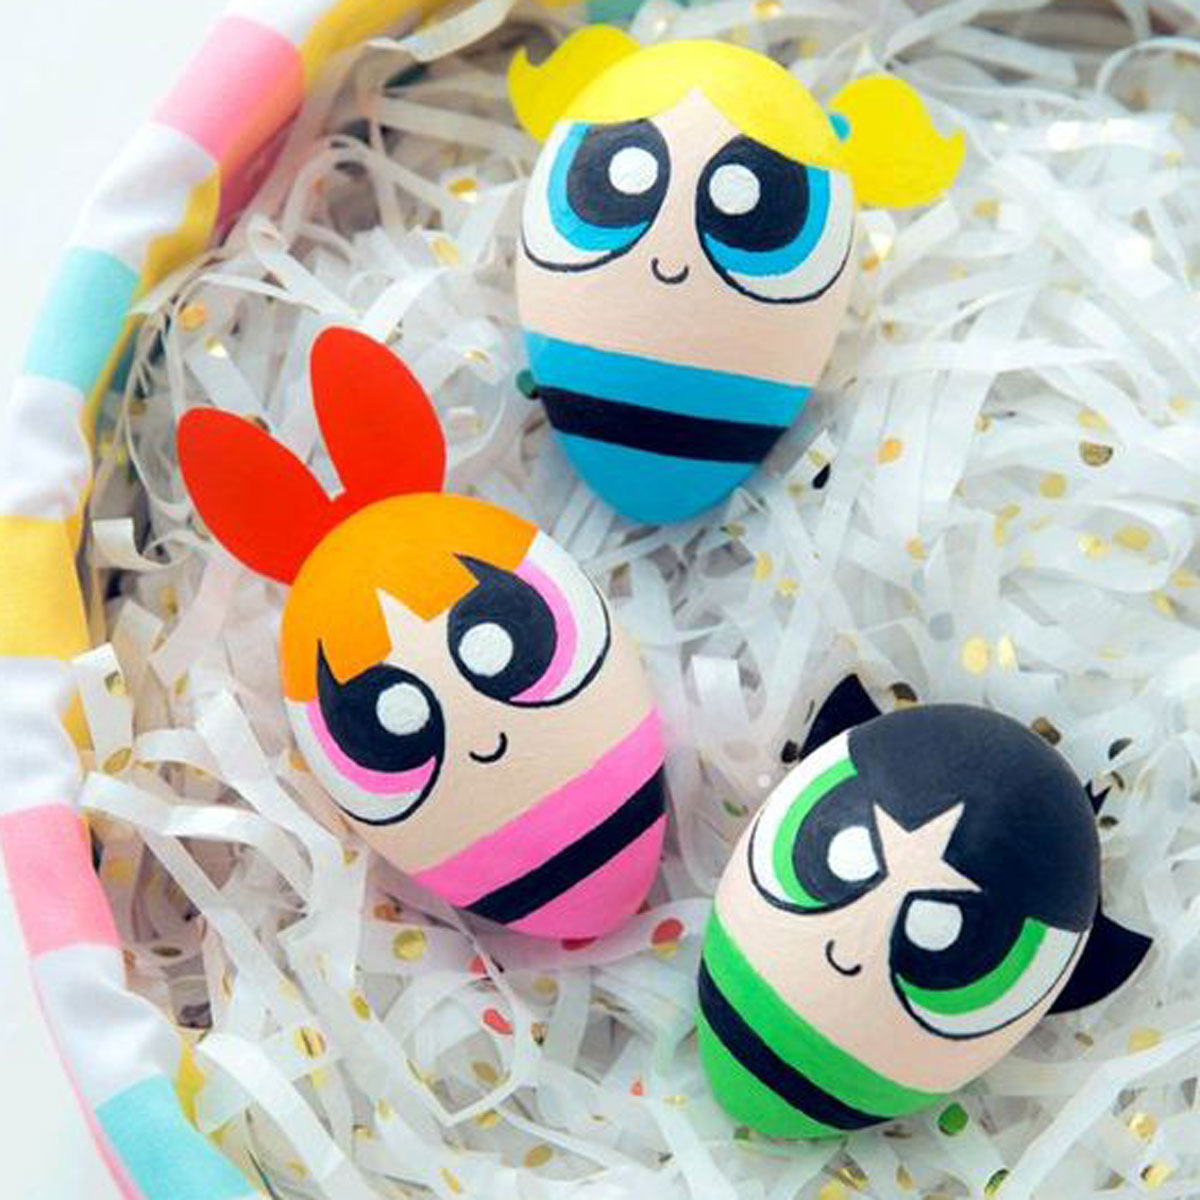
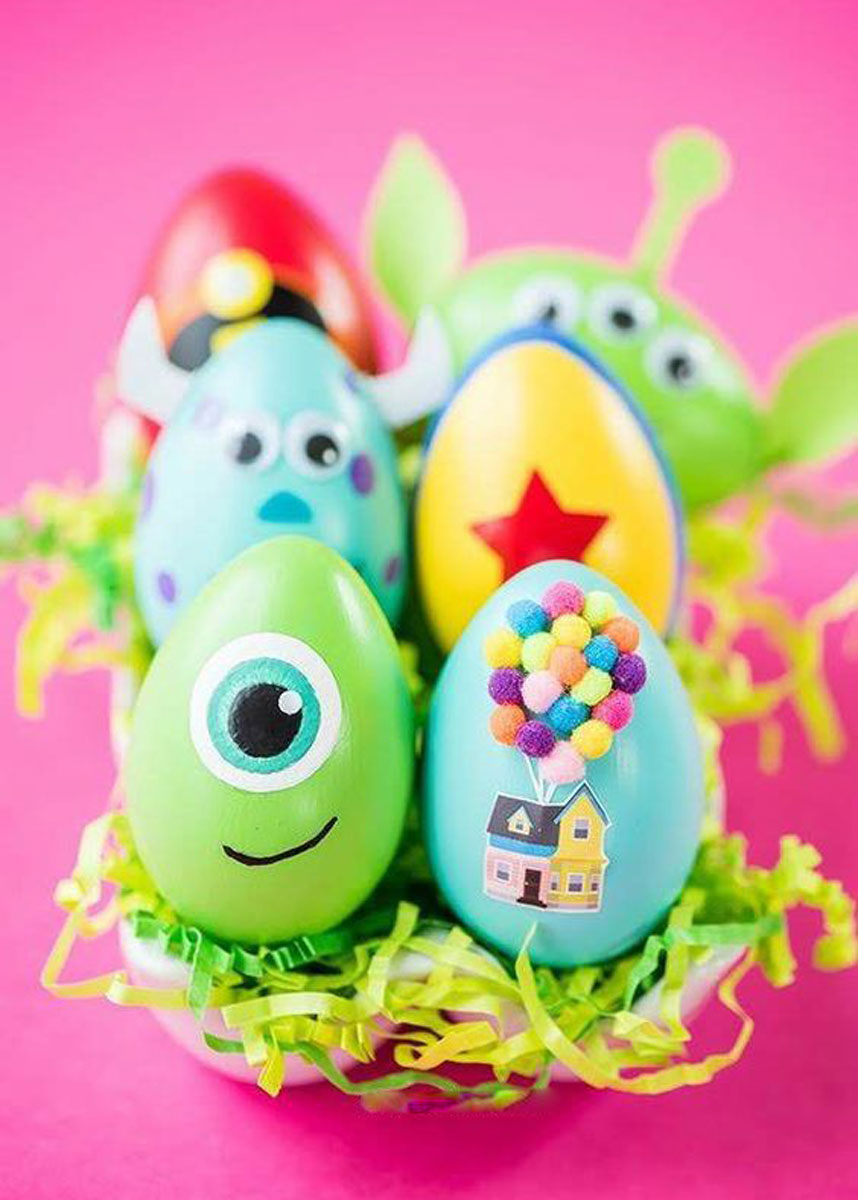
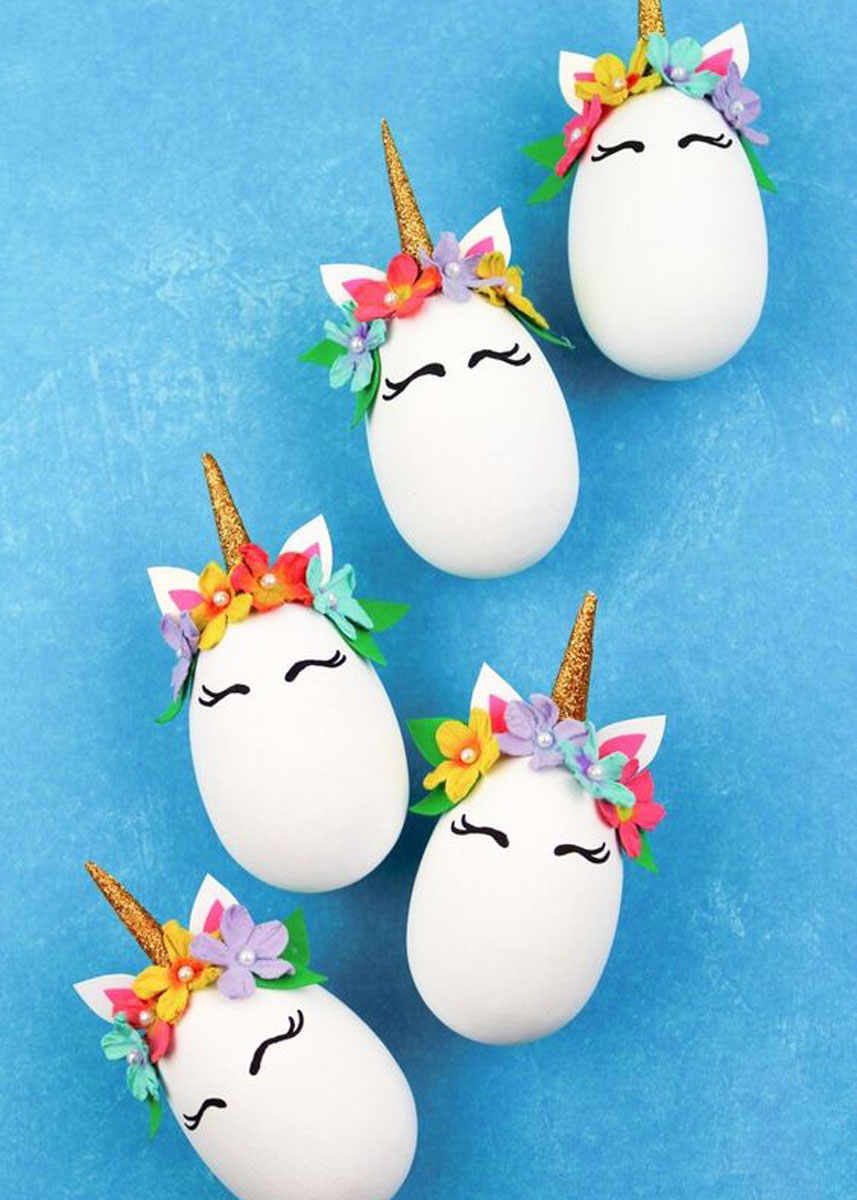
3. Animal Theme
Let your little one’s favorite animals inspire their eggs!
Ideas:
- Turn eggs into ladybugs, bunnies, or even unicorns using paint and felt.
- Use googly eyes for added fun!
Tips for Successful Egg Decorating
Here are some tips to ensure a successful decorating session:
- Preparation is Key: Set up a dedicated space with all the materials ready.
- Protective Gear: Wear old clothes or aprons as crafting can get messy.
- Patience: Encourage patience, allowing each layer of paint or glue to dry before proceeding.

Safety First!
When it comes to crafting with kids, safety should always be a priority:
- Always supervise the use of scissors or other sharp tools.
- Ensure the paints and materials used are non-toxic.
- Be mindful of allergies, especially with glues and paints.
Comparison Table of Egg Decorating Techniques
| Technique | Difficulty Level | Time Required | Supplies Needed |
|---|---|---|---|
| Painting | Easy | 1-2 hours | Eggs, paints, brushes |
| Decoupage | Medium | 1-3 hours | Eggs, glue, papers |
| Glitter | Easy | 30 mins | Eggs, glue, glitter |
Pros and Cons of Different Techniques
1. Painted Eggs
Pros: Easy to customize, wide variety of colors.
Cons: Requires drying time, can be messy.
2. Decoupage Eggs
Pros: Unique designs, can be very intricate.
Cons: More time-consuming, requires precision.

3. Glitter Eggs
Pros: Fun and eye-catching, easy to do.
Cons: Glitter can be messy, not very detailed.
FAQs about Decorated Eggs for Girls
What types of eggs are best for decorating?
Hard-boiled eggs, blow-dried eggs, or plastic eggs work best for decorating. Plastic eggs are particularly good for long-term projects, as they won’t spoil.
Can we eat the decorated eggs afterward?
Yes! If you’re using hard-boiled eggs and safe materials, you can eat them after decorating. Just make sure they haven’t been left out for too long.
What age is appropriate for egg decorating?
Egg decorating can be enjoyed by children of all ages. Younger kids will need more supervision and simpler techniques, while older kids can experiment with more complex methods.
How do I make egg decorating more educational?
Incorporate math by measuring paint, practice writing by labeling their eggs, or even introduce a science lesson about colors and mixing!
Conclusion
Decorating eggs is a wonderful, creative activity that girls can enjoy, fostering their artistic skills while also creating cherished memories. Whether through painting, decoupage, or using glitter, the possibilities are endless! So gather those materials, invite your little ones to join in, and let the crafting begin!