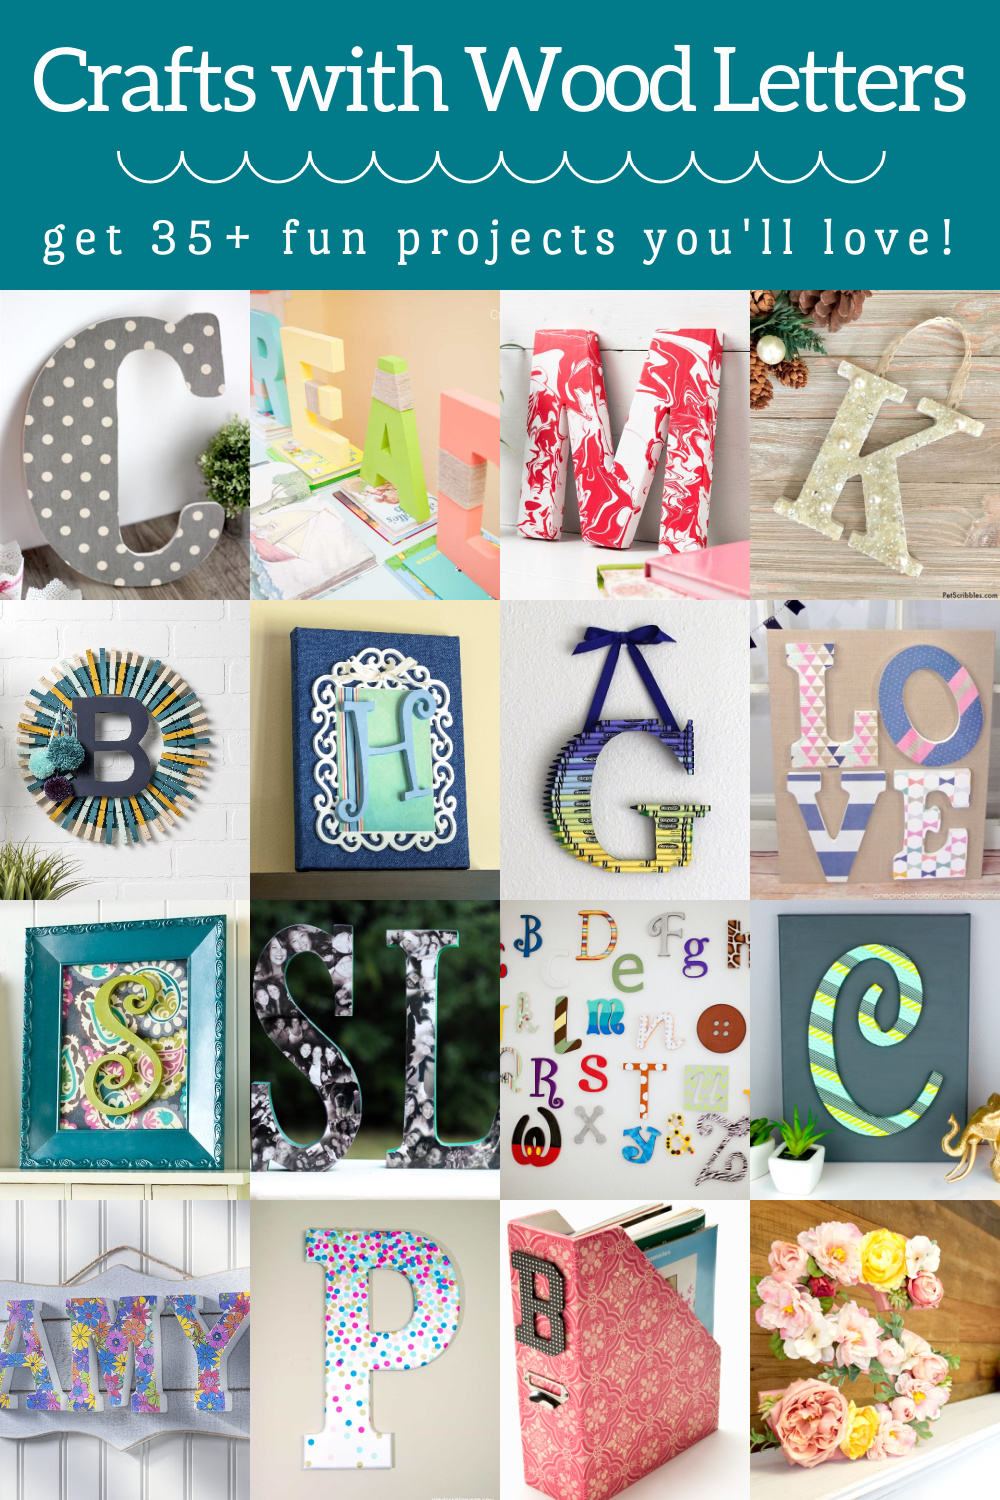
Welcome to the wonderful world of decorating wooden letters! As someone who loves to infuse personality into every corner of my home, I can tell you that wooden letters are a fantastic way to express individuality and creativity. Whether you’re looking to spruce up a kid’s room, create a cozy atmosphere in the living space, or add a personal touch to your office, wooden letters can do it all. In this article, we will explore various decorating ideas, techniques, and inspirations for wooden letters that will help you transform your space.
Understanding Wooden Letters
Before diving into decorating ideas, let’s take a moment to understand what wooden letters are and how they can fit into your home decor scheme. Wooden letters come in various sizes, fonts, and finishes, making them versatile for numerous decorating styles.
Types of Wooden Letters
- Unfinished Wooden Letters: Perfect for DIY enthusiasts who want to personalize their letters.
- Painted Wooden Letters: Available in a variety of colors, adding vibrancy to your decor.
- Distressed Wooden Letters: Ideal for a rustic or farmhouse aesthetic.
- Light-Up Wooden Letters: Great for creating a fun and whimsical atmosphere.

Decorating Ideas for Wooden Letters
1. Painted Wooden Letters
One of the simplest ways to decorate wooden letters is by painting them. You can choose any color that fits your decor scheme. Here’s how to do it:
Materials Needed:
- Unfinished wooden letters
- Acrylic paint or spray paint
- Paintbrush or sponge
- Sealer (optional)

Steps:
- Choose your colors and paint the letters. You can go for a solid color or a gradient effect.
- Let the letters dry completely.
- If desired, apply a sealer to protect the paint.
Pros and Cons of Painted Wooden Letters
Pros
- Easy and affordable
- Wide range of colors and finishes
- Can match any decor style
Cons
- May require touch-ups over time
- Potential for chipping if not sealed
2. Decoupage Techniques
Decoupage is a fabulous way to add patterns and textures to wooden letters. This method involves gluing decorative paper onto the surface of the letters and sealing it with a finish.

Materials Needed:
- Unfinished wooden letters
- Decorative paper (scrapbook paper, fabric, etc.)
- Mod Podge or any decoupage glue
- Brush for applying glue
- Scissors
Steps:
- Cut the decorative paper into shapes that will fit your letters.
- Apply a layer of Mod Podge to the letter’s surface.
- Place the decorative paper onto the glue and smooth it out.
- Once dry, apply another layer of Mod Podge over the paper to seal it.

Pros and Cons of Decoupage
Pros
- Endless design possibilities
- Adds texture and interest
Cons
- Can be time-consuming
- Requires precise application
3. Adding Natural Elements
Bringing a touch of nature into your decor can create a warm and inviting ambiance. Consider using materials like jute, twine, moss, or even leaves to enhance your wooden letters.
Techniques:
- Wrap letters in jute twine for a rustic look.
- Use moss to cover parts of the letters for a natural feel.
- Attach dried flowers or leaves to create a unique and organic design.
Pros and Cons of Using Natural Elements
Pros
- Unique and personalized designs
- Brings a sense of calm and nature indoors
Cons
- Natural materials may degrade over time
- Can be more difficult to maintain
4. Glitter and Glam
If you’re looking for a way to add sparkle to your decor, consider using glitter! This eye-catching option is perfect for children’s rooms or festive occasions.
Materials Needed:
- Wooden letters
- Glue (white glue or Mod Podge)
- Glitter in your choice of colors
Steps:
- Apply glue to the surface of the letter.
- Sprinkle glitter over the glued area and shake off the excess.
- Let it dry completely and repeat for a more intense effect if desired.
Pros and Cons of Glitter Decor
Pros
- Fun and lively appearance
- Perfect for special events and parties
Cons
- Can be messy to apply
- May not suit all decor styles
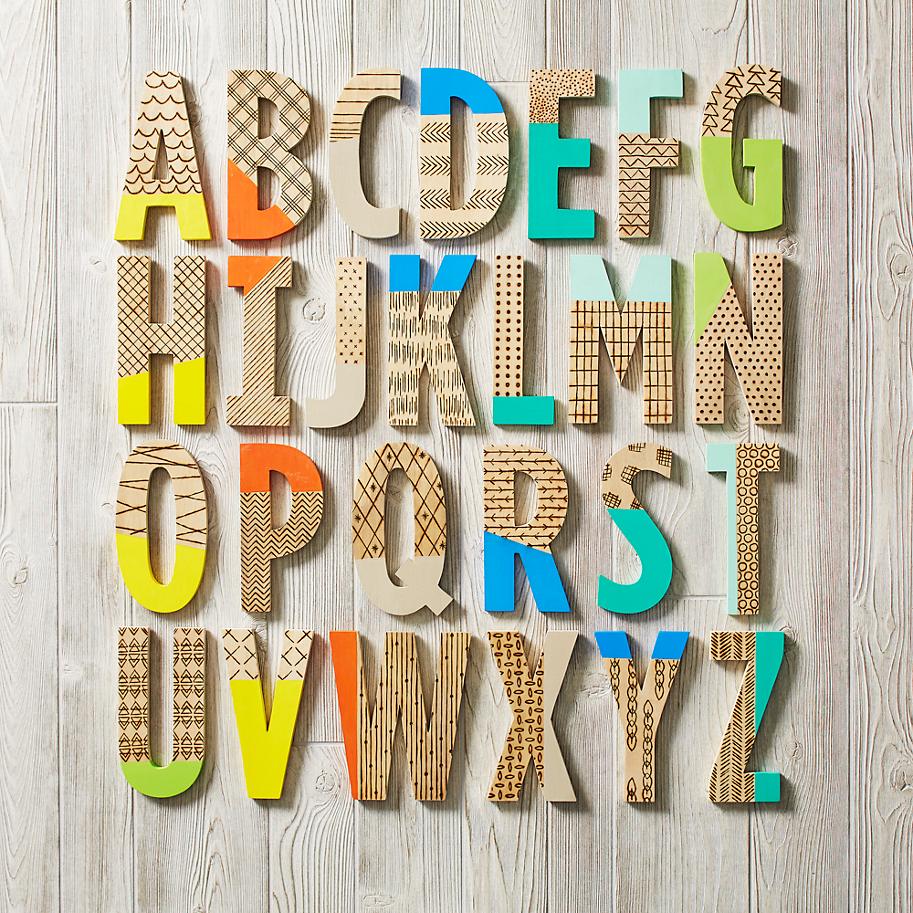
5. Stenciling Techniques
Stenciling is a fabulous way to create detailed designs without needing advanced painting skills. You can stencil patterns, letters, or shapes directly onto your wooden letters.
Materials Needed:
- Wooden letters
- Stencils (store-bought or homemade)
- Paint (acrylic or chalk paint)
- Paintbrushes or a sponge brush
Steps:
- Secure the stencil onto the letter with painter’s tape.
- Using a sponge brush, dab paint over the stencil.
- Remove the stencil carefully and let it dry.
Pros and Cons of Stenciling
Pros
- Easy to create intricate designs
- Great for customizing letters with words or phrases
Cons
- Requires careful application to avoid bleeding
- May need practice for best results
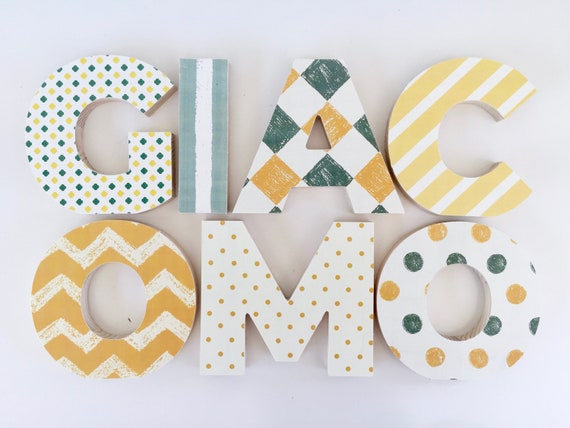
6. Themed Wooden Letters
Creating themed wooden letters can be a fun project, especially for children’s rooms or themed parties. You can choose any theme that resonates with you!
Ideas for Themed Letters:
- Under the Sea: Paint letters in shades of blue and decorate with seashells.
- Space Adventure: Use black paint and add silver stars or glow-in-the-dark elements.
- Floral Fantasy: Incorporate faux flowers and bright colors for a spring-themed look.
Pros and Cons of Themed Letters
Pros
- Creates a cohesive decorating theme
- Encourages creativity in design
Cons
- May become outdated quickly
- Can be less versatile in different settings
7. Incorporating LED Lights
For those who want to add a bit of magic to their wooden letters, incorporating LED lights can be a beautiful idea. This technique is lovely for evening decor or special celebrations.
Materials Needed:
- Wooden letters
- Battery-operated LED string lights or fairy lights
- Drill or craft knife (for making holes, if necessary)
Steps:
- Determine where you want to place the lights on the letters.
- If necessary, use a drill or craft knife to create small holes for the lights.
- Carefully insert the lights into the letters and secure them as needed.
Pros and Cons of LED Lights
Pros
- Adds whimsical charm
- Great for special occasions and celebrations
Cons
- May require batteries/replacement
- Can be tricky to install if not handled carefully
Display Ideas for Wooden Letters
Now that we’ve covered various decorating techniques, let’s explore some creative ways to display your beautifully decorated wooden letters in your home.
1. Wall Art
One of the most common display methods is using wooden letters as wall art. You can arrange them to form words, names, or even inspirational phrases. Here are a few ideas:
- Create a gallery wall by mixing letters with framed photos and art.
- Use adhesive hooks or command strips for easy rearrangement.
- Consider mixing different fonts and sizes for an eclectic look.
2. Shelving Displays
Wooden letters can also enhance your shelving. Whether on a bookshelf, mantelpiece, or floating shelves, they can serve as decorative accents.
- Position letters amongst other decor items like plants or candles.
- Use them to break up larger objects for visual interest.
3. Table Centerpieces
For special occasions, wooden letters can create beautiful table centerpieces. Consider spelling out messages or names for birthdays, weddings, or holidays.
- Incorporate flowers, candles, or seasonal decor items around the letters.
- Use letters to represent a theme or special message for your event.
4. Door Hangings
Transform your entryway by using wooden letters as door hangings. This is perfect for personalizing your home and welcoming guests.
- Decorate them with seasonal themes, such as autumn leaves or holiday ornaments.
- Use ribbons or twine to hang them creatively on your door.
Conclusion
Decorating wooden letters is a delightful way to express your creativity and add a personal touch to your home. With countless methods ranging from painting to incorporating natural elements, the possibilities are endless. Whether you prefer a rustic look, a glam shine, or a whimsical theme, there’s a decorating idea that will suit your style.
So, gather your materials, unleash your creativity, and start crafting your own stunning wooden letter designs! This project not only beautifies your space but also provides an enjoyable creative outlet.
FAQs About Decorating Wooden Letters
What materials are best for painting wooden letters?
Acrylic paint is highly recommended for both its vibrancy and durability. You may also consider chalk paint for a more matte finish.
Can I use stickers on wooden letters?
Yes! Stickers can be a great way to personalize wooden letters quickly and easily. Just ensure you seal them properly for longevity.
What is the best way to hang wooden letters on the wall?
Using command strips or adhesive hooks allows for easy removal and repositioning without damaging the wall.
Are there any specific types of wooden letters I should avoid?
Avoid letters that are excessively thin or flimsy, as they may not hold up well when decorated. Opt for sturdy, quality wood.
How can I make my wooden letters weather-resistant?
To make wooden letters weather-resistant, you can apply a protective sealant or outdoor-grade sealer after painting or decorating.