As the leaves turn and the air gets crisper, thoughts of fall decorations begin to dance in our minds. One easy and delightful way to bring autumn cheer into our homes is by decorating paper pumpkins! These charming crafts not only allow for creativity but also create wonderful memories, especially if you involve your family. In this article, I’ll share a myriad of decorating paper pumpkin ideas that you can try at home, along with tips, pros and cons, and FAQs to make your crafting experience enjoyable.
What You Need to Get Started
Before diving into the decorating ideas, let’s gather some essentials to make your paper pumpkin creation a success. Here’s a quick checklist:
- Colored cardstock or craft paper
- Scissors
- Glue or tape
- Markers, paint, or crayons
- Decorative items (glitter, ribbons, stickers)
- Template for pumpkin shapes (optional)

Why Choose Paper Pumpkins?
Decorating paper pumpkins is a fantastic way to engage in seasonal crafting without the mess that comes with real pumpkins. Here are a few reasons to love them:
- Eco-Friendly: Using paper reduces waste and allows you to be creative without harming the environment.
- Versatile: You can make them any size, color, or design to suit your decor needs.
- Family-Friendly: Great activity for kids and adults alike, fostering creativity and togetherness.
- Cost-Effective: Using materials you already have on hand saves money while also being fun!
Simple Decorating Ideas for Paper Pumpkins
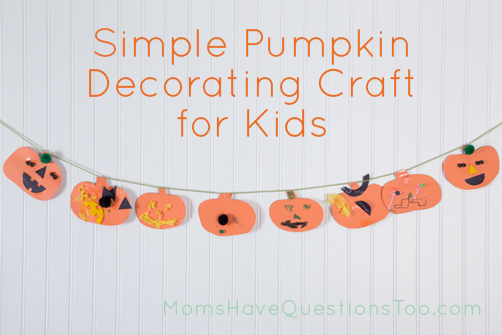
1. Classic Pumpkin Faces
Add a personal touch to your paper pumpkins by drawing classic jack-o’-lantern faces. This simple design allows everyone to showcase their artistic flair.
How-To:
- Cut your colored paper into a pumpkin shape.
- Using markers or paint, draw different facial expressions.
- Add a small stem at the top using brown paper or twigs.
2. Glitter Glam Pumpkins
If you love a bit of sparkle, this idea is for you! A glittery pumpkin can be a focal point in your home decor.
How-To:
- Cut and assemble your pumpkin shape.
- Use glue to apply glitter to the pumpkin surface.
- Consider adding a ribbon bow for that extra touch.

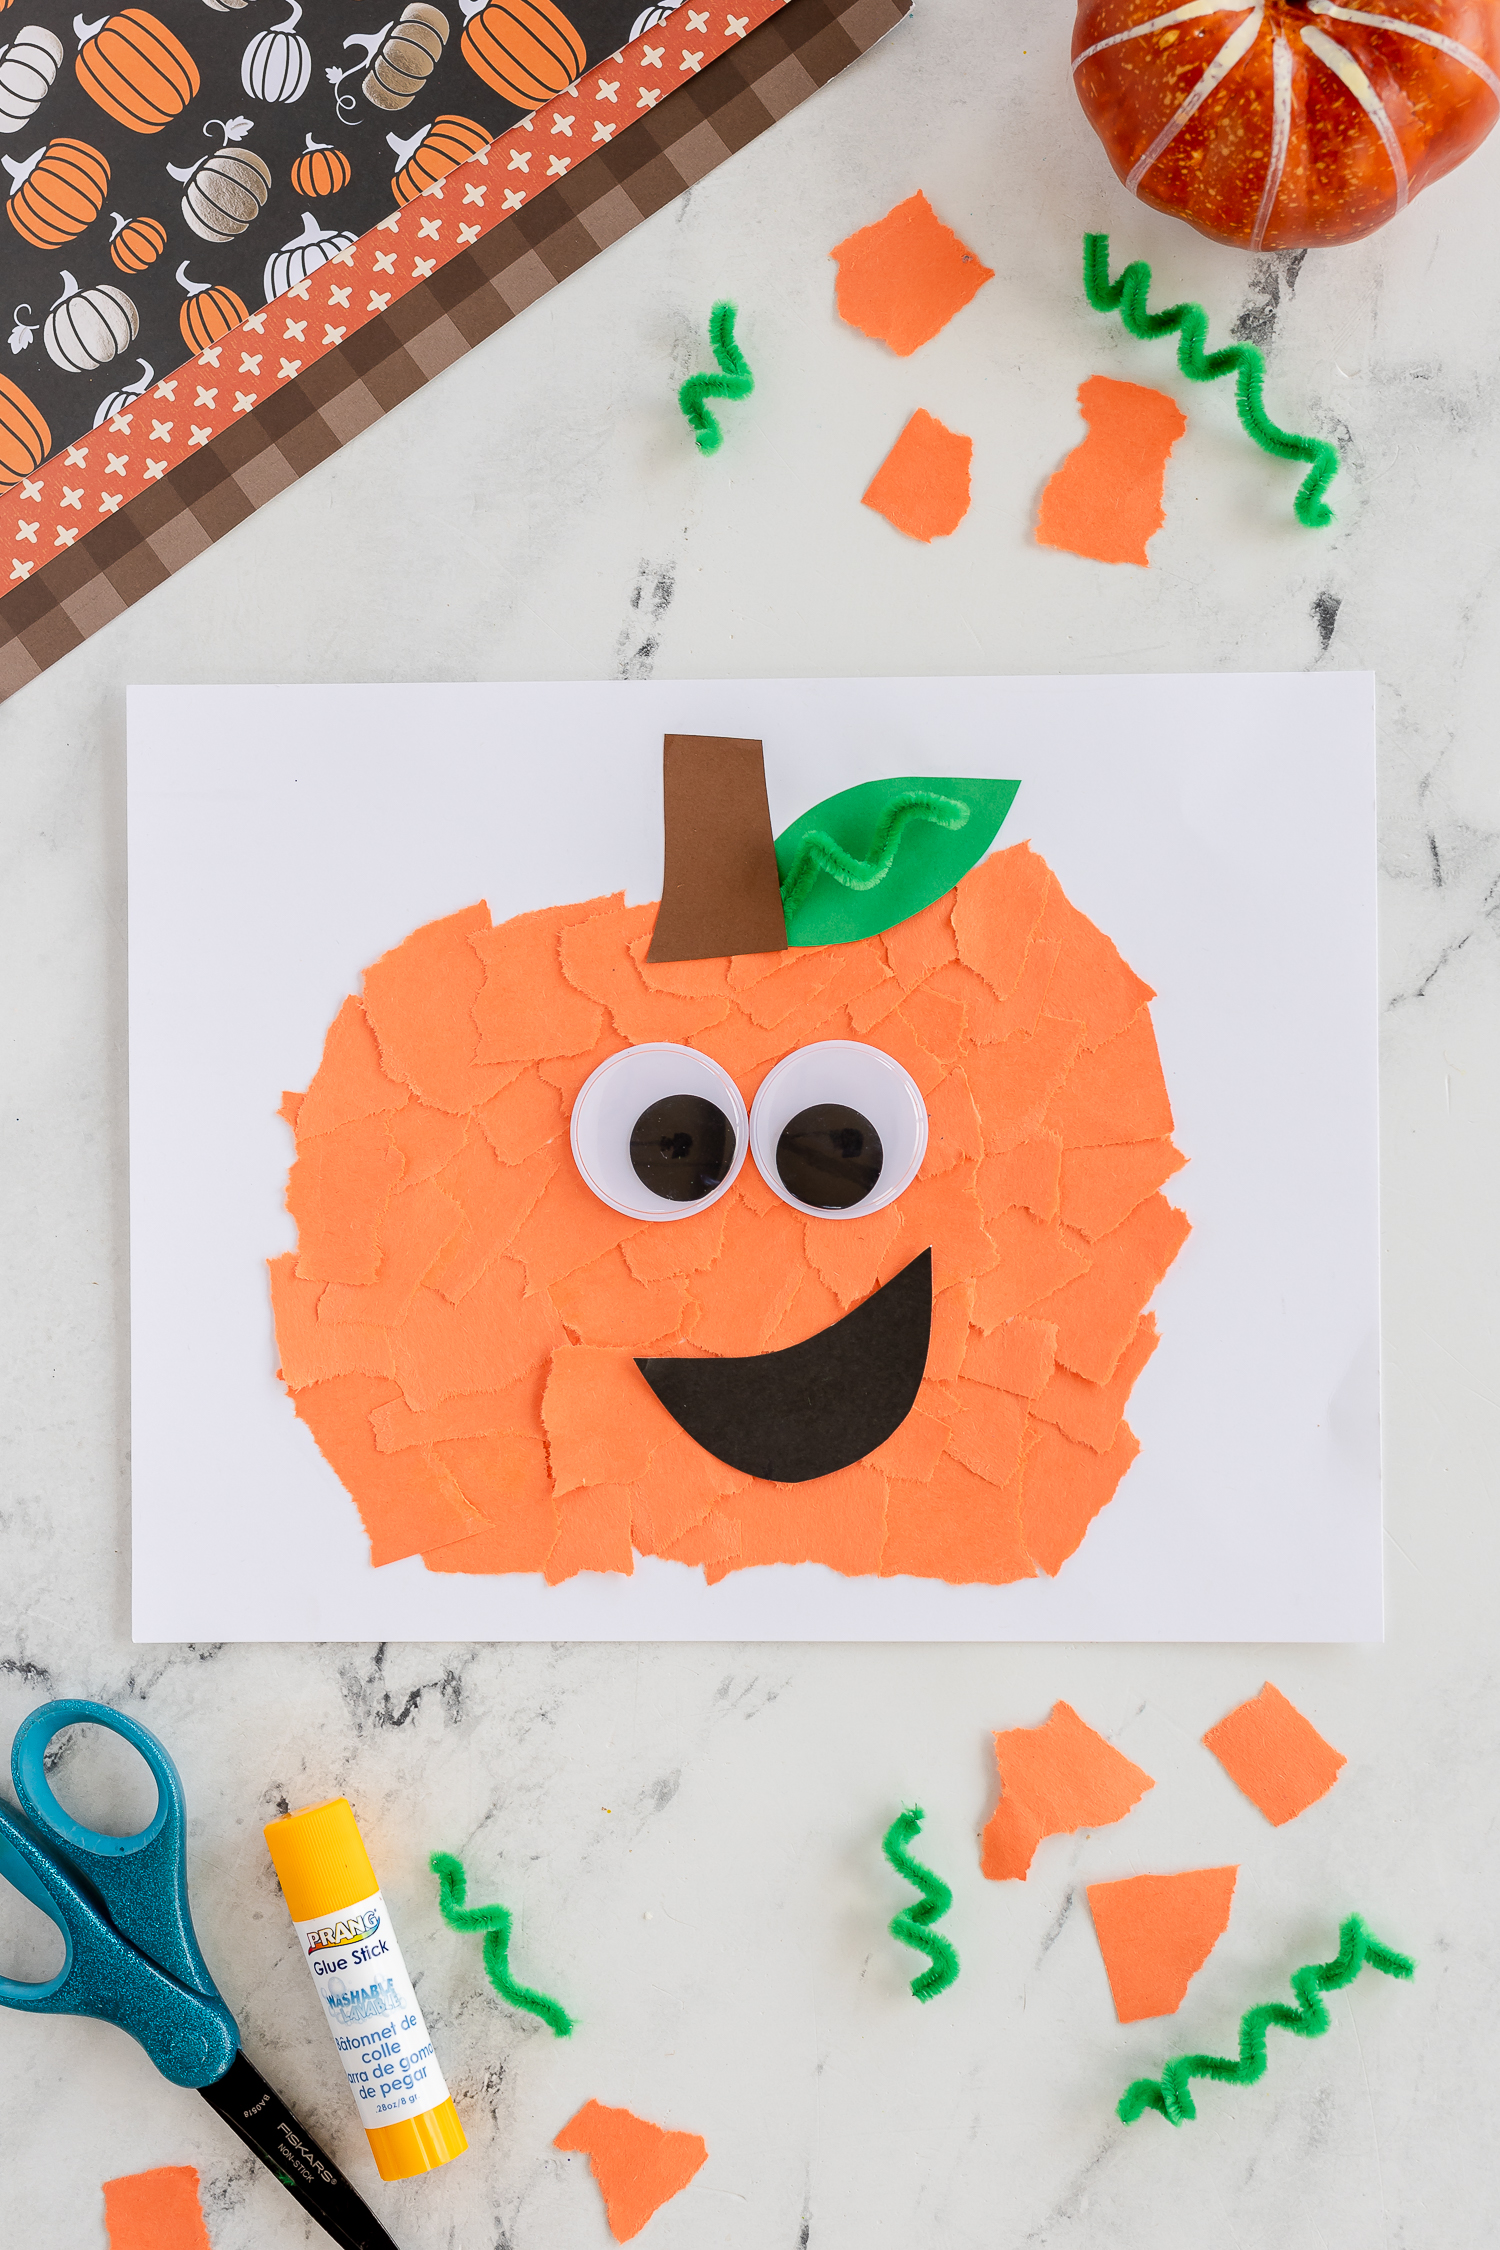
3. Fabric and Paper Combo
Utilizing fabric scraps alongside paper can add texture to your creations. This combination is perfect for a rustic look.
How-To:
- Cut your pumpkin shape from paper.
- Glue fabric pieces to the pumpkin to create an interesting design.
- Finish with a fabric bow or decorative embellishments.
4. Nature-Inspired Pumpkins
Use natural elements like leaves and twigs to give your pumpkins an organic feel. This approach brings a little bit of the outdoors in!
How-To:
- Create your pumpkin shape.
- Glue small leaves around the pumpkin for decoration.
- Add a twig on top for a stem.
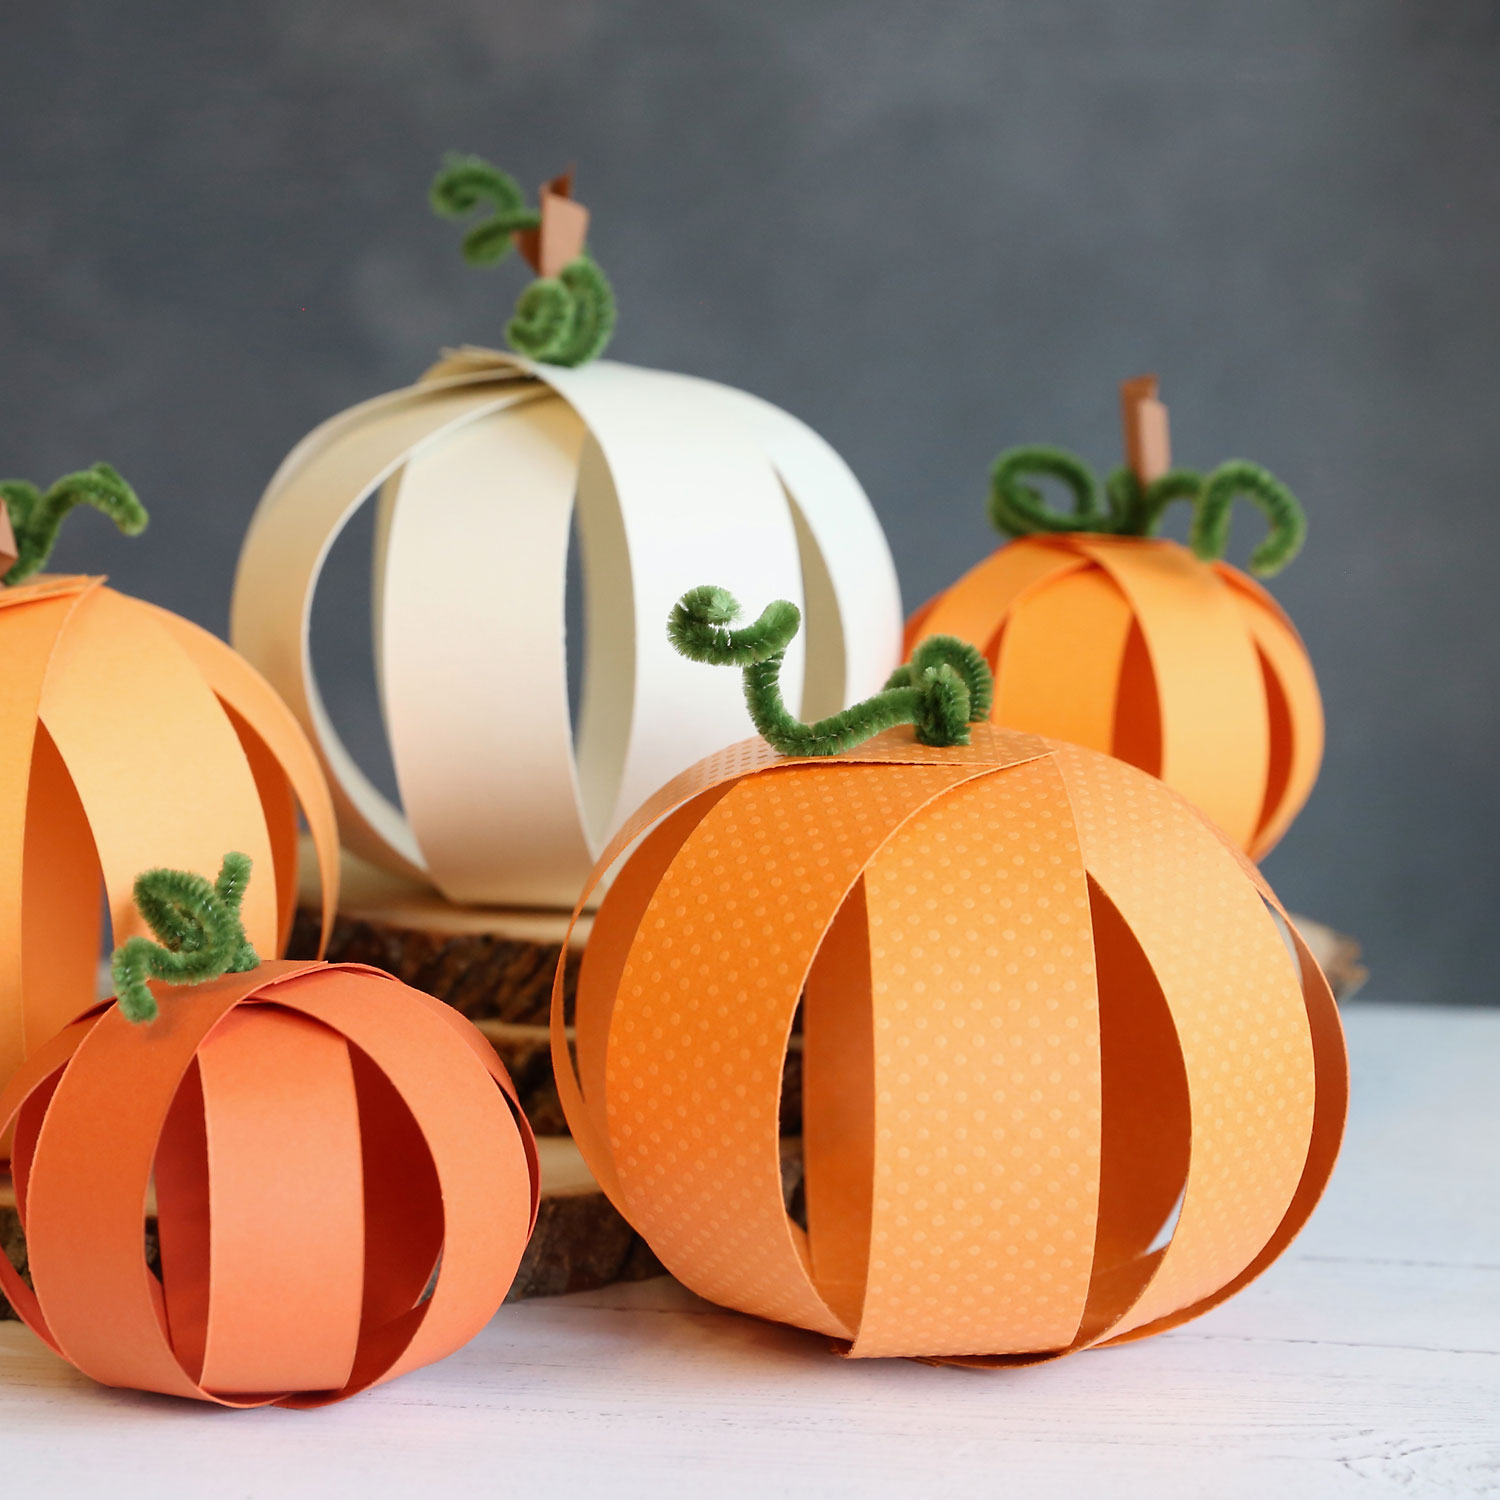
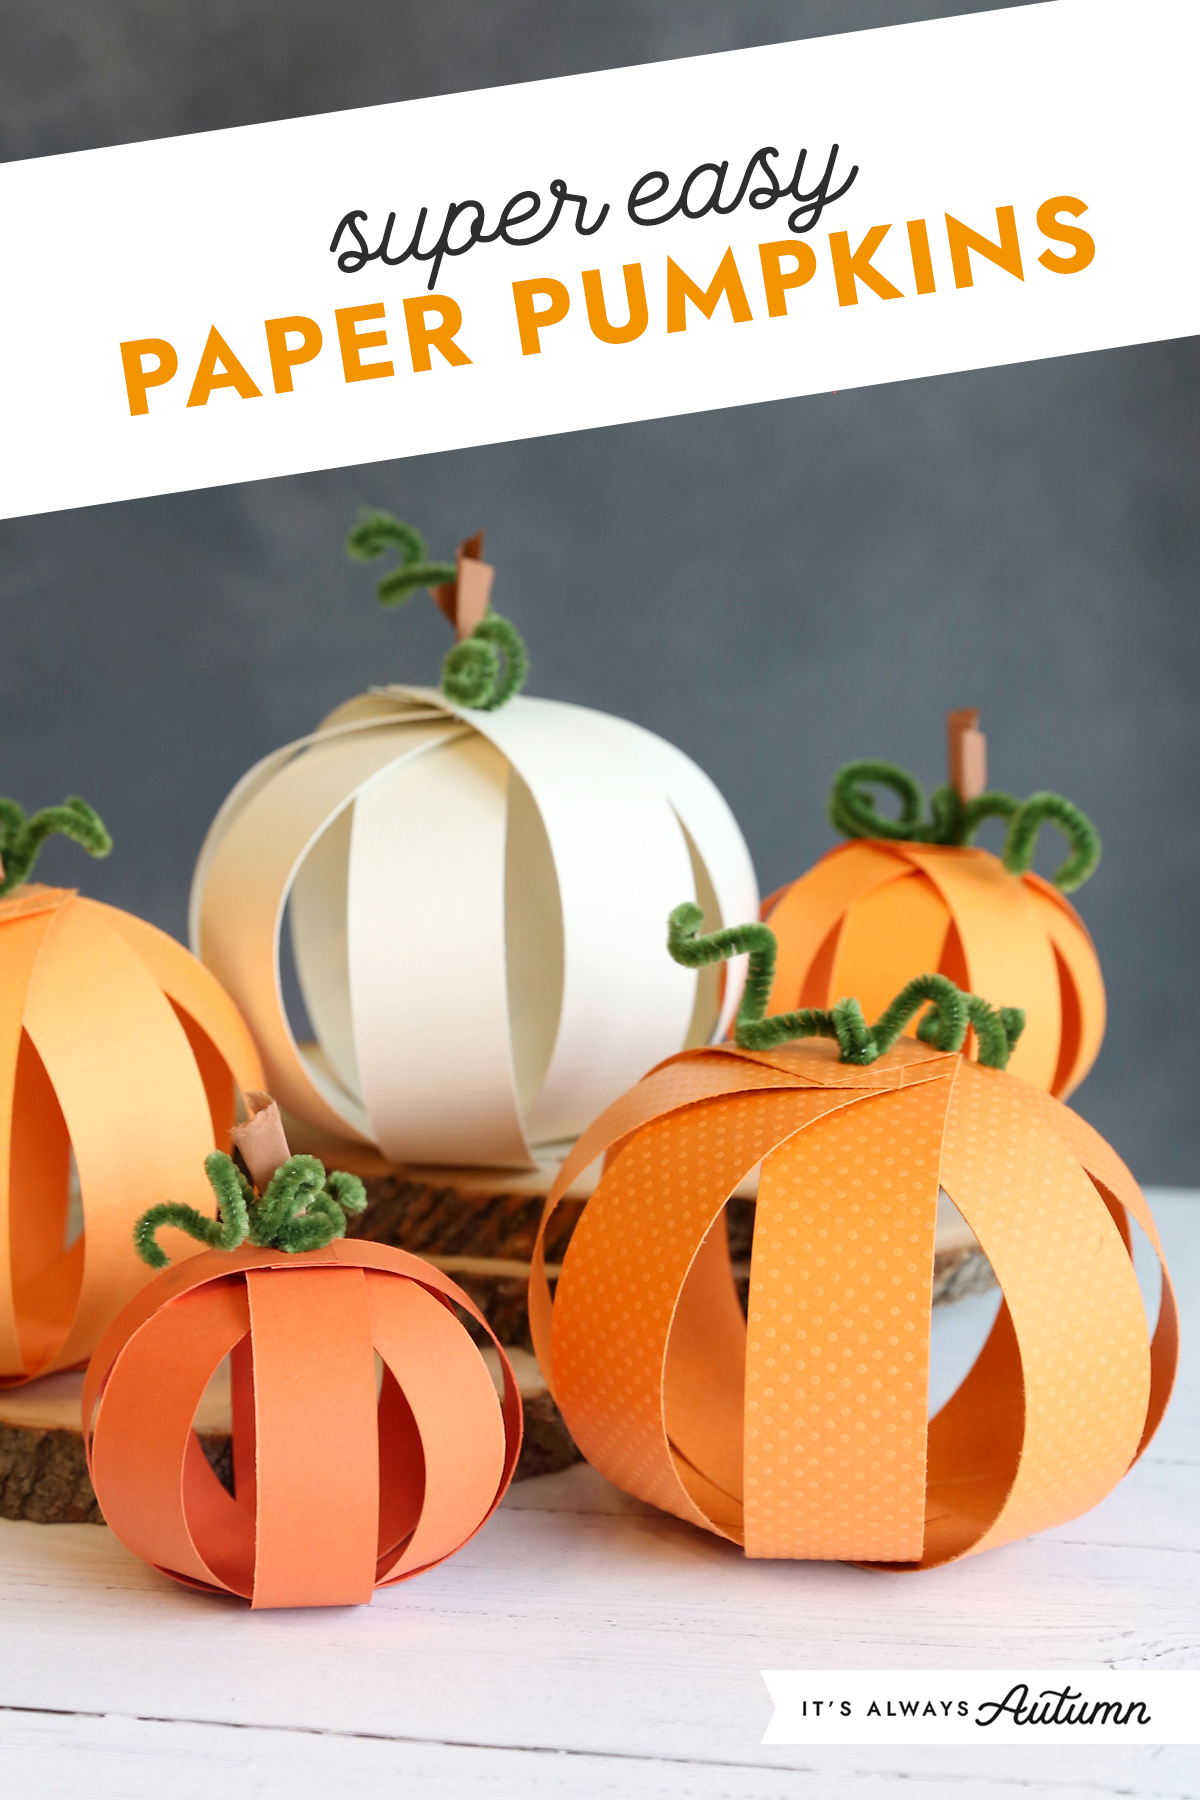
5. 3D Paper Pumpkins
Take your pumpkin crafting to another level by creating 3D pumpkins. This approach adds depth and visual interest to your decor.
How-To:
- Cut several pumpkin shapes from paper.
- Score the edges for folding to create depth.
- Glue the sides together and decorate as desired.
Creative Techniques for Decorating Your Paper Pumpkins
1. Painting Techniques
Painting allows for detailed scenes or patterns on your paper pumpkins. Consider using watercolors for softer designs or acrylics for bolder colors.
2. Stamping and Printing
Use stencils or rubber stamps to create patterns or figures on your pumpkins. This technique is especially fun for kids!
3. Decoupage
This technique involves gluing decorative paper or fabric onto the surface of your pumpkin, creating stunning layered effects.
Comparison Table: Decorating Techniques
| Technique | Difficulty Level | Time Required | Materials Needed |
|---|---|---|---|
| Classic Faces | Easy | 30-45 minutes | Markers, colored paper |
| Glitter Glam | Medium | 1 hour | Glue, glitter, ribbon |
| Fabric Combo | Medium | 1 hour | Fabric scraps, glue |
| Nature-Inspired | Easy | 30 minutes | Leaves, twigs, glue |
| 3D Pumpkins | Hard | 1.5 hours | Paper, glue, scoring tool |
Pros and Cons of Decorating Paper Pumpkins
Pros
- Innovative and creative outlet.
- Safe for all ages.
- No mess from seeds or guts like real pumpkins.
- Reusable for future decorations.
Cons
- May not last as long as real pumpkins.
- Requires a bit of crafting skill for advanced designs.
- Can be less visually striking than real pumpkins.
Frequently Asked Questions (FAQs)
What materials are best for making paper pumpkins?
Colored cardstock, craft paper, and scrapbook paper are excellent choices for creating durable and vibrant pumpkins. You can also use recycled materials for a more eco-friendly approach!
Can decorating paper pumpkins be a family activity?
Absolutely! This is a wonderful group activity where everyone can express their creativity. Prepare your materials and let each member create their unique design.
How do I store my paper pumpkins?
Store your decorated pumpkins in a cool, dry place. If you want to preserve them for future seasons, consider placing them in a sturdy box or plastic bin with some padding to prevent crushing.
What age group is best suited for this craft?
This craft is suitable for all ages! While younger kids may need more guidance, older children and adults can create intricate designs on their own.
Conclusion
Decorating paper pumpkins is not only a fun and engaging craft, but it also allows for personal creativity to shine. Whether you opt for simple designs or elaborate embellishments, each pumpkin you create is bound to add charm to your fall decorations. So gather your materials, invite your family and friends, and let the crafting begin! Happy decorating!