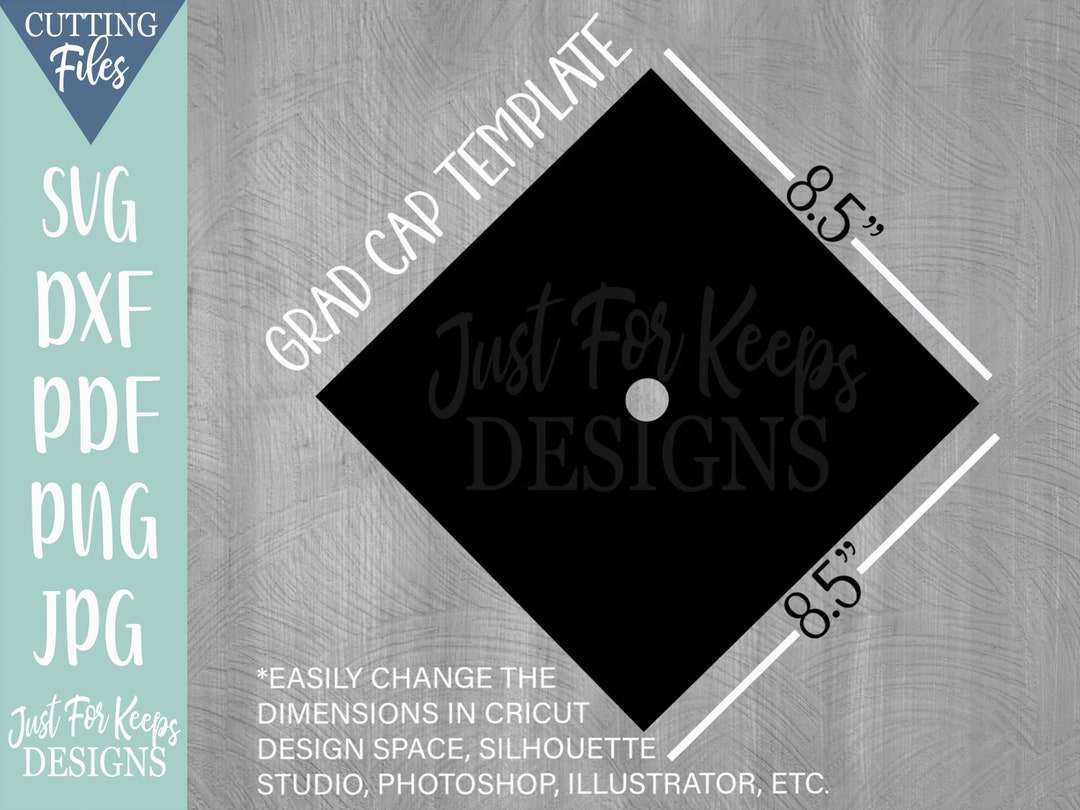
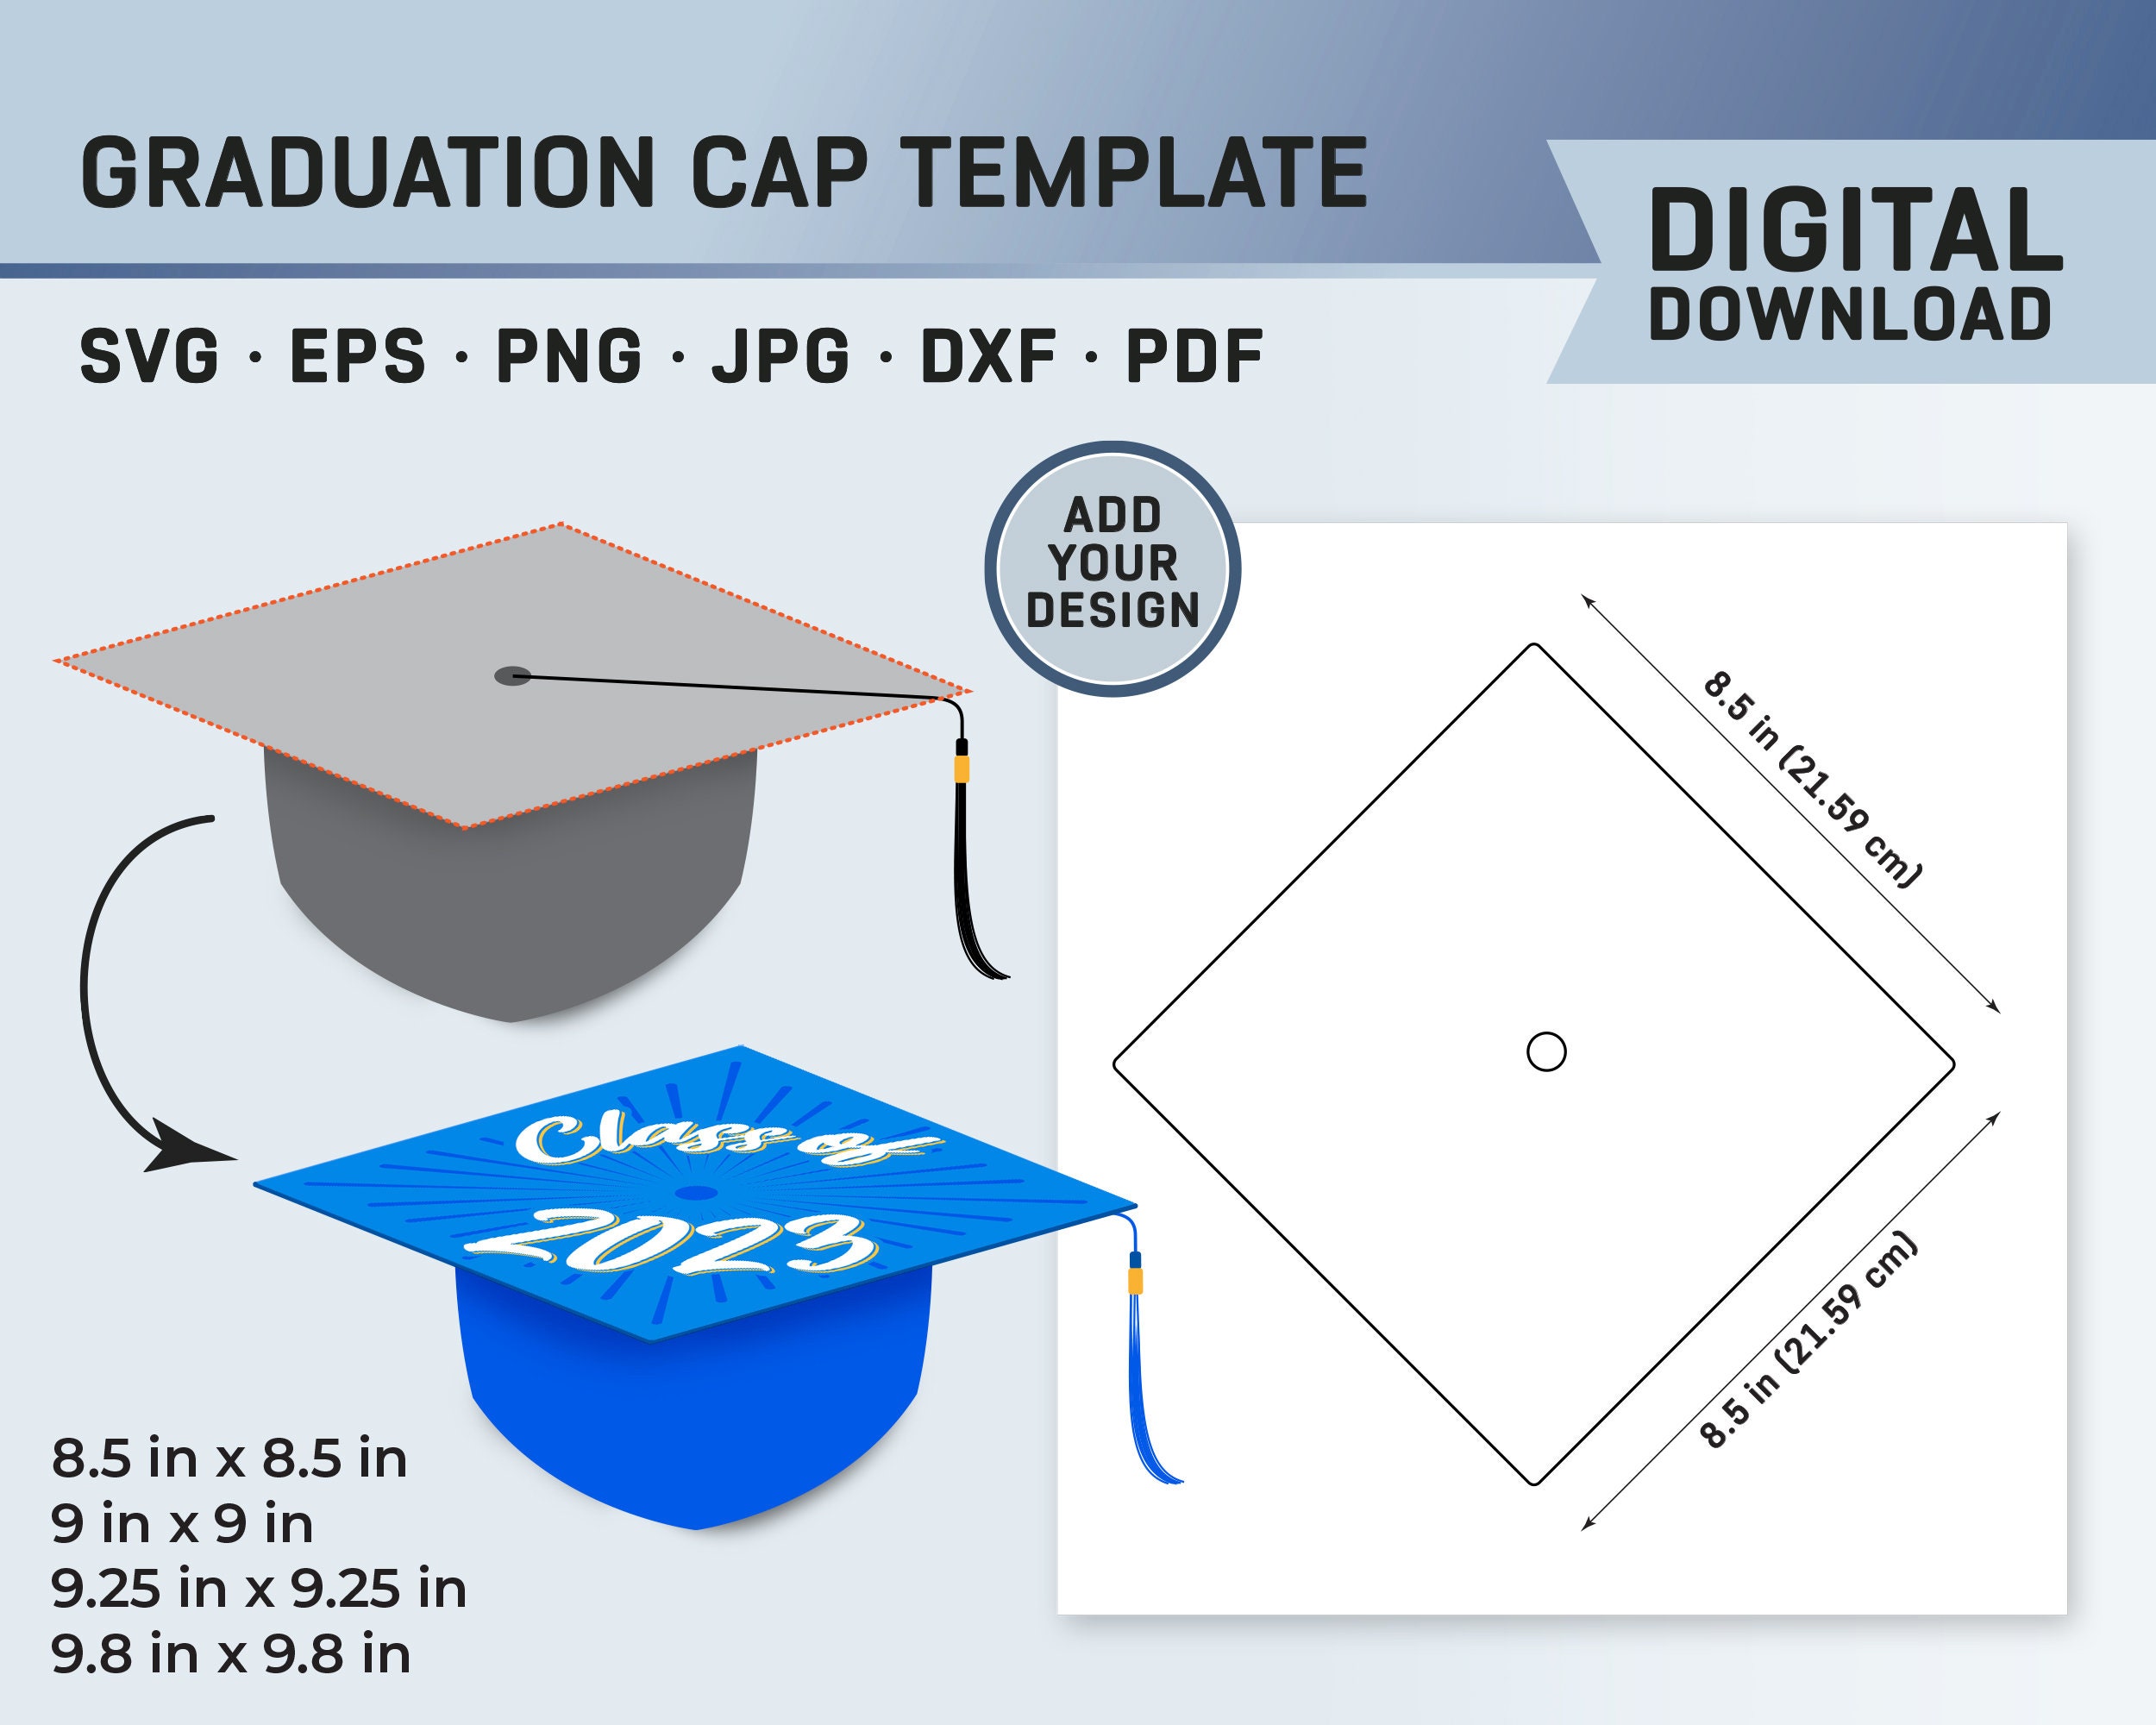
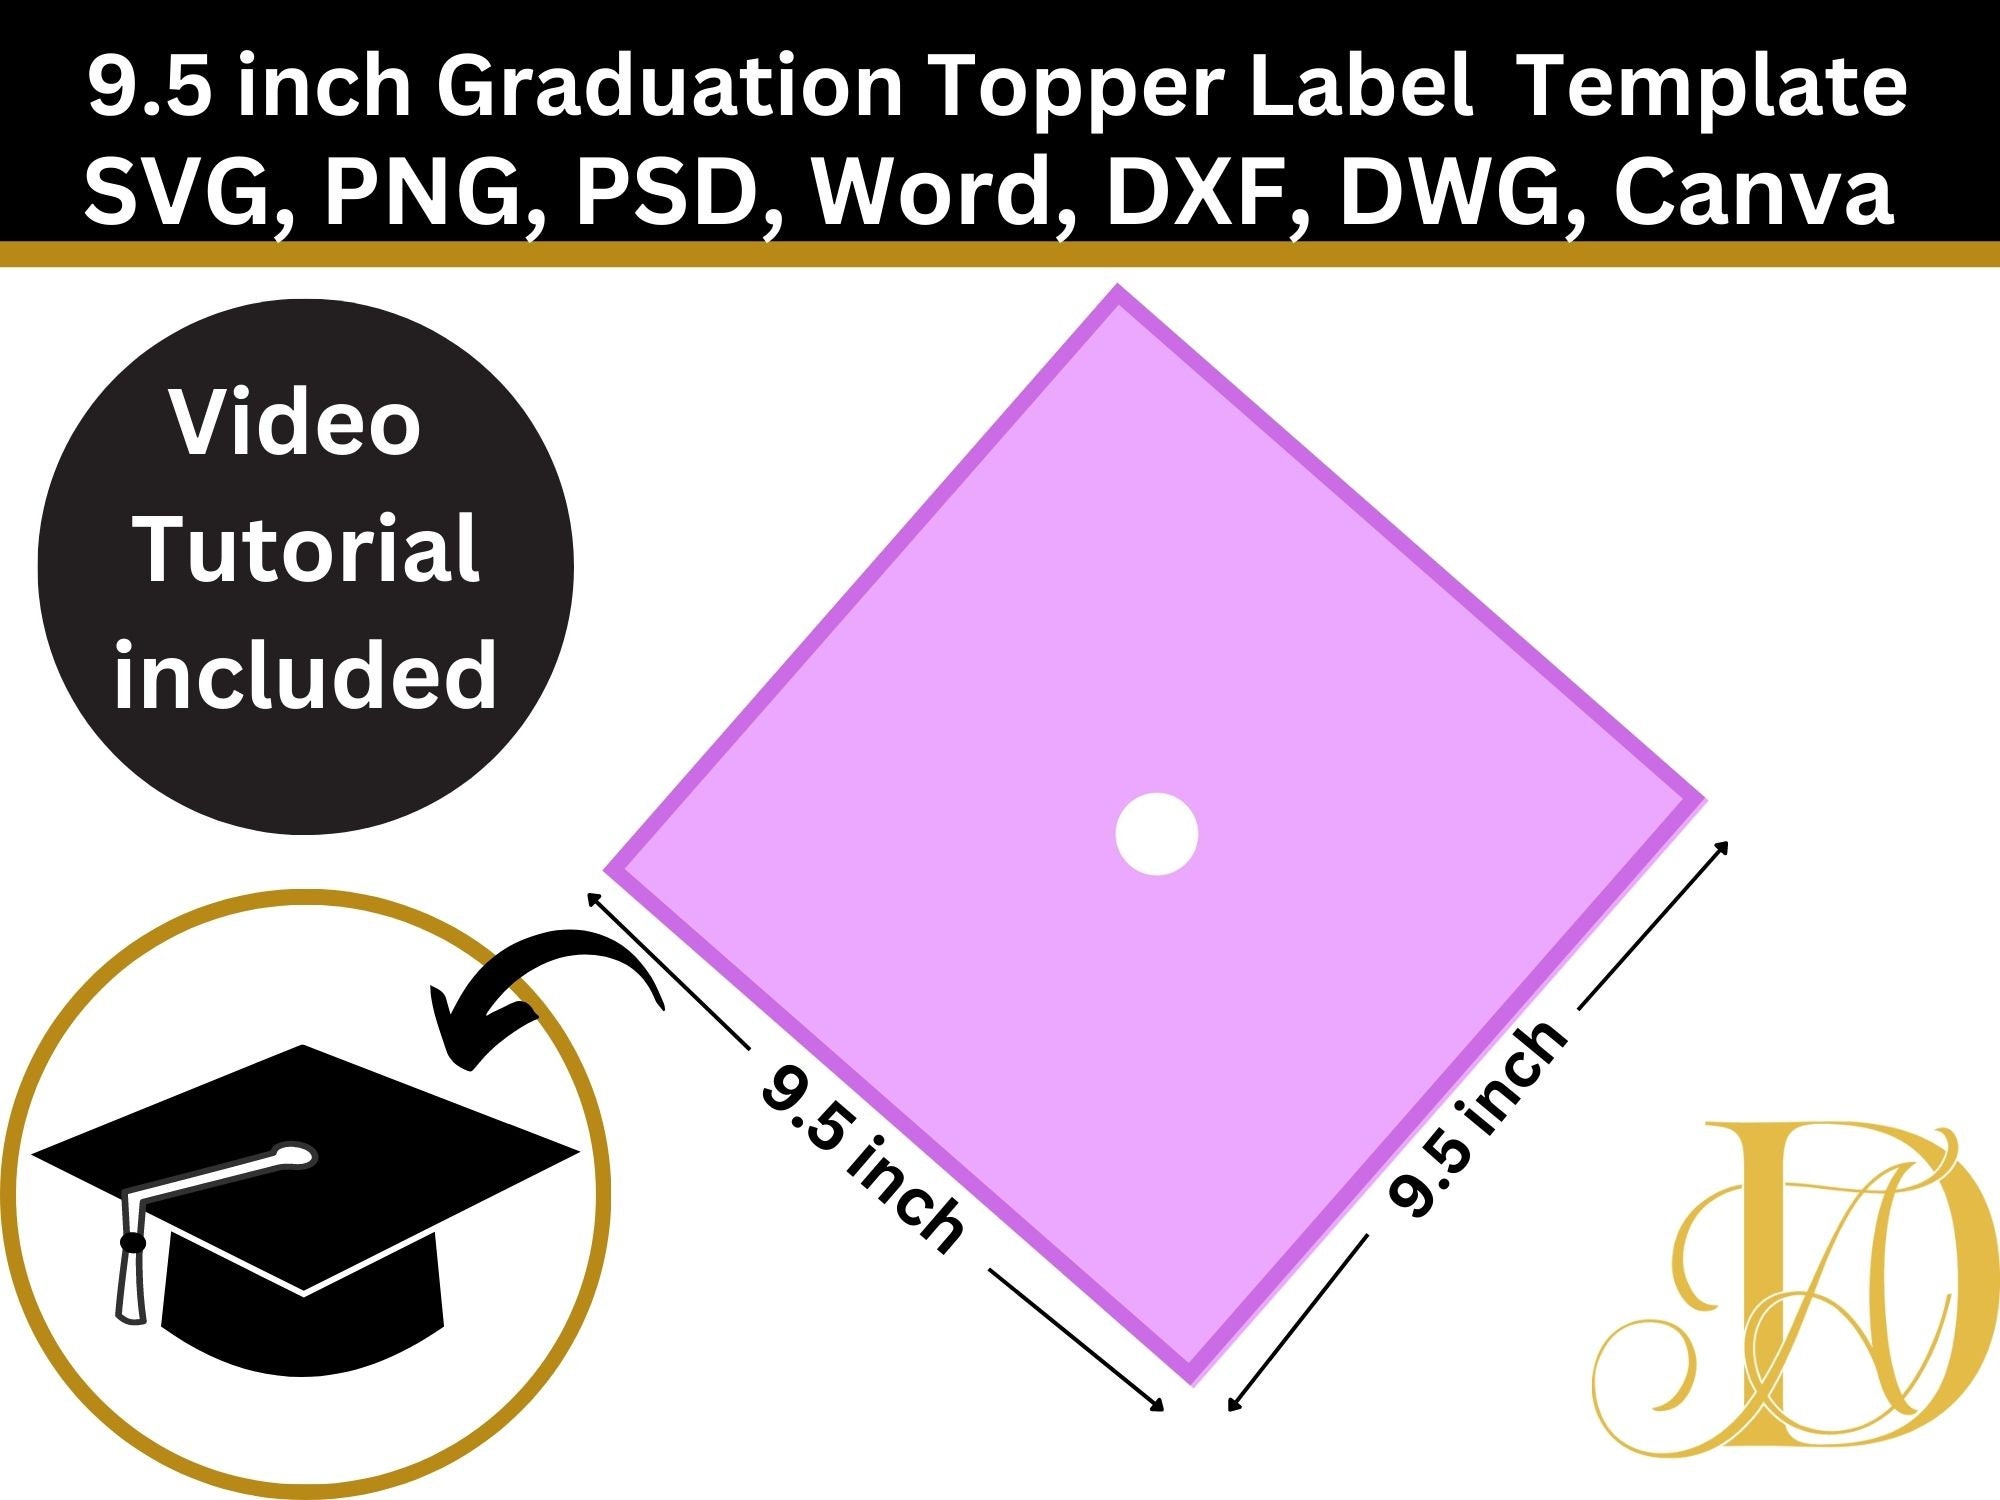
Graduation is a significant milestone in anyone’s life, marking the culmination of years of hard work and dedication. One of the exciting ways to express your personality and celebrate this achievement is by decorating your graduation cap! In this article, we’ll explore a variety of graduation cap decoration templates, providing you with tips, inspiration, and everything you need to create a masterpiece that reflects your journey.
Why Decorate Your Graduation Cap?
Graduation cap decoration is more than just a trend; it is an opportunity to showcase your individuality and creativity. Here are a few reasons why you should consider decorating your cap:
- Personal Expression: Your cap is a blank canvas waiting for your ideas!
- Symbol of Achievement: Celebrating your hard work and journey.
- Photo Opportunities: A decorated cap makes for vibrant, memorable photos.
- Inspiration for Others: Your creativity might inspire fellow graduates!
Types of Graduation Cap Decorations
1. Paint and Markers
Using paint and markers is a popular choice for many graduates. This method allows for vibrant colors and intricate designs.
Pros:
- Customizable and personal.
- Endless design possibilities.

Cons:
- Requires some artistic skill.
- Paint may take time to dry.
2. Stickers and Decals
If you’re not confident in your drawing skills, stickers and decals are a fantastic alternative. They come in various themes and designs.

Pros:
- Easy to apply and remove.
- Variety of themes available.
Cons:
- May appear less original.
- Not as durable as paint.

3. Fabric and Glitter
Using fabric and glitter adds texture and sparkle to your cap. This method creates a more dynamic look.
Pros:
- Adds tactile and visual interest.
- Can be themed with your school colors.

Cons:
- Can be messy to work with.
- May require glue that takes time to dry.
Popular Graduation Cap Decoration Templates
Here are some popular templates you can use for your graduation cap decoration:

1. Inspirational Quotes Template
Using a meaningful quote can add a personal touch to your cap. Here are a few examples:
- “The future is yours!”
- “Dream big, work hard!”
- “She believed she could, so she did.”
2. School Spirit Theme
Show off your school pride by incorporating your school colors, mascot, or logo. This is a great way to represent your institution.

3. Personal Journey Reflection
Use images or symbols that represent your journey. This could include a map, major milestones or a personal motto.
4. Pop Culture References
Incorporating elements from your favorite TV shows, movies, or books can make your cap stand out. Think of quotes or characters that inspire you.

How to Get Started: Step-by-Step Guide
Step 1: Gather Your Supplies
Before beginning your decoration, gather all necessary supplies:
- Cap
- Paint/Markers/Stickers/Fabric
- Glue/Adhesive
- Scissors
- Protective covering (newspaper or plastic)
Step 2: Plan Your Design
Sketch your design on paper before applying it to your cap. This helps in visualizing the final look.
Step 3: Start Decorating!
Begin applying your chosen decoration method to your cap. If using paint, allow it to dry completely before adding more layers or decorations.
Step 4: Final Touches
Once everything is dry, take a step back and assess your cap. Add any final touches or adjustments as needed.
Comparison Table of Decoration Methods
| Decoration Method | Skill Level | Cost | Durability | Time to Complete |
|---|---|---|---|---|
| Paint and Markers | Moderate | Low | High | 2-4 hours |
| Stickers and Decals | Easy | Moderate | Medium | 1 hour |
| Fabric and Glitter | Moderate | Medium | Medium | 2-3 hours |
Personal Experience: My Graduation Cap Journey
As a recent graduate, I vividly remember the excitement of decorating my graduation cap. I chose a quote that had inspired me throughout my college years. The process was therapeutic; I listened to my favorite music while meticulously painting the letters and embellishing the cap with glitter.
It wasn’t just about the decoration; it was a chance to reflect on my journey and the friends I made along the way. The finished product was not only a representation of my personality but also a conversation starter during the graduation ceremony.
Frequently Asked Questions (FAQs)
1. What materials are best for decorating graduation caps?
The best materials to use include acrylic paint, permanent markers, stickers, fabric, and embellishments like glitter.
2. How can I ensure my decoration stays intact through the ceremony?
Use a strong adhesive for embellishments and ensure everything is dried properly. Avoid heavy embellishments that may fall off.
3. Are there any restrictions on graduation cap decorations?
Some institutions may have guidelines regarding cap decorations. It’s best to check with your school’s graduation policies to ensure compliance.
4. Can I reuse my decorated cap for future events?
While you can keep and display your decorated cap, reusing it may be challenging due to its personalized nature. However, consider repurposing it for other celebrations!
5. Where can I find inspiration for my graduation cap design?
Inspiration can be found on social media platforms like Pinterest and Instagram, where many share their decorated caps. You can also join graduation-themed online groups for ideas.
Conclusion: Make Your Mark!
Your graduation cap is a unique opportunity to make a statement and celebrate this significant achievement in your life. Whether you choose to paint, use stickers, or apply fabric, the most important thing is to enjoy the process and make it personal to you. Remember, this is a moment worth celebrating—make your cap a reflection of your journey, and don’t be afraid to get creative!